Our content is reader supported, which means when you buy from links you click on, we may earn a commission.
How to Add Closed Captioning to a Video [+3 Tools to Help]
Did you know that 1 in 8 Americans over 12 has some hearing loss in both ears?
And that number is only going to grow as the population ages. This is why adding closed captioning to your videos is so important.
Closed captions not only make your content accessible to people with hearing disabilities, but they also help viewers’ comprehension by providing a written transcript of the audio.
In this blog post, we’ll show you how to add closed captioning to your videos. Let’s get started!
What is Closed Captioning?
Closed captions are the text version of the audio in a media file. Captions are placed in audio and video files to improve viewer comprehension and make the content accessible to people who have hearing disabilities.
These captions are time-synchronized and typically appear at the bottom of the screen in tandem with the spoken words in the video.
Although most of the closed caption file is composed of the spoken text in the media file, it also includes non-speech elements like the name of the speaker as well as the kind of sound effect that is used in the audio. This all adds to a more engaging and immersive experience.
The Origin of Closed Captioning
Closed captioning was introduced to TV programs after 44 years of television. This was intended to make TV programs accessible to the deaf or people with hearing disabilities.
The credit for creating closed captioning goes to Gallaudet University, ABC, and the National Bureau of Standards, which created the technology to display captions in 1972. The first program to show captions was “the French Chef,” a Julia Child show.
Ever since then, closed captions started popping up on television, and by the end of the 1900s, they were required by law for all shows on TV.
Benefits of Captioning
Closed captioning offers various benefits to viewers. Here are a few:
- Accessibility: The biggest advantage of closed captions is accessibility, as they offer equal opportunities for people with hearing difficulties to access entertainment and knowledge material on TV. There are over 37.5 million Americans who have some sort of hearing difficulties, and closed captions can help them consume video content easily.
- Better Focus: There are many viewers who remember better after reading something. As such, captions can help these readers to understand content in a better way as well as make comprehension easier for people whose native language is not English. This means improved focus and engagement.
- Greater Flexibility: Closed captions allow you to watch and understand a video while the volume is down or when you are having difficulty hearing the spoken words. If you are in a public space like a library where making noise is not permitted, or if you are in a crowded and noisy bus, captions can allow you to mute the video but still watch the content anywhere at any time.
Types of Closed Captions
Closed captions come in various styles:
- Pop-on Captions: These are the most common kind of closed captions for recorded videos. They pop up on the screen in response to a spoken cue and disappear before the next caption appears.
- Roll-up Captions: Roll-up captions roll up onto the screen, one under the next, giving viewers ample time to read them. The top line of the caption disappears as a new line appears.
- Paint-on Captions: These captions appear on the screen as if they are typed in a left-to-right sequence. This painting-on effect happens very quickly, and it can be hard to notice unless the entire video comprises this type of caption.
Open Captioning vs Closed Captioning
Closed captions are captions that can be turned on and off based on the viewer’s preference. That’s because the captions are stored in a separate file from the videos and can be accessed independently of it.
Open captions, on the other hand, are captions that are “burned” or hardcoded into the video. They can never be turned off or edited since they are a part of the image in the video. These are similar to hardcoded subtitles except that subtitles only include the spoken words.
Open captions are good options if you want to upload your files on a program that does not allow closed captions, like Instagram and Tik Tok.
Captions vs Subtitles
While captions are transcripts of the commentary spoken in the videos, subtitles are the translation of the spoken words. Subtitles are used to aid people who do not understand the spoken language in the audio or video file.
In most cases, subtitles do not include speaker ID or sound effects, so they are not considered accessible tools for people with hearing disabilities.
Caption Quality
It is important that the captions be accurate and in sync with what is spoken in the video. It can be very hard to make sense of what is going on in the recorded content, particularly for people who have hearing issues, if the captions are out of sync or are not accurate.
Some factors that affect the quality of the captions are:
- Accuracy.
- Readability.
- Avoiding hiding important video content.
- Including speaker labels or IDs.
- Using best practices for caption quality.
- Following the standards of the DCMP, FCC, and WCAG.
Where to Add Captions
Thanks to technology, captions can now be seen not just on TV but on various other media platforms, including:
- Social media: Social media videos with captions perform better on average than those without captions.
- Video-based training: Captions are an important tool to ensure students or subscribers with hearing difficulties can access the training.
- Higher education: Colleges, universities, and even K-12 schools are rapidly adopting e-learning tools.
- Instructional classes: Course creators and instructors can display their content and coursework in tandem with captions.
DIY Captions
The great thing about closed captions is that you can always create them yourself. Here are some tips to DIY your captions:
- Use the caption tools on YouTube.
- Create your own SRT captions from a transcript.
- Write down the text manually by listening to your audio.
- Use an automatic speech recognition software.
Creating Captions with a Transcript
If you have a transcript of your video created, you need to sync the text with the audio in the video. It can be very exhaustive and time-consuming to create timecodes, particularly if your video is long, so it is a good idea to leverage programs like Otter.ai and Rev.com or other tools to create transcriptions. These will do the hard work of transcribing your video for you.
Make sure your transcript is in the right format and compatible with the video player. Once that is done, you can upload it to your video.
Creating Closed Captions Manually or with ASR (Automated Speech Recognition)
Creating closed captions manually can result in a lot of errors. Therefore, we recommend using technology to manually create closed captions.
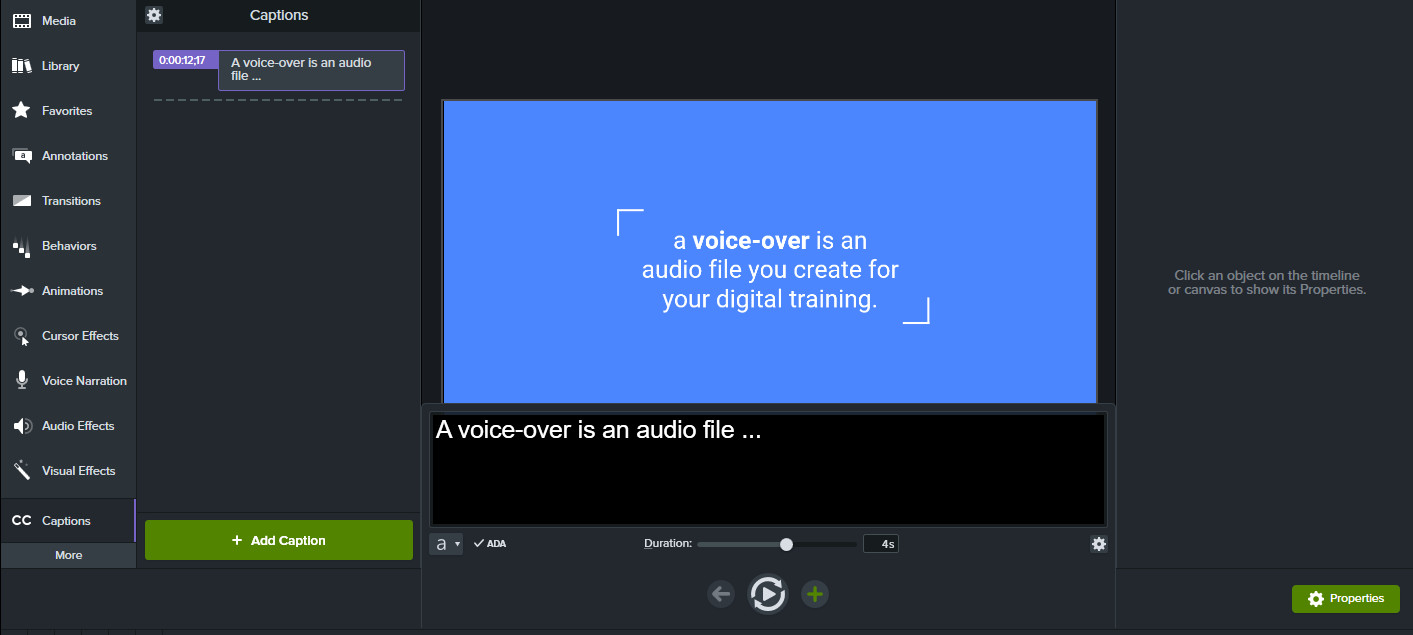
It is a good idea to leverage automatic speech recognition technology like Camtasia or YouTube to create the first draft of a caption that you can edit manually. This can reduce your time to less than half and result in better accuracy.
Adding Closed Captions to Videos with Tools
Here are some popular tools for creating closed captions the easy way.
1. YouTube
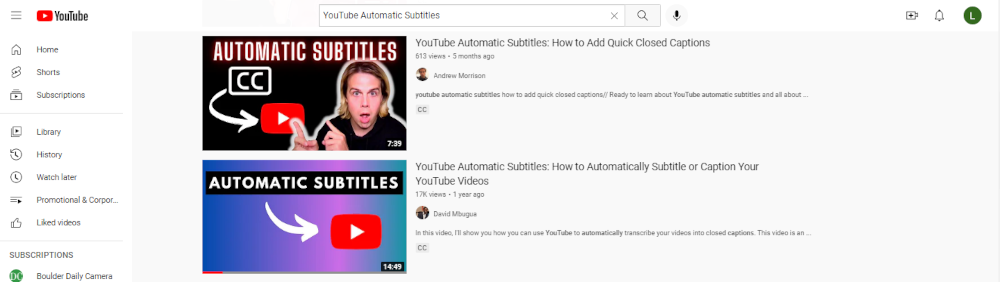
Making captions through YouTube is easy. Here is a rundown of the steps:
- Upload your video and click on the YouTube studio editor to start.
- Go to the subtitles panel and click on “add new subtitles or closed captions.”
- Choose the language of the audio to create closed captions.
- The YouTube auto transcription feature will allow you to view and edit the captions they have generated. You also have the option to type in the text as it is being spoken
- In addition, you can also upload an SRT file, which may be synced to your video. Once you have figured this out, upload the file and wait for the magic to happen.
2. Rev
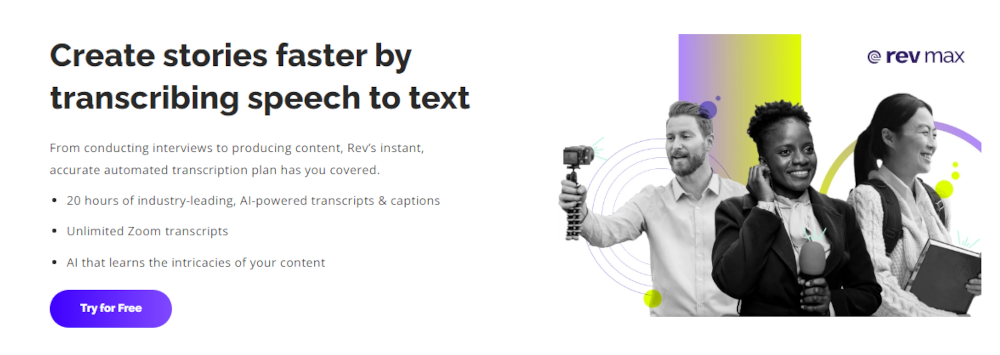
Another very easy way to get accurate captions is through Rev.com. Here are the quick and easy steps to getting captions through Rev.com:
- Upload the video from your computer, share a URL, or provide a link from YouTube or another media site.
- The team at Rev.com will add the captions to your video in a single business day and send you an email notification once it is done.
- Rev can also handle files with industry jargon, multiple speakers, various accents, and difficult audio.
- It is a good idea to share the speaker names, glossary, and script if you have it to ensure accurate capture of the text.
3. Knowmia
Knowmia features a wonderful speech-to-text option. Here is how to use it:
- Visit the “Accessibility” tab, where you can find the captions option.
- The first option is the “speech to text” option, which allows you to automatically generate captions for the video. Upload your video and click on “Apply” to automatically generate the text.
- Once the transcription is finished, you will be notified via email.
- You can then view the captions and edit them easily by clicking the three dots icons.
- Click publish once you are done to save the changes.
- Now, your video will have softcoded captions that can be turned on and off according to the viewer’s preference.
FAQs on Closed Captioning
Is there an app to add closed captioning to a video?
The most popular apps that add closed captioning to videos are Rev and 3PlayMedia. Both of these apps offer a free trial, so you can try them out before you commit to anything. They also have paid plans that offer more features, such as the ability to add multiple languages or add special effects to the captions.
How do I add closed captioning to an audio file?
One option is to use a paid service like Rev.com. Rev provides human-powered transcription services, and they also offer closed captioning services.
Another option is to use a free online tool like Kapwing. Kapwing can create captions for your audio files using automatic speech recognition (ASR). However, ASR is not always accurate, so you may need to edit the captions after they’re generated.
Finally, you can add closed captioning yourself using a text editor like Sublime Text or Visual Studio Code. This method requires more effort, but it’s also free.
How do I add closed captioning to a YouTube video for free?
If you have a transcript of your video, you can upload it as a timed caption file. You can also create captions using YouTube’s automatic captioning tool. This tool isn’t perfect, but it can be a helpful starting point. Alternatively, you can hire a professional captioning service to create captions for your video.
Can you add closed captioning in PowerPoint?
You can add closed captioning to PowerPoint presentations. Here are the steps:
- To do so, open the PowerPoint presentation and click on the “Options” tab.
- Under the “Playback” options, select “Subtitles and Closed Captioning.”
- Then, click on the “Add…” button and browse for the closed captioning file that you want to add.
- Once you’ve added the file, you can adjust the timing and positioning of the captions as needed.
- Finally, save your changes and close the file. When you play back the presentation, the closed captions will appear on the screen.
Can you add closed captioning in Google slides?
You can add closed captioning in google slides. Here’s how:
- Go to the slide that you want to add closed captioning to
- Click on “Insert” at the top of the screen
- Click on “Video” from the drop-down menu
- Paste the URL of the video that you want to add captions to into the “Paste video URL” field
- Click on “Select”. Click on “Publish”. Select “Publish to the web” from the drop-down menu
- Click on “Embed” at the bottom of the pop-up window. Copy the code that appears in the “Embed code” field
- Paste the code into a text editor (like Notepad or TextEdit) and save it as a .html file.
- Open the .html file in a web browser (like Chrome or Safari) and click on the “CC” button at the bottom of the screen to turn on closed captions.
Can you add closed captioning to any video?
You can add closed captioning to any video with a few simple steps. First, find a transcript of the video. This can either be the written dialogue from the video itself or a separately created transcript. Once you have the transcript, open up a text editing program and format it so that each line of dialogue appears on its own line. Then, save the file as a .srt file. Lastly, upload the .srt file when prompted by your video hosting platform.
How much does it cost to add closed captioning to a video?
Depending on the length of the video and the number of languages, the costs can range from a few hundred to a few thousand dollars. There are also costs associated with maintaining the captions, such as proofreading and editing. However, these costs are typically lower than the initial costs of creating the captions. If you’re willing to do the transcribing on your own, then there are a few free closed captioning tools you can take a look at.
The Bottom Line
Closed captioning can be a powerful way to make your videos more accessible to a wider audience, including deaf and hard-of-hearing viewers. It’s also an easy way to boost your SEO efforts.
By adding closed captions to your video, you can increase the likelihood that it will show up in search engine results pages (SERPs) for relevant queries.
In this post, we’ve shown you how to add closed captions to your videos using several different methods. Now, go give one of them a try!
