Our content is reader supported, which means when you buy from links you click on, we may earn a commission.
How to Hardcode Subtitles to Video [+5 Tools to Make it Easy]

Imagine you’re creating an online course. You’ve recorded your lectures, put together some slides, and now you’re ready to share them with the world. But there’s one problem—you can’t seem to find a way to subtitle them.
You know including subtitles will make your course more accessible to a broader audience, but you just don’t have the time or skillset to do it yourself.
Sound familiar? Well, don’t worry, we’ve got you covered.
In this post, we’ll show you how to hardcode subtitles into your videos. Read on and get started!
Why You Need to Hardcode Subtitles
Hardcoding subtitles mean that a viewer won’t be able to turn them on or off. Instead, the text for the spoken words in the video will always be displayed. There are several reasons why hardcoding subtitles are a better idea than softcoding subtitles.
- Syncing Issues: If you have a softcoded subtitled video, the video and subtitles are placed in a separate file. As a result, your media player would need to decode and encode the subtitles over the videos while playing, which can increase your CPU usage. As a result, your subtitles and videos may become out of sync.
- Compatibility Issues: Some websites, desktop, or mobile media players may not be able to play softcoded subtitles or won’t be able to show them correctly. As such, the audience may face missing or distorted subtitle issues, depending on the device they are using.
On the other hand, hardcoded subtitles do not require subtitle plugins since they are burned onto the video file. No matter which device you play your video on, you will be able to see the subtitles perfectly.
Why Add Subtitles?
Subtitles can improve the learning experience among users and offer several benefits:
- Accessibility: There are many people who have hearing disabilities, and making voice-only recordings can exclude them from taking your online course or class. In fact, studies have shown that over 35 million American adults have difficulty hearing. Adding subtitles allows them to become a part of your audience and enjoy the services you offer.
- Better Comprehension: Subtitles are great tools for people who learn best via reading. Many people turn on captions or subtitles when watching a video, even when they are native speakers. That’s because the text helps them get a better understanding of the course material.
- Reduce Language Barriers: Many people who may be attending your course might not be native English speakers. By offering subtitles, you can make it easier for them to understand the material. It is also a good idea to offer subtitles in multiple languages.
- Improve SEO: Research has found that videos with subtitles perform better than those without subtitles. If your users are spending more time watching your video, it will have a good effect on your search rankings. In addition, videos with subtitles also increase social sharing, which will positively impact your SEO as well.
Hardcode Subtitles vs. Soft Subtitles
Hardcoded subtitles, also known as burned-in or embedded subtitles, are seamlessly integrated with the video image. These are considered images rather than text. Hardcoded subtitles are permanent and cannot be hidden. You also cannot change their color, size, or font.
On the other hand, soft subtitles, also known as closed subtitles, are not permanent. These subtitles are stored in a separate file from the video, which means they can be turned on or off, depending on the audience’s preference. In addition, they also offer the audience the option of choosing from multiple soft subtitle tracks when playing the file.
These subtitles are adjustable and can be re-synced to the video or change their font and size. Adding softcode subtitles is known as encapsulation. It takes about one minute for a one-hour video to perform encapsulation.
Benefits of Hard-Coded Subtitles
Hard-coded subtitles offer various benefits:
- You don’t need extra plugins or files to display these subtitles. Users can watch them on any device which allows the video to play.
- Some platforms like Instagram and TikTok don’t allow users to upload SRT files used to overlay softcode subtitles onto the videos. Hard-coded subtitles are an answer to that.
Keep in mind that once you’ve hard-coded the subtitles into the video, you will no longer be able to remove them.
How to Hardcode Subtitles
There are several subtitling platforms and apps that allow you to hardcode subtitles. We will discuss them below:
1. VideoProc
VideoProc allows you to add subtitles to a video in one click.

Here is a walkthrough of how to create hardcoded subtitles through VideoProc:
- Download and set up the VideoProc platform on your Mac or Windows computer.
- Open the platform and start a new project. Add your videos and other media files to the library.
- Drag the video you need to subtitle to the Video Track options and make any necessary changes.
- Drag the subtitle file to the Subtitle Track to sync the video with the timeline.
- Press “Export.” A pop-up window will open, prompting you to set a file name, file destination, video format, video quality, and resolution.
- Click on the “Start” button to run the subtitle hardcoding. After some time, you will get your hard-coded video file.
2. VEED
VEED makes it very easy to burn subtitles onto a video file.
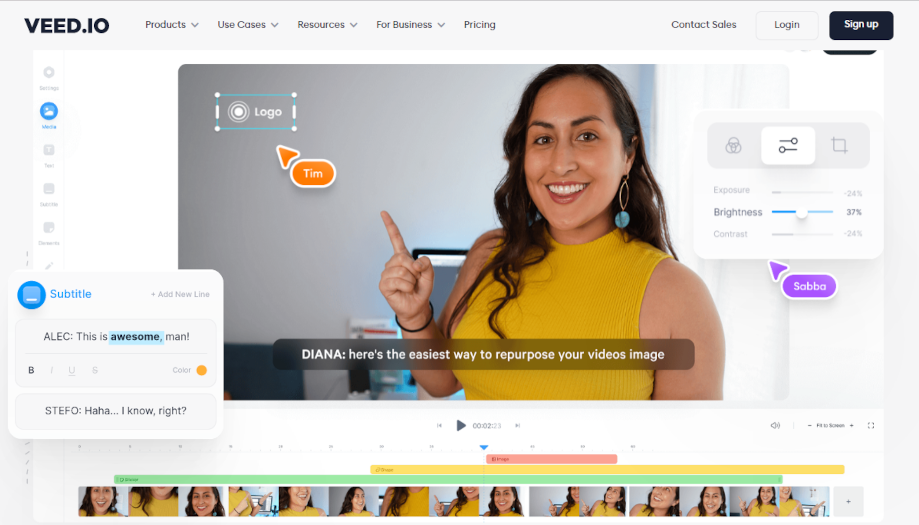
Here are the steps:
- Visit veed.io and upload your video on the online platform. Your video may be in any popular format and can be uploaded from YouTube, your camera, device, personal folder, or cloud storage.
- Go to the “Subtitles” tab in the left toolbar and choose one of the three options: “Automatically add subtitles,” “ Manually add subtitles,” and “Upload an SRT file for tracing video subtitles.” The fastest option is the “Automatically add subtitles” option if you do not have an SRT file (but you will likely have to edit what you get back).
- Next, you need to format your subtitles. This includes splitting longer texts into smaller subtitles, merging short subtitle lines for better readability, and styling the font, size, and color of your subtitles.
- You also have the option of adding subtitles in a different language. Go to the “Translate” option and select “Add New Language” to auto-translate your original subtitles to your preferred language.
- Ensure that the “burn subtitles” option is turned on and click on “Export.” Press the “Download” button to render the subtitles onto the video.
3. VLC Media Player
One of the most popular options for hard-coding subtitles is using a VLC media player.
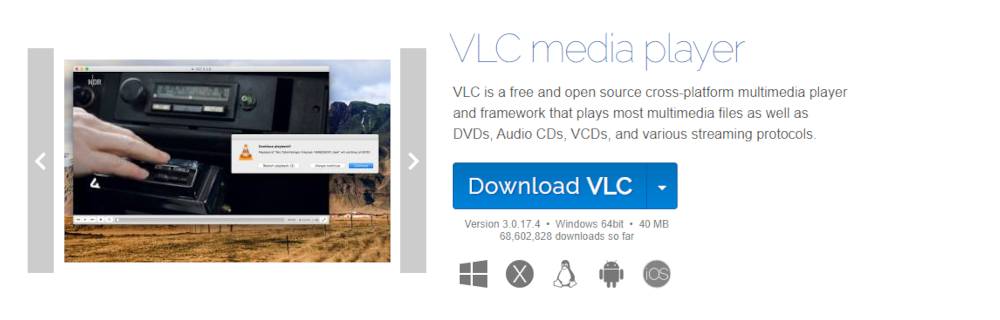
Here is a rundown of how to use VLC Media Player to hardcode your subtitles:
- Download the VLC Media Player to your computer and open it.
- Select the “Media” tab and click “Stream.”
- Click on the “Add” button to add your video.
- Click on “Use a subtitle file” and then click on “Browse” to find and select the SRT file for upload.
- Open the drop-down menu, select “File” and click the “Add” button. Choose the name of your output file as well as the desired file extension (e.g., MP4, Flv, MOV, etc.) and click “Next.”
- Click on the “Activate Transcoding” option, select a profile from the menu and click on the wrench icon.
- Go to the “Subtitles” tab in the new video and click on the “Subtitles” and “Overlay subtitles on the video” options.
- Hit “Save” to return to the previous window and click “Next.”
- Click the “Stream” button located on the bottom right side of the window. The video will play from start to finish, and then VLC will transcode your file.
4. HandBrake
Handbrake is a very popular video converter due to the fact that it’s open source, free, and works on multiple platforms.
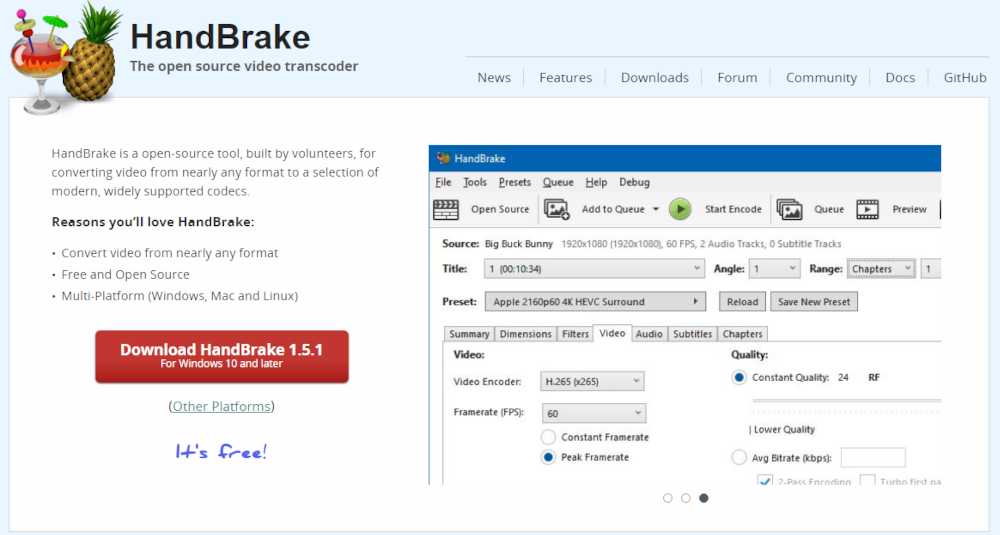
Here is how to use HandBrake to create a hard-coded subtitled video file:
- Download the platform and launch it.
- Add video files to the platform.
- Click on the “File” option to add the video you want to subtitle.
- Once the video has been uploaded, click on the “Preset” option to select a pre-made video profile. With this option, you will get the highest video resolution of 1080P. For a higher resolution, go to the “Save New Preset” option.
- Go to the “Summary” section and open the Format tab to select the output format, including MP4, MKV, etc.
- Click on “Subtitles” and go to “Import subtitles” to import your subtitle file (SRT, ASS, or SSA file) to the platform. Click the “Burned-in” option.
- Choose the output file location and create a name for the file. Click on “Save” and “Overlay.”
- Hit the “Start Codec” option on the top of the menu and allow Handbrake to hardcode the subtitles into the video.
5. Rev
Rev is a paid platform, but you can try it for free. They will transcribe your videos for you (for a cost though), but if you need transcription, they offer a very popular service.

Let’s take a look at the step-by-step process of hardcoding subtitles onto Rev.
- Launch the platform and start an order for Rev English captions. Alternatively, you can also choose foreign language subtitles for your audio.
- Add the video file you want to subtitle by uploading or using a URL.
- Once the video is uploaded, you will be directed to the “Checkout” page, where you can select the “Burned-In Captions” option.
- Rev’s subtitlers will hardcode subtitles into your video within a single business day and will email you the download link, which is valid for seven days.
- You will also get an SRT file with the video file.
FAQs on Hardcoding Subtitles
How do I hardcode subtitles to MP4?
You can hardcode subtitles to MP4 by using a free online tool like VLC Media Player. First, open the MP4 file in VLC Media Player and go to the “Subtitles” menu. Next, select the “Add Subtitle File” option and browse for the subtitle file you want to use. Finally, check the “Hardcode Subtitles into Video” box and click “Save”. Once the process is complete, you will have a hard-coded copy of the MP4 file with subtitles.
How can I hardcode subtitles without losing quality?
To hardcode subtitles, you first need to create a text file with the dialogue or captions you want to include. Then, you can use subtitle editing software to embed the text file into the video. The subtitles will be visible whenever the video is played.
Hardcoding subtitles is a great way to make sure that your subtitles are always visible, regardless of where the video is played. Additionally, hardcoded subtitles will not be affected by changes in the audio track.
How do I create an SRT file?
Simple—just create a text document and save it with the .srt extension.
Of course, there’s a bit more to it if you want your SRT file to be usable. For starters, you’ll need to include timestamps for each entry in your file. These timestamps indicate when a particular line of dialogue appears on screen, and they must be entered in HH:MM:SS,MS format.
In addition, each entry must be clearly labeled so that it can be properly sorted. For instance, you might label each entry with the scene number and take number. Finally, make sure to save your file in UTF-8 encoding; otherwise, your timestamps may not display correctly.
Can you extract hardcoded subtitles?
You can use a tool like Subtitle Extractor to automatically extract subtitles from videos. This tool can be used for both online and offline videos.
You can also use a tool like VLC Media Player to manually extract hardcoded subtitles from a video. To do this, simply open the video in VLC Media Player and click on the “Subtitles” tab. From here, you can select the “Extract from Local Video” option and choose the language of the subtitles you want to extract. Once you have extracted the subtitles, you can save them as a separate file or burn them into the video itself.
How can I remove hardcoded subtitles without cropping?
Most movies and TV shows come with hardcoded subtitles, which can be annoying if you’re not a fan of reading while you watch. Fortunately, there are a few ways to remove them without cropping the video.
One option is to use a video editing program to create a mask over the subtitles. This will take some time and effort, but it will allow you to keep the original video intact.
Another option is to use a subtitle removal tool. These tools are designed specifically for removing subtitles, and they usually do a good job of preserving the quality of the video.
Finally, you can try using a video player that has the option to disable subtitles. This won’t work for all videos, but it’s worth a try if you don’t want to go through the hassle of editing or using a removal tool.
In Conclusion
We hope you found this guide helpful in understanding how to hardcode subtitles into your videos.
From the benefits of hardcoding subtitles along with tools for adding them quickly and easily to a few facts, we’ve covered it all.
Get out there, and start hardcoding subtitles into your videos for more accessibility!
