Our content is reader supported, which means when you buy from links you click on, we may earn a commission.
Create an Engaging Talking Head Video [w/7 Easy to Implement Tips]

Do you need to create a talking head video for your next online course, presentation, or video? If so, there are some things you should know before you start filming.
I’ve been making instructional videos for online training since about 2004. I don’t want you to experience the frustration I experienced when I first got started.
In fact, I made enough mistakes that at one point I switched to exclusively doing voiceovers because I found it too frustrating to do talking head videos at all. Since then, I’ve figured out a lot about talking head videos and want to share what I’ve learned with you.
In this guide, I’ll talk about when to use talking head videos and share some tips for making them look great.
Let’s get started.
What Is a Talking Head Video?
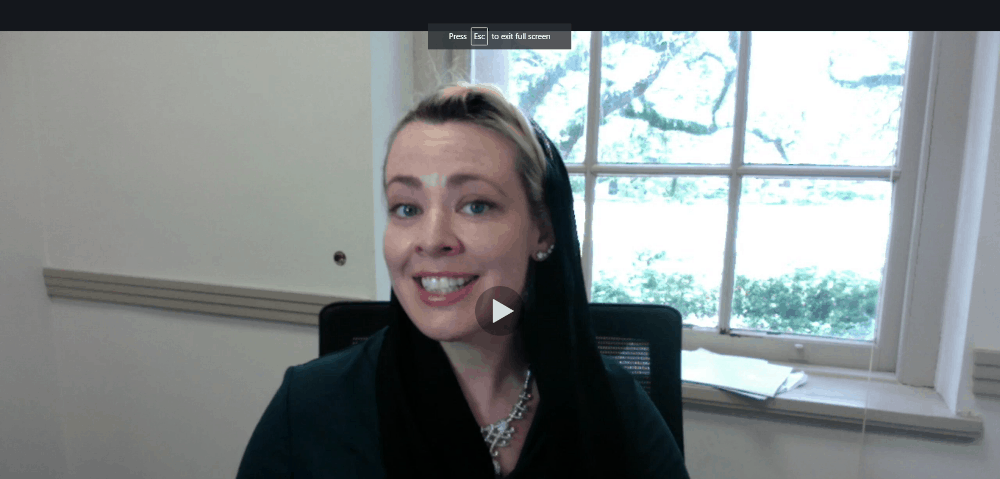
A “talking head” video is a type of video featuring a person talking directly to the camera. These videos are often used for educational or informational purposes, as they can be an effective way to communicate complex information in a concise and relatable manner. YouTube data from 2017-2018 showed that 4 in 5 people said digital video helps them learn new things.
Talking head videos can also be used for promotional purposes, such as when a company spokesperson gives a product pitch or shares customer testimonials. 72% of customers stated they prefer to learn about a product or service through video.
In many cases, talking head videos are shot in a simple setting with minimal distractions, as this helps to keep the focus on the speaker’s words. However, depending on the desired effect, they can also be filmed in more creative or elaborate locations.
In general, talking head videos are most effective if they’re short and simple. Lighting plays a big role in making talking head videos look good.
Benefits of Talking Head Videos
Talking head videos are great for demonstrating concepts and giving quick lessons. That’s why they are perfect for instructional videos.
A talking head video engages learners and keeps them interested. They help create a personal connection between the learner and the instructor.
In addition, talking head videos are easy to produce and inexpensive to create. They don’t typically require any special equipment. It’s possible to make a good talking head video with an iPhone, maybe an external microphone, and the best video lighting you can get.
More advanced talking head videos include text overlays, graphics, and animations.
Accommodate Different Learning Styles
Talking head videos are great for teaching concepts or explaining things. But if you want to teach something specific, like how to build an app, you should consider other ways to explain it.
This may include screenshots of you building the app that can be embedded within the video of you talking or to replace it. People who prefer visuals will find talking head videos confusing.
However, they do add a human element to eLearning by creating a personal, one-on-one learning experience. Having a mix where the instructor introduces themselves and then gets into the video with visuals like a screencast is often the best of both worlds.
Another plus of talking head videos is that they are highly conducive to microlearning. Microlearning is a popular eLearning method that focuses on delivering content in short, bite-sized pieces.
This is the perfect format for busy learners who want to learn quickly and efficiently. Microlearning courses are highly conducive to learning since they are short and concise. A talking head video kept to a bite-sized piece of content works well for many learners.
When to Use a Talking Head Video for Learning
A talking head video helps you showcase your expertise. We’ve interviewed hundreds of successful course creators and many of them use talking head videos to share their knowledge.
They talk right to the camera and make a connection with their audience. Some will mix the video up with screencasts, animated presentations, or other types of video productions. Others will only be on camera in a short, introductory video, which works as well.
Framing Talking Head Videos
When you’re framing a talking head video, the presenter’s face always needs to be the main focal point. In general, talking heads should be framed directly in front of a camera.
Talkers should be positioned in an area where there is plenty of room to move around. You’ll also want to keep the background simple and neutral.

The rule of thirds for video is a guideline stating that an image should be divided into thirds, both horizontally and vertically, so that there are nine parts.
The rule of thirds for video suggests that important compositional elements should be placed along these lines or their intersections.
For example, when framing a person, the rule of thirds for the video would suggest placing the head along one of the horizontal lines, or the eyes along one of the vertical lines.
The rule of thirds for video is often used in photography and videography as a way to increase the visual interest and appeal of an image or scene. When following the rule of thirds for video, it is important to keep in mind that the lines are merely guidelines and that there is no need to be too rigid in their placement.
You will want to use the rule of thirds to balance out the presentation visually. Here are a few more tips:
1. Decide if the Presenter Will Talk Directly to the Camera or Away From it.
In general, instructors should face the camera directly. Placing the presenter in the middle of the screen, as the focal point, is often the best option.
2. Determine Where in the Frame You’d Like to Place the Presenter.
Use varied camera angles and shooting styles to create more visual interest. Two cameras will give you multiple options for editing the final product. This method allows you to create a seamless transition between shots during editing.
3. Be Mindful of Vertical Spacing.
Your audience will feel like they’re sitting next to the speaker if there’s plenty of room around them. A good rule of thumb is to leave about two inches of negative (white) space all around the head and shoulders of the presenter.
How to Film Talking Head Videos
If you’re filming a talking head video, there are a few things you’ll want to keep in mind to make sure it looks professional.
Step 1. Prepare Your Content
Write a good video script so you know what to say. At the very least, a detailed video outline will help keep you on track.
Next, create a storyboard with a shot list that describes visual elements, including props, graphics, background, etc.
Then, determine if you will be shooting with two cameras or one. A talking head video with multiple cameras will help keep your viewers watching since you can cut between the two shots. One can be a close-up (or closer), and the other can be a shot taken further away from a different angle. If you plan to do this, then plot out the different shots ahead of time.
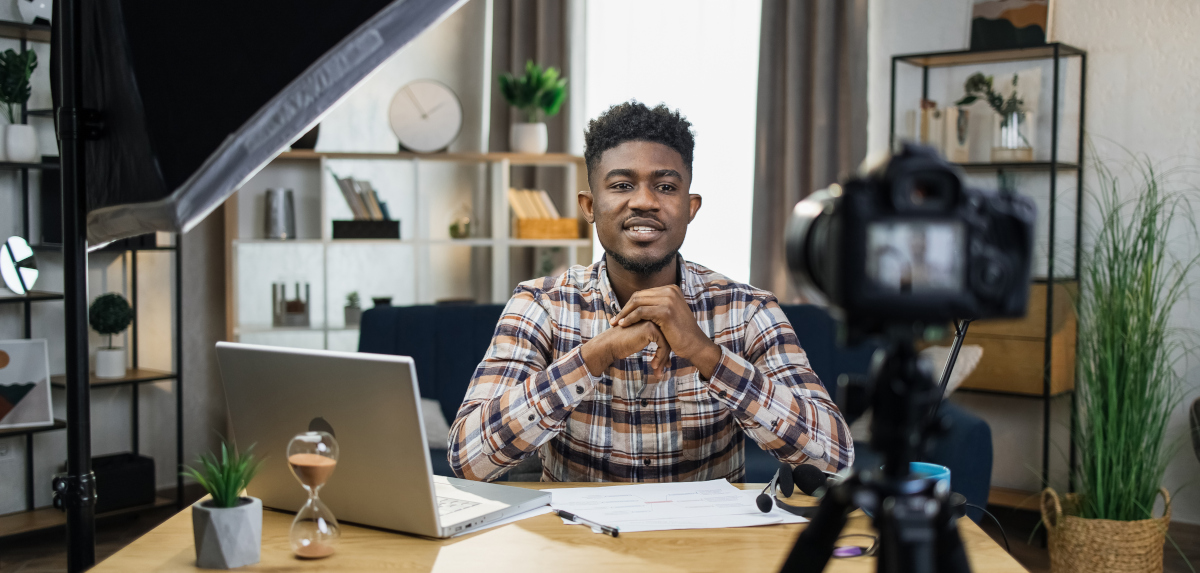
Step 2. Set Up Your Recording Environment
Think about the lighting before you record. Is there enough natural light? If not, you will need to invest in some video lighting.
Set up the camera and your lights beforehand to make sure you have your camera angle and lighting ready to go.
Decide on the background. Make sure that the objects in the background of your talking head frame are both audience-appropriate and context-appropriate.
Step 3. Start Recording
This is where you record your video! Press record and go through your script or your outline. Using an outline will sound more natural, but it may make it more difficult. If reading a script, then a teleprompter may be necessary (but practice is required!). Do your best and go through several takes.
Step 4. Edit Your Video
This is where you review your recordings and select the best takes. You can cut and paste the best takes into one video file.
Then use transitions to keep the video from looking choppy. Transitions will also keep your audience engaged throughout your video.
Add images, graphics, and other visual elements to your course to increase engagement.
The editing stage (also called video post-production) is where you can also add closed captioning if you’d like.
Tips for Shooting Talking Head Videos
Here are a few tips for shooting talking head videos that will keep your audience watching till the end.
1. Consider Personal Presentation
Proper posture helps you project a strong image. A good posture will also help you speak clearly and confidently. Your speaking ability is key. You want to speak clearly and with enthusiasm to engage your audience.
Your body language and presentation will affect your confidence and authority. Rehearsing before filming is the best way to portray a strong image and overcome nerves.
Another way to project a strong image is to avoid flashy clothes. When choosing your outfit, keep in mind what type of impression you want to give off. Consider the colors, patterns, and how you feel about the clothes before you make your final selection.
2. Speak Slowly
How you speak is another consideration. Make sure to pause for a couple of seconds after every sentence. This will help you avoid awkward silences that stretch on and keep you from rambling. It also helps when editing because you will have the time to cut out a section containing a mistake easier if there’s a pause.
Be sure to edit out any glaring errors before rendering and especially before uploading your video.
3. Incorporate Storytelling
We all love stories. That’s because they help us understand and remember how things work.
Storytelling also helps people connect emotionally with each other. People like to hear about other people’s lives. Be sure your script or outline includes some storytelling to engage your audience.
4. Pay Attention to Your Background
When planning your talking head video, use an aperture setting that blurs out the background.
Don’t use green screens. Green screen videos are old-school and don’t reflect reality. A real environment gives a better sense of authenticity.
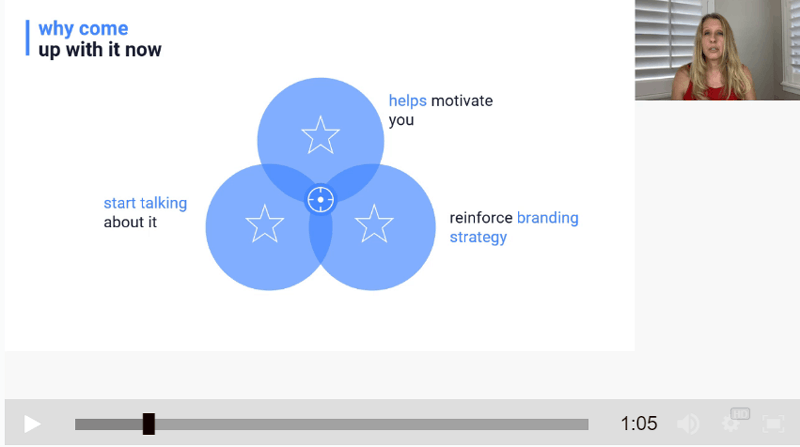
5. Use Multimedia and Graphics
A good talking head interview will cut away from the speaker midsentence to transition to static slides with animation. Include captions in your talking head video to ensure everyone understands what’s happening.
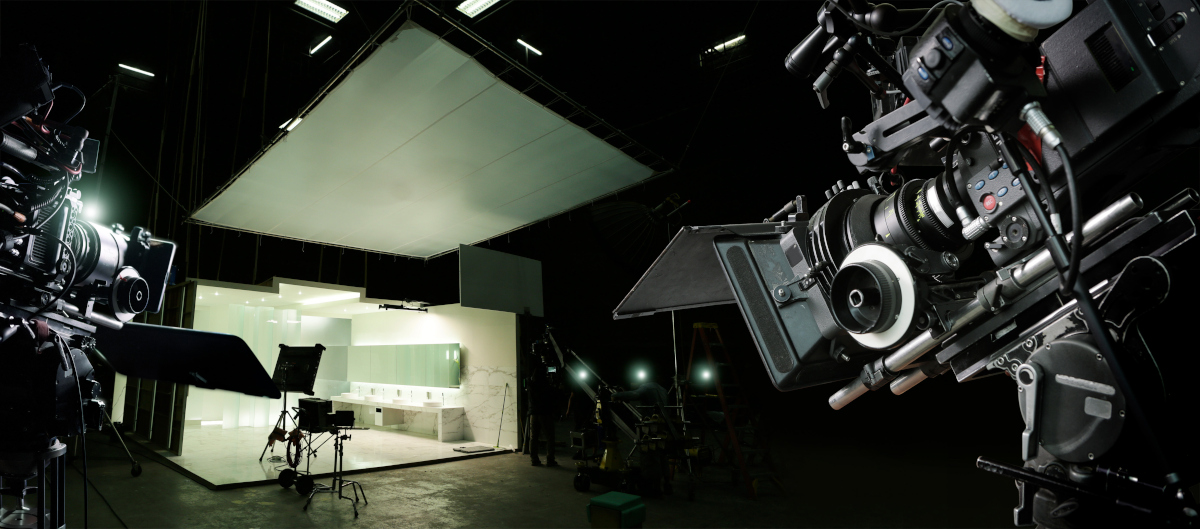
6. Lighting is Critical
Lighting is important for production value. Avoid shadows, overexposure, and bad lighting. Try to avoid having the person sitting or standing in front of a bright background.
Instead, position your subject facing a nice, soft light source. Using professional studio lights is a great alternative to natural sunlight.
Use three points of lighting. The first light is the key light. This illuminates the face from the side. The second light is a backlight. This provides a rim of light around the head and shoulders. The third light is a fill light. This brightens up the shadows created by the key and backlight.
Pay attention to the lighting! Poor lighting will make you look unprofessional.
7. Make Sure the Audio is Good
Remember that audio is 50% of the video. That’s why a good quality external microphone is worth the investment. Depending on the type of microphone you buy, it’s best if it’s close to you. Also, make sure there’s nothing interfering with your audio, like loud noises.
FAQS on Talking Head Videos
Best camera for talking head videos?
If you’re planning to create talking head videos, you’ll need a camera that can capture high-quality audio and video. One of the best, affordable cameras for talking head videos is the Sony a7S II.
This camera has a built-in microphone that can record clear audio, and it also features 4K video recording capabilities. Additionally, the a7S II has a fast autofocus system that will help you keep your subject in focus while you’re filming.
Can I use my iPhone to create a talking head video?
You can use your iPhone to create a talking head video. The iPhone’s built-in camera is more than capable of capturing high-quality video, and there are a number of apps that make it easy to edit and share your creations.
Plus, the iPhone’s portability makes it a great tool for on-the-go video recording. I have created videos for a paid online course with my iPhone and it worked out well.
How do you make talking head videos more interesting?
If you’re shooting a talking head video, here are a few things you can do to make it more interesting:
- Make sure the person you’re interviewing is well-spoken and articulate. A great way to do this is to ask them open-ended questions that allow them to share their expert knowledge on the subject.
- Vary the shots you’re using. A typical talking head video will have a wide shot of the person being interviewed, as well as some close-ups of their face. However, you can also mix in some B-roll footage to break up the monotony.
- Edit the video in an engaging way. This might include adding some graphics or using creative transitions.
How long should talking head videos be?
The length of a talking head video will depend on a number of factors, including the subject matter, the audience, and the desired outcome.
In general, however, it is best to keep talking head videos relatively short (I suggest keeping them to under 5 minutes if possible). This allows the viewer to stay engaged and avoid becoming bored or distracted.
Additionally, shorter videos are more likely to be watched all the way through, which is important if you are trying to deliver a specific message.
How do I record myself in a PowerPoint?
To make your video even more interesting, you may want to insert your talking head video in a slideshow presentation or screencast. To get this effect, you will need to prepare a slideshow in PowerPoint or another presentation software. This is more work to do, but then your learners aren’t just watching you. Taking this extra time is useful for material that is more complex.
Final Thoughts on Talking Head Videos
Talking head videos can be a powerful way to connect with your customers and create an intimate connection.
By following the simple steps outlined in the guide, you can create talking head videos that are both effective and engaging. And best of all, by following the tips I share with you here, you’ll save a lot of time and frustration.
Save your time, give these tips and try, and create your next video with you as both the narrator and the star!
