Our content is reader supported, which means when you buy from links you click on, we may earn a commission.
How to Improve Audio Quality of a Recording: The Complete Guide
No matter how good your video looks, if the audio quality is poor, it will distract from the overall impact of your message.
We’ll share some tips for improving the audio quality of your recordings in this blog post. By following these tips, you can create videos with clear and audible sound that will engage your audience.
Quality Audio Defined
Poor quality audio is a surefire way to decrease the engagement of your audience. Here are a few factors that can contribute to poor audio quality:
- static interference
- echoes
- plosives
- bad audio
No matter the cause, poor sound quality can reduce legibility and prevent your audience from receiving the message accurately.
Quality audio, on the other hand, is natural-sounding audio that offers clear and crisp transmission of the message. Great audio sounds as if you are having a face-to-face conversation with your audience. Your audience won’t have to struggle to understand what you are saying. In addition, you can impart your online lessons with peace of mind that your audio quality is good.
Preventing Audio Problems Before They Surface
To ensure a great audio recording, it is important that you predict all the audio problems that can occur and prevent them from happening, rather than trying to fix them later, which can consume a lot of your time and effort.
One of the first ways you can ensure quality audio is to not become overly reliant on the in-built microphones in your computer and laptop, as they might not offer the best sound output.
Instead, it is a better idea to invest in a good quality microphone and microphone stand and follow the best practices of recording audio.
Let’s explain those in detail below.
Improve the Audio Quality of a Recording
Recording audio is not a complex process; however, it does require you to use the right equipment, create an environment that is conducive to recording good audio, and perform the right audio practices. Here are a few tips on getting the best audio quality you can:
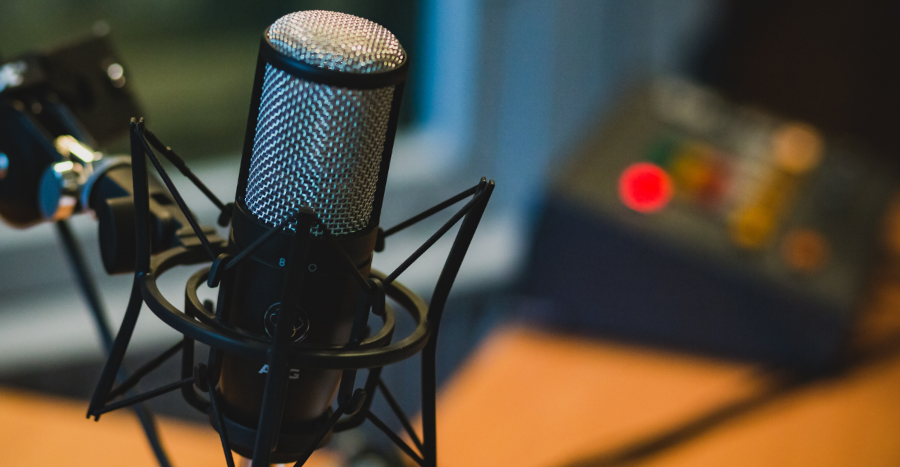
1. Choose the Right Microphone
The quality of your audio depends greatly on the kind of microphone you use. A cheap microphone will record audio just like a high-quality one; however, the sound output will never be the same. This particular point is of the biggest concern since you cannot turn a poor audio recording into a stellar one once it has been recorded.
The good news is that you have a lot of options on the kind of microphones you can choose that do not cost you an arm and a leg.
Thanks to advanced technology, high-end computers, and laptop now have very good built-in microphones that can serve you well in a pinch. Plus, you can use them in tandem with a sound editing tool to ensure your recording sounds like it was recorded in a studio.
You also have the option of using an external USB microphone, which has an easy setup and is pretty cost-effective. However, if you want to use two of these USB mics simultaneously (for example, if you are running a podcast with two hosts), then it might be a bit of a hassle to set up multiple mics properly.
As an alternative, we recommend the use of XLR mics. These mics are more expensive options, but if you have the budget for them, they can produce phenomenal sound quality.
These mics require an audio interface or a mixer to connect with your computer, but they offer loads of benefits, including excellent sound quality, more customizability, increased adaptability, and allow you to split each instructor or course creator into a separate channel.
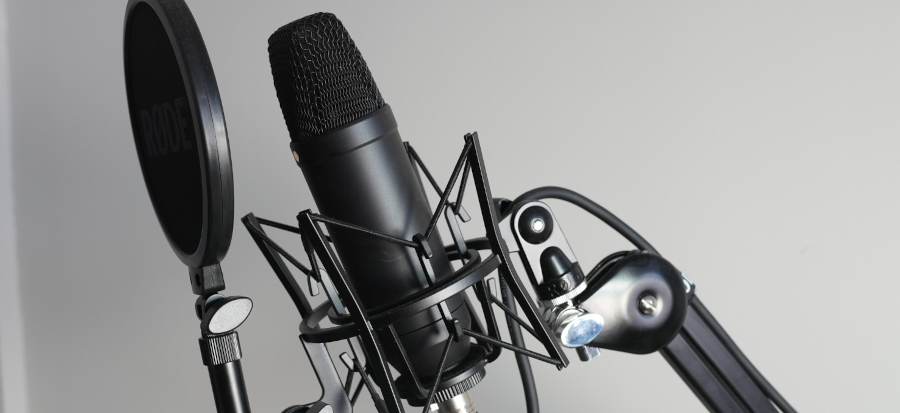
Get a Microphone Stand
A quality microphone stand will protect your expensive mic investment by providing a secure place to hold it and stopping it from falling over. In addition, it can also prevent your mic from picking up unwanted vibrations.
For instructors, mic stands can free up their hands, allowing them to write down notes, display lecture materials to their students, and more.
The best type of microphone stand for lecturers is a desk-clamp model.
Set Up a Pop Filter
A pop filter is a useful screen that is placed in front of the mic and prevents bursts of air from spoken plosives reaching it. This prevents overly-loud explosive noise, audio distortion, and other audio issues, which can be distracting and take away from the learning experience.
You can find great quality pop filters online for as little as $10.
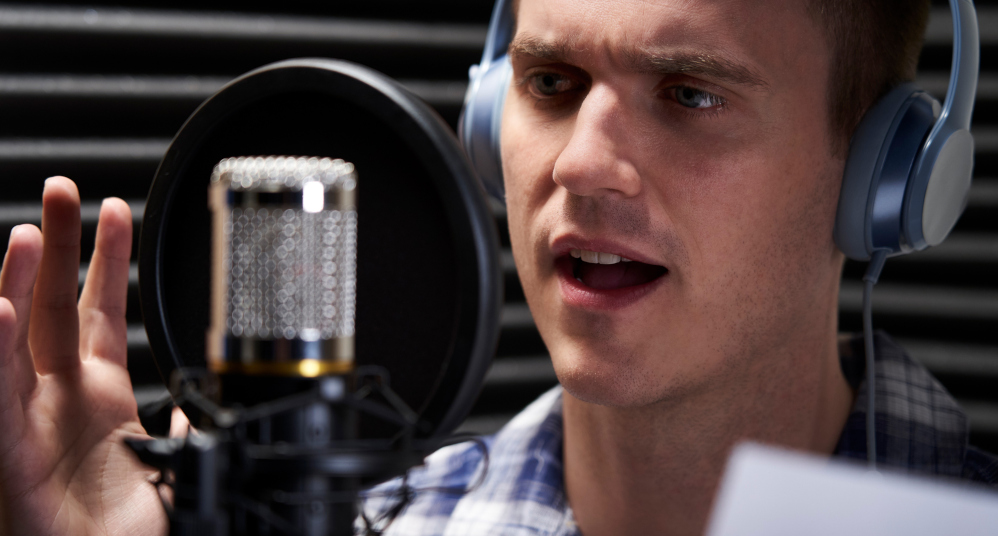
Stay Close to Your Mic
Make sure that you are standing or sitting at an optimal distance from your mic. Even the best-quality mic won’t be able to capture sound the right way if you are placed too far away from it when recording.
The best practice is to position your mouth about six inches away from the mic.
2. Choose the Right Recording Environment
Aside from investing in good-quality equipment, you also need to have an environment conducive to high-quality audio recording.
You might be surprised, but even if you are sitting alone in a quiet room with no sounds coming from the outside, there are several audio distractions that can ruin your recording. These can be anything from the sound of your AC vent to the noise of the food cooking in the kitchen.
It is important to dampen these sounds with various sound editing tools. You can also make use of the time when noise levels are at their lowest, like late at night or early morning. Also, be aware of reflective surfaces in the room, which can increase the number of echoes in your audio.
Avoid Echo
Echo occurs when sound rebounds from a surface and then reaches your mic with delay. This is one of the biggest issues of not having a non-treated room. When it comes to sound recording, echoes can create unwanted sound distortions, muddiness, and a lack of understandability.
Fortunately, you can reduce the echo in your room by treating the walls with bass traps and acoustic foam panels, lining the floor with carpeting, and adding plush furniture to the room.
It is also a good idea to cover the doors and windows to reduce echo, as well as use a small room with a lower ceiling.
Add Room Tone
Room tone or ambient sound is the background noise that exists in every space, whether a closed room or the outdoors. In many cases, room tone can be distracting as it inserts unwanted noise into your audio recording.
However, some sort of room tone makes sense in a recording. Without any noise at all except for the sound of your own voice, the voice over experience can become quite flat. To ensure a more immersive experience, you could try to insert subtle noises in the background, like the hustle and bustle of a classroom or a soft music track that can help the brain process information in a faster way.
3. Make a Test Recording
Making a test recording is a very important step since it allows you to determine whether the sound quality is exactly as you want. It is not possible to hear every audio disruption or interference when you are recording a lesson but listening to the test recording with your headphones on can help you make any tweaks to your sound setup.
It might add a couple of extra minutes to your prep time, but it will ensure that any audio issues are caught beforehand rather than after you have recorded the entire video.
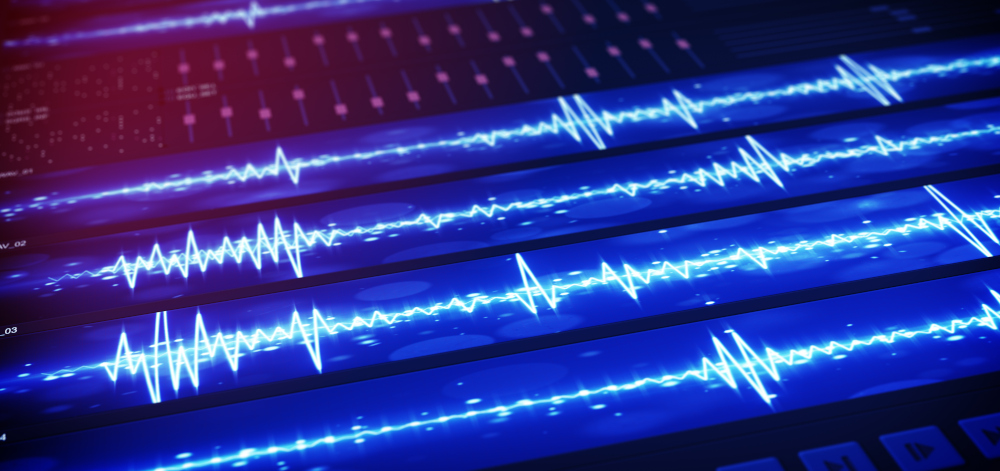
4. Record Separate Tracks
It is a good idea to leverage multiple tracks to ensure every individual voice has its own recording.
If you are holding a two-person lecture or podcast, you can easily pan your camera to the left and right so that both instructors are captured. If you are working with another content creator through a video chat, it is also helpful to capture a separate track for their voice recording.
Fortunately, there are various tools online that allow you to do this, so you don’t need to be very tech-savvy to pull off this kind of recording.
5. Edit Your Recording
As a content creator, it is important to create clear and legible sound. That said, you should not stress yourself out trying to make your recording 100% perfect. Just put aside some extra time post-recording to fix any major imperfections in the recording with the use of some simple editing tools.
There are dozens of easy-to-use software that you can use to improve your ambient noise, adjust loudness levels, and fix other issues.
FAQs on Improving Audio Quality
How to remove background noise?
Any time you record audio, there’s a chance that background noise will sneak in and ruin the recording. Whether it’s the sound of traffic passing by outside or the hum of an air conditioner, background noise can quickly turn a high-quality recording into a low-quality one. Luckily, there are a few things you can do to reduce or remove background noise from your recordings. One way to remove background noise is to use an equalizer to remove frequencies that are not part of the audio you’re trying to record.
This can be done in most audio editing software programs. Another way to remove background noise is to use a noise gate. A noise gate is a software plugin that can be used to remove low-level background noise from an audio recording. By setting the threshold level, you can tell the plugin when to start and stop attenuating the background noise.
Finally, you can also try using a Foley artist. A Foley artist is someone who creates sounds that are meant to be added to an existing audio recording. This can be anything from footsteps to door creaks. By adding these sounds into your recording, you can help to cover up any background noise that might be present.
How can I improve the quality of my voice?
There are a few things you can do to improve the quality of your voice for voiceovers, these include:
- Drink plenty of water. Staying hydrated will help to keep your vocal cords lubricated, making it easier to produce clear, resonant sounds.
- Avoid excessive speaking or shouting. This can put a strain on your vocal cords and lead to hoarseness or other problems.
- Practice good vocal hygiene by warming up your voice before recording and avoiding smoking or exposure to secondhand smoke.
What is the difference between amplifying and normalizing?
Most people are familiar with the basics of sound amplification, but there is another term that is sometimes used in its place: normalization.
Amplification simply refers to making a sound louder, while normalization adjusts the sound level so that it is consistent with other sounds.
Normalization is often used when mastering a track, in order to ensure that all of the elements are at a similar volume. This can be especially important when combining multiple tracks into a single file, such as an audio book or podcast. By normalizing the sound levels, you can avoid having quiet passages next to loud ones, which can be jarring for listeners. In general, amplification is the more common term, but normalization can be useful in certain situations.
What two factors determine the quality of digital audio?
There are two main factors that determine the quality of digital audio: the bit depth and the sample rate. The bit depth refers to the number of bits used to represent each sample of audio, and the higher the bit depth, the better the quality. The sample rate refers to the number of samples taken per second, and the higher the sample rate, the better the quality. In general, you want to aim for a high bit depth and a high sample rate in order to get the best possible quality for your digital audio.
What’s the best audio quality?
When it comes to audio quality, there are a few things to keep in mind. The best audio quality is typically found in lossless audio formats such as FLAC or WAV. These formats provide the best sound fidelity and allow you to hear the music exactly as the artist intended. However, they also take up significantly more storage space than lossy formats such as MP3 or AAC. As a result, you’ll need to weigh the tradeoffs between sound quality and file size when choosing an audio format. In general, though, if you’re looking for the best audio quality possible, lossless formats are the way to go.
Which audio format is best for recording?
If you’re wondering which audio format is best for recording, the answer may depend on what you’re looking to record. For example, if you’re recording a live musical performance, you may want to go with a format that captures a wide range of frequencies. On the other hand, if you’re recording a conversation, you may want to choose a format that eliminates background noise. Ultimately, there’s no one “best” audio format for recording; it all depends on your individual needs. Do some research and experiment with different formats until you find the one that works best for you.
Wrapping Up
Whether you’re recording in a studio or in your living room, the principles we’ve outlined will help to improve the quality of your audio.
So go out and start making better-sounding recordings!
