Our content is reader supported, which means when you buy from links you click on, we may earn a commission.
How to Make an Instructional Video in 5 Easy Steps

Making an instructional video can be a daunting task. But with the right tools and tips, it can be fun and easy too!
I’ve created hundreds of hours of instructional videos. They’ve ranged from digital marketing to legal training. I’ve learned a lot over the years (I started creating videos in about 2004) to streamline the process and want to share my knowledge with you.
In this guide, I’ll share some of my tips on how to make your instructional videos and keep them engaging and effective.
Whether you’re a beginner or have some experience, read on for helpful advice.
What is an Instructional Video?
Back in 2018, YouTube compiled data stating that 4 in 5 internet users said online video helps them learn.
If learning is what your visitors want, then an instructional video is the best type of video there is.
An instructional video is a type of video that is designed to educate viewers. They are often used for training or educational purposes, but can also be used for entertainment or simply to provide information of any type.

Instructional videos can be used to teach viewers about a variety of topics, from cooking and gardening to more technical skills like programming or carpentry. Instructional videos even help people learn foreign languages. In fact, Google published a study showing that YouTube viewers watched 6x as many videos on languages each year since 2020.
In most cases, instructional videos are presented by an expert on the topic who can provide clear and concise instructions. However, they can also be created by amateurs who simply want to share their knowledge with others.
Step 1. Plan Your Instructional Video
Before starting the process of creating an instructional video, you should plan it out first. Here’s an overview of how to plan out your video …
Keep Your Audience in Mind
You want to know exactly who you’re making videos for before you begin shooting. Your video should answer questions or solve problems that your target audience faces.
Figure out what your audience needs help with. You can do this by finding communities related to your topic. Join those communities to understand your audience better. Then ask yourself which topics come up frequently in those communities and write them down.
Set a Clear Learning Objective
Set a clear learning objective before creating your video. A good learning objective will help you focus on what you want to teach your audience. Your objectives should be clear and measurable.

Pick a Video Format Based on Your Topic
Figure out what type of video will appeal most to your target audience. Video formats are like clothing styles—they’re all about personal preference.
Screencasts are great for explaining how to use apps or software.
Live-action videos depict real life. You can just stand and talk about the topic of the video. You can show something like a whiteboard or have props.
In contrast, animation doesn’t limit itself to reality. There are no limits when it comes to animated videos.
The best advice is to choose videos that fit your subject matter and will appeal most to your target audience.
Layout a Storyboard
A storyboard helps you plan out your content and makes sure everything fits together nicely. Storyboarding helps you plan how to shoot each scene. It’s best to create a storyboard before writing any scripts or shooting any video footage.

You can even use stick figures or show mockups of web pages for your storyboard.
A storyboard will help you decide where to place your camera. Storyboards are also helpful tools to keep you organized during the filming process.
Length: How Long Will Your Video Be?
If you’re creating a video for educational purposes, 60 minutes is probably too long. That’s a lot of information in one sitting. Twenty minutes is probably long enough or may even still be too long. I like to try to make a series of videos under 5 minutes so it’s easier for a viewer to take the information in during one short sitting.
Videos should be short enough to hold attention, yet long enough to convey information effectively. Keep it simple. Complex topics will require more explanation, but you may be able to break them down into several short videos.
Keep Cognitive Load in Mind
Cognitive load refers to how many things we can think about at a given moment. We should avoid presenting too much information at once.
Presenting too many different kinds of visual cues or audio elements can cause viewers to feel overloaded. When you’re creating videos, try to include fewer things happening at once.
Step 2. Write the Script
Writing a script before shooting the video gives you the opportunity to think about how the video should look. A good scriptwriter makes sure all the details are covered.
The main thing is to tell your viewers about the topic and why it matters. Explain important aspects of the topic, including giving them information related to solving problems that may come up.
Outline of What You’ll Cover
Starting the script out with a video outline will help to craft your script. Outlining the steps helps viewers understand the overall direction of the project.
Outlining helps you focus on what’s important to include in your writing while leaving room for creativity. An outline will help you organize your thoughts into well-defined sections.
Keep It Conversational
A conversational tone makes your writing sound like a real conversation. Use short, simple sentences and a casual tone to create an engaging script.
Only Include What Must Be in the Video
Instructional videos should be concise and to the point. There’s no need to include extra fluff or filler material that isn’t directly related to the task at hand.
That being said, it’s important to make sure that the video covers all of the key steps and information that the viewers will need to know. If a step is skipped or information is left out, it can cause confusion and make the instructional video less effective.
Finally, read your script out loud and edit as you go.
Step 3. Record Your Instructional Video
The first step when recording your video is to figure out the type of video you want to create. When it comes to instructional videos, that typically means you need to determine if you are going to do a screencast or a live-action video.
Record Your Screen
For many instructional video topics, screencasts can be very helpful. By recording a screencast, you can capture everything on your screen and share it with others. This can be a great way to show someone how to do something on their computer, or to demonstrate a new software feature.
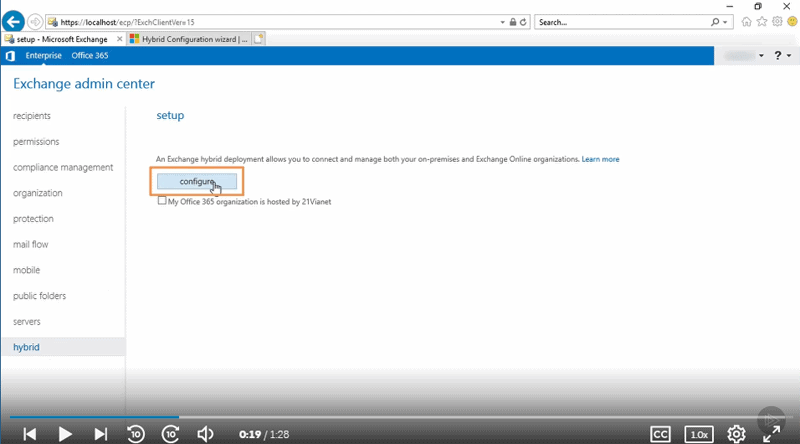
One nice aspect about screencasts is that they are easy to create and are cheaper than hiring an actor or professional videographer.
They’re easy, but it’s best to practice walking through your screencasts multiple times until you’re comfortable with how you move the mouse or type on the keyboard. You also want to make sure you clean up your computer screen and turn off notifications before starting a screen recording. Otherwise, the recording may end up being ruined.
You can add your own audio or video to the screen recording while you’re doing the screencast or afterward.
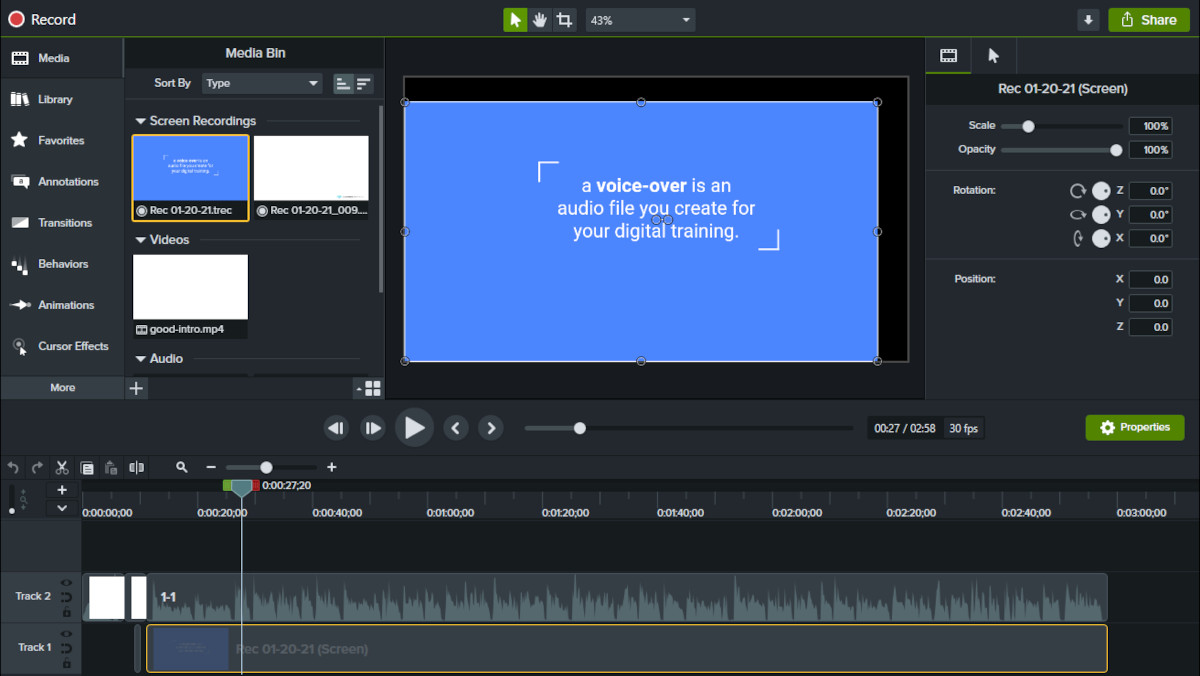
Camtasia is one of the best tools for making screencasts. You can use Camtasia to record your screen, edit your videos, and share them online.
Once you’re finished recording your screen with Camtasia, you simply save the file and name it whatever you want.
Next, open the newly saved file in Camtasia.
From there, you can trim out any unwanted parts of the video, and export it as an MP4 format ready to upload to YouTube or anywhere else online.
Professional Voiceover or DIY
There are a few different things to consider when deciding whether to go with the professional voiceover route or record your own voiceover.
Think about your budget. If you’re working with a limited amount of money, DIYing your voiceover might be the way to go (you are going to need to invest in some equipment though if you don’t already have a good mic).

However, if you have a little more wiggle room in your budget, hiring a professional voiceover artist can give your project a boost.
Professional voiceover artists have experience and training that can bring your project to life in a way that you might not be able to achieve on your own. In addition, they often have access to high-quality recording equipment that can produce crystal-clear audio.
Record with a Camera
You’ll want to start recording your instructional video with a camera if you’re doing a live-action video or talking head video (where you’re talking into the camera). For these, make sure you’re filming in an area where there’s good lighting.
You’ll also want to have a professional background in your subject. You should figure out both the background and the best video lighting setup before you start recording.
Try not to worry too much about mistakes. You can always go back and fix them during the editing process.
Step 4. Edit the Video
Editing videos is easy with Camtasia or other video editing tools. Editing is the most important part of producing an effective video. Your viewers don’t want to sit through your mistakes and it’s simple to edit them out.
You can also use the editing time to add text, pictures, or animation to your video. Include a call to action or incentive at the end of the video.
This is also where you want to add captions if possible. These are important for boosting your watch rate as shown in a Verizon 2019 study. The study showed captions helped 29% of viewers better understand the video with the sound off. From the same study, 37% of viewers found that videos with captions seem more interesting than those without.
Adding Transitions
Transitions add interest and pace to videos.
You don’t need expensive software or plugins to create great motion graphics. Transition effects are available in many free apps like Visme and iMovie.
Depending on the video editing software you’re using you will likely drag two videos into each other to create a new track. Next, click on the overlapping area to select a transition. Then choose a simple fade or dissolve effect to get a transition between the two scenes.
Add a Video Introduction
Your video introduction should be concise and to the point. A good intro will hook your audience enough to keep them interested until the end.
Don’t go overboard with graphics and effects. It should also be very short. If you’re planning on creating several instructional videos (especially a series), your viewers won’t want to watch a long video animation before each one. Keep them to 5 seconds or less.
Step 5: Share Your Video
Consider YouTube
Uploading your video to YouTube allows you to reach a large audience. Viewers interested in your content are already there and searching.
The nice thing is, uploading videos on YouTube is free. You don’t even need an account to upload videos there.
Your viewers will likely share your YouTube videos with others. This will help you get feedback before you share your video somewhere else.
Upload to Your Own Platform
Uploading your videos to your own course platform has a number of advantages. For one, it allows you to have more control over how your videos are presented and shared. You can also build up a community of viewers around your videos, which can be beneficial if you’re looking to monetize your content.
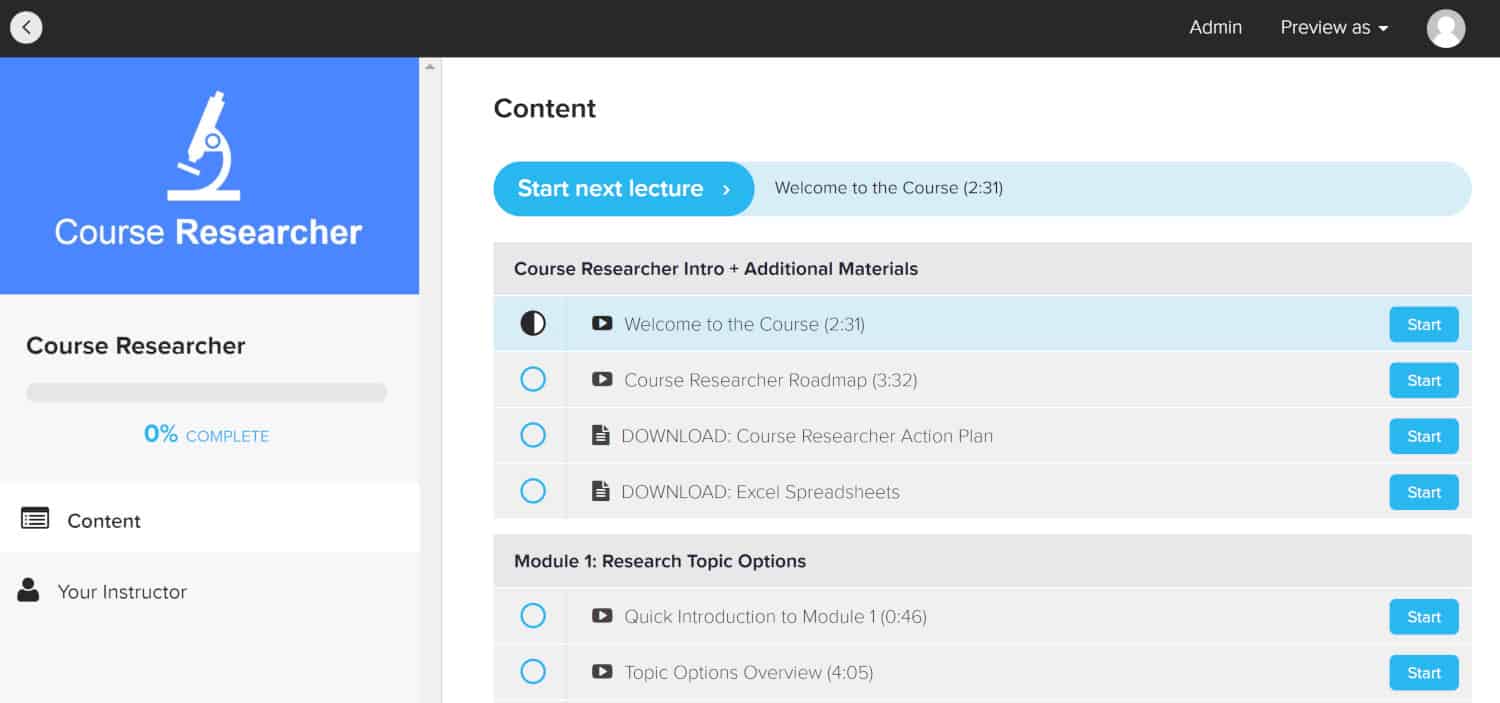
If you’re considering uploading your videos to your own platform, be sure to go through all the necessary steps so that you can get started sharing your content with the world.
FAQs on Instructional Videos
Why are instructional videos important?
Instructional videos are a great way to learn something new. They can be particularly helpful when you’re trying to learn a complex skill or technique.
Unlike a book or article, an instructional video can show you exactly how to do something, step by step. This can be extremely helpful when learning something new or intimidating.
How to sell instructional videos online?
If you’re looking to sell instructional videos online, there are a few things you’ll need to do in order to be successful.
- You’ll need to create high-quality videos that cover a specific topic in detail.
- Next, you’ll need to set up a website or online store where customers can purchase your videos.
- You’ll also need to promote your videos and drive traffic to your site. There are a number of ways to do this, including social media marketing, search engine optimization, and paid advertising.
If you put in the work, you can sell instructional videos online and make a healthy profit.
What are the best tools for creating instructional videos?
The best tool for you will depend on your budget, your level of expertise, and the features you need.
If you’re just starting out, you may want to use a free video editing program like iMovie.
If you’re willing to spend a bit more money, there are a number of excellent paid video editing programs available. Adobe Premiere Pro is a popular choice for professionals, but it can be somewhat tricky to learn. If you’re looking for something a bit simpler, Sony Vegas Pro is a good option. It’s relatively easy to use but still offers a good range of features.
In addition, if you want to create truly professional-quality videos, you’ll need to invest in some specialized equipment. This could include things like a high-end video camera, lighting, and audio gear. Of course, this will also require a significant amount of time and effort to learn how to use all of this equipment effectively.
The Bottom Line: How to Make an Instructional Video
If you’re feeling inspired to make an instructional video, here are a few final tips to help make sure your video is as successful as possible:
- Be clear about what you want the viewer to learn or do. No one wants to sit through a long, rambling video.
- Make sure your instructions are easy to follow by using simple language and demonstrating each step visually. People are more likely to remember what they see than what they hear, so incorporating images and diagrams can be very helpful.
- Test your video on friends and family members before releasing it to the public to make sure that it’s clear and helpful.
With these tips in mind, go forth and create some amazing instructional videos!
