Our content is reader supported, which means when you buy from links you click on, we may earn a commission.
How to Voice Over a Video: The Complete Guide
Have you ever created an online course or a video, but found yourself struggling to find a voiceover artist that fits your budget?
Or maybe you’re just not sure how to go about recording and editing your audio?
In this post, we’ll walk you through the basics of voiceover production, so you can create high-quality videos with ease.
Stay tuned!
What Is a Voice-Over?
As the name implies, a voice-over is just speaking over something, like a podcast, a video, or a film. Usually, that’s to provide additional information to make the context more understandable.
As you can tell, a voice-over isn’t part of the main recording. It’s audio that you’ll need to overdub later into your project.
Why Is a Good Voice-Over Important for Your Video?
A good voice-over is vital to make educational videos clearer. Plus, most people will judge the quality of a video based on the audio.
Here’s why a good voice-over is crucial for any video:
Appeal to Multiple Learning Styles
People differ in their learning styles. Some people are visual learners and will learn through videos and images far better than through textbooks or listening to a lecture.
Others are auditory learners. They understand the subject better by listening. Voicing over a video combines the best of both worlds.
The video contains visual elements, targeting people who prefer to learn through observing. While the voice-over is for auditory learners.
Increase Persuasion
There’s a reason most commercials have someone narrate over the product specifications or people telling their reviews.
That’s because listening to a clear, concise speech about a particular topic helps convey the desired message and resonates with many people.
Capture and Keep Attention
In a fast-paced world, most of us are looking for ways to save time. Generally, not many people are willing to read for an answer lost in large textbooks or even short articles—you might be surprised to know that the average time spent on a website is 45 to 54 seconds.
That’s when a voice-over comes in handy to help you deliver your message concisely and draw everyone’s attention.
5 Tips for Adding Voice-Over to Your Video
Below are five tips to help you achieve high-quality voice-over recordings.
1. Write a Script
Even if you’ve gone over and over what you’ll record in your mind, chances are there will be a few slips.
Preparing a script will save time and effort, not only in the recording session but also in editing.

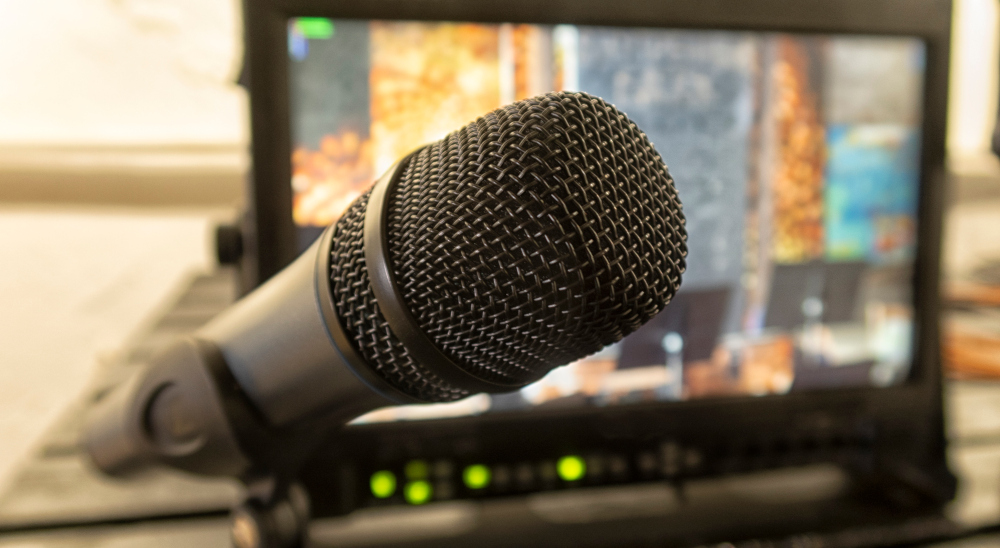
2. Microphone Placement
Investing in a high-quality microphone isn’t the only factor in the overall quality of your audio. The correct placement matters as well. The sweet spot is to place the microphone six to 12 inches away from your mouth.
That way, you’re not too close that the mic captures breathing sounds and other mouth noises or too far that the sound is washed out.
3. Test Recording
No one wants to consume time recording only to find out the microphone wasn’t working.
That’s why it’s wise to do a test recording to make sure the mic is all set.
4. Audio Clarity and Volume
Clear audio makes all the difference in any video. If your recording volume is too high, the sound will come out distorted and unappealing. Meanwhile, low audio will be hard to hear.
To avoid such issues, make sure that your audio levels on the NLE program are between -10db and -20db.
5. Pacing and Vocal Tone
Nothing can bring boredom to the ears more than slow-paced, monotonous speech. Likewise, loud noises and unclear enunciation as a result of fast-speed speech will blow the listener’s eardrum. Plus, they won’t be able to tell what you’re saying.
That’s why you should do a couple of test records to decide on the appropriate pace and tone.
How to Voice-Over a Video?
Next, let’s go into detail on how to voice-over a video!
Step 1: Choose a Microphone
Doing voice-over for videos doesn’t require many tools. All you need is a microphone, audio or video editing software, and your own voice.
Ideally, you should invest in a condenser microphone for voice-over.
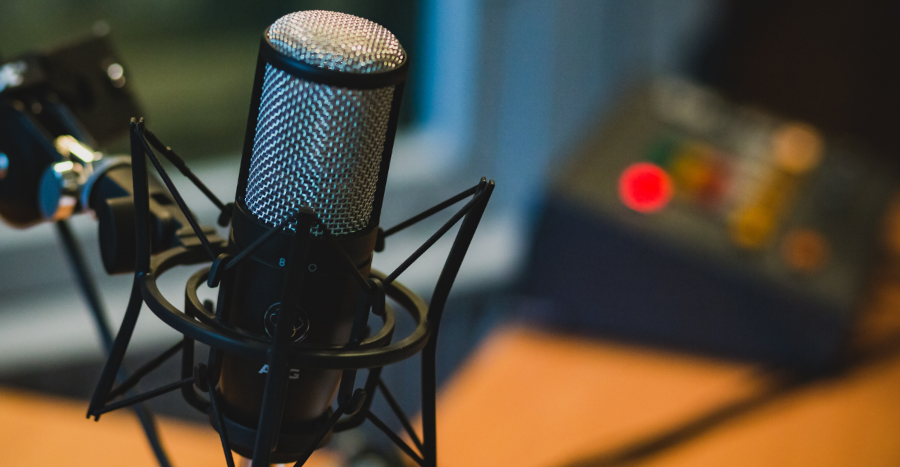
This type of audio gadget is a common choice for studio recording. Thanks to its high sensitivity, this microphone picks up a range of frequencies, capturing all vocal details. Plus, it has low self-noise, so you don’t have to worry about annoying mic sounds in your recording.
If you don’t want to invest in a microphone, you can record on your smartphone. However, phone microphones won’t produce the same top-notch sound quality as recording microphones.
That said, don’t use laptop mics for any of your audio projects because those built-in microphones produce the worst quality.
You see, built-in mics are small to fit in computers, which limits their sound-capturing ability. Plus, they’re placed somewhere near the keyboard, far away from your mouth.
To overcome the distance problem, these mics pick up sounds from all directions, which is known as an omnidirectional pattern. That’s why you can hear all background noises crystal-clear when you record using laptop mics—something most listeners won’t find appealing.
Step 2: Find a Quiet Location
While you don’t need to rent a professional sound studio for simple voice-over, try to find a quiet location with no echoing to do the recording. That’ll reduce the editing required to filter noises a ton, saving you a lot of effort.
Even if you live in a noisy neighborhood or your house is always lively, you can get creative in finding a quiet place.
For starters, any room that’s carpeted and away from windows is great for audio recording. It could be your closet or your basement. Your car is another great alternative, especially in the early mornings, before all the traffic.
Still can’t find a place that’s calm enough for your voice-over?
You can make your soundproof system, and the best part is that you don’t need to pay for it. All you need to do is cover yourself with a thick blanket!
Blankets are probably the easiest and most affordable way to block background noises.
Step 3: Choose Audio Software
With tons of audio software in the market, it can be overwhelming trying to settle on one program to use.
Don’t worry, though.
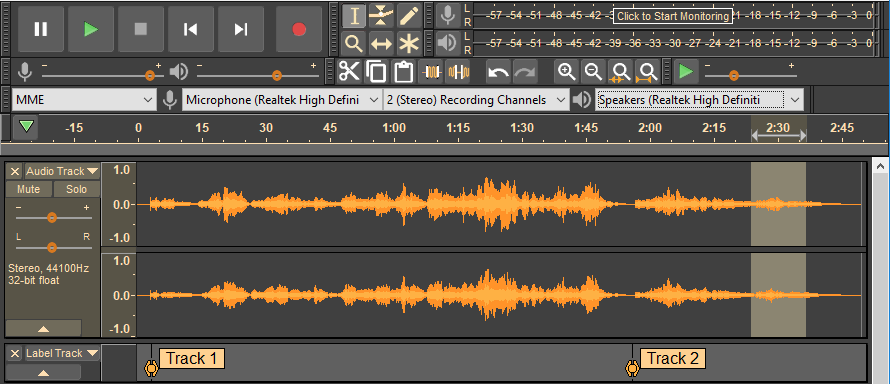
We’ve gathered a couple of tips to help you decide which audio editing application fits you best. Audacity is audio recording and editing software that is pretty easy to use and best of all, free.
Identify Your Goal
Identifying what you expect from the audio editing tool can save you a lot of money. Almost any program will get the job done if your primary goal is to do audio narration with minimum editing over a video.
In that case, you probably don’t need to pay for a subscription or invest in unnecessary bells and whistles that you won’t use.
Look for Convenience
Not all people are professional audio engineers who can understand complicated tools. For that reason, opt for software with an easy-to-understand interface to get the max out of it.
You don’t even need any fancy skills to voice over a video. Some user-friendly audio editing programs allow you to edit the record in text form, instead of those complicated sound waves.
Edit Your Voice Over
After a successful recording session, you can play back the recording and adjust the voice-over volume to your liking. Then, you’ll need to align the voice-over with the video and export it.
Here are a few tips for both steps:
Sync Your Voice-Over With Your Video
Aligning your audio with the video is what you need to do next once you’ve wrapped up the voice-over session. Usually, this can be one hefty task, especially for long audio.
Even when the video editing tools offer to automatically sync your voice over the video, still, you’ll detect some audio misalignment.
To make your life easier, before recording any part of your video or audio, use a slate or clap loudly—yes, just like in movies. That’s to produce a wave spike both in the video audio and the voice-over.
Now, to sync the voice-over, all you need to do is find the peaks and line them up!
Already done your footage with no claps? No worries!
You can find something noticeable, like over-enunciating a syllable that produces a similar peak. Then, use it as a cue to align the audio with your video.
Export the Audio and Video File
After you’ve got your project in tip-top shape, you’ll need to export it.
Just make sure the formatting is H.264 so that it exports to an mp4 video file. This video file is the most common type and will play on most devices.
FAQs on Voiceovers
Can you do voiceovers from home?
All you need to do a voiceover is a good-quality microphone and a quiet place to record. You can definitely do them from home.
What equipment do I need for voiceover work?
There’s a lot of equipment that you might need for voiceover work, but the good news is that you probably already have most of it. A good quality microphone is essential, of course – something that can capture your voice clearly without picking up too much background noise.
If you’re recording at home, then a simple stand or boom arm can be used to hold the microphone in place. If you’re recording in a professional studio, then the equipment will be more specialized. In either case, you’ll also need some way to connect the microphone to your computer. This can be done either via a USB cable or through an audio interface.
Beyond that, you might also need some software for editing and processing your recordings. But as long as you have the basics covered, you should be good to go.
How do I record a clear voice-over?
Make sure you’re in a quiet environment. Next, if you’re using a microphone, position it close to your mouth but not so close that it’s right up against your lips. Also, try to relax and speak in a natural tone of voice. Record a few takes and then listen back to see which one sounds the best. And lastly, if you’re not happy with the way your voice sounds, don’t be afraid to try something different or use some type of post-processing effect to improve the quality of your recording.
What makes a good voice over?
The voice plays a vital role in setting the tone and delivering the message of the video. A good voiceover will be clear, articulate, and easy to understand. It should also be well-paced and suit the style of the video. Furthermore, a good voiceover will be emotive and engaging, drawing the viewer into the story.
Why don’t I sound good when I record myself?
Have you ever wondered why you don’t sound as good when you record yourself as you do when you’re just talking? It’s a common phenomenon, and there are a few reasons why it happens.
When you’re recording yourself, you’re usually listening to the playback through headphones, which can give your voice a slightly different timbre. Also, we tend to speak more carefully and clearly when we know we’re being recorded, which can make our voices sound less natural. Another reason is that self-consciousness can also play a role; we may be more aware of how we sound when we’re recording ourselves, which can lead to tense vocal muscles and an unnatural-sounding voice.
Is there a voice-over app?
If you’re looking for something to help you record and edit audio for podcasts or videos, there are several apps that can do just that. Some popular voice-over apps include Garageband, Hindenberg Journalist, and Adobe Audition. If you’re looking for an app specifically designed for voice-over work, VoiceBook is a good option. It includes features such as a noise reducer and pitch correction, which can come in handy when recording voice-overs.
Wrapping Up
We’ve covered several tips and the steps to making voiceovers in this post. You’ve learned that voiceovers appeal to multiple learning styles, increase persuasion, and capture and keep attention.
They are also fairly easy to produce. A good microphone will be key as well as good editing skills.
Now it’s time to get started creating a voiceover for your next video!
