Our content is reader supported, which means when you buy from links you click on, we may earn a commission.
7 Best Tips for Mastering Audio for Video Production

Do you want to create better video content, but find that audio is always a weak spot?
If so, you’re not alone.
I’ve had to try out different products, different settings, and much more to finally get my audio right in the instructional videos I’ve created over the last two decades. Finally, I have a system that works out well. I’d like to share my knowledge with you to save you time and frustration.
With these seven tips, you’ll be on your way to producing videos with great sound. From adjusting the mic to using wind filters, keep reading for some helpful hints on how to make your audio stand out.
Why is Audio Important?
Audio is often overlooked in video production, but it is actually one of the most important elements of a good video. After all, what’s the point of having a great video if no one can hear it?
Audio helps to set the mood and atmosphere of a video, and it can also be used to convey important information. For example, audio can be used to provide narration or background music. It can also be used to create sound effects that add to the overall experience of watching a video.
In short, audio is an essential component of any good video production. Without it, a video can lose its impact and fail to engage its audience.
According to Techsmith, high-quality audio narration that is easy to hear is a must-have element that will keep viewers interested in and watching an instructional or informational video by over 30% of those surveyed.
1. Separate Recorder for Audio
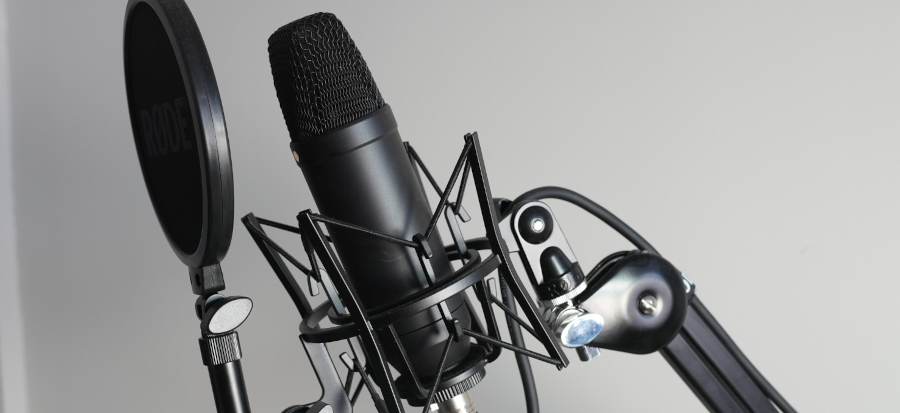
A good microphone will help you capture the best possible audio for your project.

If you’re serious about getting good audio for your video productions, one of the best pieces of advice is to use a separate recording device.
Many video cameras have decent built-in microphones, but for the best quality possible, you’ll want to use a stand-alone recorder. This way, you can position the microphone exactly where you want it and get much higher quality sound.
Plus, if you’re recording dialogue, using a separate recorder gives you the ability to use a shotgun microphone for better directionality and clarity.
2. Make Sure You’re Using the Best Mic
One of the most important elements of any video production is audio. If your audio is not up to par, it can completely ruin the viewing experience for your audience. That’s why it’s so important to use the best mic for audio when recording your video.
With a good-quality mic, you’ll be able to capture clear and crisp audio that will make your video sound great.
There are a lot of different mics on the market, so it’s important to do your research to find the best one for your needs. But once you find the right mic, you’ll be able to take your video production to the next level.
A condenser microphone captures a wider frequency range than other types of microphones and provides a rich tone. This is why these are so popular. A condenser microphone is what I use for all my voiceover work.
Selecting the Right Lavalier Mic
Selecting the right mic is important for any video producer, but it becomes even more critical when using a lavalier mic.
These small microphones are often attached to the subject’s clothing and can be easily hidden, making them ideal for interviews and other situations where a traditional mic would be intrusive.

However, lavaliers can also be more prone to picking up unwanted sounds, such as wind noise or rustling clothes. As a result, it’s important to choose a mic that will minimize these types of distractions. Here are a few things to keep in mind when selecting a lavalier mic:
- The type of microphone capsule: Most lavalier mics use either an omnidirectional or cardioid capsule. Omnidirectional mics pick up sound from all directions, making them more forgiving when it comes to placement. Cardioid mics, on the other hand, are more directional and can help to reduce background noise.
- Frequency response: Be sure to check the frequency response of any lavalier mic you’re considering. Many mics have a limited frequency range that can make voices sound unnatural. Look for a mic with a flat frequency response for the best results.
- Maximum SPL: This specification indicates how loud a sound the microphone can handle before distortion occurs. It’s especially important to consider maximum SPL if you’ll be recording loud sounds, such as live music or lectures.
- Connection type: Most lavalier mics connect to an audio recorder or camera via XLR or mini jack. Be sure to choose a mic that is compatible with your equipment.
By keeping these factors in mind, you can be sure to select the right lavalier mic for your needs and get the best possible audio for your video productions.
Distance from Your Microphone
No matter which microphone you choose, you need to carefully consider how far away your microphone is before starting to record. Often, you want them close, but if they’re too close you’ll hear some poppings while you’re speaking. In this is the case, you should invest in a pop filter to help limit the amount of popping on your recordings.
Also, be aware of where you place your hands while recording. You may inadvertently make noise if you move your hands around. I’ve had to be careful of how much I adjust in my seat because that noise will be adjusted too. I find it best to use a standing desk and record while standing.
3. Mics Outside Need Wind Protection
A shotgun mic will give you better-quality audio if you’re shooting outdoors.
Mics outside need wind protection to get better audio quality for video production. Mics are especially sensitive to wind noise, which can ruin takes and be very frustrating. There are a few different ways to protect your mic from the wind, depending on the type of mic you’re using and the environment you’re in. The most basic way is to use a windshield, which is basically a piece of furry material that goes over the mic to diffuse the wind.
If you’re in a really windy environment, you might need to use a deadcat, which is a heavier-duty version of a windshield. Another option is to use a boom pole, which is a long pole that you can extend over your subject to shield them from the wind. Whichever method you choose, make sure you test it out before you start filming to avoid any unwanted surprises.
Lavalier Windscreens
Lavalier windscreens are mainly used in television and film production to reduce wind noise when filming outdoors. They are small, lightweight, and easy to attach to a lavalier microphone.
Lavalier windscreens typically have a foam core surrounded by a mesh screen. The mesh screen helps to deflect wind away from the microphone, while the foam core absorbs any remaining noise.
Lavalier windscreens are available in a variety of colors, so they can be easily matched to the clothing of the person wearing the microphone. Additionally, they can be purchased in different sizes to fit any type of lavalier microphone.
4. Avoid Noise Sources
To get the best audio possible, it’s important to avoid noise sources. That means things like traffic, construction work, and even busy offices can be a problem. If you can’t avoid noise sources completely, try to record in a place that’s as quiet as possible.
Watch Out For Computer Fans
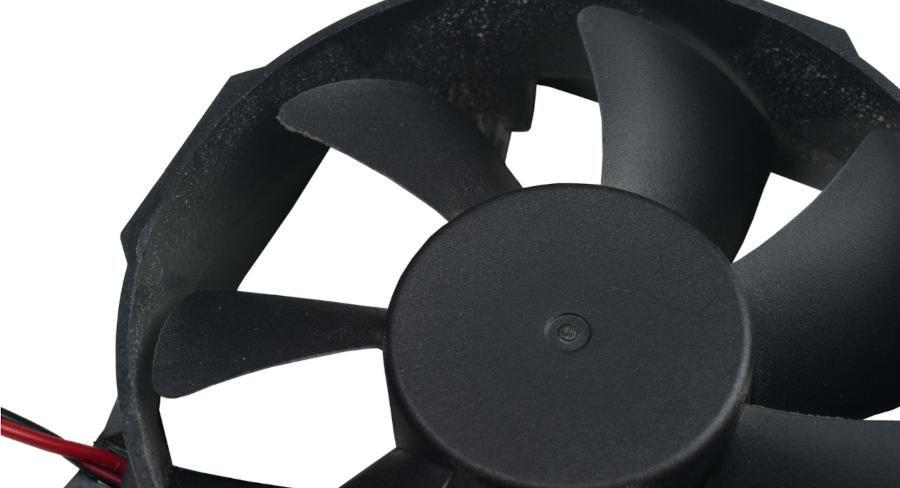
Computer fans make too much noise. They whirr and buzz and click, making it hard to concentrate on anything else. Even with headphones on, the noise can be a distraction.

The constant noise can also be stressful, so the last thing you want to do is preserve a whirring computer fan in your video’s audio.
There are a few things you can do to reduce the noise from your computer fan. One option is to use a software program to control the fan speed. This can help to reduce the noise without sacrificing cooling performance.
Another option is to replace the stock fan with a quieter aftermarket model. This is a more involved solution, but it can make a big difference in fan noise levels. This is my preferred solution and what I’ve had to do to keep my computer fan quieter.
You can also try to insulate your computer from the rest of the room. This can help to dampen the sound of the fan and make it less noticeable. However, even if it’s under a desk and your microphone is above the desk, you will likely record some of the noise of the computer fan.
Select the Best Spot Outdoors
Selecting the best spot to record audio and video outdoors can be tricky. There are a few things to keep in mind, such as noise levels and the angle of the sun.
For example, if you’re recording near a busy street, you’ll want to find a spot that’s relatively quiet. Additionally, if you’re recording in direct sunlight, you’ll want to avoid harsh shadows.
The best way to find the perfect spot is to experiment and take note of any areas that produce undesirable results. With a little trial and error, you’ll be sure to find the perfect place to capture high-quality audio and video.
5. Use Dedicated Audio Software
If you’re serious about getting great audio for your video productions, you need to use dedicated audio software. To create a professional-sounding recording you need multitrack software to edit audio.
You can get by with the built-in recording tools that come with your video editing software, but if you really want to get the best possible sound, you need to invest in a dedicated audio recording and editing program.
With a dedicated audio tool, you’ll be able to get much better sound quality, more features and controls, and a more user-friendly interface. Plus, you’ll be able to easily transfer your audio files between your video editing software and your audio editing software, which will save you a lot of time and hassle.
There are many professional options available for audio editing, but Audacity is an open-source tool that I highly recommend.
Audacity has over 111.6 million downloads between March 2015 and March 2022. There are other audio software programs that are good too, including Avid Pro Tools which is a paid program.

6. Use Audio Restoration Software
You can use audio restoration software to get better audio for video production. This improves the sound quality of your videos without having to spend a lot of money on new equipment. iZotope RX 10 is one of the best audio restoration programs on the market.
Audio restoration software can help to remove background noise, restore lost frequencies, and even improve the overall clarity of your audio. In addition, many audio restoration programs come with a wide range of features that can further improve the sound quality of your videos.
For example, some programs allow you to add EQ presets, compress your audio, or even create custom profiles for different types of video production. With so many options available, there is no reason not to take advantage of audio restoration software to get better audio for your videos.
If you don’t want to purchase audio restoration software then you can try using Audacity or another dedicated audio software to remove the noise.
The best way to get good audio is to record without the extra noise which is why so many of these tips cover best practices when using microphones.
7. Master Smooth Edits
Mastering the art of smooth edits is essential for any video editor who wants to produce high-quality audio. By understanding how to properly edit audio, you can avoid choppy transitions and ensure that your final product sounds polished and professional.
One tip for mastering smooth edits includes listening for natural breaks in the audio. These natural breaks can be used to create seamless transitions between clips.
Additionally, you want to pay attention to the volume levels of each clip and make sure that they are consistent throughout the video.
FAQs on Audio for Video Recordings
What are the different kinds of audio used in video productions?
There are a few different kinds of audio used in video productions. The most common type of audio is a voiceover which is typically used to provide narration or exposition. Another type is music, which can be used to set the tone or mood of a scene. Sound effects are also often used to add realism to a scene or to emphasize a character’s action.
What are the 5 elements of sound?
Sound is a type of energy that travels through the air, or any other medium, and is perceived by the ears. Sound is a result of vibration, which causes the molecules in the medium to vibrate. The 5 elements of sound are amplitude, frequency, wavelength, velocity, and timbre.
- Amplitude is the maximum displacement of the medium from its rest position and is measured in decibels (dB).
- Frequency is the number of vibrations per second and is measured in hertz (Hz).
- Wavelength is the distance between two identical points in a wave and is measured in meters (m).
- Velocity is the speed of sound waves and is measured in meters per second (m/s).
- Timbre is the quality or character of a sound and is affected by its overtones. Different sounds have different timbres, which helps us to identify them. For example, a trumpet and a flute may both have the same pitch (frequency), but they will have different timbres.
What are the stages of video production?
There are generally three stages of video production: pre-production, production, and post-production.

Pre-production is the stage where you develop your idea, conduct market research, outline your video, and write the script for your video. Essentially, this is where you plan out your video. This is also the stage where you assemble your team and decide on things like the budget, locations, and schedule.
Production is when you actually shoot the video. This stage can involve a lot of logistics, from setting up video lighting to getting the right shots. It’s important to make sure that everything runs smoothly during production so that you can stay on schedule and within budget.
Post-production is when you edit the video footage and add any special effects or graphics. This is usually done with video editing equipment including editing software. Once the video is completed, it’s ready for distribution.
Final Thoughts
Audio is just as important as video when it comes to producing a high-quality final product. In fact, audio is 50% of your video! So it’s worth it to get it right.
By following these 10 tips for better audio, you can ensure that your viewers will have an enjoyable experience watching (and listening to) your videos.
Make sure to give the tips a try the next time you record a video!