Our content is reader supported, which means when you buy from links you click on, we may earn a commission.
9-Steps to Successful Video Planning
When creating video content for online courses or to help sell products, it’s important to have a plan. Video planning will help ensure that your videos are well-constructed and achieve your desired outcome.
In this guide, we’ll discuss the basics of video planning, including topics you need to consider before you start filming.
I’ve created online courses that contained 90+ videos within them. I could have never done this effectively without spending a lot of time upfront planning each of those videos. You’ll need to do the same even if you’re only creating one video.
Each word and how it’s said along with each and every visual needs to matter.
So let’s get started and get into video planning!
Start Your Video Planning
It’s well worth the time to plan out your videos since it’s such a popular medium now. According to one study, video marketers get 66% more qualified leads per year.

Pre-Production
Video pre-production is the planning stage of creating a video. Proper video pre-production is essential for ensuring that a video project runs smoothly and stays within budget. A good pre-production process will ensure you don’t waste your time or money. That’s why you want to take the time to do this part right.
Here are the steps to video planning and we’ll go through them in detail below …
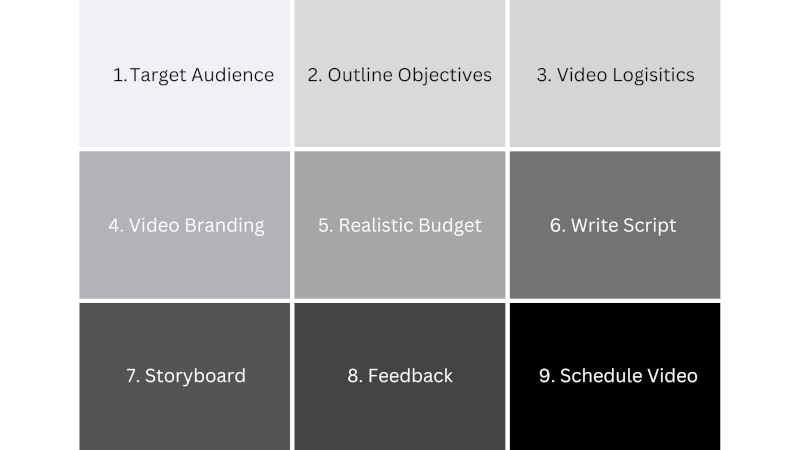
1. Understand Your Target Audience
Personas are fictional characters designed to represent a group of people like yourself.
You will want to use personas to determine what type of videos will resonate most with your audience.
One thing to consider is that personas don’t have to be perfect representations of real people. They’re just tools to help you understand your audience better.
When creating personas, you will want to take into account the needs, preferences, and biases of your audience. Make sure to create personas and try to understand your target audience before you create your next video. If you know who will be watching your video, you can create a video they actually want to watch.
2. Outline Your Objectives
Outlining your objectives helps you decide what type of video you should create and where you should focus your efforts. Once you have a good understanding of the objectives and goals you want to reach with your video, you can start to think about how your video can best achieve those objectives.
Focus on one main outcome or goal within your objectives. Make sure that the main goal appeals to your target audience (your personas). Then keep your focus on that main goal within your video.
When I create instructional training, I use microlearning principles. That’s where each video only focuses on one goal (so I don’t need to worry about selecting a main goal, it’s just ‘the’ goal). In many cases, I keep each video well under 5 minutes.
Your audience has a short attention span so you should try to keep your videos to under 5 minutes (even if they’re instructional training). You will have a better video completion rate if you keep each video short and focused on only one goal.
3. Video Logistics
Having a clear vision is important when planning your video. It will help you set expectations and determine how best to proceed with your project.
During the video planning stage, you need to choose the right type of video to help you meet your goal. Here are a few different types of videos:
- Instructional videos
- Testimonial videos
- Explainer videos
- Product videos
So if you’re producing your video to help bring in more revenue, then you might want to choose to create a product video.
During this logistics step, you also need to figure out how the video will be shot.
Will you produce a live-action video? A screencast? An animated presentation? A mix of each?
You’ll need to determine the style that best fits your needs as well as what will work best for your target audience.
Location of the shoot
In addition, especially if you’re shooting a live-action video, figure out the location you want to shoot the video. Shooting on location is much cheaper than shooting in a studio. However, locations come with many unexpected surprises.
Be sure to consider location logistics before starting production outside a studio. Make sure you know where you’re allowed to film before you head out.
Estimate the Video Length
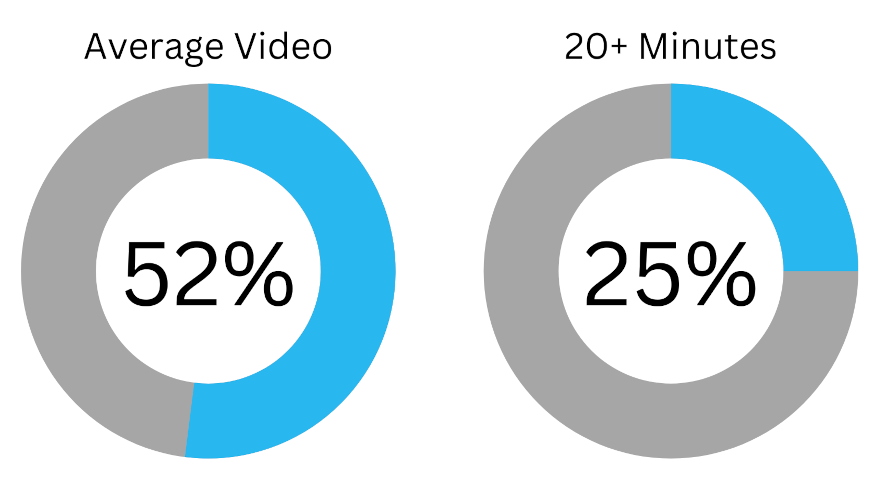
When creating videos, always consider the length you want to end up with. It’s important to be aware of how long people are willing to watch a video.
According to research by VidYard, only 52% of video watchers view a video all the way through to the end. For videos over 20 minutes or longer, only 25% finish watching. Consider the type of video you’re creating along with the goal of the video when determining the estimated length.
Again, my preference is to keep videos to under 5 minutes, but that is for instructional videos. I would try to keep product videos to under a minute or two if possible.
Consider Where the Video Will End Up
Consider where you plan to distribute your video. For instance …
- Will it be uploaded to YouTube or a website?
- Are you putting the video on a public channel to gain shares and likes or do you hope viewers will end up buying a product?
You need to consider where the video will end up. Videos should include a call to action at the end to get your viewer to take the action you’re hoping for.
Even if it’s an instructional video, the very end of the video should tell viewers what to do next (in this case maybe they should watch the next video or take a quiz). Linking videos together is an effective way to connect them and keep viewers engaged especially if it’s a part of a series.
4. Video Branding
Don’t forget to include a plan for your branding elements like logo, tagline, and colors. You will want to include these throughout the video as well as at the beginning and end. You can also include other brand-related images throughout the video.
Branding colors should be consistent throughout any videos you create. Using the same color scheme for your branding makes it easier for people to recognize your company so be sure you’re planning for this before you start shooting your video.
5. Set a Realistic Budget
Set a budget before starting work on a video project. This will help ensure that the project stays on track.
Figure out what you will outsource and what you will (and can) do yourself.
Be realistic about what you want to achieve with your video. Have a clear idea of how much money you want to spend. You don’t want to waste money producing videos that aren’t worth watching.
This is also where you need to choose your equipment and any video production professionals.
Equipment Needs
Knowing what equipment you’ll need to capture each shot is essential. This will help you determine the cost of renting or purchasing any necessary equipment.
If you’re planning on doing the filming yourself then you need to invest in some equipment.
It’s possible to shoot a video with your iPhone, but if you want something more professional, you need a DSLR camera. At the very least you will need to invest in video lights unless you are shooting outside or by a window.
To make the video even more professional, many video creators use an external microphone.
If you’re hiring a video production crew then you probably don’t need any equipment. Even if you just hire a videographer, they will likely have everything you need.
If it’s your equipment, make sure everything works properly before you begin filming.
Talent
Hiring a professional actor can save you money and help you create a video that gets attention. Talk to your talent about how they look on camera and what you expect them to wear so there are no surprises.
You might also consider hiring a voice-over professional if you need a voice-over.
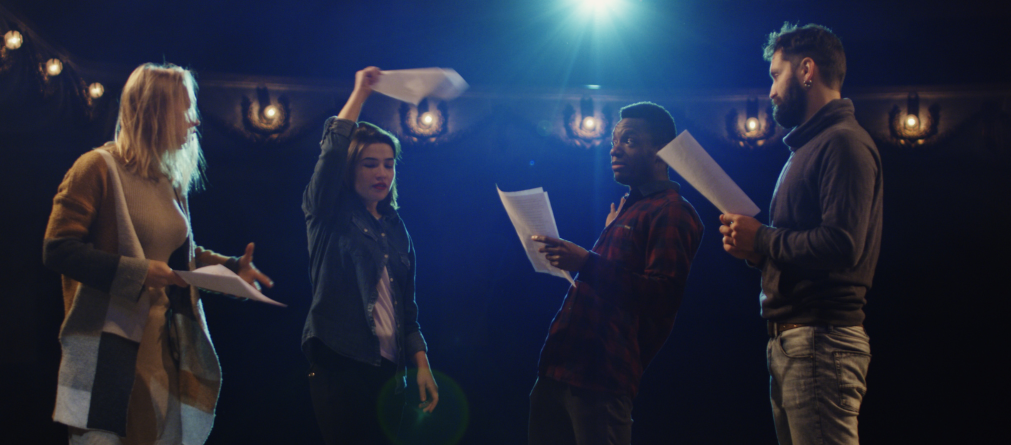
6. Write the Script
A video script is essentially what you (or your talent) will say while recording the video. Obviously, if you or your talent talk without a plan, the video may not stick to the main goal or even flow coherently at all.
Scriptwriting helps you make a better-quality video.
A good script can help you avoid missing important information and stay on topic. A bad script (or worse, no script) can make your video seem choppy, unpolished, and unnatural.
Revise Your Script
Edit your script as needed. After you’ve written the first draft of your script, revise it to make sure it flows smoothly and makes sense.
Read the script out loud to see how it sounds. Make sure the script is concise and to the point.
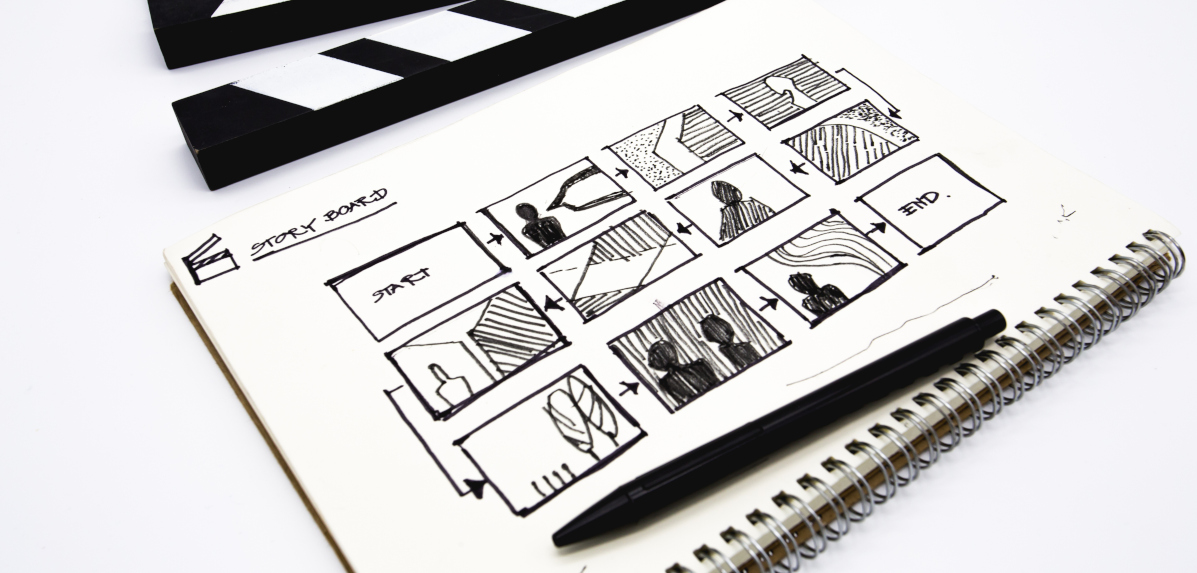
7. Storyboard
Storyboarding is the process of creating a visual representation of the shots you want to include in your video. This can be done with pencil and paper, or with specialized software.

A storyboard helps you visualize video shoots and shows you how everything fits together. It lets you see where the light comes from, the different locations and angles that are needed, and whether you need a tripod or other equipment.
As you can imagine, storyboarding can save you a lot of time and money.
Once you have your storyboard ready to go, you can use it as a guide when filming. Your storyboard will help you get all the shots you need.
Storyboarding is especially important for complex videos, such as those with multiple characters or locations. It can help you to keep track of all the elements to include, ensuring that your final video is cohesive and flows smoothly.
8. Gain Feedback on Your Video Plan
Before you start shooting your video, it’s important to get feedback on your plan.
Show your storyboard and script to friends, family, and co-workers and ask for their thoughts.
Do they understand what you’re trying to communicate? Are there any scenes that are confusing or could be improved?
Getting feedback at this stage can save you a lot of time and effort later on.
It’s also a good idea to share your plan with the people who will be appearing in your video. This way, they know what to expect and can provide their input. Remember, the more input you have, the better your chances of making a great video.
9. Start Scheduling Your Video Production
Finally, you can start scheduling your video shoot. The production of your video comes right after the pre-production process. That’s where you go from planning to actually recording your video.
For a live-action video, you’ll need to schedule time for filming, editing, and post-production work. For an animated video, you’ll need to schedule time for storyboarding, animating, and editing.
Once you have a rough idea of the timeline for producing your video, you can start to fill in the details.
Who will be responsible for each task? When do you plan to complete each task?
By taking the time to answer these questions upfront, you’ll save yourself a lot of headaches down the road. Your planning will help you from having too many unexpected issues during production.
FAQs on Video Planning
Why is the video production process important?
A well-thought-out video production process will save you time and money. A solid plan helps you avoid wasted effort when video production begins.
What is the importance of pre-production video planning?
A well-executed video project often appears effortless, but the reality is that a lot of work goes into making sure everything runs smoothly. One of the most important steps in the video production process is pre-production planning. By taking the time to plan everything out in advance, you can avoid potential problems down the road and ensure that your finished product is of the highest quality.
What main documents are needed in pre-production when you are planning a video?
There are a few main documents you’ll need when you’re pre-producing a video.
- You need a video outline. This outlines the concept of the video and gives an overview of what will happen in it.
- You need a shot list, which is a detailed list of all the shots that you plan to include in the video.
- Lastly, you need a storyboard, which is a visual representation of the video that helps you plan out each scene.
Why is feedback important in video planning?
Feedback is an important part of the video planning process. It helps you understand what works and what doesn’t work.
It can also help you improve the overall quality of your video content.
Without feedback, it can be difficult to gauge the effectiveness of your videos. As a result, you may end up making changes that don’t actually improve the quality of your videos.
With feedback, you can get a better understanding of what viewers want to see in your videos. You can also make changes that will improve the overall quality of your video content.
What are the 3 stages of video production?
The 3 stages of video production are pre-production, production, and post-production.
- Pre-production is the stage where you plan your video, including writing the script, choosing locations, and casting actors.
- Production is the stage where you shoot the video, using a camera and other equipment.
- Post-production is the stage where you edit the video, adding special effects and music.

Put Theory Into Practice: Video Planning
As shown in this guide, video planning is the first stage of video production. In fact, video planning is also known as pre-production (which again, is the first stage!).
I walked you through the importance of video planning as well as each step that goes into it in this guide.
Now that you understand the video planning process, it’s time to put it into action and start planning your next video!
