Our content is reader supported, which means when you buy from links you click on, we may earn a commission.
What To Do After Buying a Domain Name?
So you’ve spent all the time required to choose a domain name for your online course business and purchased it.
Now what?
If you’re wondering what to do after buying a domain name then read on to discover your next steps.
You’ve got to do some set-up to get that domain name working for you.
Whether you’ve already produced your online course or you’re still working on it, it’s smart to get that domain name ready for business.
Your Contact Information
The first thing you want to do is go to your domain name dashboard and enter in your contact address, phone number, and email address.
Even if you think you did this when you registered the domain name, you’ll want to double check exactly how you set this up.
It’s important because the domain registrar needs to be able to contact you just in case there’s a problem. You registered your domain for a certain length of time and next year (or after however many years you bought it for), you want to be reminded before it expires.
Otherwise you can lose your domain name!
Business Contact Information
In addition to the domain registrars ability to contact you, you may want prospective clients to have your contact information. This is your business contact information (which can be totally different from your regular contact info).
If you don’t have a physical office, you can get a mailing address from Postnet, the UPS store, or other mailbox service. There are also companies that offer a virtual mailing address.
Any of these options work great if you work from a home office. That way you don’t have to use your home address.
You’ll need a business address anyway for when you start sending out emails because can-spam laws require you to put your business address in any emails you send. This is definitely an email marketing best practice you must follow.
A mailbox is typically only $20 to $30 a month. It’s worth the fee, plus you won’t have someone show-up at your home asking about your course.
Although I never had anyone actually come up to my door and knock, I had people ask me if they could stop by my ‘office’ and see my course. This was back when my course was books only (I started in 2001 so before online courses were a thing) and I guess they wanted to examine the books.
Soon after that I ran right out and got a mailbox at the UPS Store.
In addition, most payment systems are going to need a physical address from you as well. So you might as well get your business address ready to go starting with your domain name.
Private Registration
If you don’t want people finding your physical address at all (whether a mailbox for business use or your home address), then you can always pay a little more for the domain name and set it up as privately registered. That works too.
Even if you didn’t purchase the private registration when you bought it, they’ll let you go back and add on this upgrade at any time. Most registrars make this real easy as they’d love you to double your spend with them.
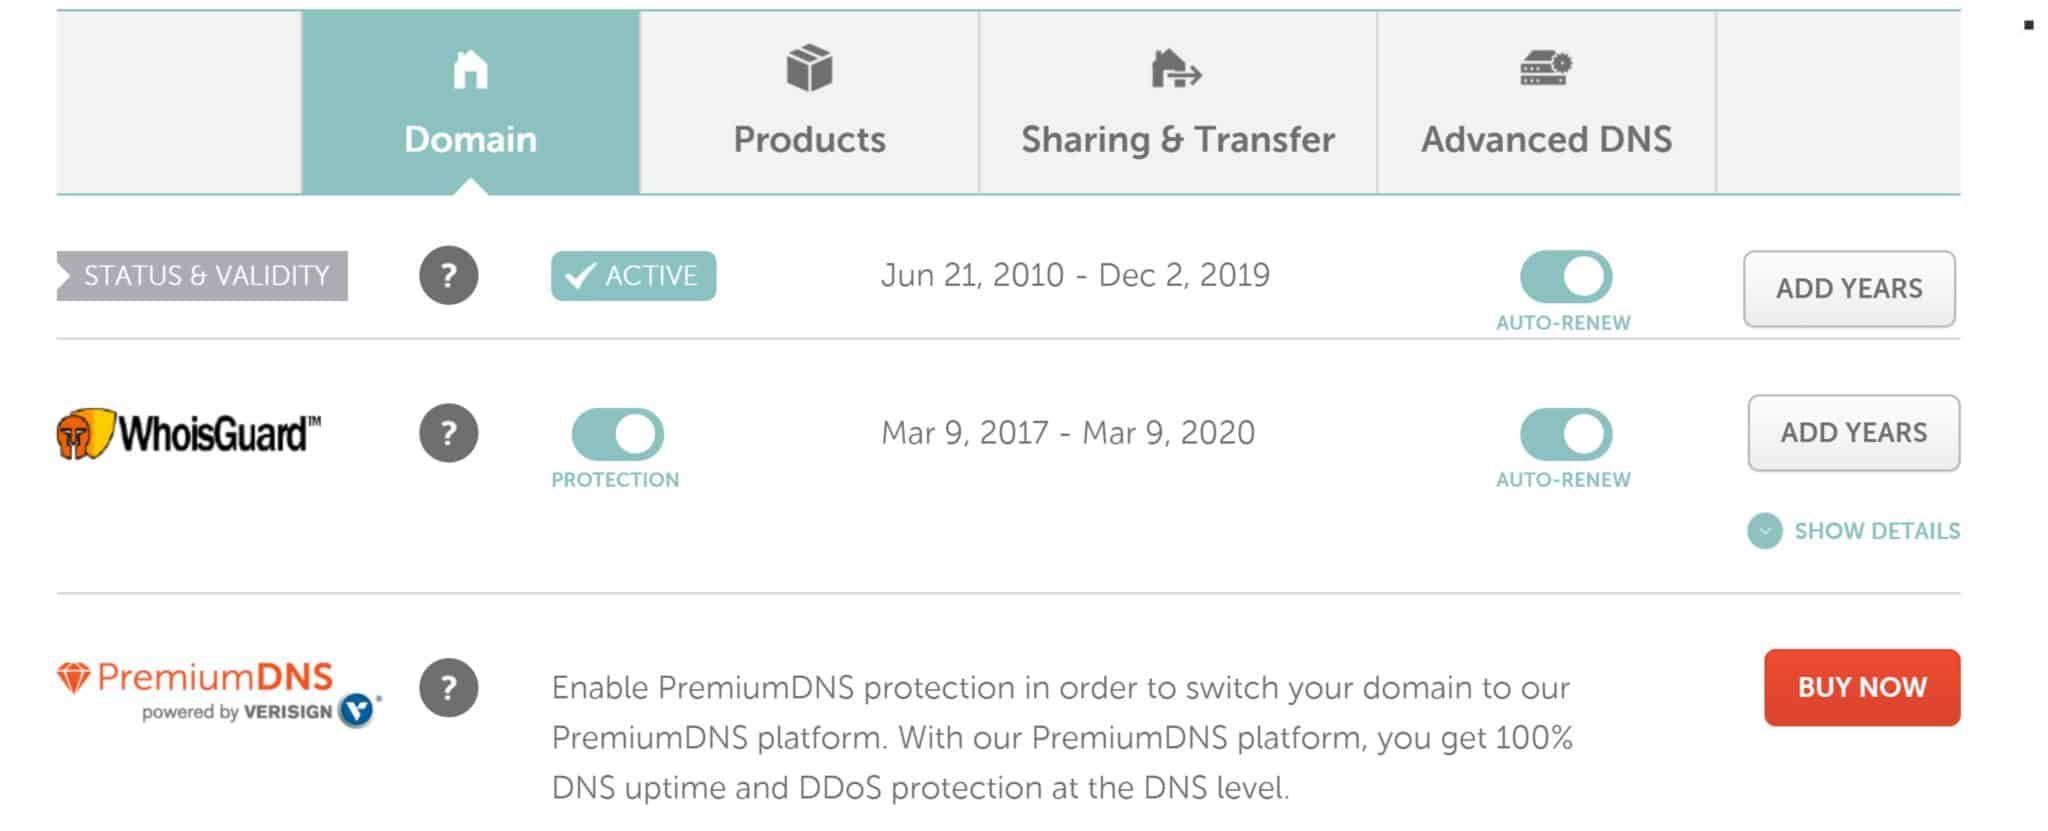
Here’s a screenshot from Namecheap showing you the WhoisGuard option (that’s private registration). You can add that at any time you want.
Make sure you have updated contact information for the domain registrar and business contact information if you’re not using private registration.
Another Element is the Email Address
If you’re not using private registration, then for your business email address you can use an email address related to your domain name. For example, I use a businessbolts.com email address, so the prefix is info@ followed by the URL.
You’ll want to get that set-up.
Otherwise, as far as the domain registrar goes you want to use a different email address for your regular contact information. That’s so they can contact you about any changes or problems with your domain.
If you use a domain related email address as a means for the domain registrar to contact you, and there’s a problem with your domain registration, you may never get the email. Imagine, they’re trying to contact you about a problem with your domain, but are doing so with an email address tied in to your domain so the emails never get to you (geez, sounds like something I’ve done before).
So you want this to be an email address separate from your domain name. That might mean a Yahoo, Gmail, or Outlook address that you actually check.
Here’s a tip. You can forward your domain branded email address to go to that personal email you check all the time. That way if someone sends you business email you’ll get it at your regular address and you don’t have to check two separate accounts. You can set-up an email forwarder either through your domain registrar or your hosting account.
Enable Auto-Renewals
Since your domain name is so important, it’s a good idea to enable auto-renew within your account. In the screenshot below you can see next to Status & Validity under Advanced DNS, it shows an Auto-Renew toggle. Simply toggle that over to Auto-Renew …
As long as my credit card is updated and current, then another year will be added when it expires.
It’s actually smart though to login to your domain registrar and make sure you renew it yourself especially when your domain name is close to expiring. I set auto-renew just in case though, but try to renew my important domain names manually.
This is especially important once you’ve invested time to build up your business and is immediately important if you spent a lot of money purchasing a premium domain name. You definitely don’t want to lose a domain name you spent thousands of dollars to get.
Buy Up Any Alternates?
The domain registrar may start telling you to buy up a bunch of alternates of your domain name. The thing is, they just want you to spend more money with them. You really don’t need all the different extensions and similar versions of your domain name.
You’re good to go.
If you really want to buy something in addition, then maybe you could get a plural/singular combo like the most common way someone might misinterpret your domain name.
Get Your Hosting Sorted Out
At this point, if you type in your domain name, you’ll go to a parked page.
Here’s an example of the Namecheap parked page:
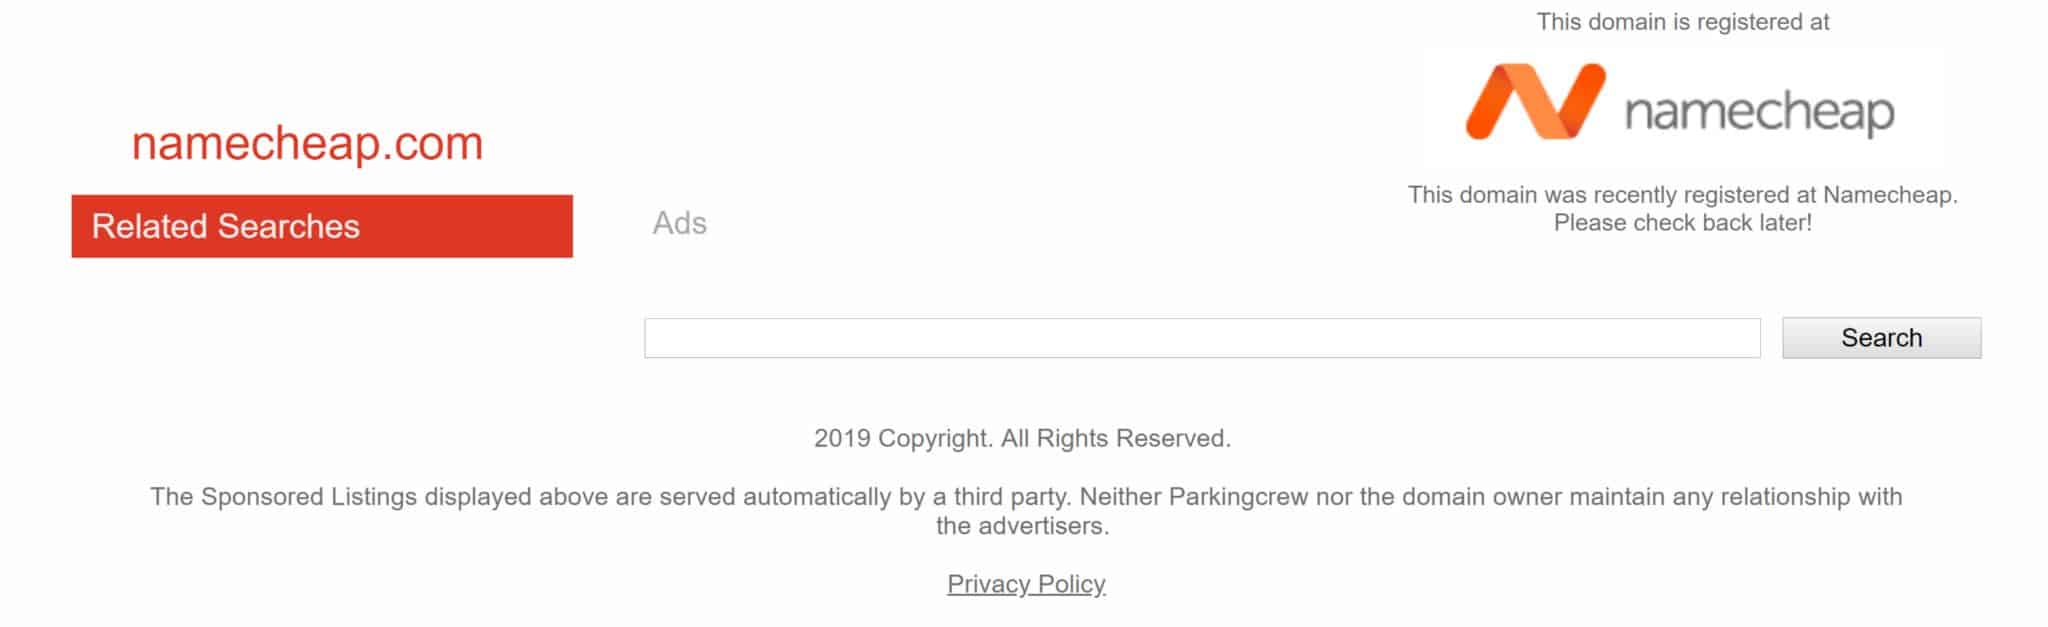
You’ll need to get a hosting account in order to start building your website.
Choosing a Cloud LMS Can Save You on Hosting
Alternately, if you’re OK going with a cloud LMS, there are some that will let you point your cloud platform at your domain name. That way it’ll look like everything is hosted on your own site. Otherwise, you have to use a subdomain on a big platform and your domain name might be something like ‘yourcourse.teachable.com’. That doesn’t look professional.
But if you have a domain name and you’re using an online course platform like Teachable, you can point your Teachable domain ‘yourcourse.teachable.com’ to your domain ‘yourcourse.com’. Teachable even offers a site builder and blog posting system so you can build out your main site using their tools and then point it to your domain.
If you’re interested in this along with a top quality online course platform, then take a look at the Teachable review I put together for you.
Choosing to Build Your Own Site
If you’re going to build your site yourself then you need hosting.
Although I recommend them for domain registration, I don’t suggest using Godaddy.com or Namecheap for hosting.
Instead, I suggest getting a hosting account through a company that specializes in hosting. I have a few recommendations for you if you’re interested.
LiquidWeb.com is fantastic if you need a robust platform and you have a lot going on. For instance if you’re hosting your own online course platform through a WordPress LMS plugin then you’ll have what I consider a lot going on in your hosting account. Liquidweb is pretty expensive though at about $99 a month for the cheapest WordPress hosting plan. Liquidweb makes more sense if you have multiple sites or one large site with a high volume of traffic.
Kinsta.com is a great WordPress host. They offer fairly affordable plans for a single site which start at about $30 a month. However, depending on the number of visitors you have, it can get expensive. Hopefully as you get more visitors, you’ll be earning more to offset the increasing charges.
If you want to start out with a less expensive plan that can still grow with you, then SiteGround is perfect. You can start with a $10 a month plan and move up from there.
Connect your Domain Name with Your Hosting Account
You already have your domain name, and now you’ve got a hosting account purchased. The next step is to point your domain name to your hosting account. When you purchase hosting you’ll typically be assigned nameservers that you can use to point your domain name to your host.
Most domain registrars make this pretty easy for you. Each one of the main domain registrars will have tutorials to help walk you through this. If you have any trouble, you should contact them by chat or phone number and have them walk you through it.
It’s actually very easy though. You just take the nameservers your hosting provider has given to you and enter them into the nameserver field forms in your domain registrar.
How to Set Up Your Nameservers
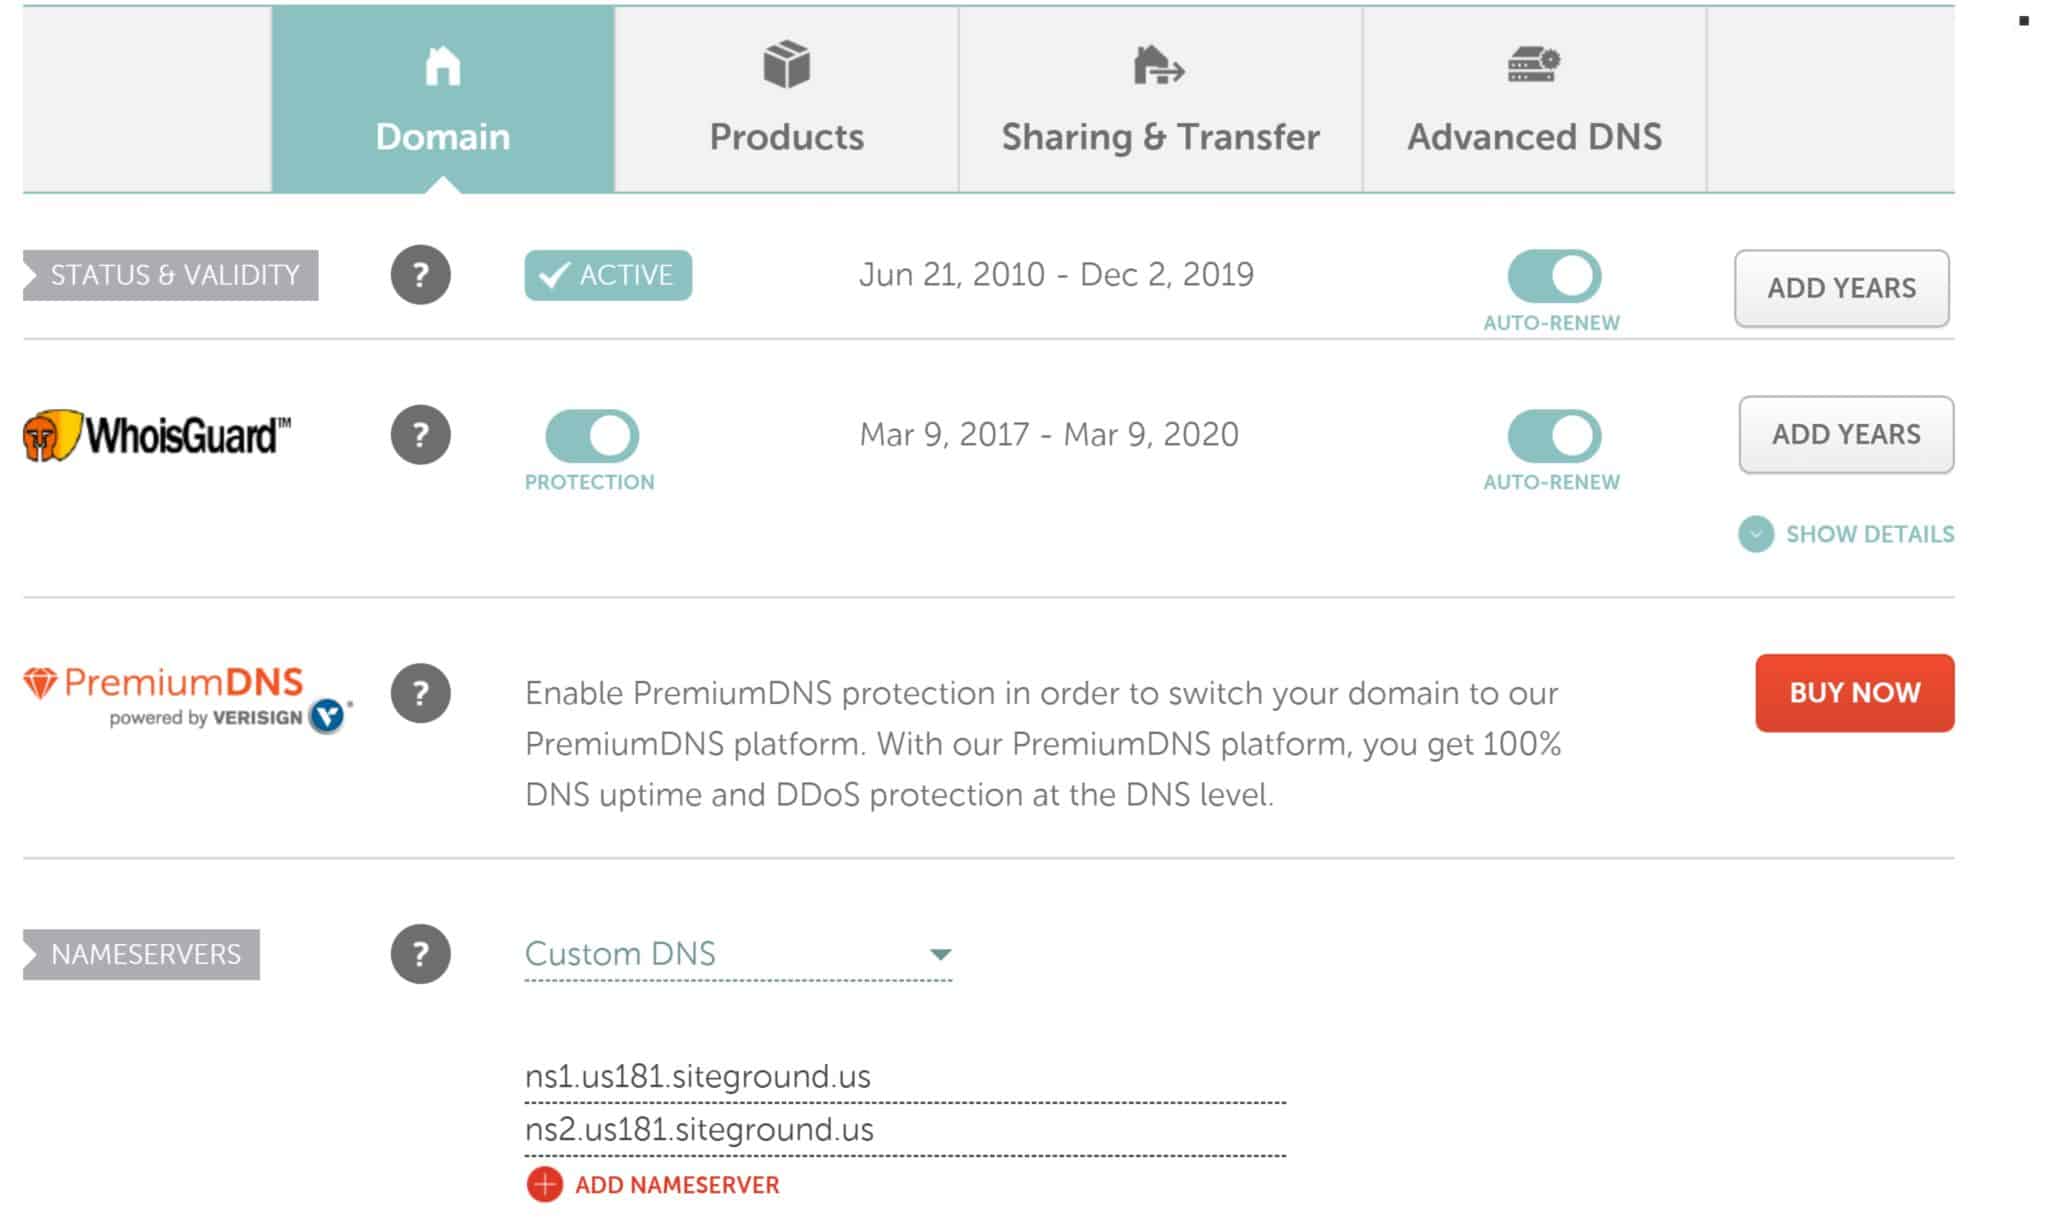
Here’s that same screenshot again from Namecheap. You can see there’s a space for your nameservers at the bottom. There’s usually two so you’ll want to make sure you copy and paste both into the form fields for nameservers at your domain registrar.
That’s really all there is to it. You can see I’m using Siteground hosting for the domain above and I had 2 nameservers to enter (they are both nearly identical in most cases like shown above). Then I’m set.
Here’s another screenshot that shows the dropdown menu under ‘Custom DNS’.
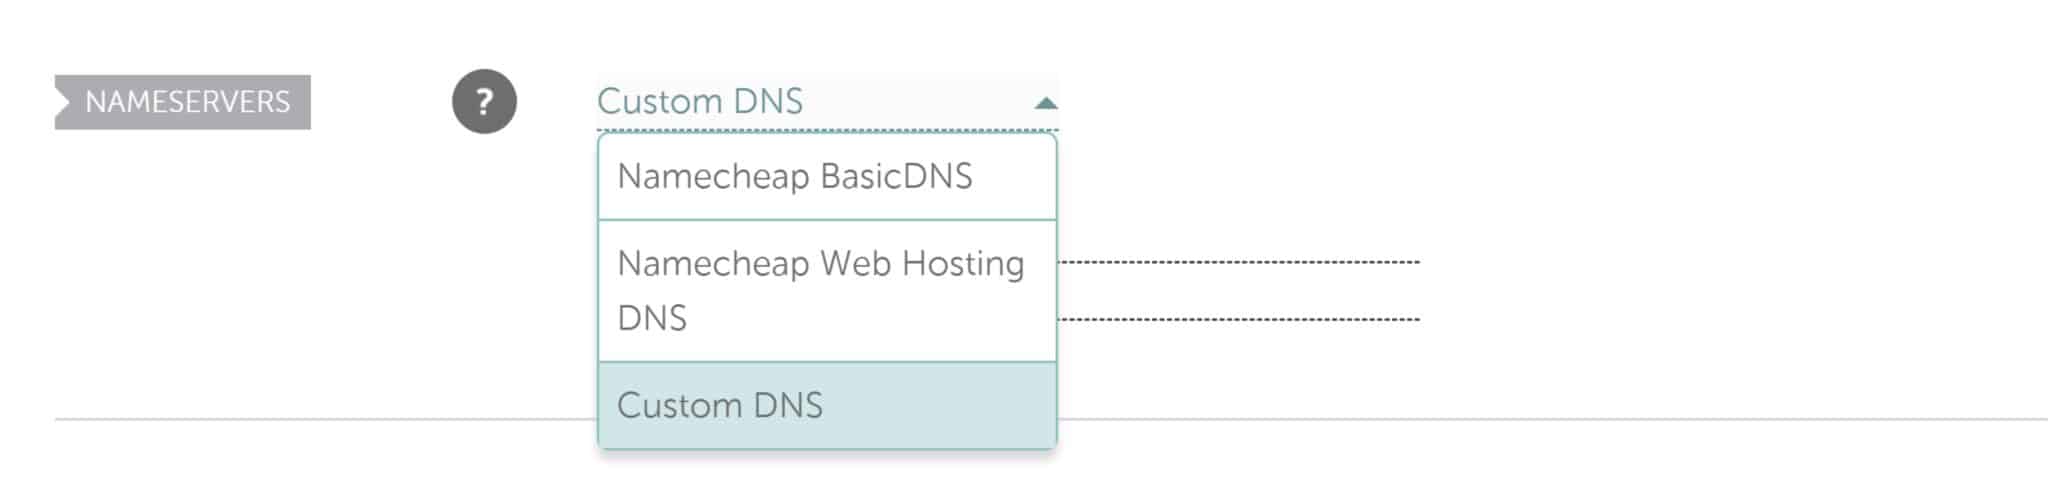
To start entering in those nameservers you want to select Custom DNS.
Don’t use Namecheap or Godaddy web hosting because you’re afraid of this step.
This step is very simple. Just select Custom DNS and enter in the nameservers your host has given you. After this, you’re actually all set.
Typical Nameserver Delay
One note to make is that it can take a few minutes for the nameservers to update. When they update you’ll see a different parked page than the one you had before. Often, the hosting company has their own parked page. Other times it just goes to a default error page. Either way, you know your nameservers have updated when you no longer see the Namecheap or Godaddy parked page.
If you look around online, some articles will tell you it can take up to 24 hours for your nameservers to update. I’ve never seen it take anywhere near that long. I’d say if you wait 15 minutes and don’t see a different parked page then there could be a problem.
For one, your browser may be caching the web page.
An easy fix for this is to close your browser down and then re-open it.
You can also try using a different browser. Go from Chrome to Internet Explorer just to see if the page has updated.
If it hasn’t and you don’t want to wait any longer or think you may have messed up somewhere, then contact your hosting provider or your domain registrar. They can help you. They should be able to check and see that you have it set up right or tell you to wait a little longer.
Installing Your SSL Certificate
Next, set-up your SSL certificate.
SSL helps users trust that your site is secure. It essentially allows secure connections from a web server to a browser. It’s a must for doing business online so make sure you set this up.
All the hosting providers I mentioned earlier offer a free SSL certificate with your hosting account. I’m showing you screenshots from my Siteground hosting account (I actually do have several hosting accounts at different companies and have for years … anything I recommend is hosting I use).
In the screenshot below, I’m logged into my Siteground account and am at the dashboard page. I clicked on ‘Extra Services’ and then went down one row to the SSL certificate option:
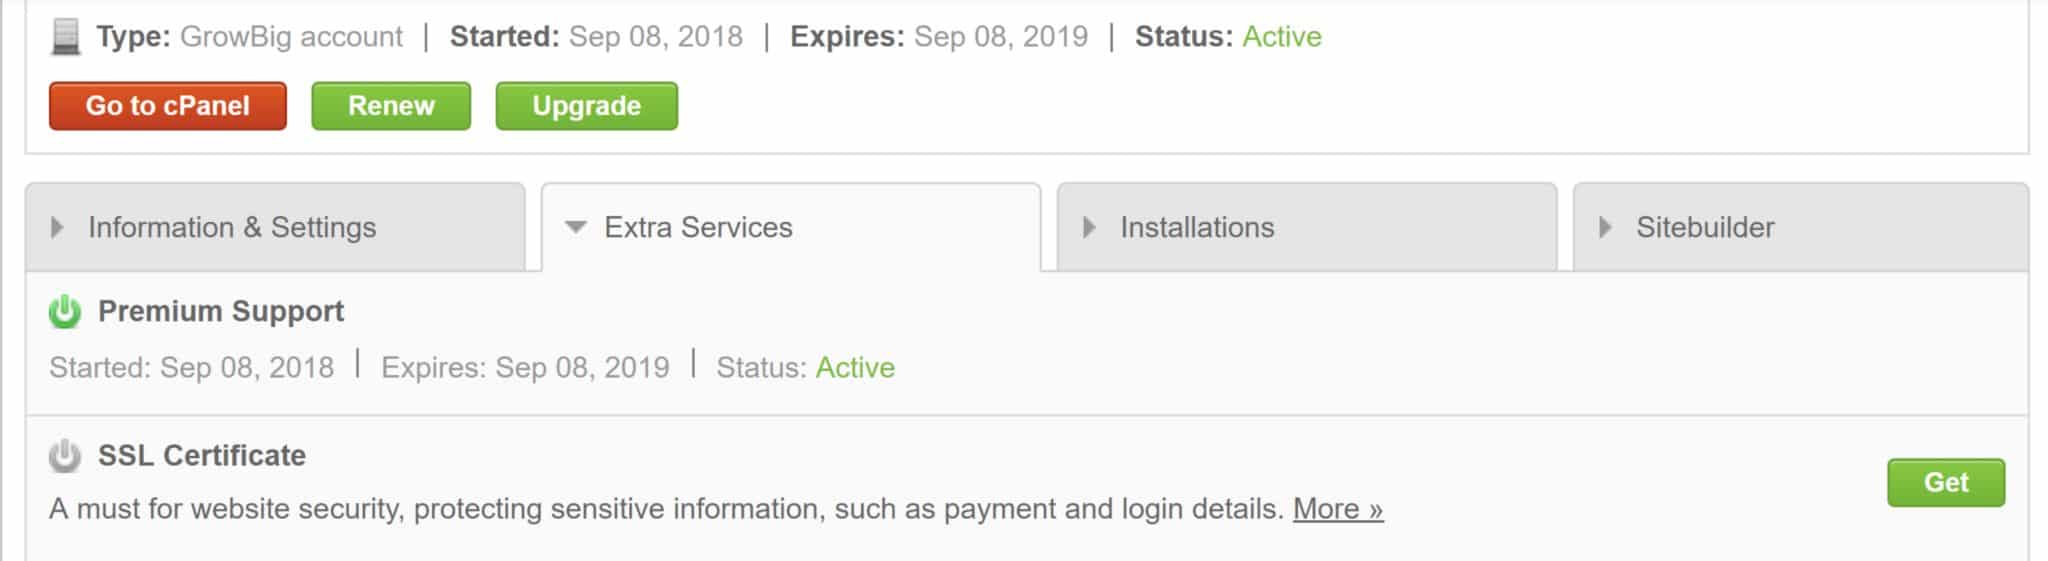
From there you can click on ‘Get’ to get your SSL certificate. Here they all have options listed because they offer paid and free SSL certificates (all hosting providers do this). I just select the free option:
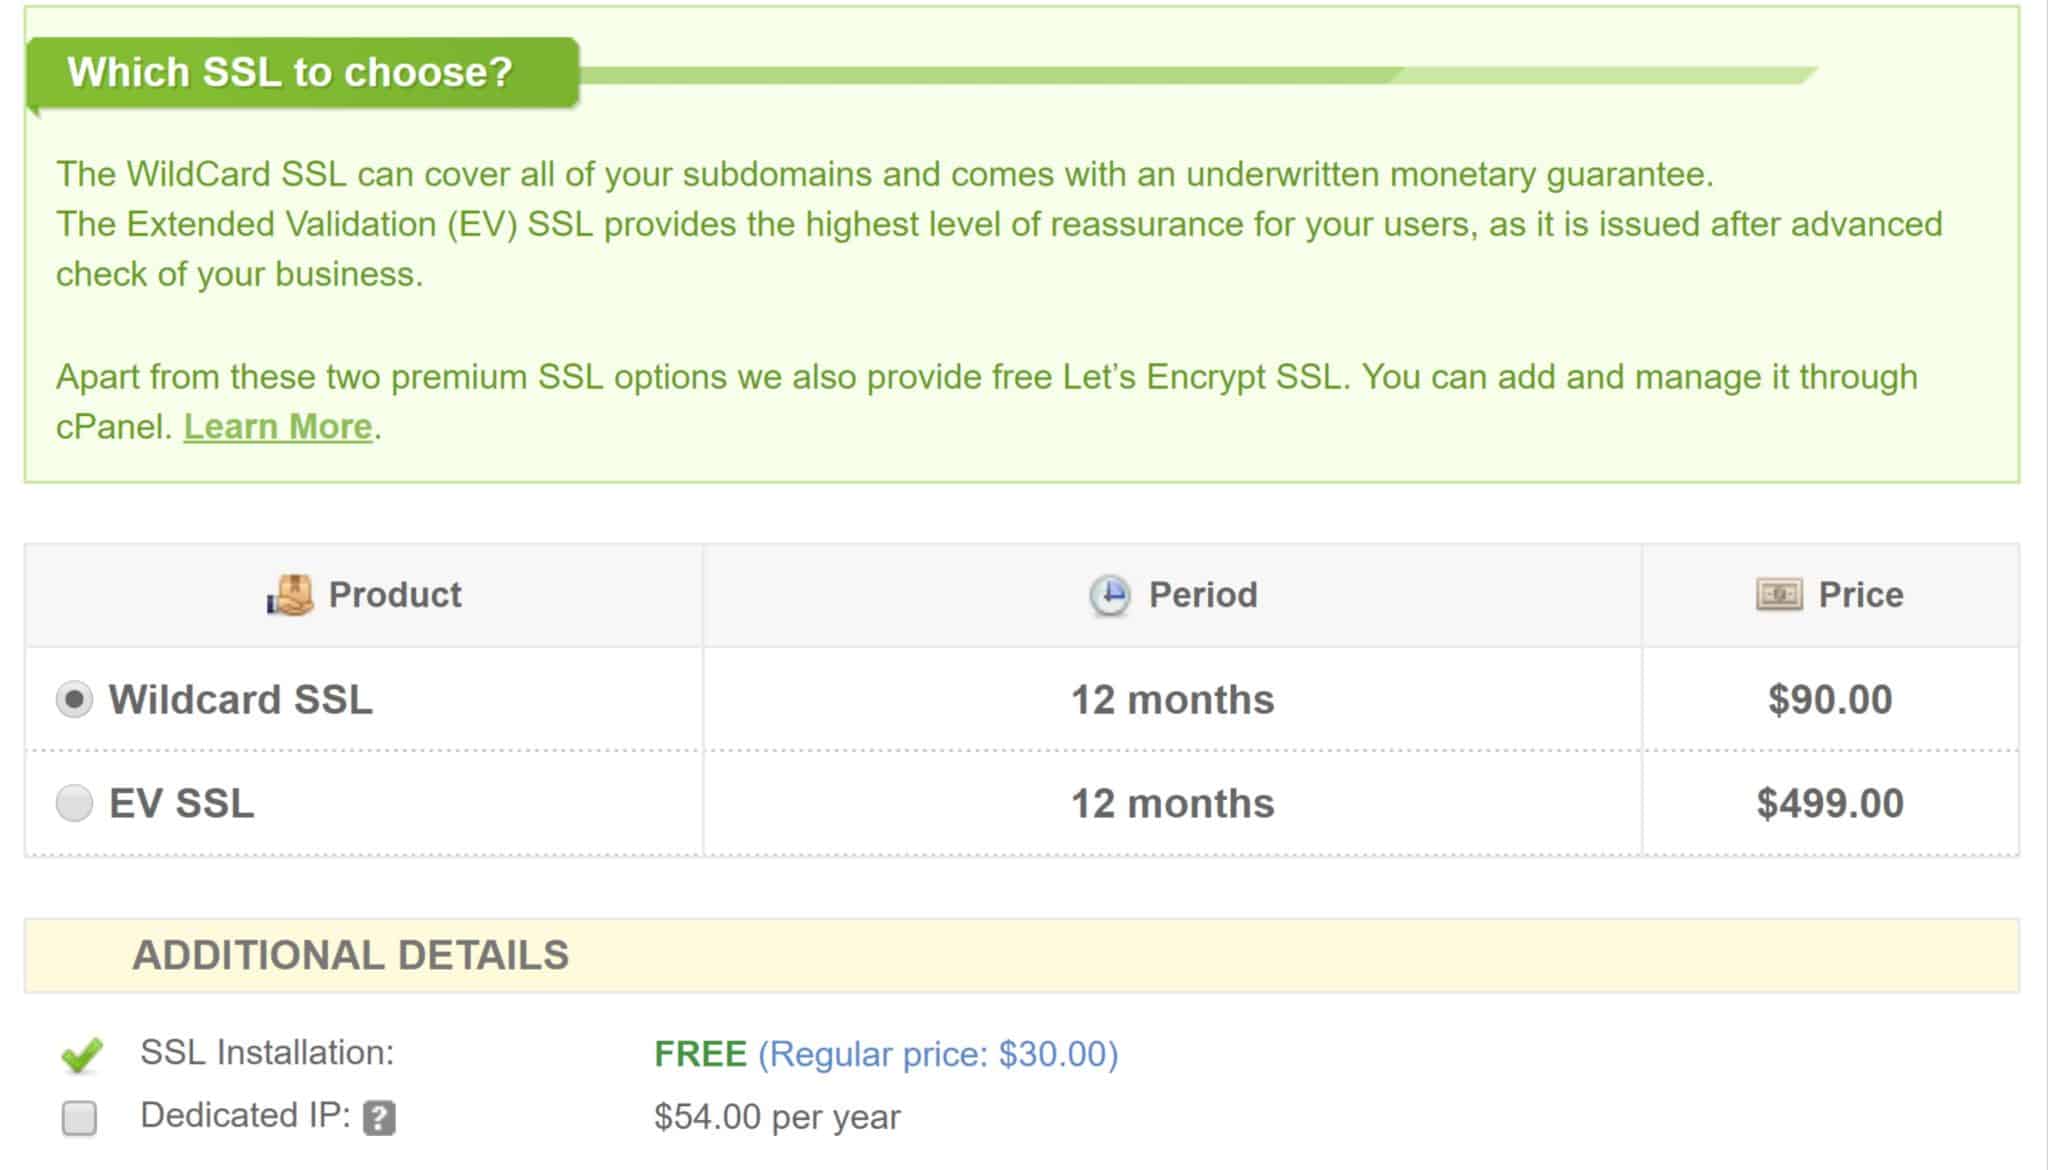
As shown above, I’ve enabled the free option for SSL Installation.
Just like with the nameservers, it can take a few minutes for your SSL to update.
At that point you should be taken to the https:// version of your site.
If this doesn’t work for you contact your hosting support, but again, your browser could be caching your old site so try closing out your browser window first. If you wait 15 minutes and also try a different browser, but it still doesn’t work you may want to contact your hosting provider and see what’s going on. There might be an additional steps you’re missing with your particular hosting account.
Setting Up WordPress
WordPress is currently the most popular content management system online. Using WordPress as your site builder is a great choice. I suggest not using the hosting account’s sitebuilder because then you’ll be locked into that host. It’ll be hard to switch hosts later on if you need something else if you’re entire site is built with their custom sitebuilder.
If you’re OK using WordPress then login to your cpanel account. You can scroll down to an area that is likely called autoinstallers as shown here:

In the screenshot above you can see Softaculous and click on that. From there you can click on WordPress from the Blogs dropdown menu (or clicking on the WordPress icon in the above screenshot works too).
Use the WordPress Auto Installer and Save Time
The screenshot below shows the WordPress installer.
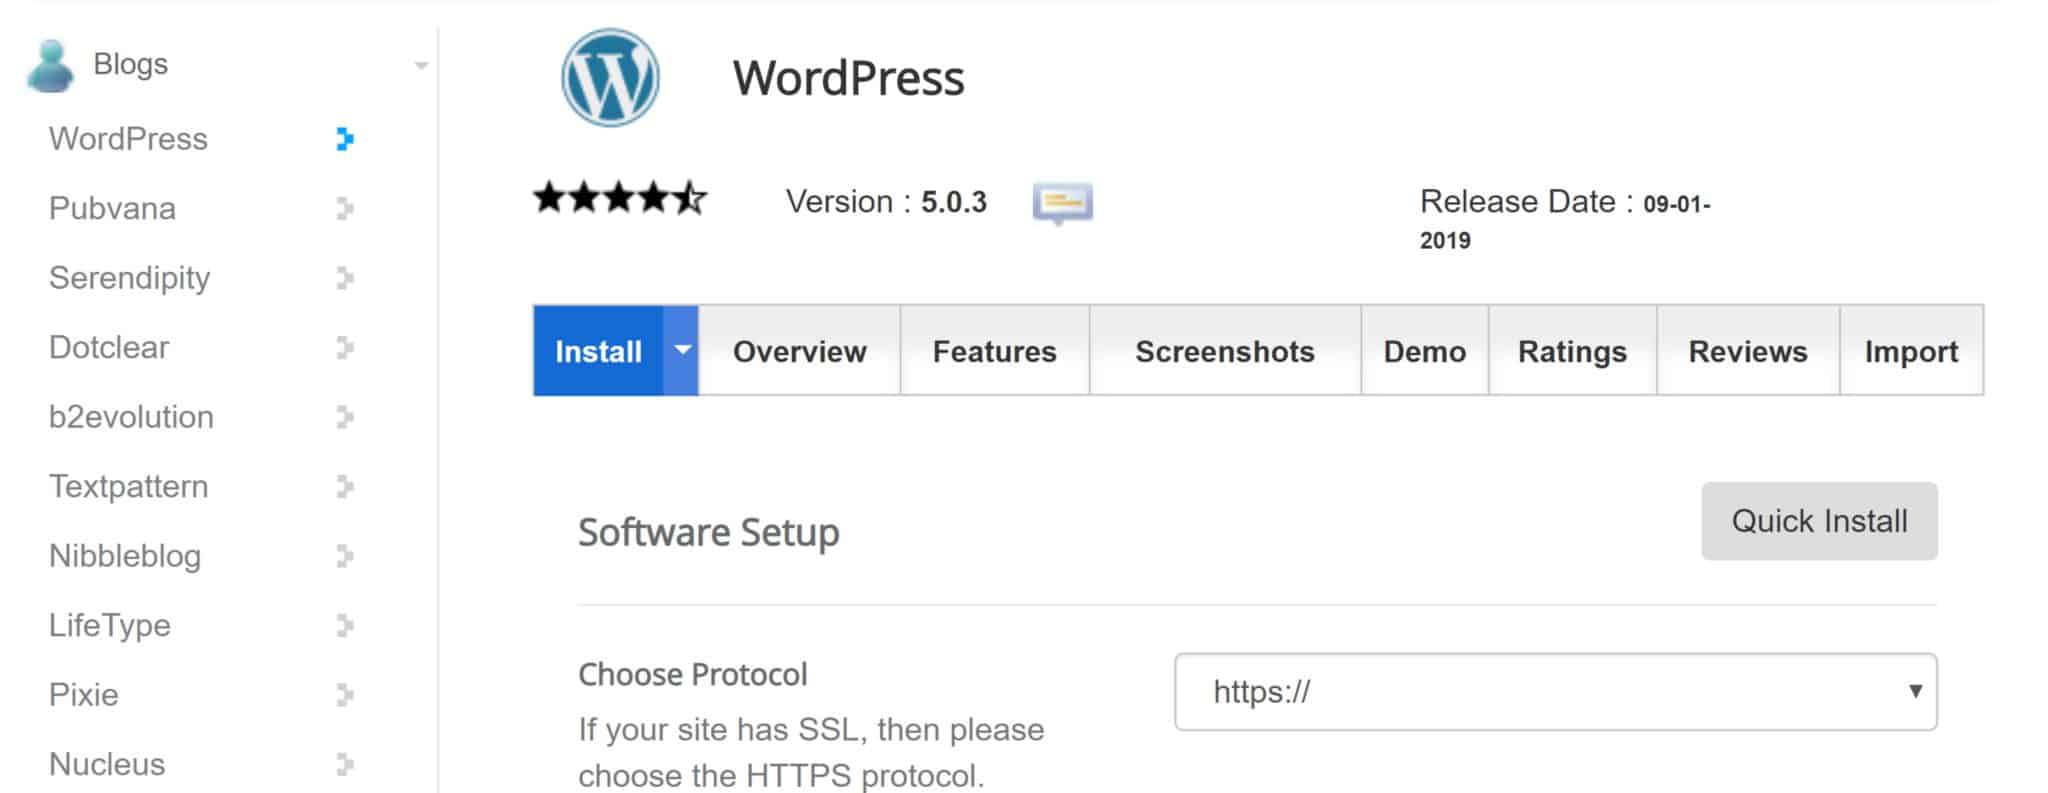
Choose HTTPS protocol since you set up SSL on your site.
Then choose your domain name if you’re running a hosting account with multiple domain names.
You also need to select a directory. If you just want WordPress installed right where you type your domain name, then you leave it blank. If you want it installed in a subdirectory like /course/, then you’ll need to type ‘course’ in that field.
From there, you can also add in some site settings as shown below:
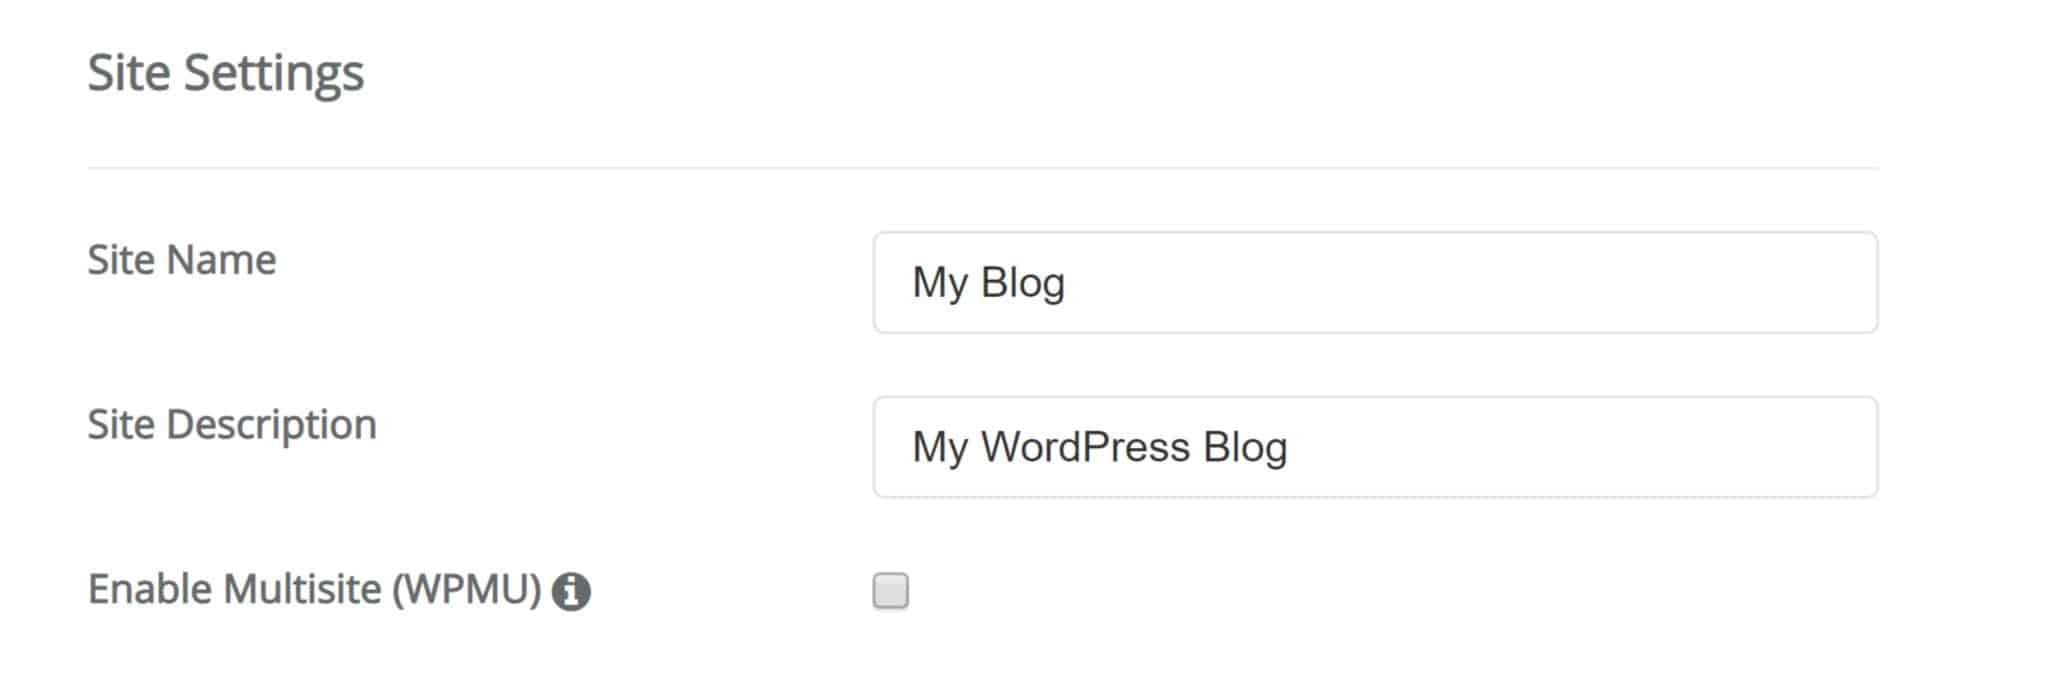
You can add in your site name which can be your domain name along with your site description. You can always change these later so it’s not a big deal if you change your mind.
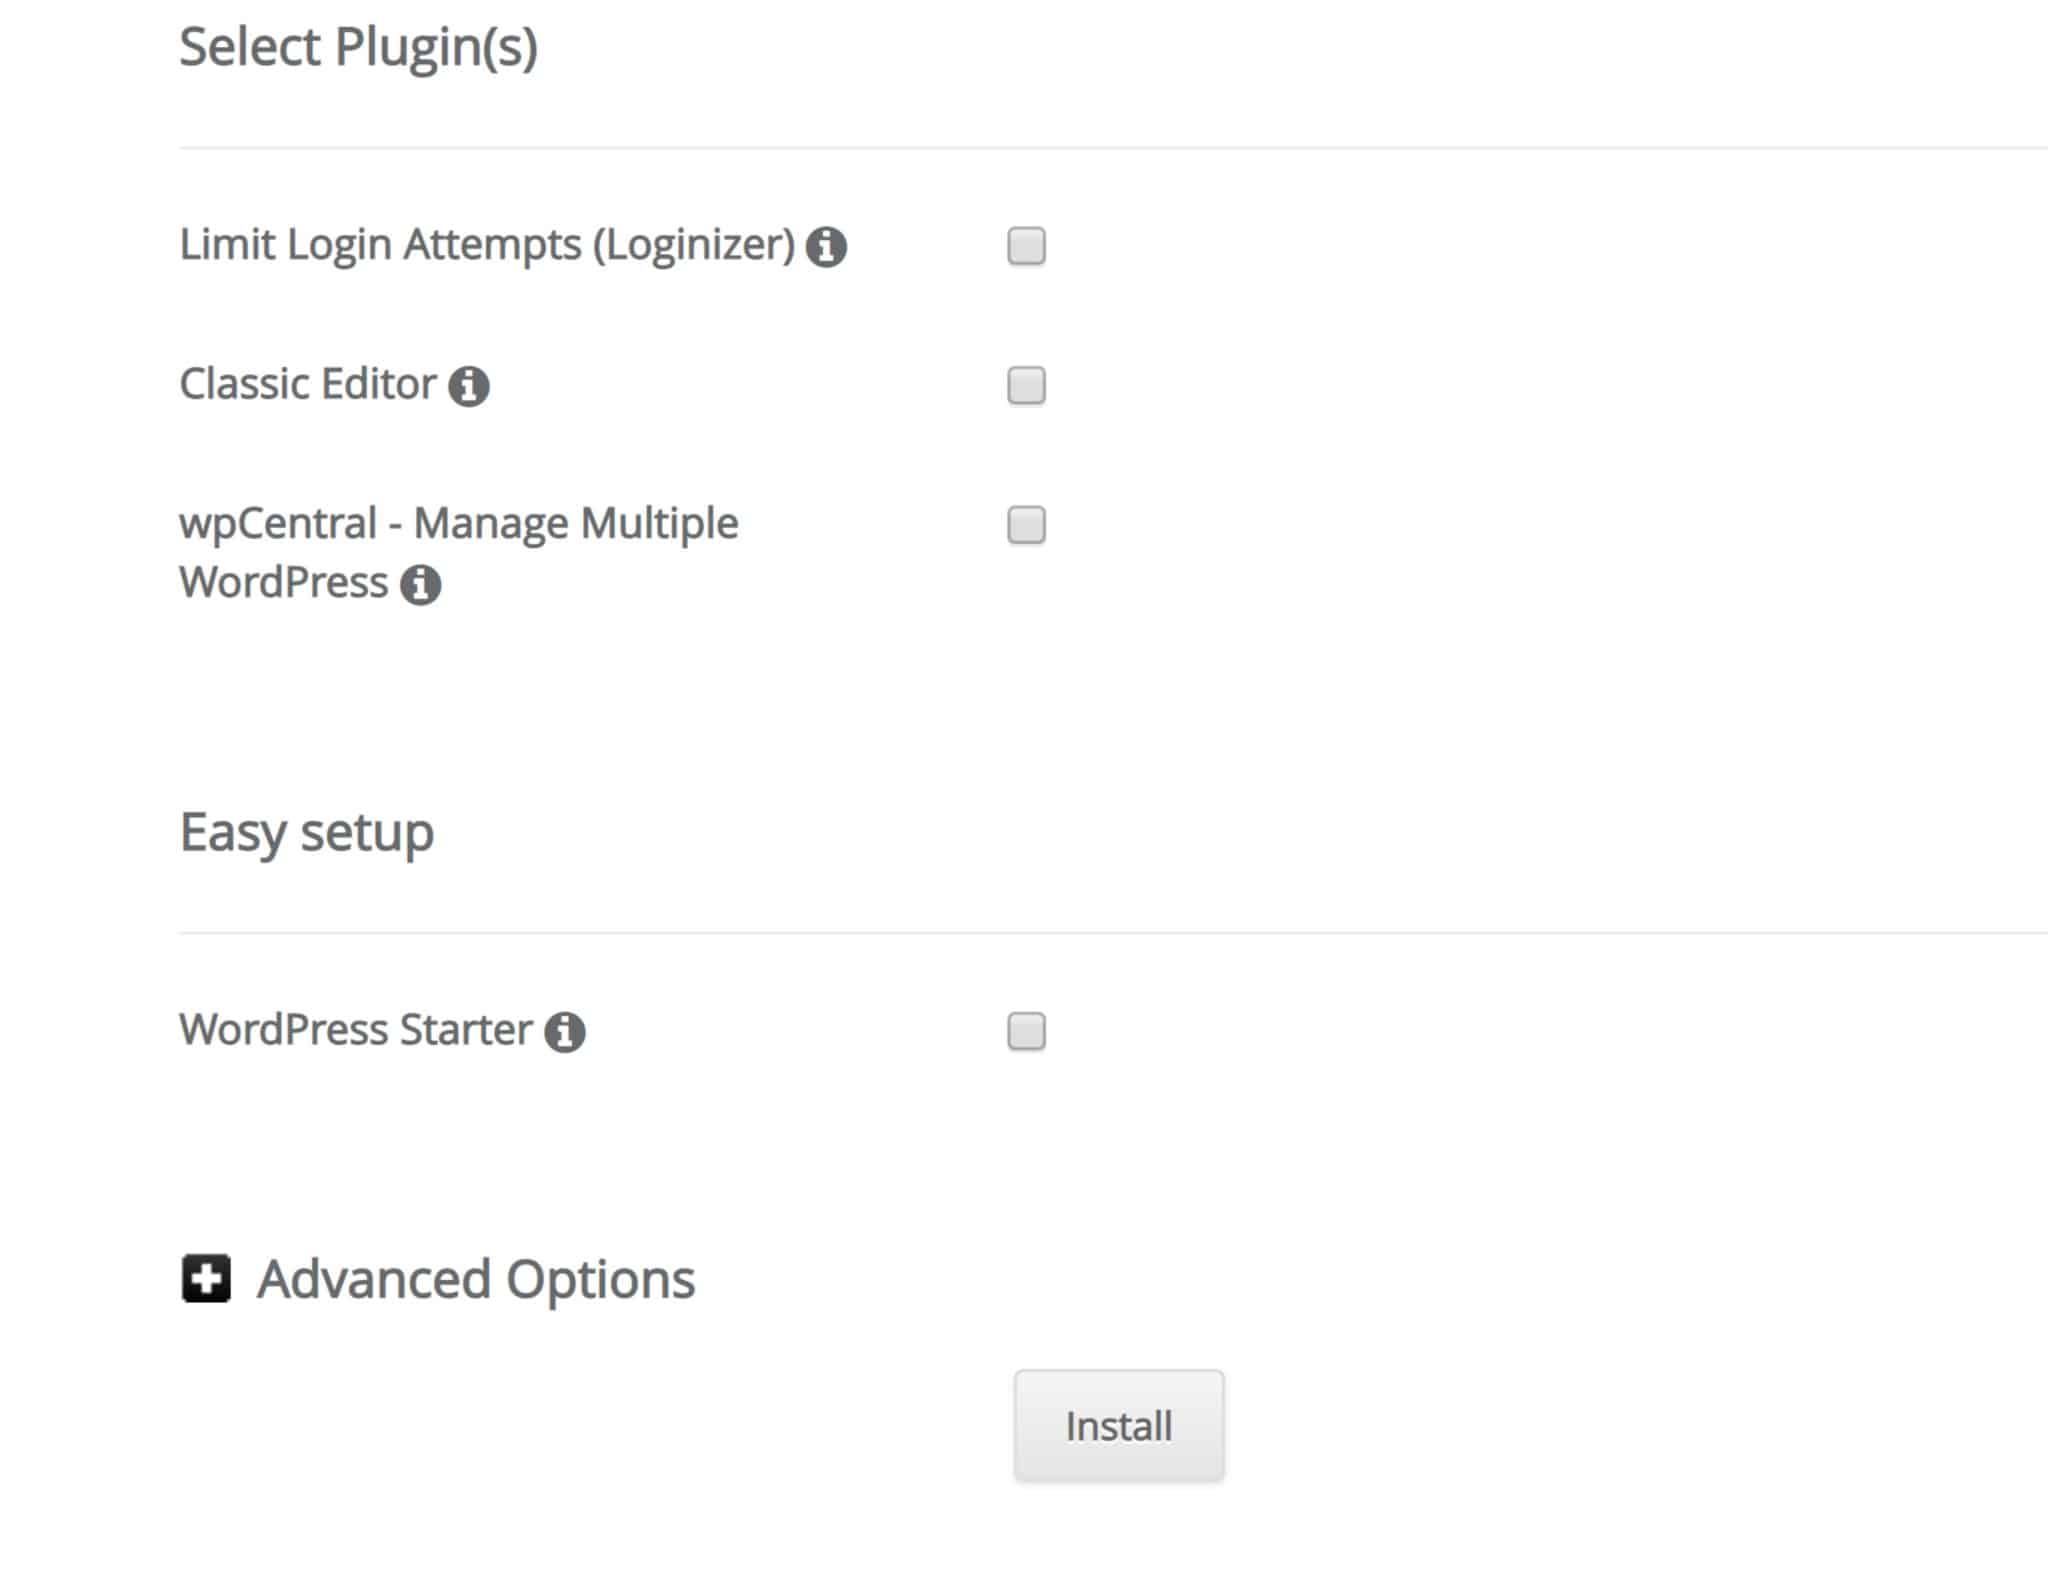
There are also some admin options like your username and password. Do write these down so you can get into your WordPress admin later on. There are a few other options like plugins, but I don’t suggest setting those up from here.
Next, click on ‘install’:
You now have WordPress installed.
Once you’ve got that ready, it’s time to login to your WordPress admin and start creating your site!
That’s a quick tutorial on what to do after buying a domain name. I hope you find it useful and get your domain and hosting account set-up right away so we can start seeing what you’re creating. If you’ve got any questions or comments, please leave them in the comments box below.
