Our content is reader supported, which means when you buy from links you click on, we may earn a commission.
How to Create a Master Slide in PowerPoint

PowerPoint is a great tool for creating presentations.
With PowerPoint, you can control just about every aspect and fine detail of each and every slide. With that level of detail, you can make each slide completely different from the other.
But what if you want some consistency across your slide show?
It might be best to consider learning how to create a Master Slide in PowerPoint. With the use of the Slide Master tool, you can design one slide layout and apply it to all your slides. Any changes you make to that Slide Master will be applied to all the slides that use it.
What is a Slide Master?
A Slide Master controls the design of all the slides based on it.
You can change font colors and styles, borders, images, footers, slide numbers, and more all through the use of a Slide Master.
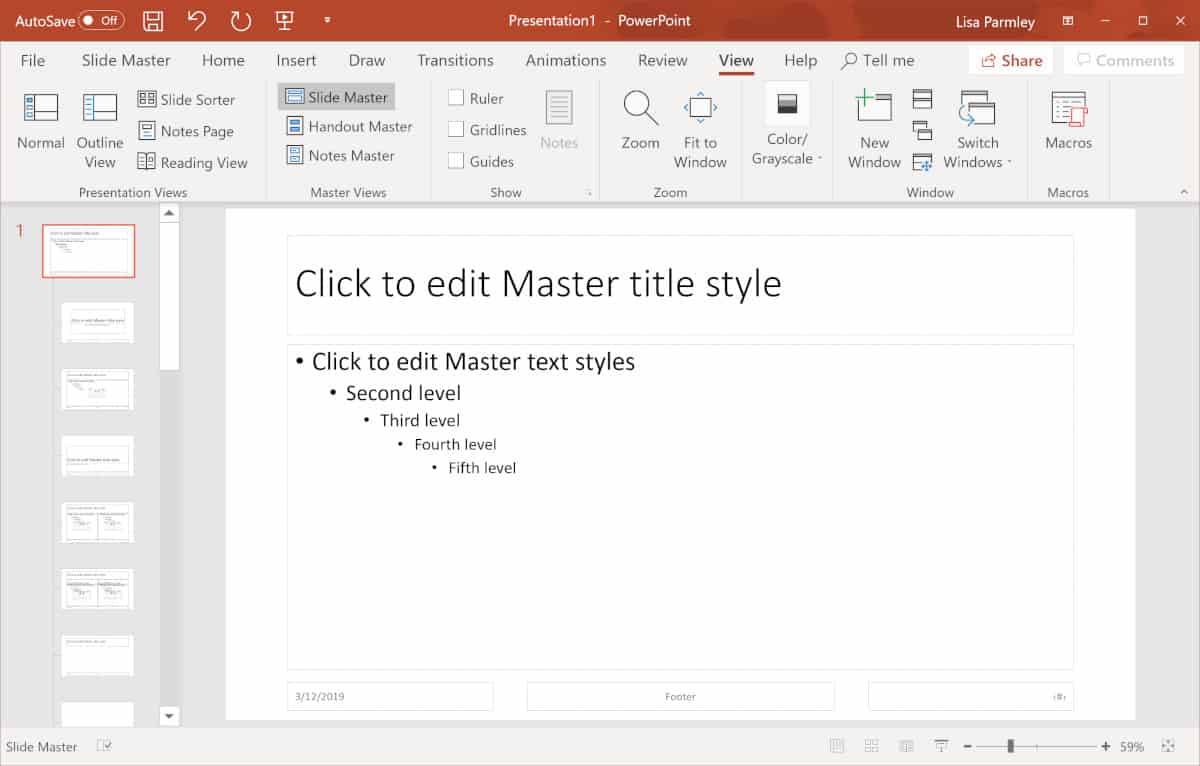
Slide layouts contain the positioning of boxes that serve as placeholders for content. These are the dotted line containers as shown below:
You can hide or show placeholders in the slides utilizing your Slide Master.
Why Create a Slide Master?
Taking the time to set-up a Slide Master allows you to have consistency across your presentation. Once it’s set-up you can customize your entire slide show with just a few clicks.
For instance, you may find a free theme as a starting point and customize it to be perfect with the Slide Master.
You can change the entire slide or just make a very small adjustment.
Here’s what the Slide Master is commonly used for:
- Modifying backgrounds shown on all slides. That might mean adding a logo or a watermark so it’s visible on each slide. It could also mean adding the same border to every slide.
- Using set font styles, sizes, and colors. These can be set to display on all the slides in your presentation linked to the Slide Master layout.
- Move a placeholder. If you don’t like where a placeholder is at on a slide layout, you can move it and it’ll show up in the new spot for all your slides.
With the Slide Master you can actually change everything and anything you want for all the slides in your presentation.
Let’s move onto how to do it.
How to Set Up Your Slide Master
There’s really only one way to set up your Slide Master which you’ll learn about below. This option works for all versions of PowerPoint.
Use the Slide Master View
Here’s how to set up your Slide Master …
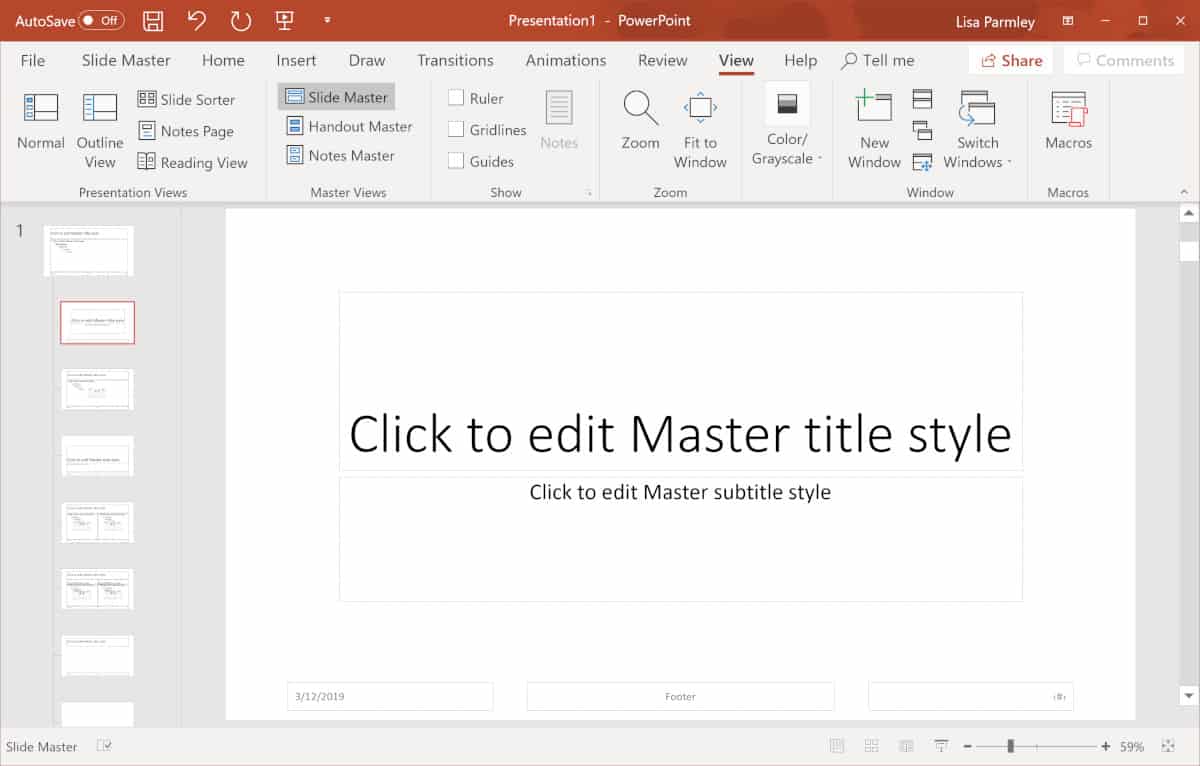
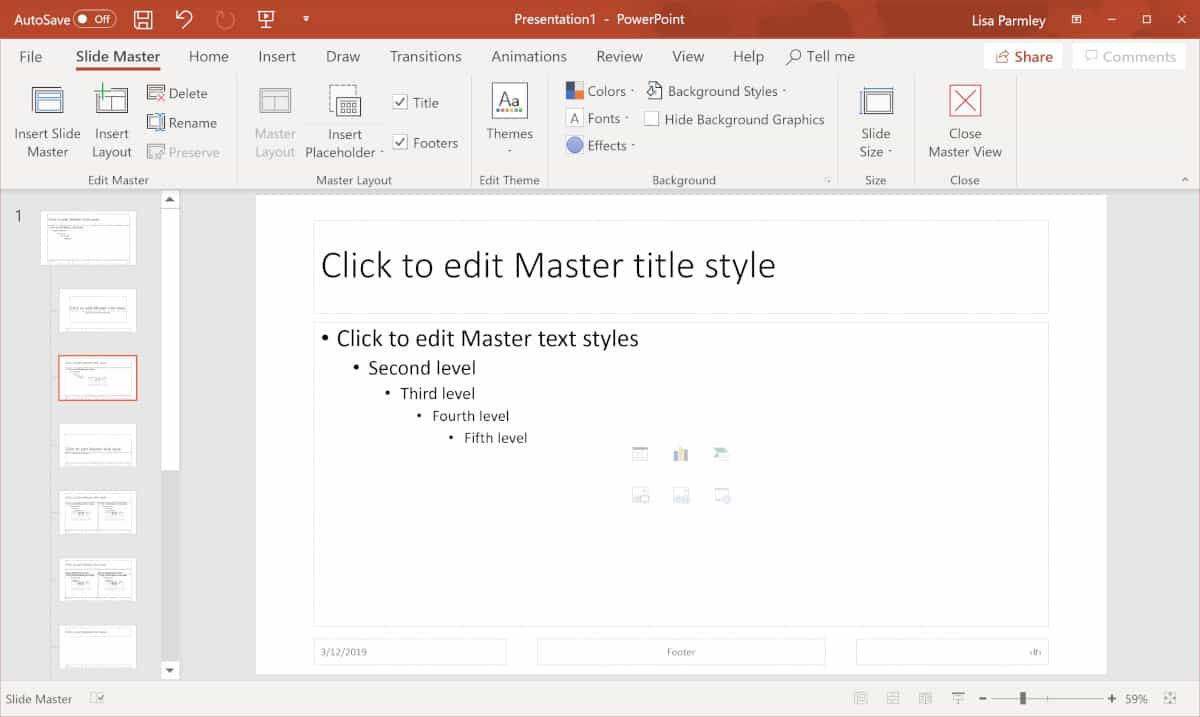
Select the View tab, then click on Slide Master which is in the Master Views group:

In Slide Master view the Slide Master will appear as the very first slide in the thumbnail pane. Click on it and you can change anything you want:
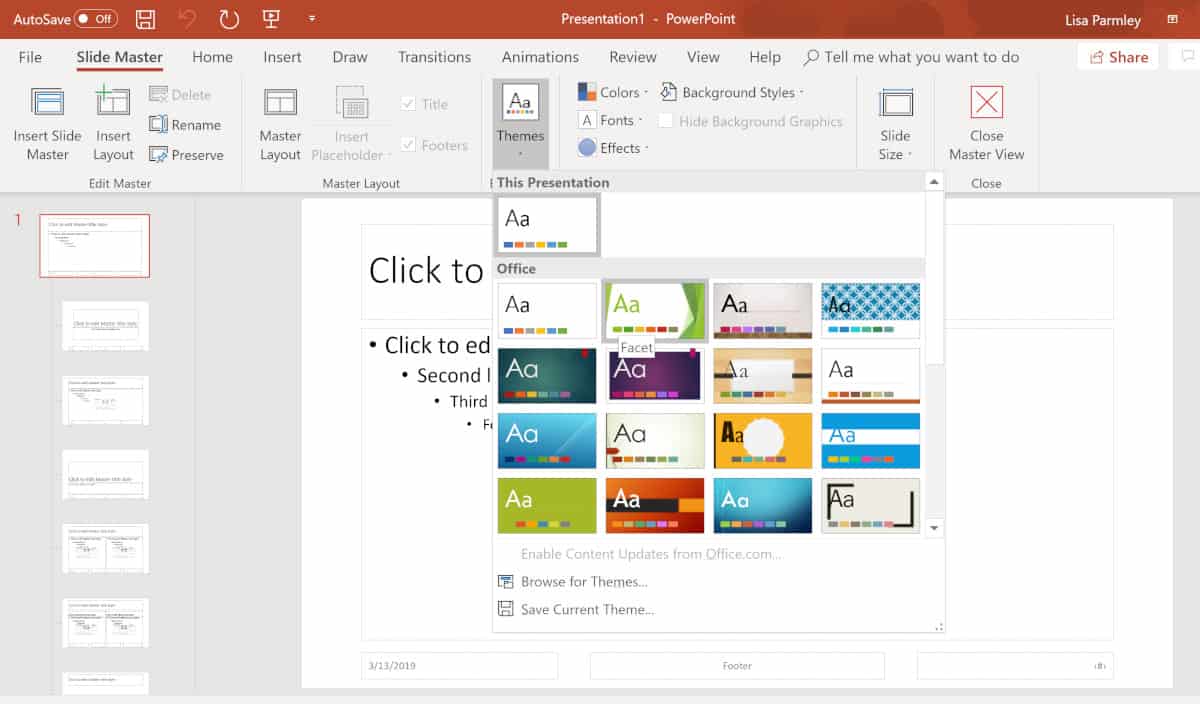
You can use a predefined theme by clicking Themes on the Slide Master tab. Select colors, fonts, effects and background styles from within the theme:
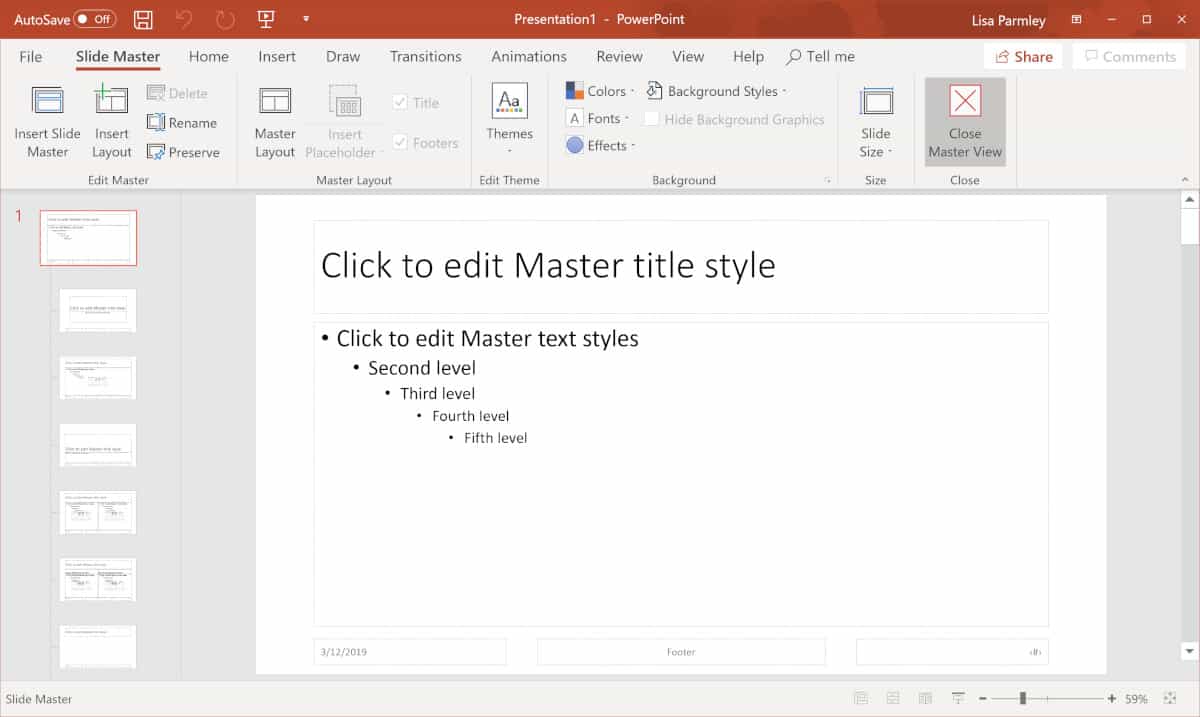
When your Slide Master is ready to go, click on Close Master View:
Notes about the Slide Master
The top thumbnail in the thumbnail pane is the Slide Master. Changes to this slide will change all the slides. Underneath the top Slide Master are the slide layouts. If you change these then you will change all the slides based on that particular layout.
As you can see, there are a number of slide layouts you can change within the Slide Master view.
Best Uses for PowerPoint Slide Master
It’s best to edit the Slide Master before you create the rest of your slides.
If you edit the Slide Master after you’ve created slides, you may have problems. For instance, you may have had an extra text box that is now gone.
If you’re changing the Slide Master after you’ve created most of your slides it’s a good idea to review your slides. You’ll want to make sure they all still look the way you want them to.
When you change the Slide Master you’re making a new theme or a custom version of a theme. Save your Slide Master and you can apply it to other presentations.
Conclusion
As you can see, learning how to create a Master Slide in PowerPoint can be a huge time saver for you. It’s well worth investing the time to learn how to use it so you’re not changing every detail manually across all your slides.
Some top things to change using the Slide Master include:
- Changing the default font in PowerPoint so you don’t have to go through each text box.
- PowerPoint slide border management so you can add in your border once and be done with it.
- Adding slide numbers to PowerPoint so they automatically update as you insert, delete, or move slides around.
There are many other uses for Slide Master, but mostly, by getting familiar with it you will save a lot of time!
If you’ve found this tutorial helpful, please share it with others who may need PowerPoint help. As always, we appreciate your support.
