Our content is reader supported, which means when you buy from links you click on, we may earn a commission.
How to Add PowerPoint Borders to Your Presentation
Figuring out how to add borders to your PowerPoint slides can leave you scratching your head for hours.
It’s not worth searching through all the icons available to you on PowerPoint.
Instead, keep reading, and you’ll discover how to add PowerPoint borders quickly and easily.
Why Add PowerPoint Borders?
There are a lot of reasons you may be thinking about adding a border to your PowerPoint slides. The top reason is for design impact. Borders can make your presentation look sharp and refined.
Here’s how:
- Borders can help your slides look more organized.
- If done right, they add design appeal. This is especially true for thin borders.
- Borders give definition.
Not every presentation needs borders, and often, instructors only use borders in the introductory slide. However, you can try out your PowerPoint template with a border and without quite easily and see which one you prefer.
Different Options for Adding Borders in PowerPoint
Now that you’ve learned a little about borders, let’s get into how to create them. There are several different options that are covered for you below:
Option 1: Borders Through Shapes
This method works for all versions of PowerPoint.
In this method, you will insert a shape, select no fill, and then choose the line color and weight to give a border effect.
Here’s how to do it …
First go to the Insert tab and then click on Shapes. Select the rectangle shape if you want your border to follow the dimensions of your slide:
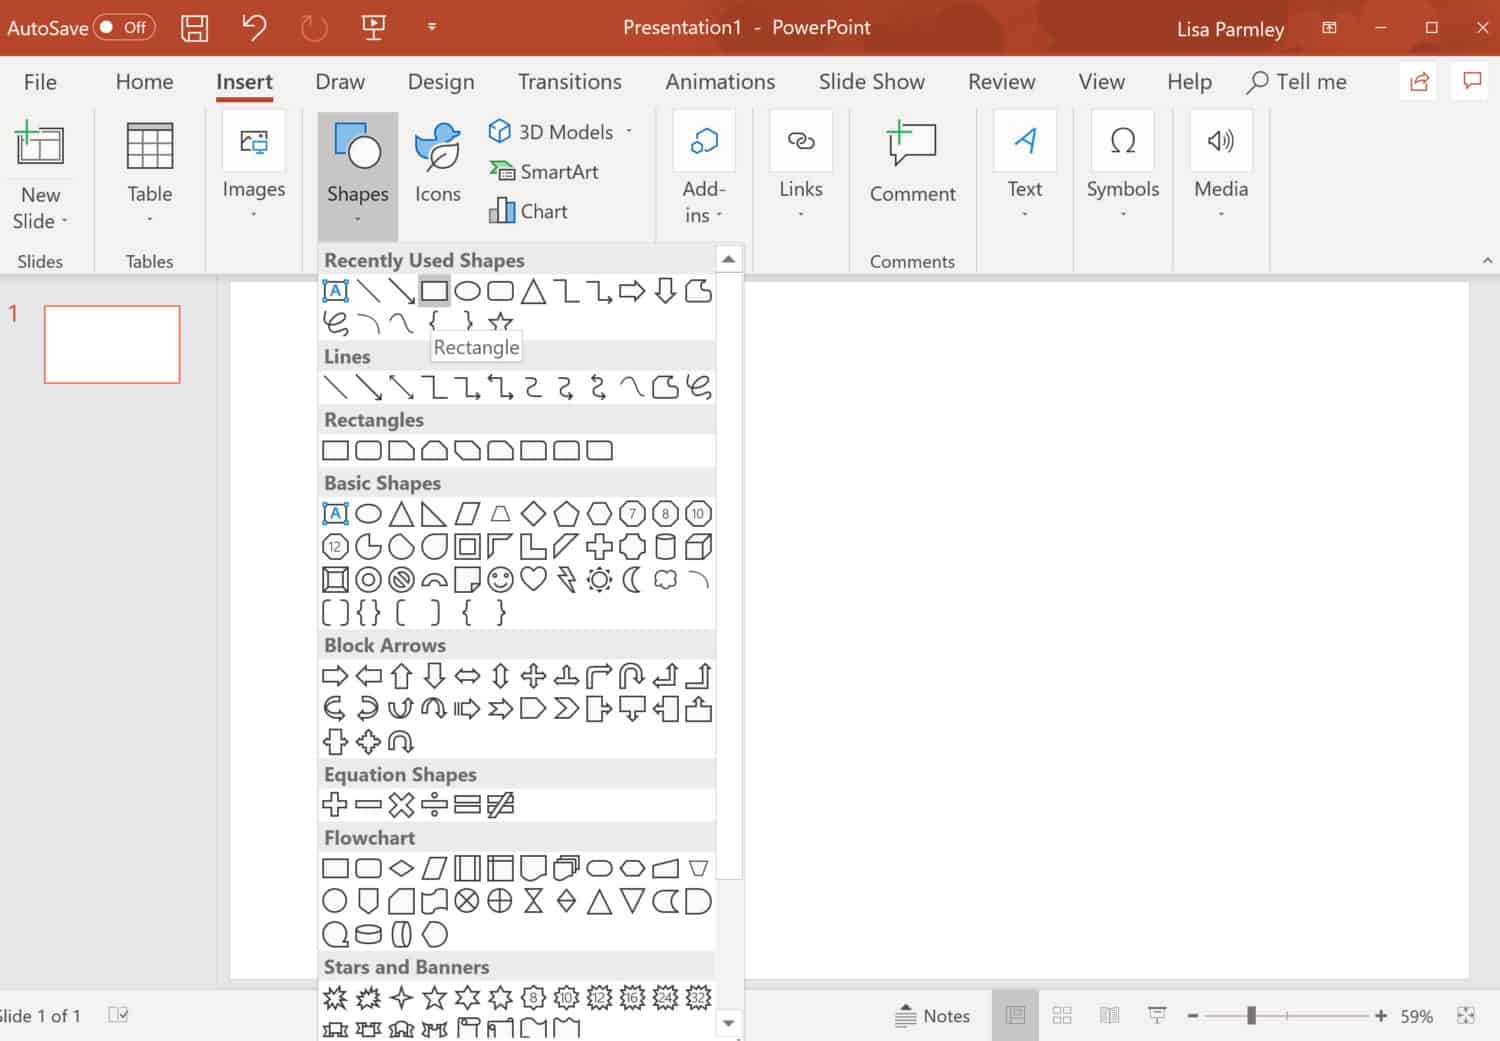
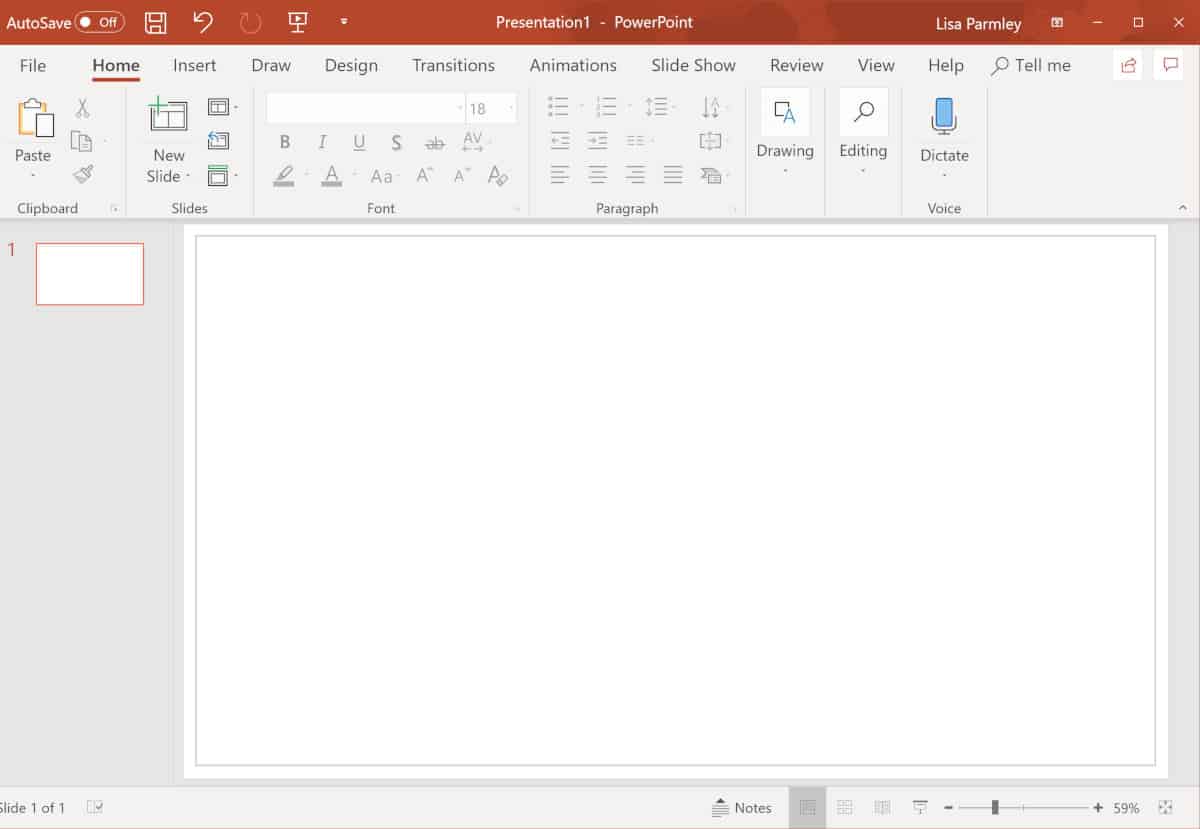
Place the shape where you want it on your slide:
As you can see, I placed the shape so it covers nearly the entire slide. I left a slight bit of the slide showing though. That way you’ll be able to see the border when it’s finished.
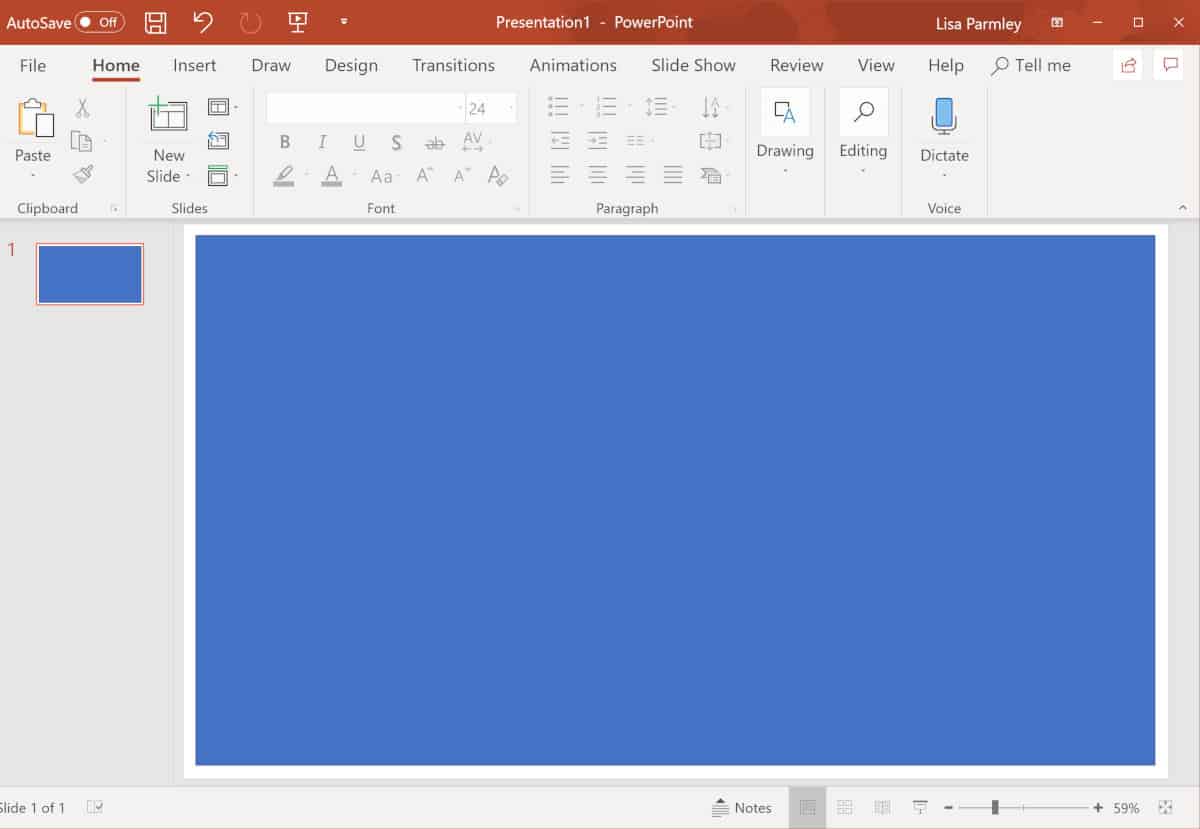
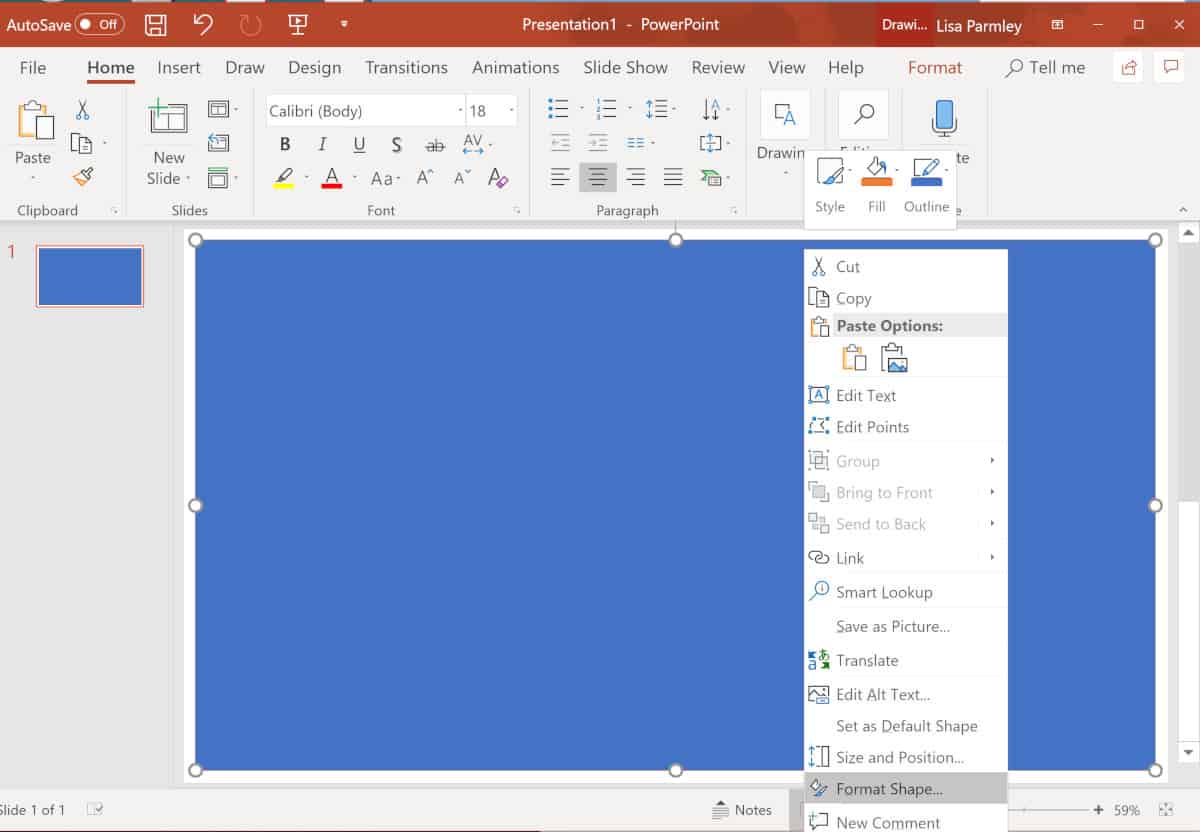
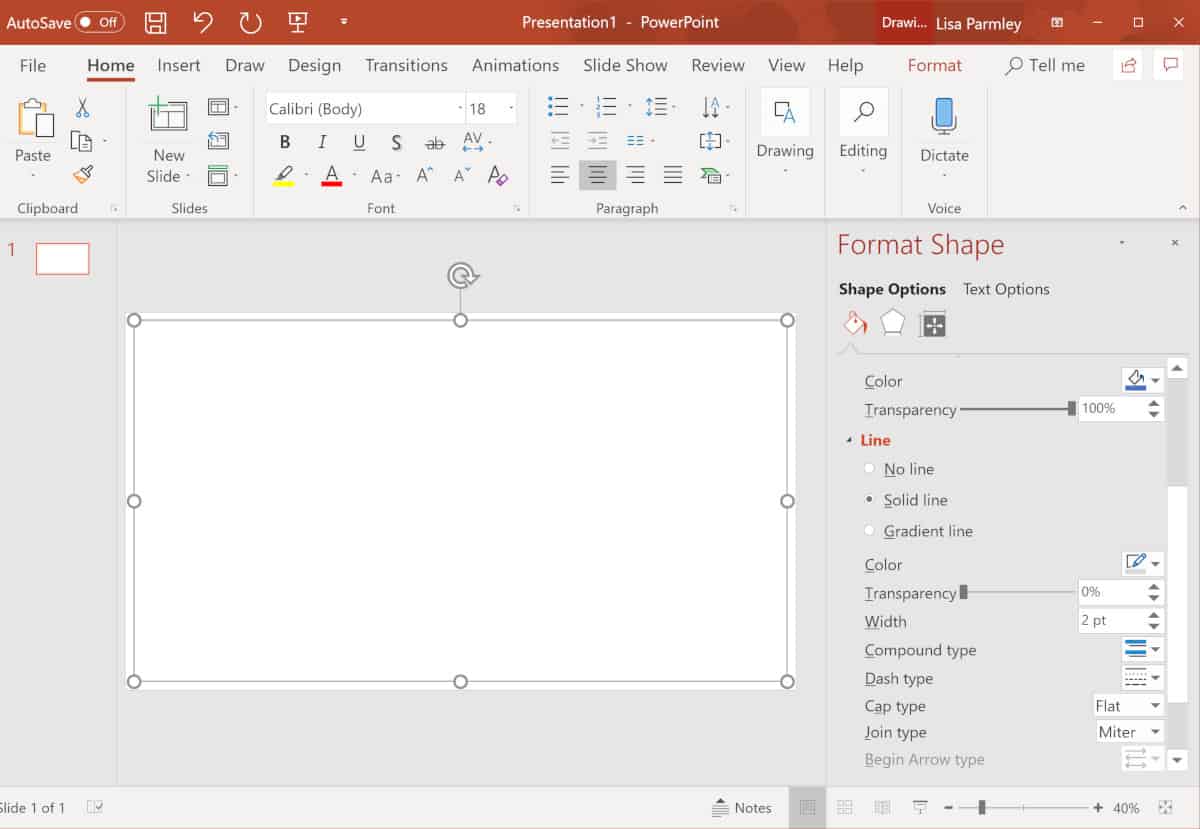
Select the shape and right-click on it. Then go down to the bottom of the pop-up menu and click on Format Shape:
Once you do that, a Format Shape box will open where you can format the shape and select the transparency.
You can slide the Transparency slider all the way to 100% if you want your rectangle shape to blend in with the rest of the slide. You can also click on Line and adjust the settings of your line (which will be your border).
For the example below, the Fill is set to 100% (so there is no color filled into the shape). The line is set to Solid Line, the line Color is a shade of gray, and the line Weight is 2:
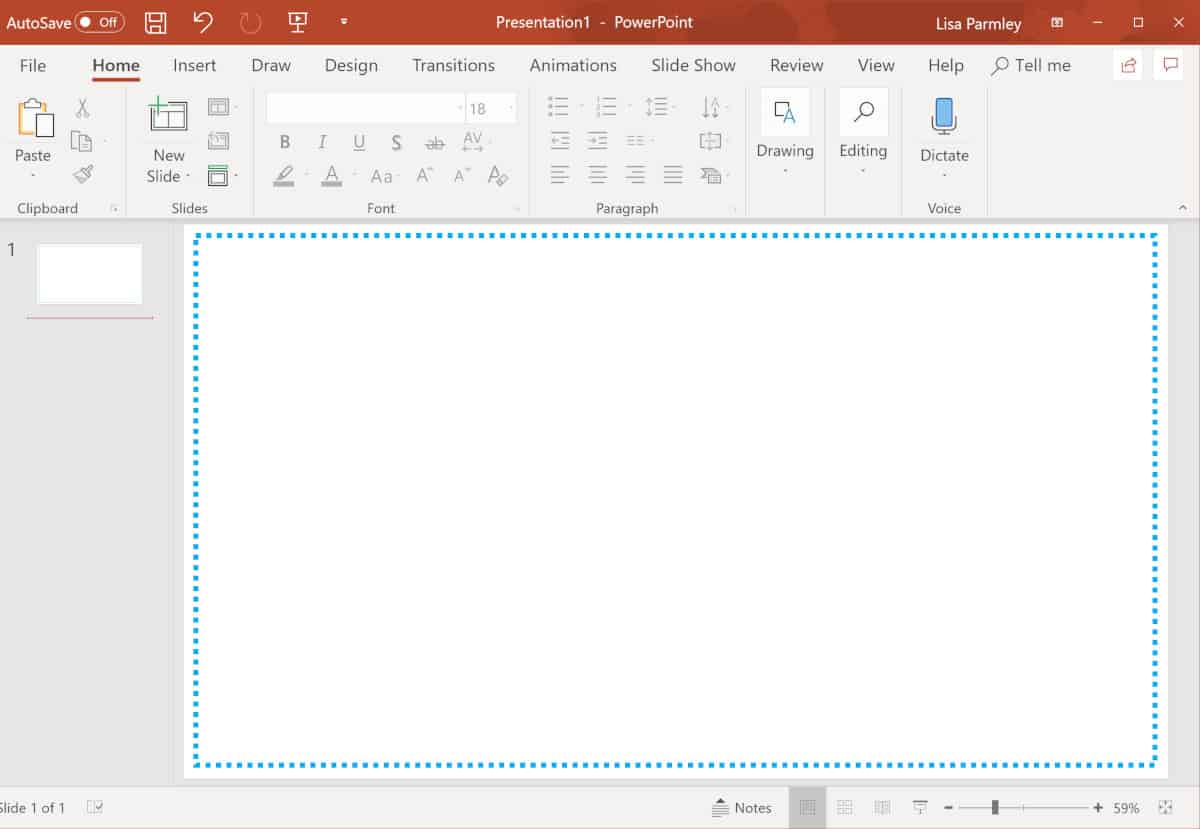
Here’s a screenshot of how the example border turned out:
You can create all types of borders using the shape method. You can choose from dashed lines, gradient lines, different colors, and any width of line. In addition, you can place your border wherever you’d like on your slide. This makes for unlimited borders using this one simple technique.
Just to show you, I played around with the settings for this border and came up with this:
You really can make just about any type of border with this technique.
Option 2: Insert Border Image From Bing Image Search
This technique works on PowerPoint versions 2013 and up.
In order to make this method work, you’ll insert an image with borders already on it from Bing Image Search.
Go to the Insert tab and select Online Pictures:
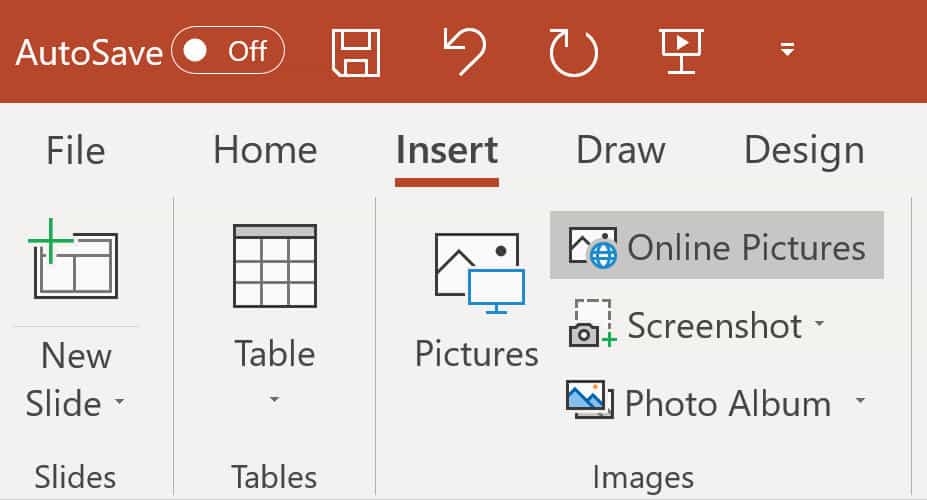
Once you’ve clicked on Online Pictures, a box will pop up. The box is an embed of Bing Image search:
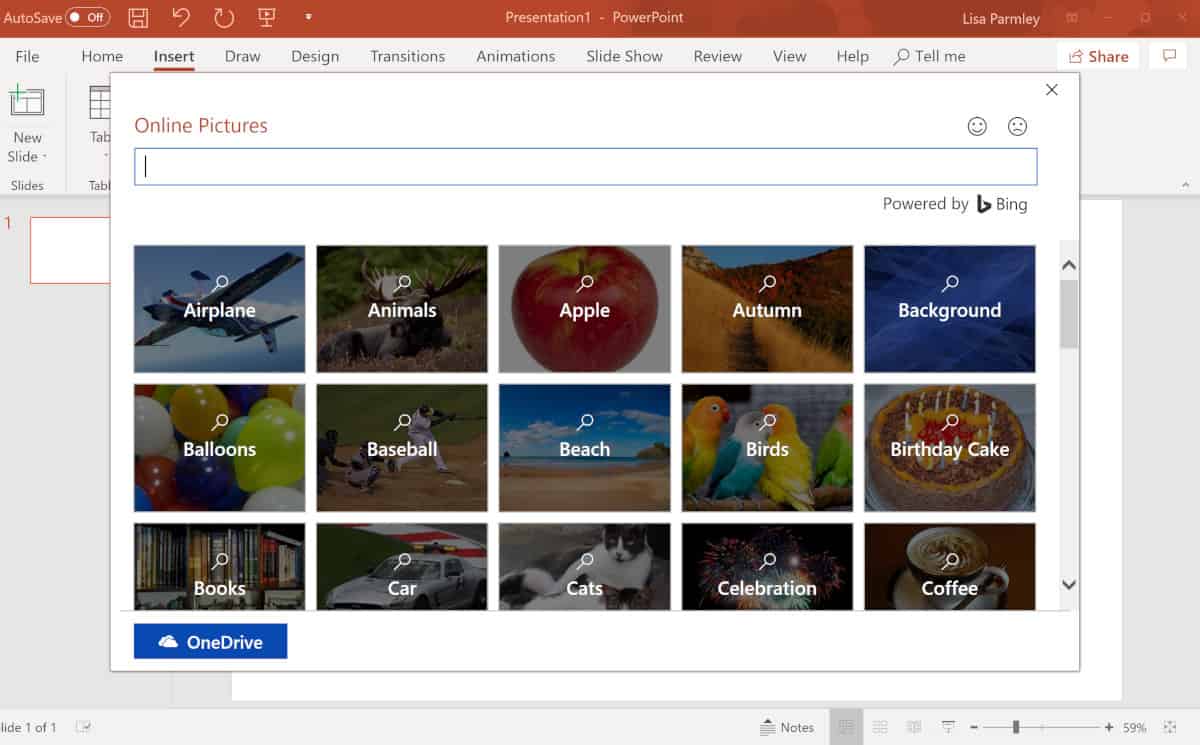
You can search through Bing image search by typing in whatever you want in the search box. I typed in borders:
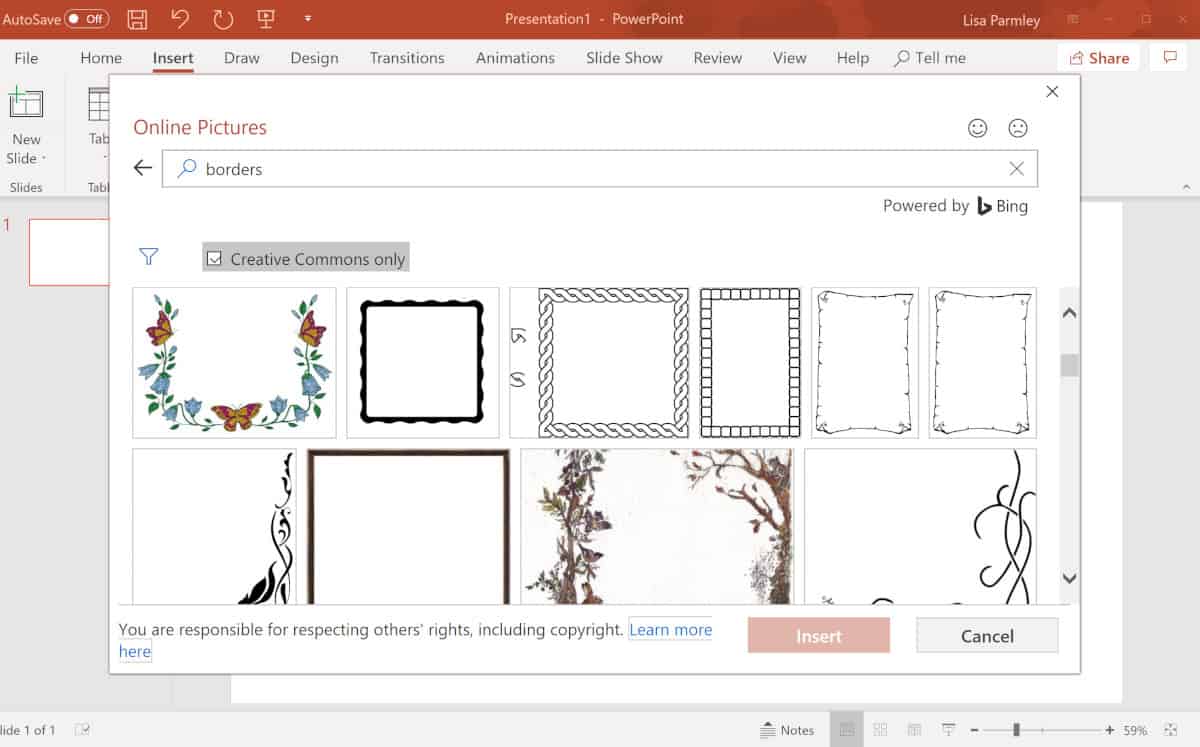
When you find a border you like, simply click on it and the Insert button will be enabled:
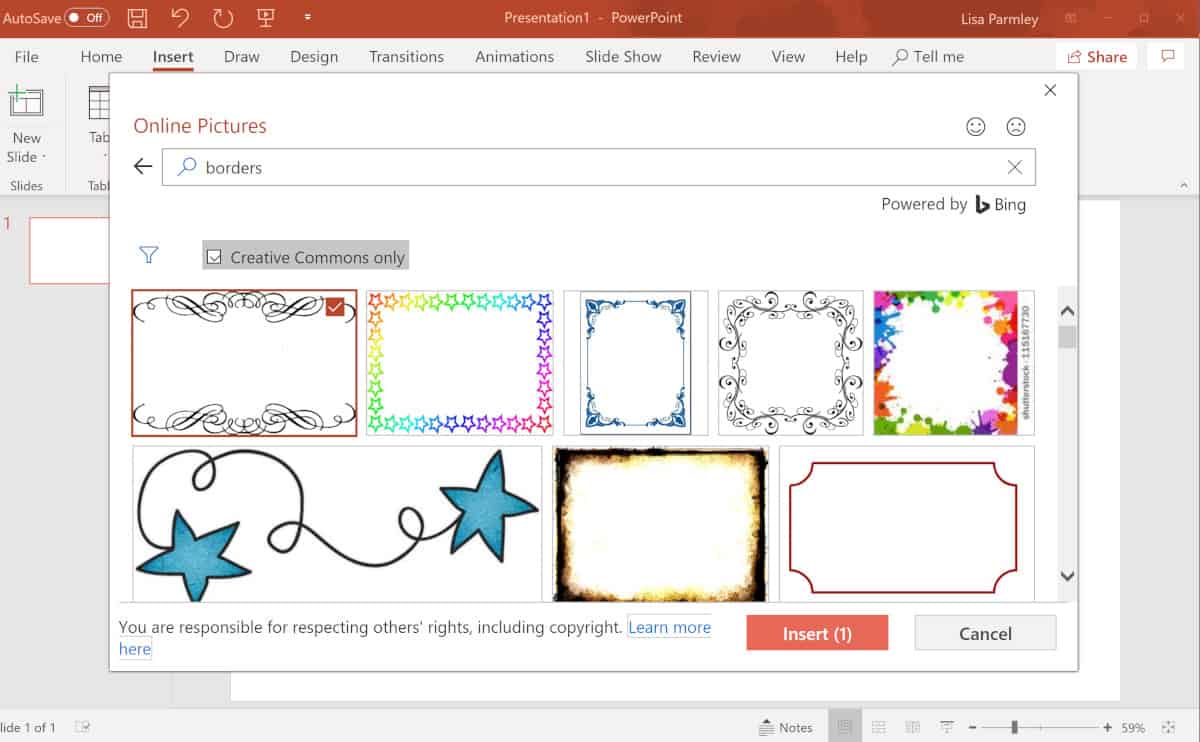
Simply click on the Insert button and your border will be inserted into your PowerPoint slide:

You’re all set with your brand new border!
Option 3: Using Clip Art for Borders
PowerPoint stopped including a clip art library in version 2013, but you can still upload images from your computer on newer versions.
This method involves using clip art images as your border. Older versions of PowerPoint included a clip art library that you can select borders from.
Here’s how to do it …
First, go to the Insert tab within the Illustrations group. Then click on Clip Art:
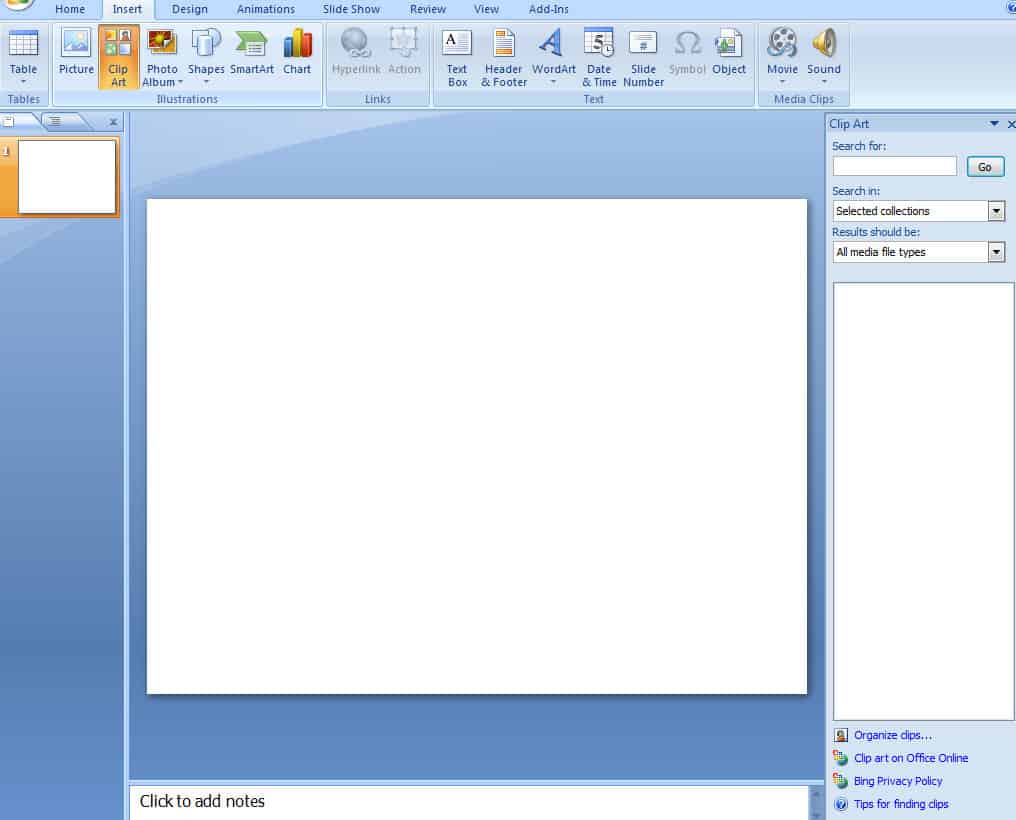
Once you’re at the Clip Art task pane, you can search for borders.
Then click Go.
Browse through the available borders and when you find the one you want, double click on it. PowerPoint will add the border to your slide:
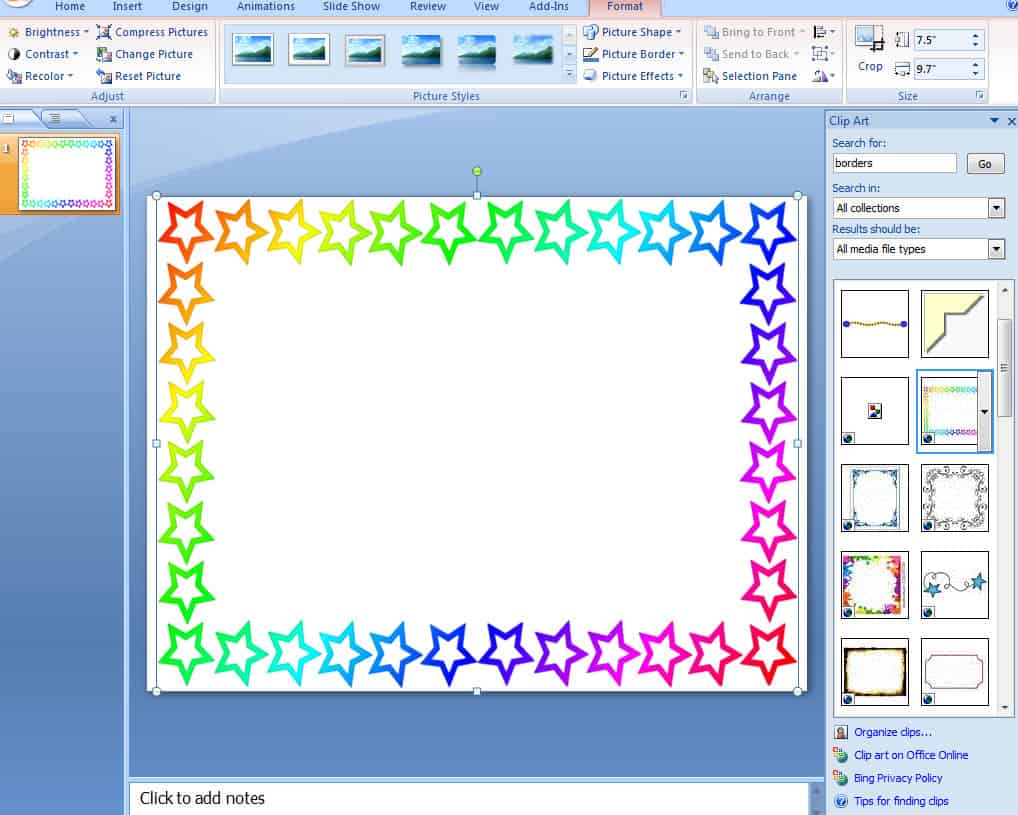
How’s that? I suppose it would work well if your presentation covers unicorns!
You can resize it to make it look the way you want.
Option 4: Image Border
This technique works for PowerPoint versions 2013 and up.
For this one you need to insert a background image that you then apply a border to.
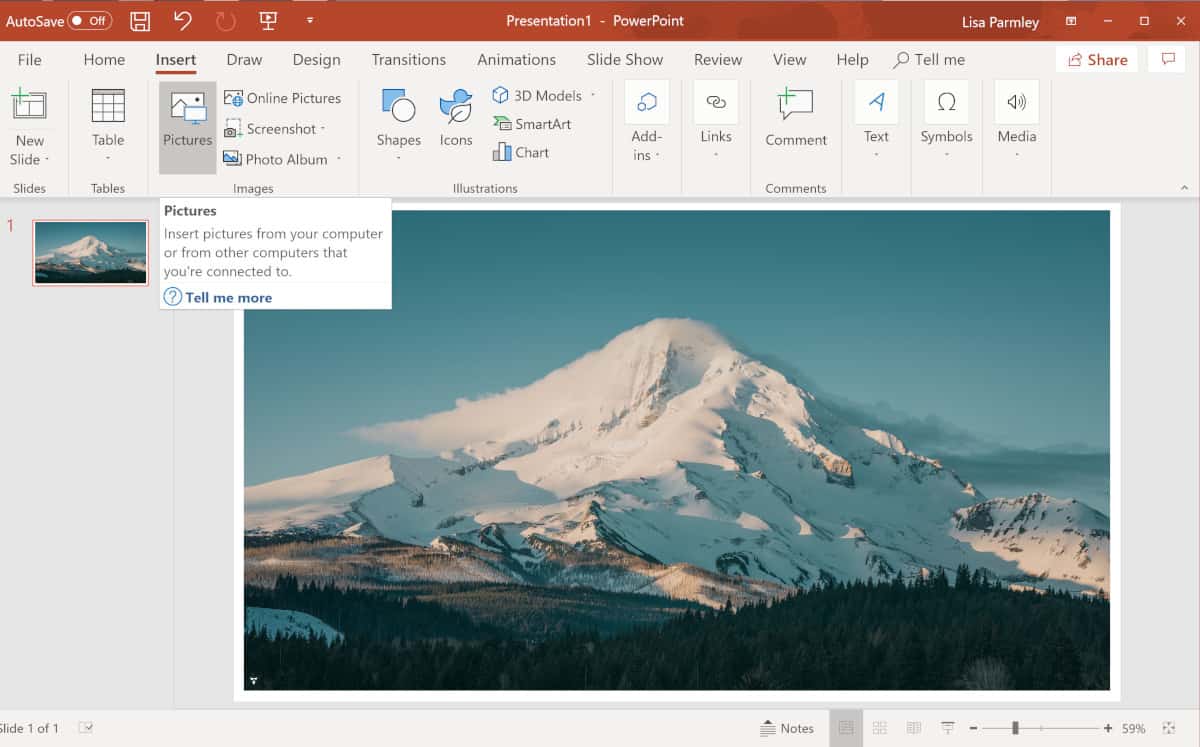
You can paste in or insert images from anywhere into PowerPoint. Here’s one I pasted in by going to the Insert tab, then clicking on Pictures. From there I navigated to a picture on my computer and selected it. PowerPoint does the rest. I resized the image to leave a little of the slide background showing through:
Select your image, then right-click to get a menu to pop-up. Click on Format Picture:
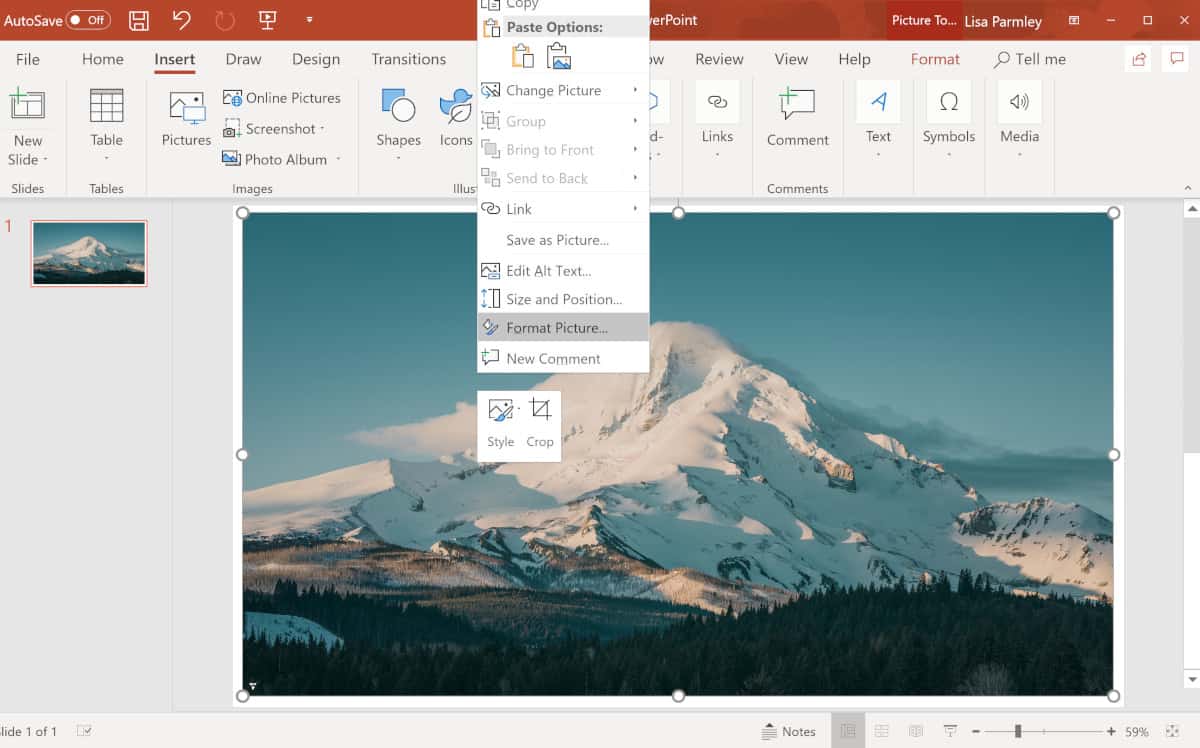
Once you click on the Format Picture link, you’ll see a task pane pop open where you can configure just about anything you want dealing with the image:
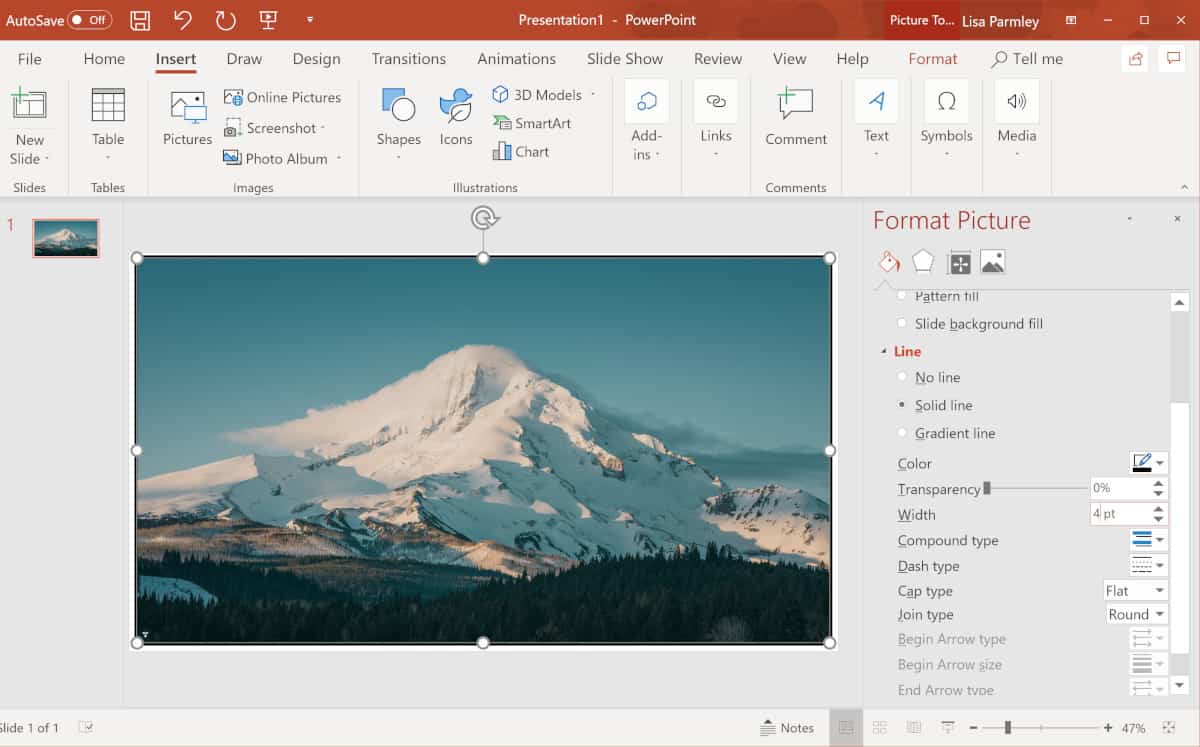
I selected a Solid line for the border, a 4 pt Weight for the line and black as the Line Color. You can format the line around your image to be whatever you would like including dashed or dotted line borders.
Once you have the border you may want to think about making the image more transparent. That way you can overlay text and it will be readable. You will also be able to see your border. This is easy to do in the Office 365 version of PowerPoint. If you’re using a different version, then you will want to take a look at our tutorial on how to make transparent images in PowerPoint.
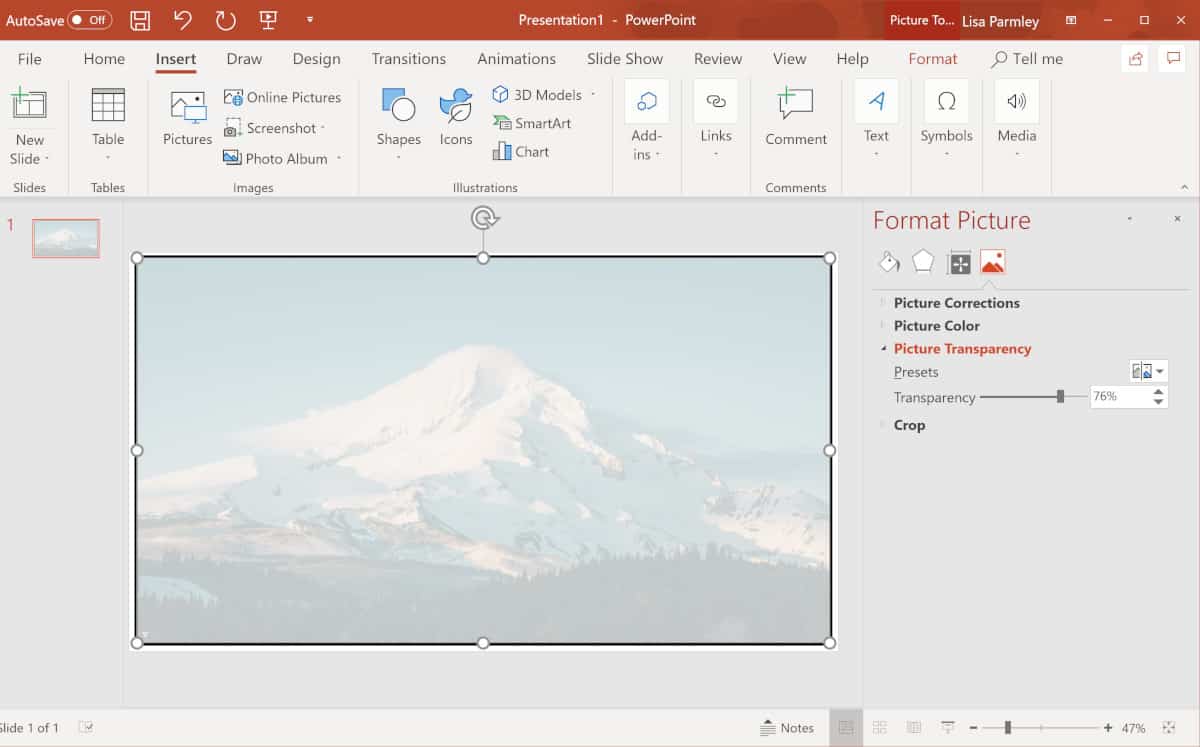
In Office 365, you can make the image transparent from within the Format Picture task pane. Just click on the Picture icon from within the Format Picture task pane, click on Picture Transparency, and then from there, move the Transparency slider to wherever you’d like it:
Here’s the finished product:
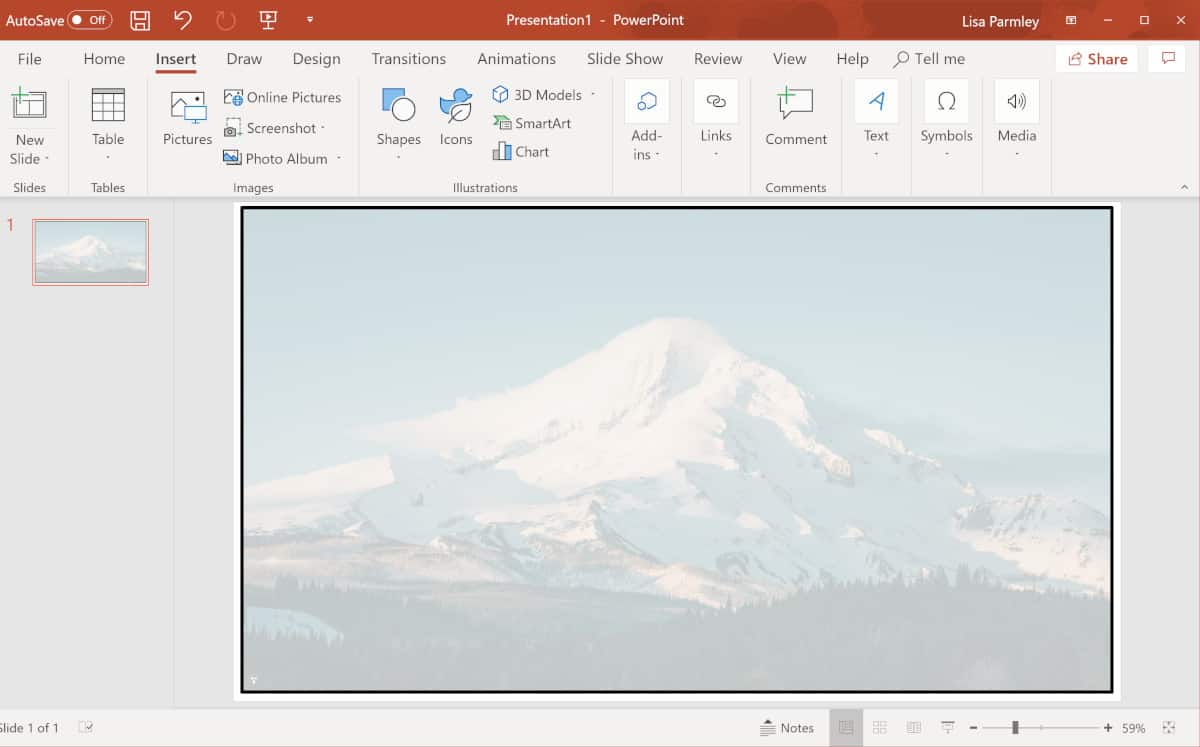
It’s an OK start. With a little more refinement you can create a great PowerPoint border around an image.
Creative Options
You can download some creative PowerPoint borders already to go and add them into your slides. This will give you an artistic look that you don’t have to create.
You can find these on Pinterest, a search engine like Bing, or on a site like Free PPT Backgrounds.
Just make sure the borders are really free and are available for use by the public.
Best Practices for Borders
There are a lot of tips for making borders that add to the design of your presentation. Here are just a few:
- Make a straight border especially for a professional presentation like online training. Curves don’t fit well.
- Draw lines that don’t reach around the entire slide. For example, your border could just be on two sides of the presentation instead of all four.
- Complex designs in your borders don’t always look great. It may distract and often doesn’t add value to your presentation.
- If you don’t use borders anywhere else, consider using them on your introductory slides. Borders on opening slides can add for a nice design element, especially if they fit with the theme of your presentation.
As mentioned, another cool tactic you can combine with borders or use on its own is to make a picture transparent in PowerPoint.
If you’re planning to use the same border for all your slides, you may want to add the border to your PowerPoint Slide Master.
Conclusion
The biggest take-away from this tutorial is to give borders a try! You might really enhance your slides.
They’re easy to add and often give your presentation a more polished look.
If you’ve seen or created a cool border for your presentations, show us in the comments below …
