Our content is reader supported, which means when you buy from links you click on, we may earn a commission.
Top 4 Free MP4 Video Editors [+3 Paid Options]
You don’t need to spend a fortune on video editing software in order to create high-quality videos.
In fact, there are a number of free MP4 video editors that will do the job just as well.
In this guide, we’ll take a look at some of the best free options available. Near the end, I’ve added in three paid tools just in case you need the additional features (one of them is what I’ve used to create and edit hundreds of video recordings so I can vouch for it).
Whether you’re starting out or you’re looking for an alternative to your current video editor, read on for some great suggestions!
What is an MP4?
Video is incredibly popular. In fact, 83% of people would rather watch videos than access content via text or audio.
If you’re thinking about getting into video, then it’s important to know the lingo. An MP4 is a digital video file format that uses MPEG-4 compression.
It is a container format for digital media like movies, music, photos, etc. MP4 contains both audio and video data. This type of compression is very efficient, which means files can be smaller without sacrificing quality.
MP4 files are often used for streaming video, and they can be played on most popular media players. Although the format is technically called MPEG-4 Part 14, most people simply refer to it as MP4.
How Does MP4 Compare with Other Video Codec Formats?
There are a few key ways in which MP4 differs from other codecs:
- MP4 is a more efficient format, meaning it requires less data to encode a given video clip. This makes it ideal for streaming or sharing videos over the internet.
- In addition, MP4 files are typically smaller than other codecs, making them easier to store and transfer.
- MP4 files can contain additional information, such as subtitles and metadata, making them more versatile than other formats.
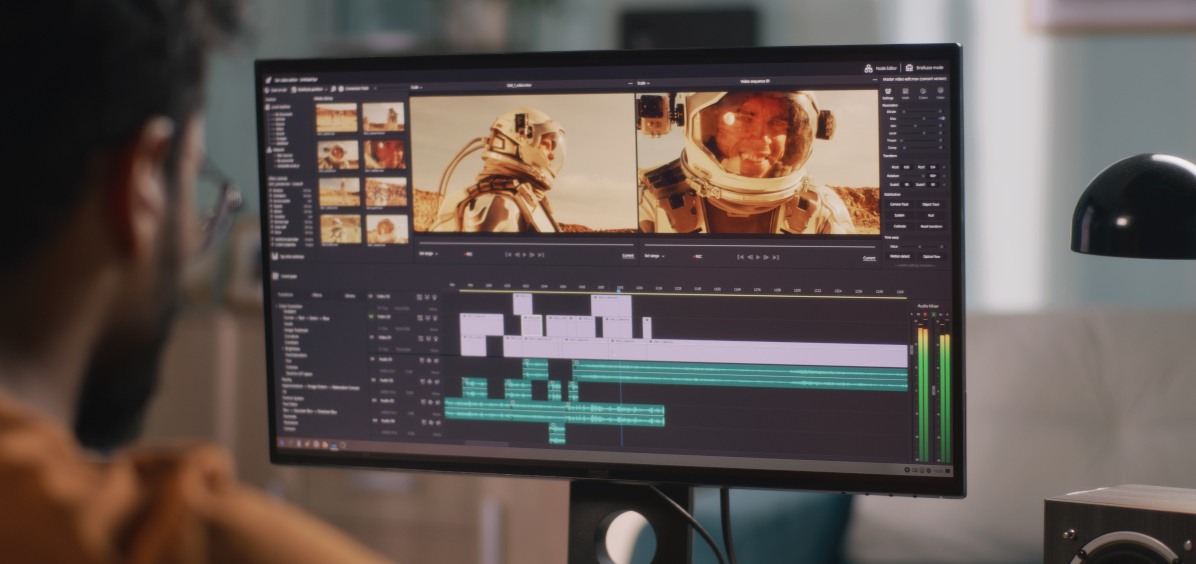
Edit MP4 Videos with Free Software
MP4 is a compressed video format, which means it can be edited without losing any quality. Exporting your project in the MP4 file type preserves your quality and keeps your files small.
MP4 videos can be edited on both Windows and Mac computers. In addition, there are a number of free editing software programs that support the MP4 format. Here are a few along with brief instructions on how to edit these files.
1. iMovie
iMovie is Apple’s own video editor software that allows you to create professional-quality movies. This app includes built-in sounds, music, transitions, titles, and voiceovers and can be installed on your iPhone or iPad.
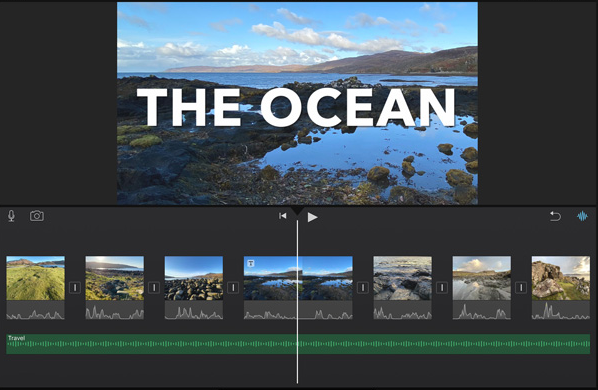
Here is a brief tutorial for using iMovie (for Mac) to edit your MP4s:
- Open iMovie and import the MP4 video file that you want to edit.
- Place the video file on the timeline.
- Use the editing tools to trim, split, or add effects to the video clip.
- When you’ve finished editing, export the file as an MP4.
2. PowerDirector
PowerDirector video software is a powerful tool for creating and editing videos. It’s an extremely powerful video editing tool for Windows PCs.
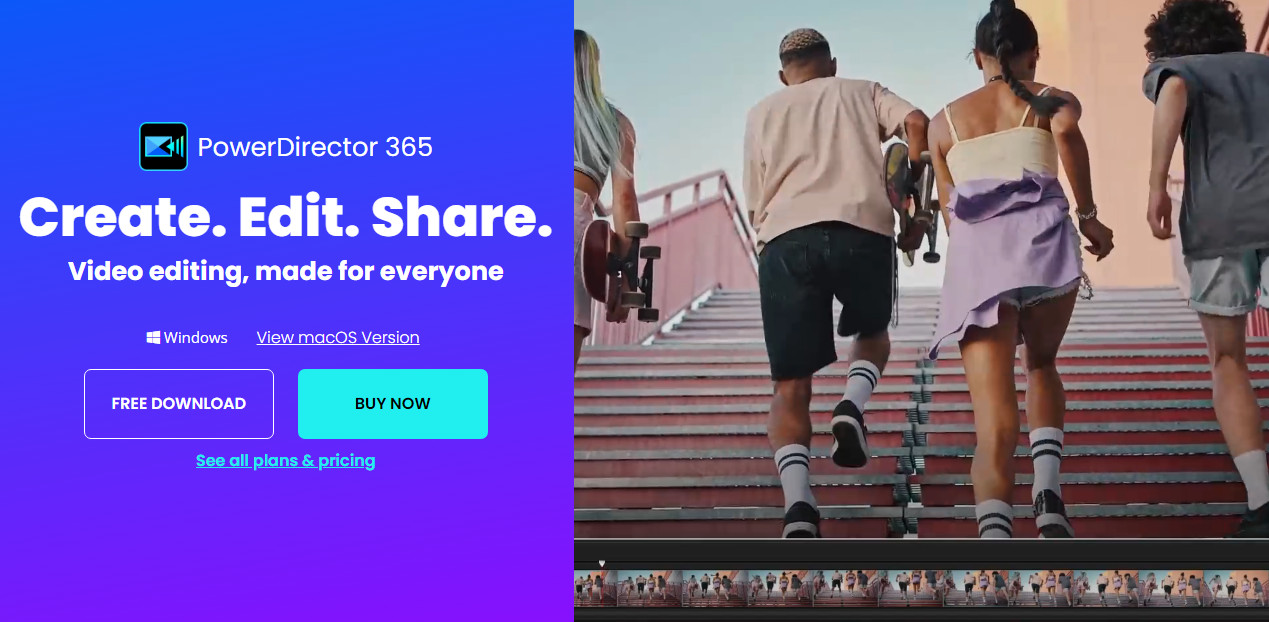
PowerDirector offers a variety of features that allow users to create professional-looking videos with ease.
For example, PowerDirector includes a drag-and-drop interface that makes it easy to add footage, photos, and other elements to your project. You can easily trim clips and adjust audio levels.
In addition, the software provides a wide range of transitions, effects, and titles that you can use to customize your video. PowerDirector also includes a built-in media player that allows you to preview your work as you create it.
Here are the steps to use PowerDirector for editing an MP4:
- Import your video footage into PowerDirector. You can do this by dragging and dropping the files into the software, or by clicking the “Import” button and selecting the files you want to import.
- Once your footage is imported, drag it onto the timeline at the bottom of the screen.
- To edit your footage, use the various tools in the toolbar above the timeline. PowerDirector has all the basic editing tools you’ll need, such as cutting, trimming, cropping, and rotating.
- When you’re happy with your edited footage, click the “Produce” button in the top-right corner of the screen. PowerDirector will then ask you how you want to export your video – you can choose to export it as a file on your computer or upload it directly to YouTube or Facebook. Choose your preferred option and follow the steps to export your video.
3. VSDC Free Video Editor
VSDC is one of the most popular Windows video editing software programs on the market. And for good reason: it’s packed with features, it’s easy to use, and best of all, it’s free.
The software includes a wide range of tools for editing videos, including trimmers, croppers, rotators, and more. You can also add audio tracks, transitions, effects, and titles. There are many useful filters and effects.
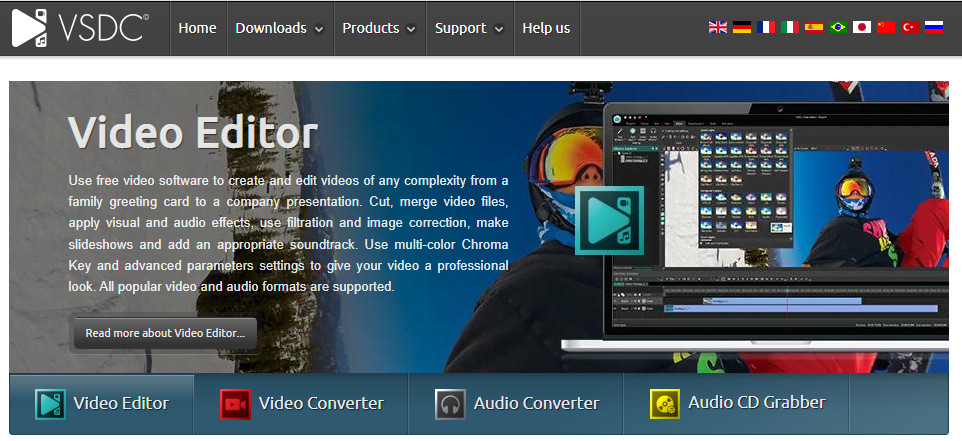
VSDC video editor also supports 4K video and 360-degree video. VSDC supports many popular video formats and allows you to edit them all.
And if you’re looking to share your edited videos with the world, the software has you covered there too: you can Export to YouTube, Facebook, Vimeo, and other popular platforms.
Here’s a brief tutorial on using VSDC for editing an MP4:
- The first step is to download and install the software.
- Then, launch the program and create a new project. To do this, click on the “New Project” button in the main window.
- Next, you’ll need to add some video files to your project. To do this, drag and drop the desired files into the “Media” area of the interface.
- Once your files are imported, you can begin editing them. To edit a file, simply double-click on it in the “Media” area. This will open the file in the timeline editor. Here, you can make all kinds of changes to your video, such as trimming unwanted sections, adding transitions, and more.
- When you’ve finished editing, click on the “Export” button to save your project as a video file.
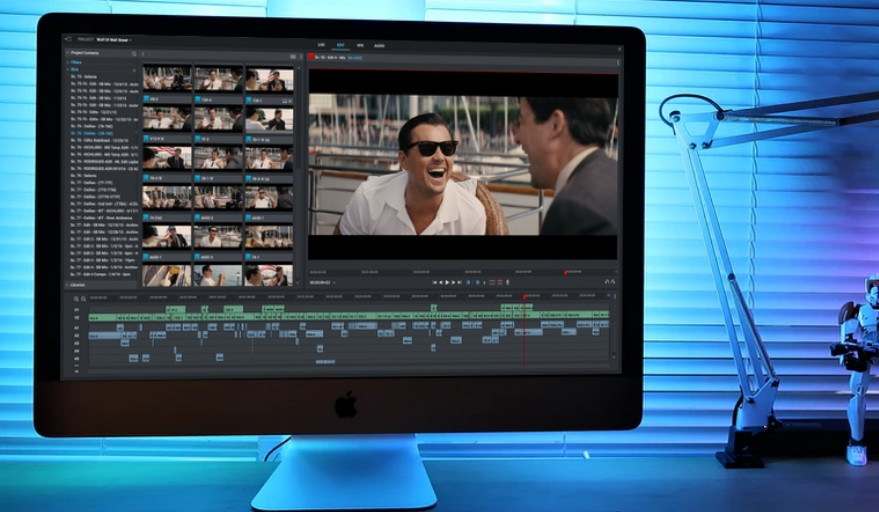
4. Lightworks
Lightworks is a powerful video editor that has been used to create Oscar-winning Hollywood movies like Pulp Fiction, Braveheart, and Jerry McGuire. Despite its impressive pedigree, Lightworks is surprisingly easy to use, and it offers a wide range of features that make it perfect for both beginner and experienced editors.
Best of all, Lightworks is available as freemium software, meaning there is a free version of the software as well as other paid options. This makes it an excellent choice for anyone who wants to create professional-quality videos without spending a fortune. Whether you’re looking to create a short film or a YouTube video, Lightworks is a video editor that should definitely be on your radar.
To help you get the most out of this powerful software, here are some tips for using the Lightworks video editor:
- Get to know the interface. The Lightworks interface can be overwhelming at first, but it is actually relatively simple once you get the hang of it. Spend some time exploring the different panels and windows, and familiarize yourself with the various features and tools.
- Import your footage. Before you can start editing your video, you need to import your footage into the Lightworks project file. To do this, go to the File menu and select Import Media. Then, browse to the location of your footage and select the files you want to import.
- Create a timeline. Once your footage is imported, you can start creating your timeline. To do this, drag and drop your clips from the Media Pool into the Timeline window. Alternatively, you can use the Insert Clip tool to automatically insert clips at the cursor position.
- Edit your video. Now it’s time to start editing your video! Lightworks provides a variety of powerful tools for trimming, cutting, and adding effects to your footage. Experiment with different editing techniques until you find a workflow that works for you.
- Export your video. When you’re happy with your final edit, it’s time to export your video. To do this, go to the File menu and select Export Video/Audio. Then, choose the format and resolution you want to export your video in, and click Export.
Paid MP4 Video Editors
In case the options above don’t have enough features for you, take a look at the paid MP4 editors here:
5. Movavi Video Editor Plus
This is a great tool if you want to create professional videos without having to learn complicated software like Adobe Premiere or Final Cut Pro. Movavi, however, is not free, but does offer a free trial and is very reasonably priced.
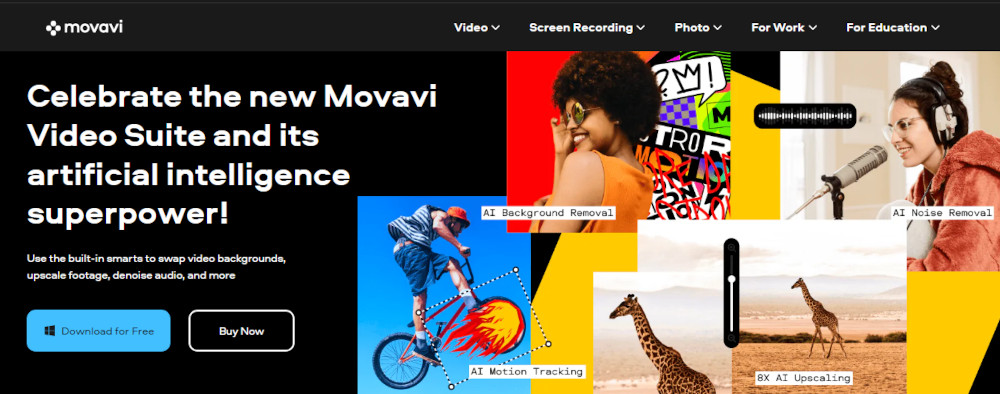
It has a user-friendly interface that makes it easy to import and edit video footage. Movavi also offers a wide range of features, including the ability to add titles, transitions, and effects. In addition, Movavi supports a variety of video formats, making it a versatile tool for any editor.
With Movavi Video Editor Plus, you can easily create professional-looking videos with numerous editing tools, stylish titles, and transitions.
6. Adobe Premiere Pro (for Windows and Mac):
Adobe Premiere Pro is an industry-standard video editor. It’s widely used by professional video editors and YouTubers alike. Premiere Pro has all the features you need to create stunning videos, including multistage timelines, color correction, and audio mixing.
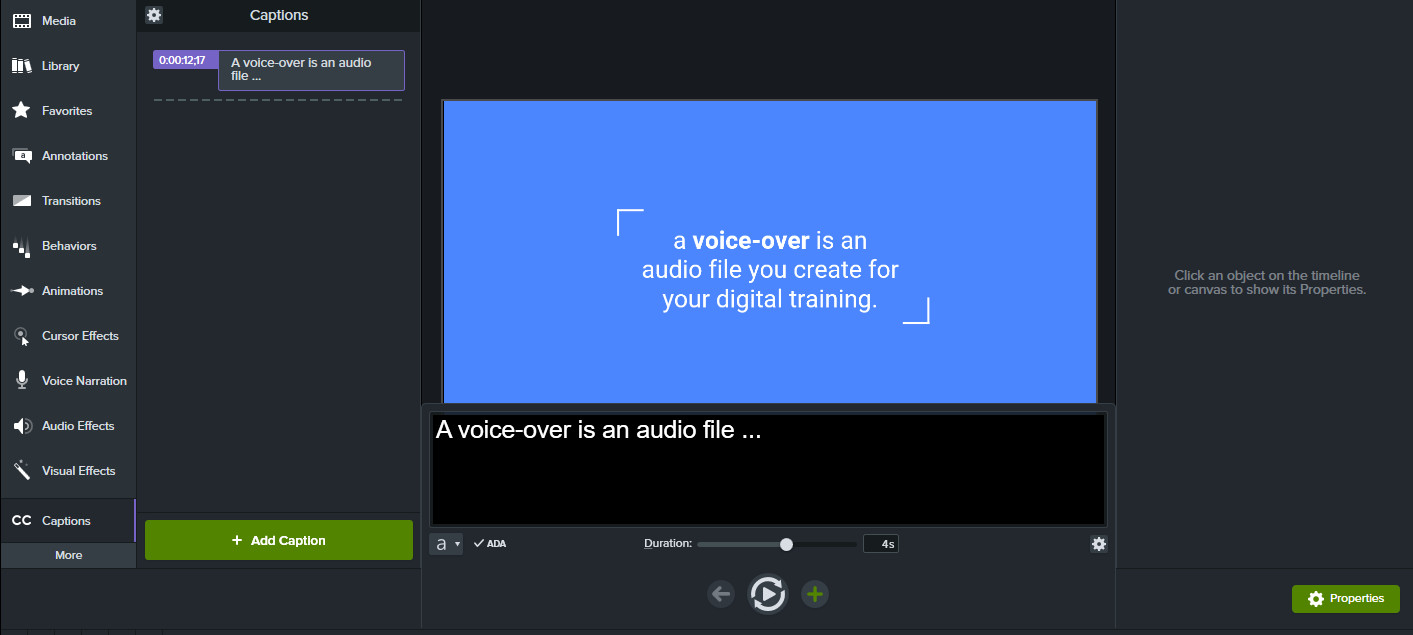
7. Camtasia
Camtasia is a user-friendly video editing software that is great for beginners and advanced users alike. This software is best for people incorporating screencasts into their videos, but it can also be used to edit any type of video.
FAQs on MP4 Videos
How do I trim MP4 videos to be shorter?
There are a few different ways to trim MP4 videos, and the best method will depend on the video editing software you’re using. In general, the process is fairly straightforward. First, open the video in your editor and locate the section you want to trim. Then, use the tools in your software to select the starting and ending points for the trimmed video. One way to trim videos is by dragging the edges of your video clips in the timeline to cut out parts of the clip.
Another way to trim videos is by moving the timeline playhead to where you want to cut and then clicking “Split Above Timeline.” Then, export the trimmed video as an MP4 file.
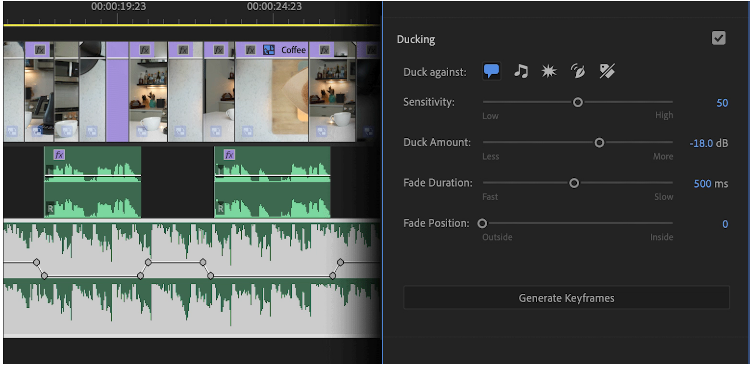
How do I add music to MP4 video?
First, open your video file in your preferred media player. Next, find an online source for royalty-free music. Once you’ve found a suitable track, download it and save it to your computer. Lastly, open the video file in your media player and use the “add audio” function to add the music track to your video.
How do I add text to MP4 video?
One option is to use video editing software like Adobe Premiere or Final Cut Pro. These programs will allow you to import your video and add text directly onto the timeline.
If you don’t have access to a video editing program, there are also some online tools that can help. For example, Kapwing offers a free trial and lets you add text, logos, and watermarks to your videos. And once you’re finished, you can download the edited video directly to your computer.
Final Thoughts: Ready to Start Editing Your Videos?
It’s important to spend time editing your videos. Editing often results in shorter, more concise videos which can often get you more viewers. In fact, only 24% of viewers will finish watching a video if it’s more than 20 minutes in length.
In order to edit your videos, you’ll need video editing software. While there are many free video editing software options out there, not all of them offer the same features and capabilities.
We’ve outlined the best free video editors for you to consider, based on your needs and preferences. Take a look and give your top pick a try with a free download.
