Our content is reader supported, which means when you buy from links you click on, we may earn a commission.
How to Create a Subscript in PowerPoint

Are you trying to create a subscript in PowerPoint? It’s seems simple, but often these simple tasks take a bit of hunting around to get right.
In this quick tutorial, you’ll learn how to create a subscript as well as how to do a superscript in PowerPoint.
It’s simple. Follow along and let’s get this going in your own presentation.
What is a Subscript (and While We’re at it, What’s a Superscript Too)?
Before you learn the how, let’s just review what a subscript and a superscript are.
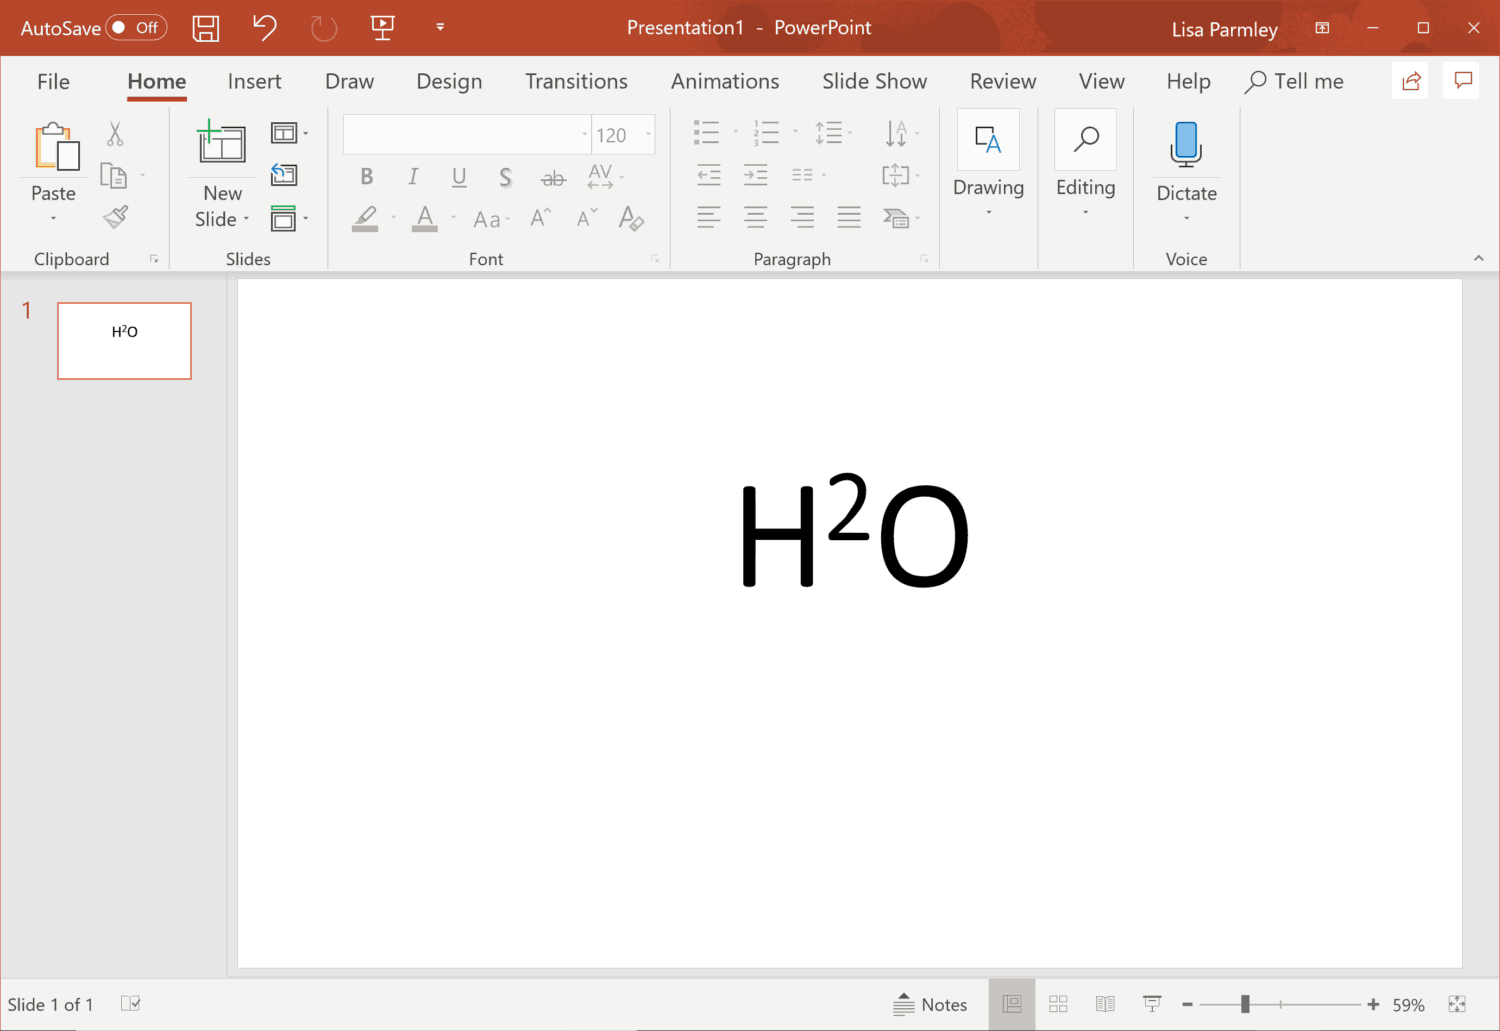
A subscript is the character that’s positioned ever so slightly lower than the rest of the letters (the baseline). For instance, the chemical symbol for water, or H2O is written with a subscript. You’ll usually see it written; H2O where the number ‘2’ is the subscript.
Many other chemical formulas use subscripts too so if your presentation covers chemistry you’ll likely need to use a lot of subscripts.
You might also be interested in superscripts.
That’s the character that’s positioned slightly above the rest of the letters. For instance, E=mc2 should be written as E=mc2.
The number ‘2’ is the superscript. If your presentation uses a lot of math equations then you’ll likely need to use superscripts throughout it.
Why Use a Subscript in PowerPoint
You’ve just learned a few reasons why you may need to create a subscript or superscript in PowerPoint. Here’s a more complete list:
- To display a chemical formula.
- For use in mathematics equations.
- When inserting symbols like trademark or copyright symbols.
- To create stylized writing or add to the visual design of your presentation.
The main uses for subscripts and superscripts in PowerPoint are when your presentation covers math or chemistry.
In addition, business related presentations also have a use for subscripts and superscripts in the form of symbols.
Options for Creating Subscripts in PowerPoint
Creating subscripts and superscripts in PowerPoint is pretty straightforward.
Option 1: Inserting the Subscript in PowerPoint.
This method works for all versions of PowerPoint.
Essentially, this method requires you to find the subscript or superscript tools within PowerPoint and use them to get the effect you desire.
Here’s how to do it …
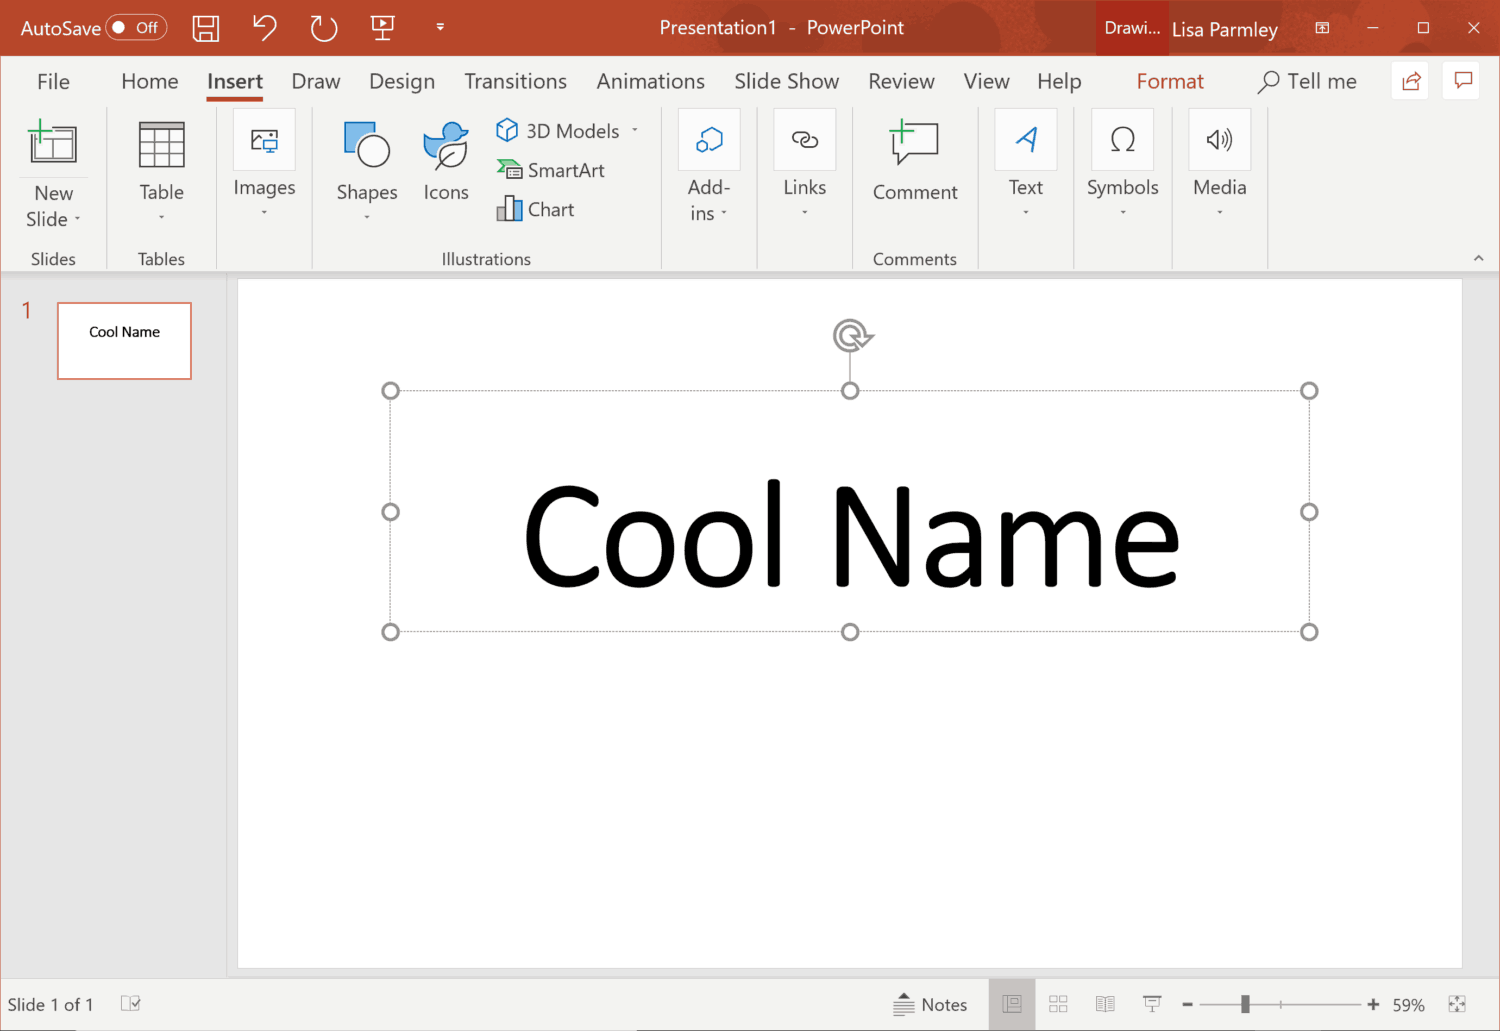
First, type or paste your text into a slide:
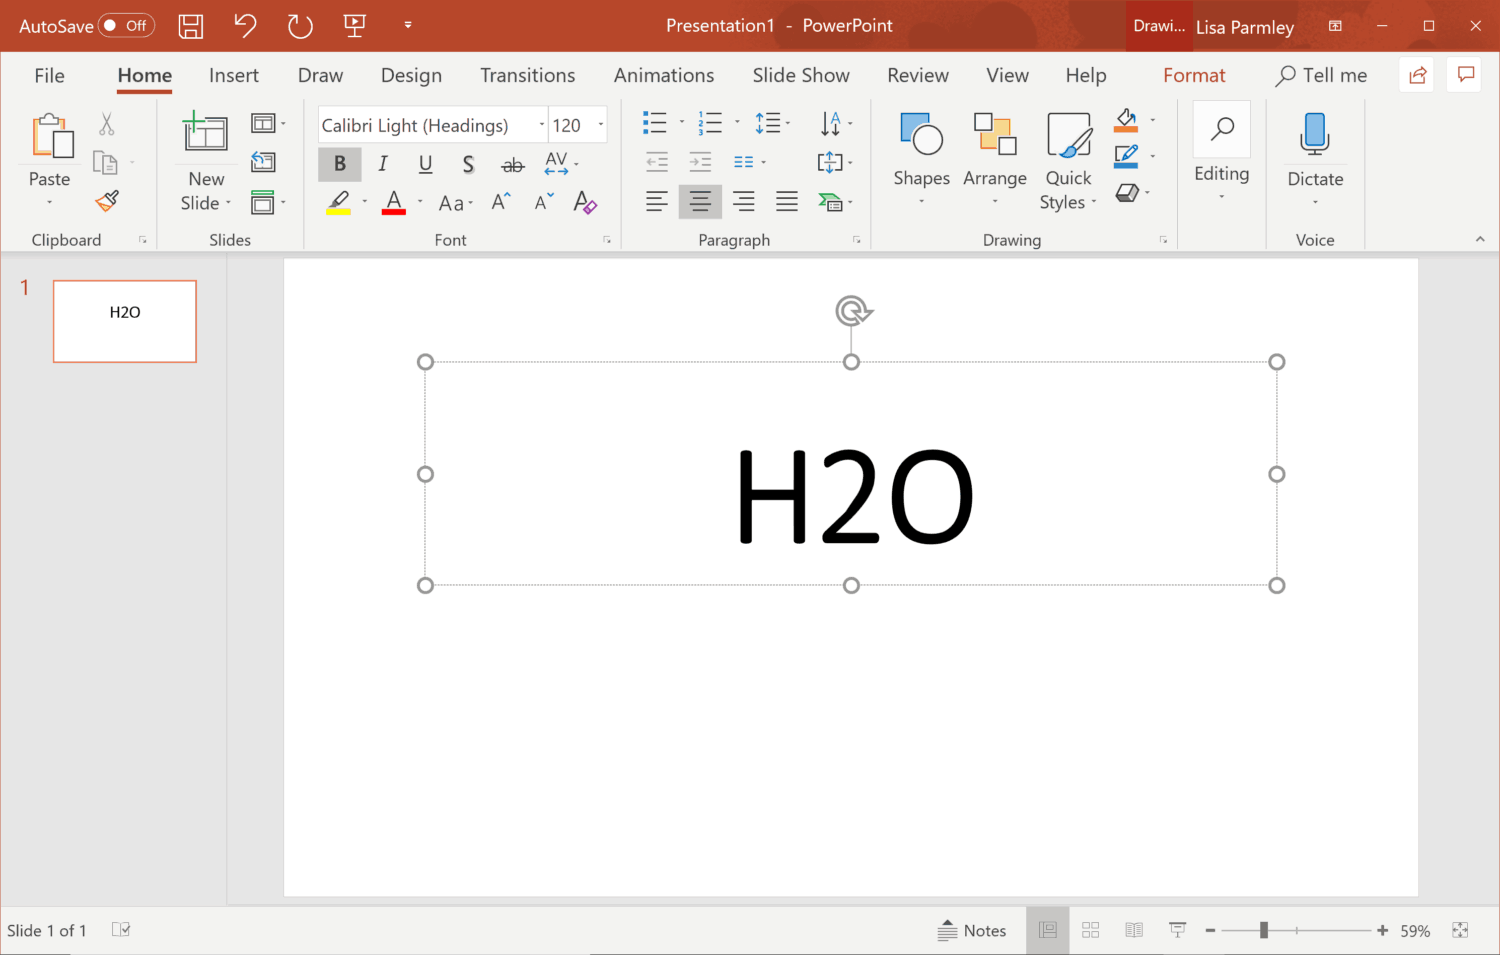
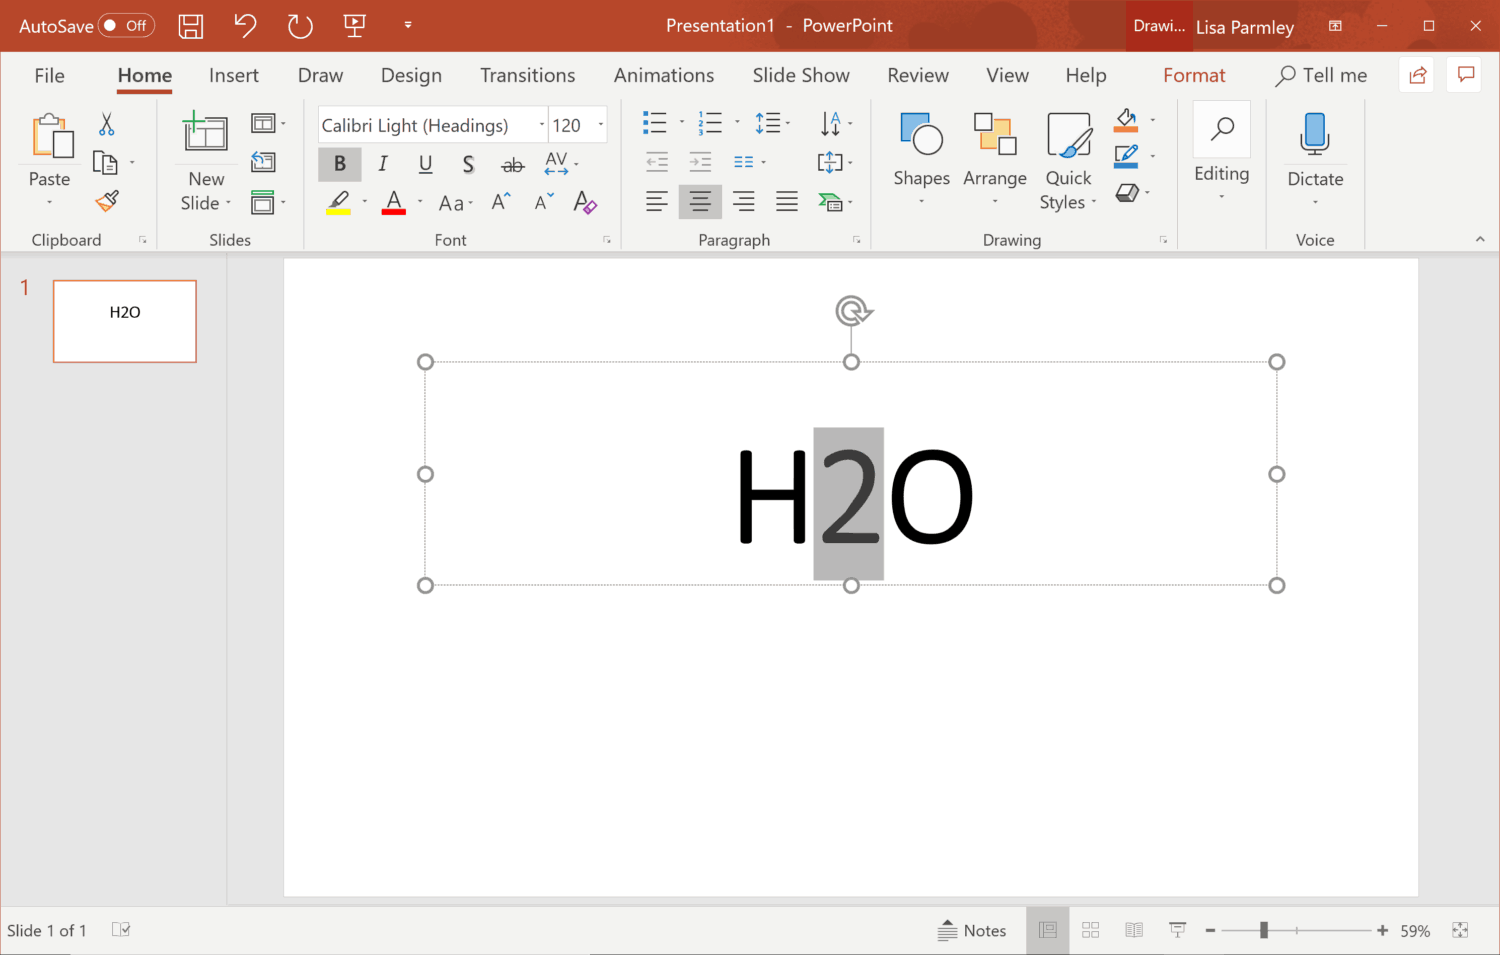
Highlight the text you want the subscript or superscript on (in our example it’s the 2 since that should be in subscript format):
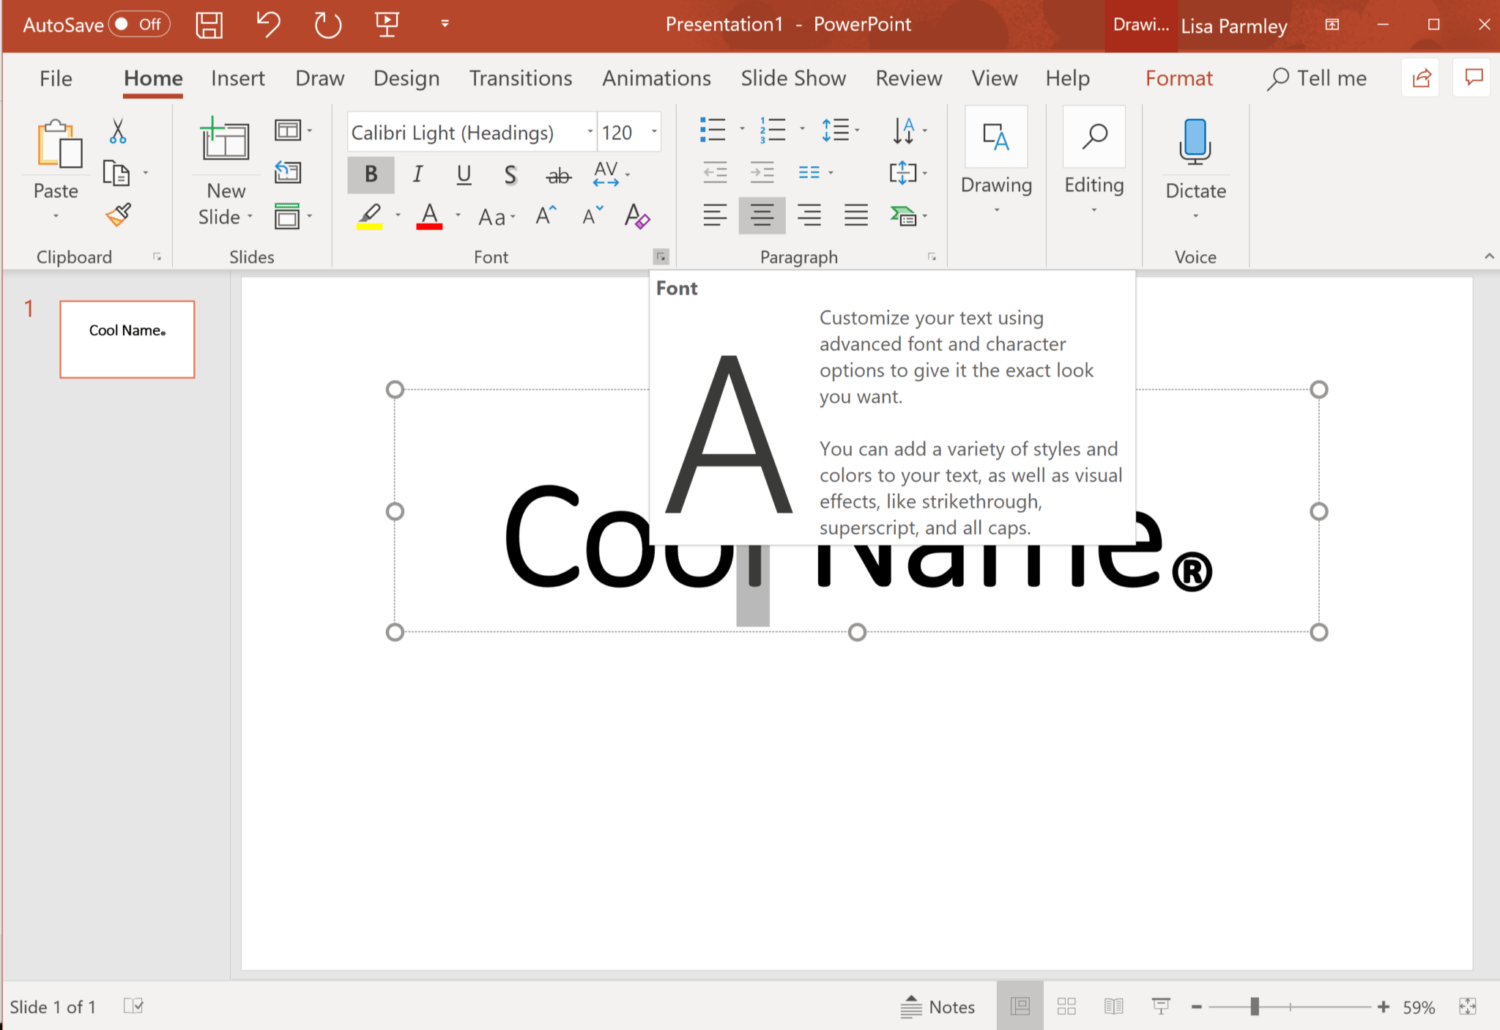
You can right click on the highlighted text and then from the Home tab click on the Dialog Box Launcher within the Font section. That’s usually a very tiny gray box near the bottom, right of the section.
Once you get that box to launch, you can select Font from within it:
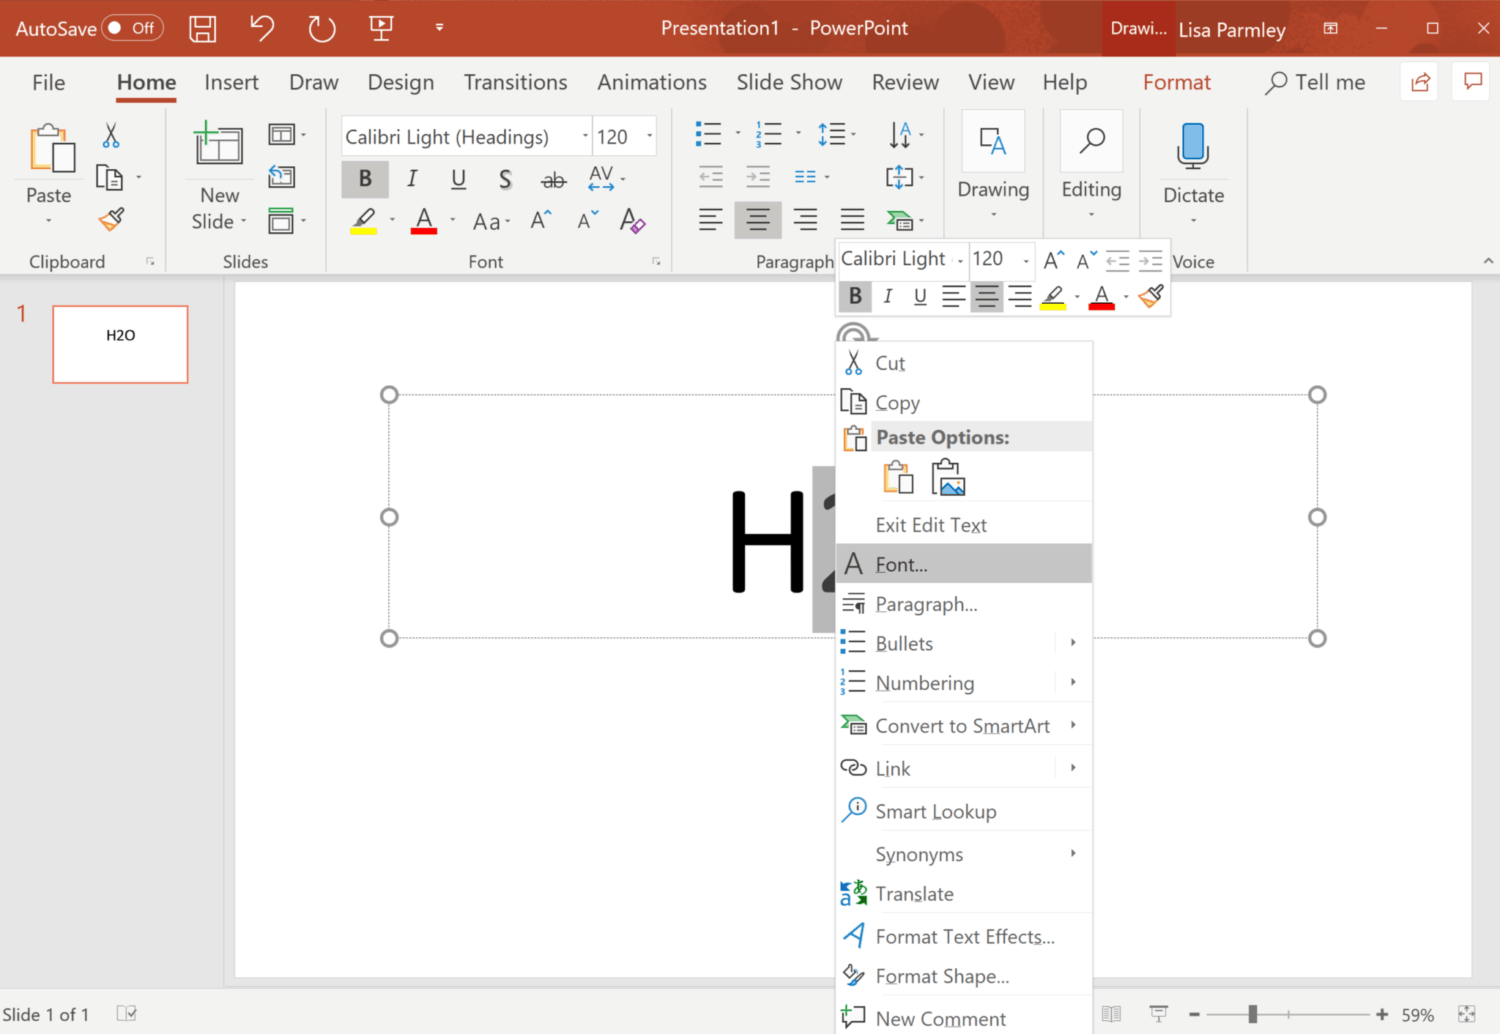
Alternately, instead of clicking on the Dialog Box Launcher from under the Font group on the Home tab, you can right-click on your Text Box and select Font from there as well:
Either way, once you have that Font box launched you’ll see the option to select Subscript or Superscript from under Effects:
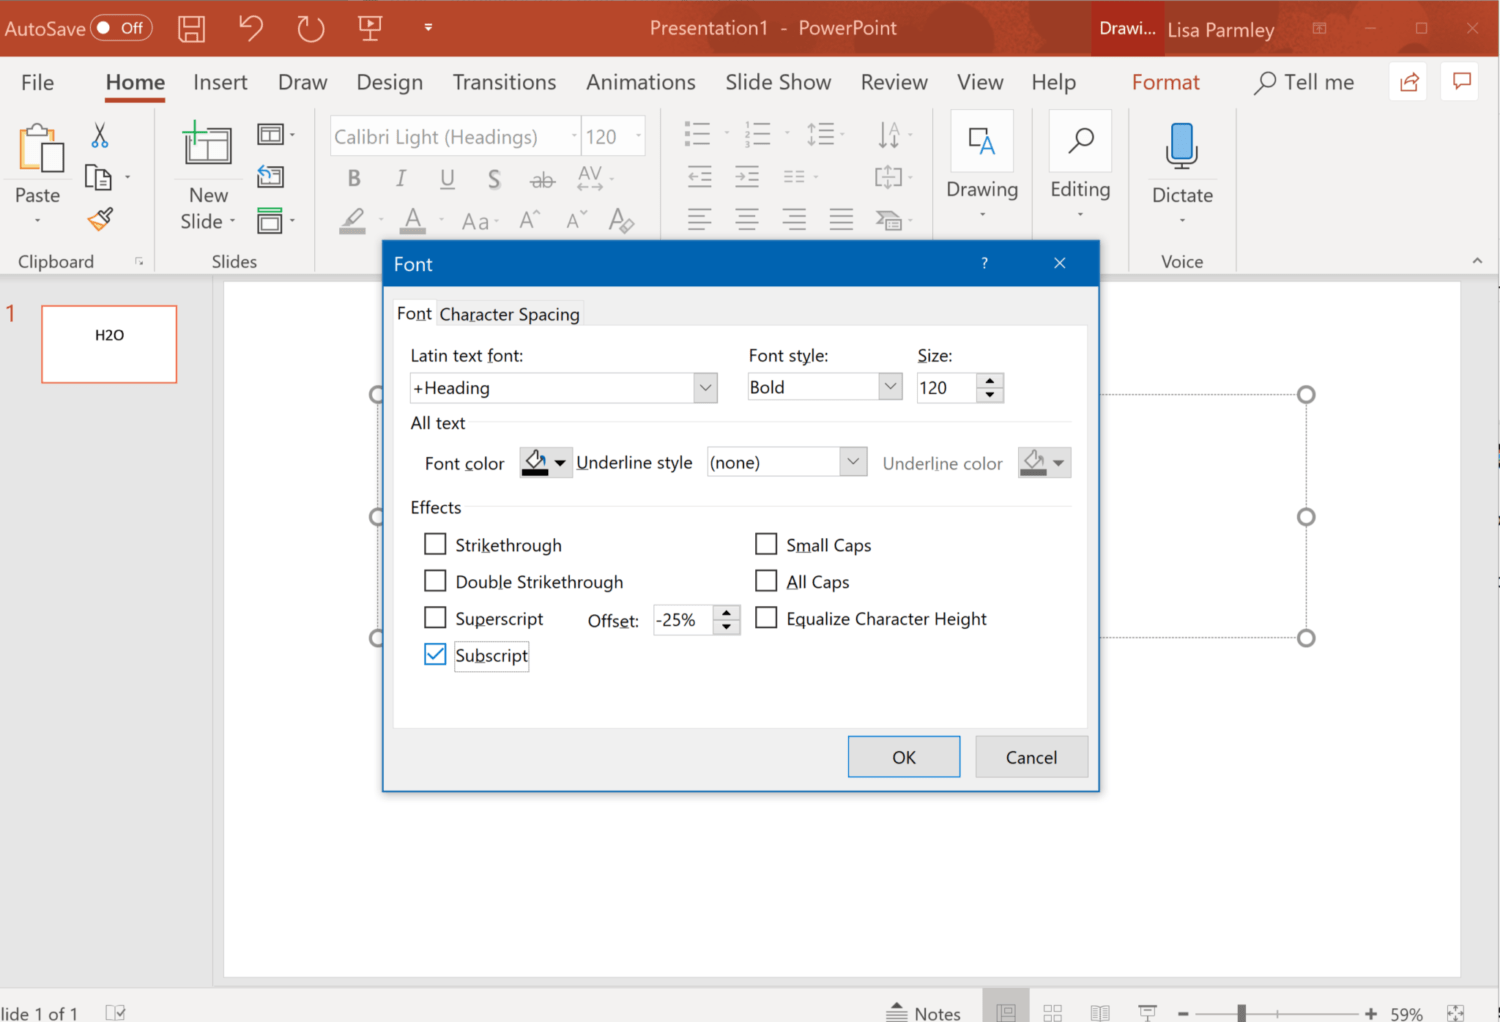
Here I’ve clicked on Subscript:
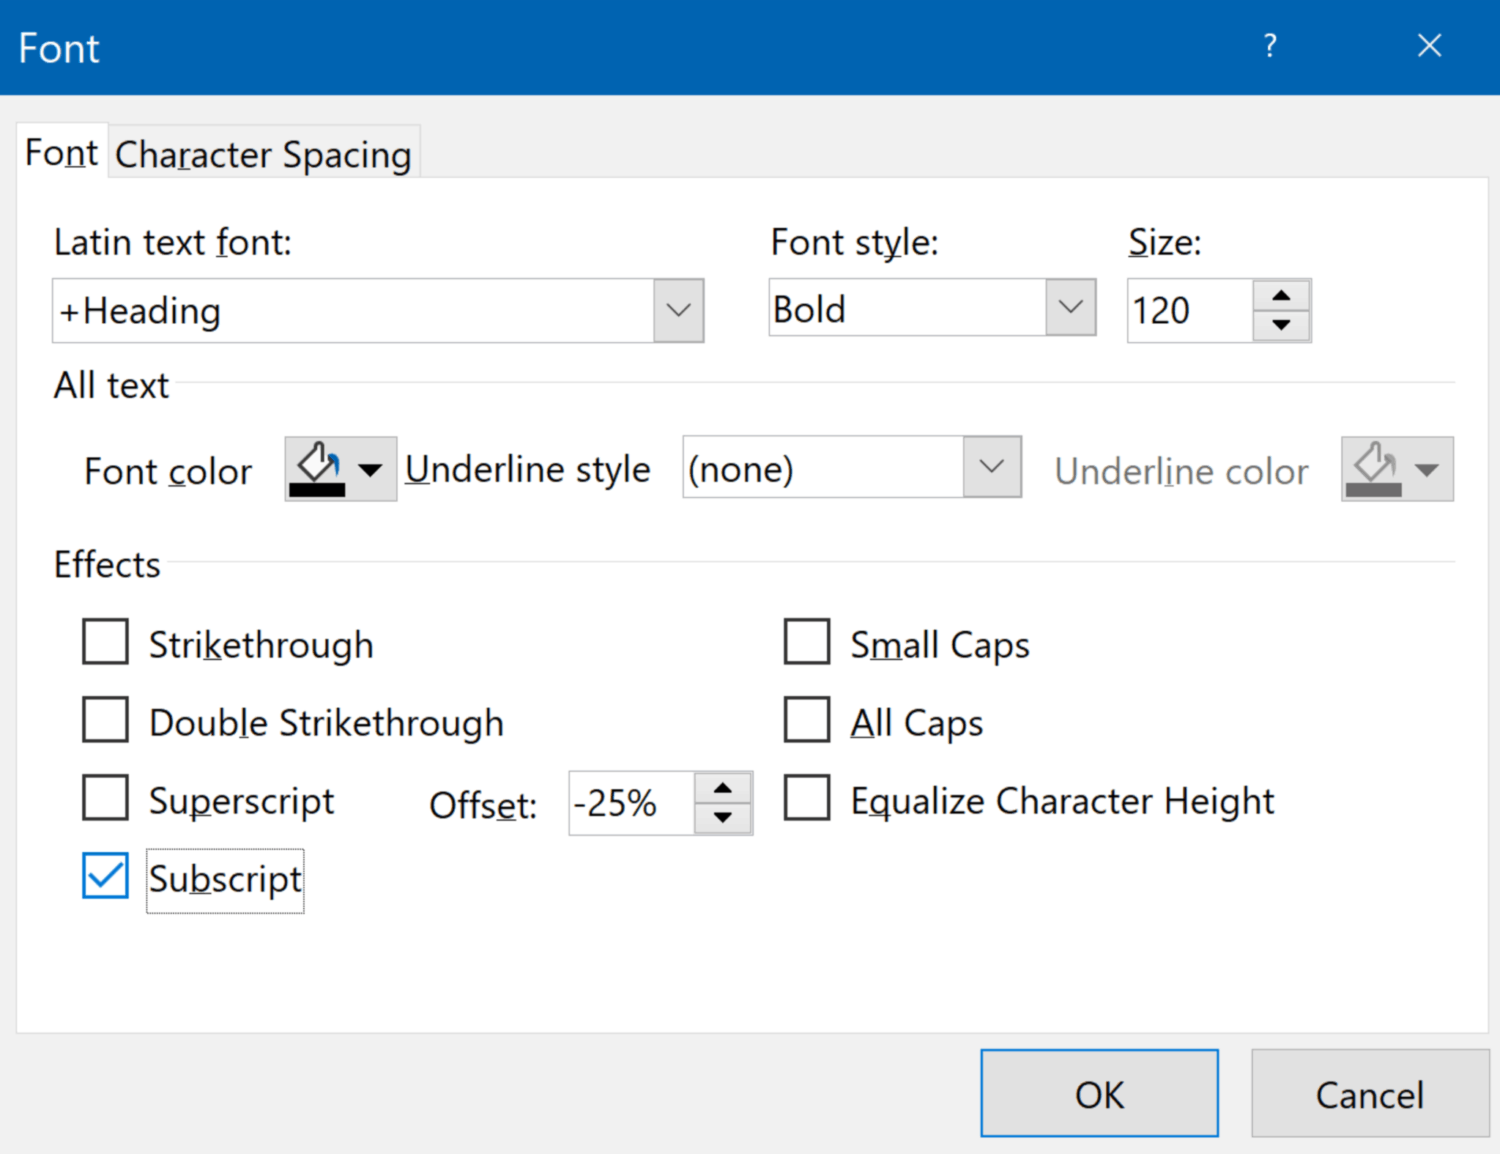
Once I clicked on Subscript then I clicked on OK.
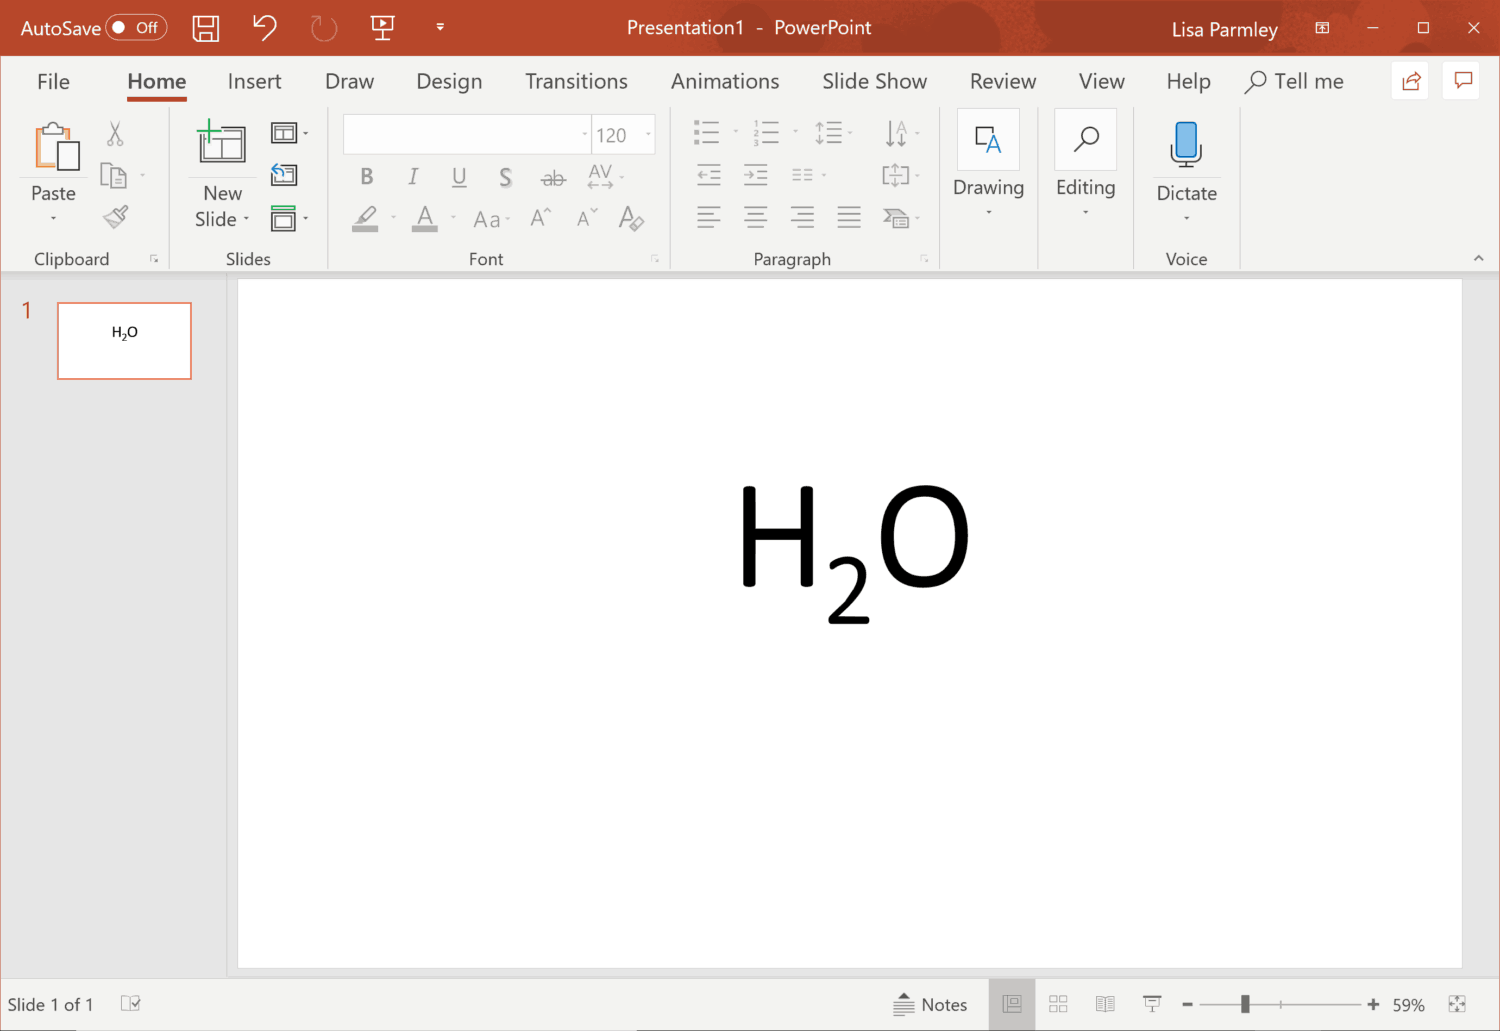
Here’s the finished result:
Now if you want a superscript, the Superscript box is right above the Subscript box, so just select that one instead:
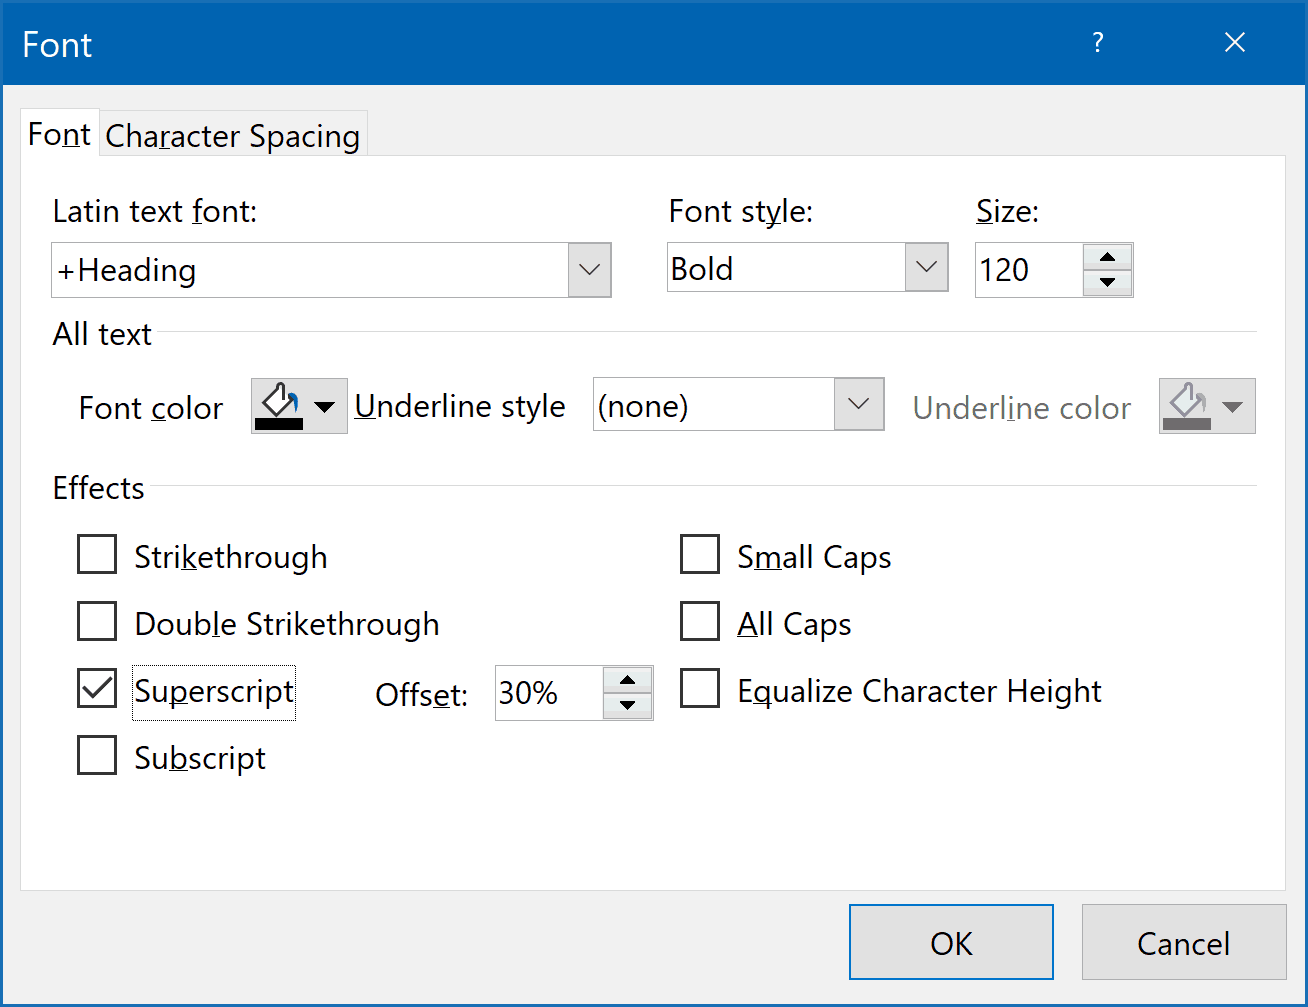
Here’s what the superscript looks like:
Obviously that’s not right, but you can see how to do it.
There are also handy shortcut options available. These might make it faster if you have to add in several subscripts and superscripts to your PowerPoint slides.
Here are those shortcuts:
- Subscript shortcuts: Control and equal sign.
- Superscript shortcuts: control, shift, and plus sign.
Option 2: Symbol Subscript or Superscript
This method works in all versions of PowerPoint.
Some symbols are always written in subscript or superscript which is why I’m covering how to do this here. PowerPoint offers symbols built-in so I’ll show you where to find them and how to add them to a slide.
To get symbols to appear, follow the steps outlined below.
First, type or paste in your text. Put the cursor where you want the symbol to show up (the cursor is at the end of the words in the example below):
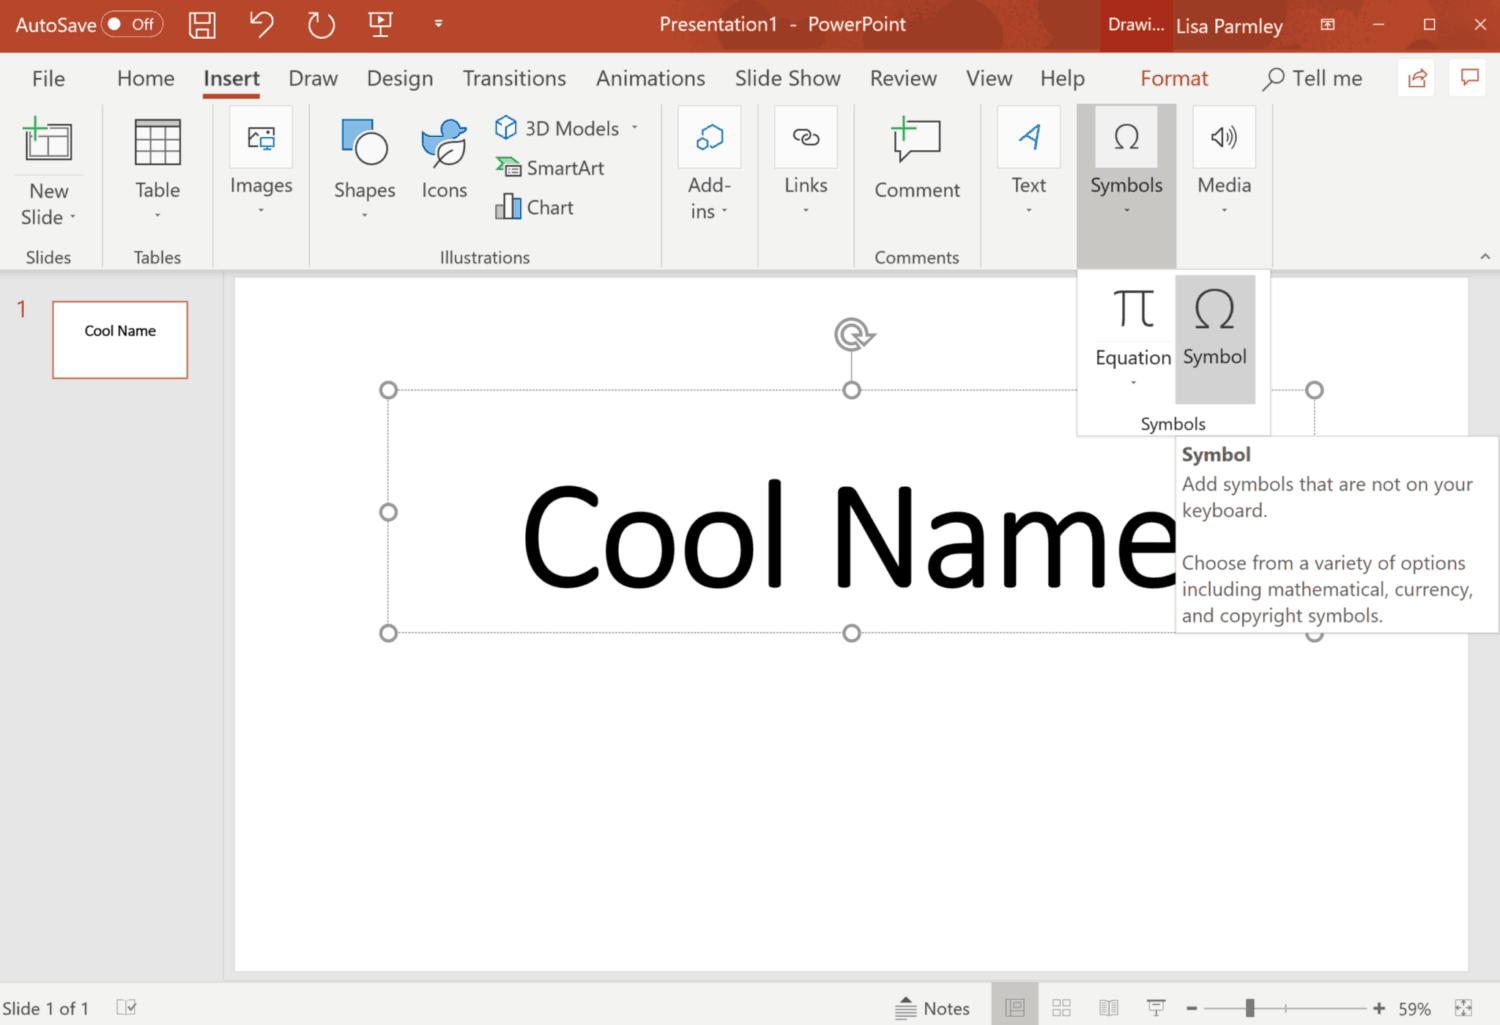
From the Insert tab, click on Symbols:
Click or scroll to the symbol you want. Here I’ve navigated to the Trademark symbol:
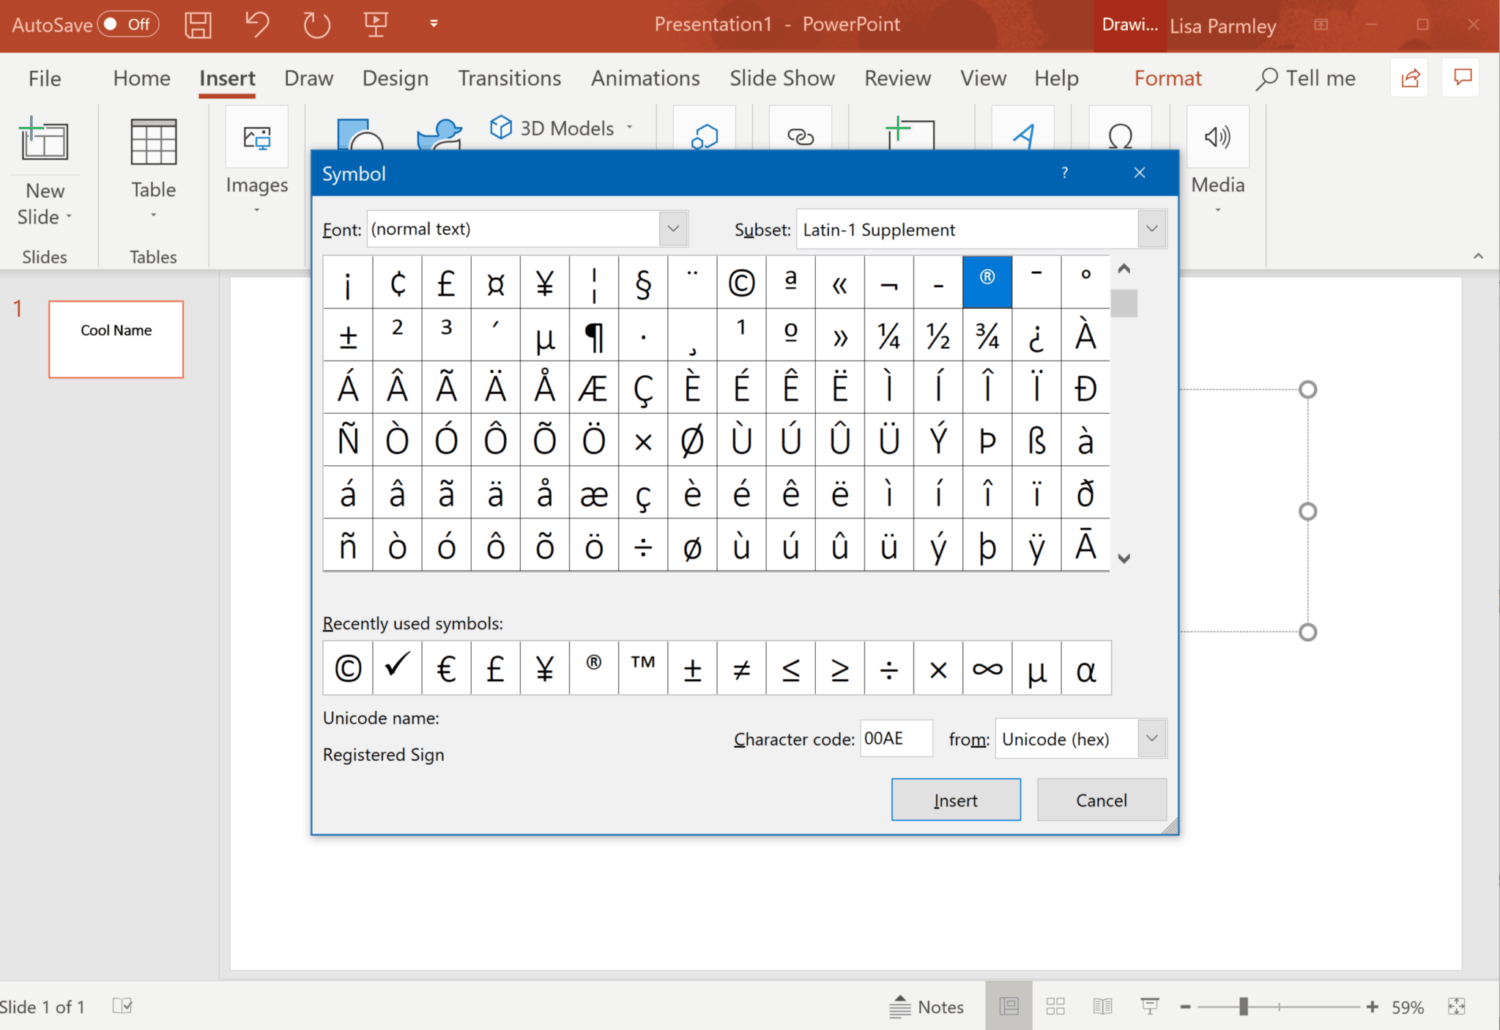
Once you’ve found the right symbol, click on the Insert button.
The symbol will show up where the cursor was positioned as shown below:
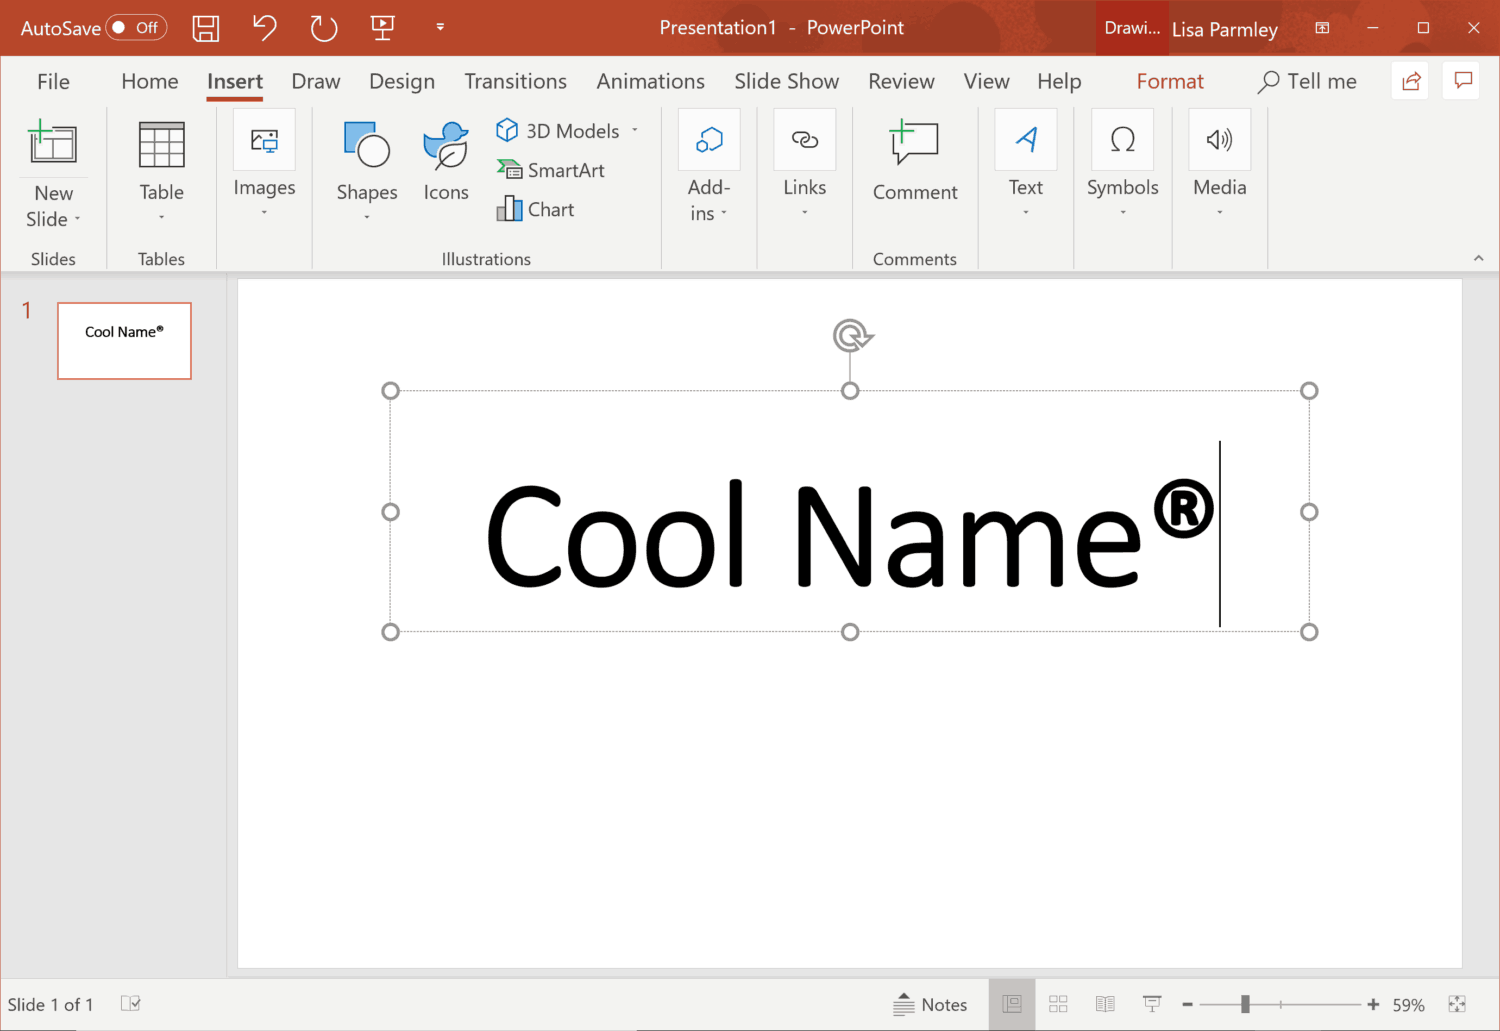
I was curious if the shortcuts would still work so I highlighted the Trademark symbol. The shortcuts still work and I was able to use them to get the Trademark symbol to show as a subscript (not that you’d ever see it written this way):

So you can still move symbols around to wherever you want them to be (either superscript or subscript).
Best Uses
It’s best to use standard formatting when using subscripts and superscripts.
Don’t try to get creative with subscripts and superscripts. Most people know when they are being used correctly and when they are not. You don’t want to come across like you don’t know what you’re doing in your presentation!
Review up on when to use subscripts and superscripts so you’re using them properly.
Conclusion
As you can see, it’s easy to add subscripts to PowerPoint (along with adding superscripts in PowerPoint). You can choose the method you want and even use the shortcut options if you’re a power user.
Adding subscripts and superscripts is pretty straightforward.
If you’re interested in other PowerPoint tricks that deal with text, you might want to take a look at a couple of other tutorials put together for you. Learn how how to highlight text in PowerPoint. There are many different ways, some using animations. In addition, you may want to learn how to wrap text in PowerPoint.
Start creating your next fantastic PowerPoint presentation quickly and easily!
