Our content is reader supported, which means when you buy from links you click on, we may earn a commission.
How to Remove Background in PowerPoint

Have you ever found the perfect image, but the background made it too busy to use?
If so, don’t toss that image out just yet.
Keep reading on to discover how to remove the background of a picture in PowerPoint.
It is possible to do without any additional tools or expert skills in graphic design!
What is Meant by Background Removal?
Removing a background in PowerPoint is easy. You just select the background image or shape and then click on delete. That’s all it takes.
But did you know you can remove the background from a picture in PowerPoint also? If you can’t believe it, let me be the first to tell you, it’s possible.
That means if you’ve got a picture of a flower and you don’t want the sky and the grass surrounding it, you can get rid of the background objects from within PowerPoint. This is something that often requires expensive graphics software like Adobe Photoshop to accomplish, but depending on the version of PowerPoint you have, this function may be built right into it.
Why Remove the Background from an Image?
You may want to remove the background from a PowerPoint image for a number of reasons. You may want your slide to be less busy and already have an image that would fit perfectly if it didn’t have that cluttered background.
In addition, it can be useful to remove distracting backgrounds so the important parts of the picture are all that show up.
Alternately, you may not want to buy and learn how to use expensive graphics design software like Photoshop.
Being able to remove the background from a picture right within PowerPoint can be a big time as well as money saver. You don’t even need to open another software program to get the job done.
Options for Removing the Background from an Image Using PowerPoint
If you’re trying to remove a background from an image, it’s best to pick an image with a lot of contrast between the background and the main subject. If both are the same color and/or brightness then it will be harder to pull the background away from the main subject.
Option 1: Remove Background from Picture (Newer Versions)
This option works in newer versions of PowerPoint including PowerPoint 2010 and above.
In this option, you’ll use the Remove Background tool within PowerPoint.
Here’s how to do it …
Insert the picture by going to the Insert tab and insert your picture from your computer (or copy and paste it from another slide or another program). Once the picture is on your slide, select it:
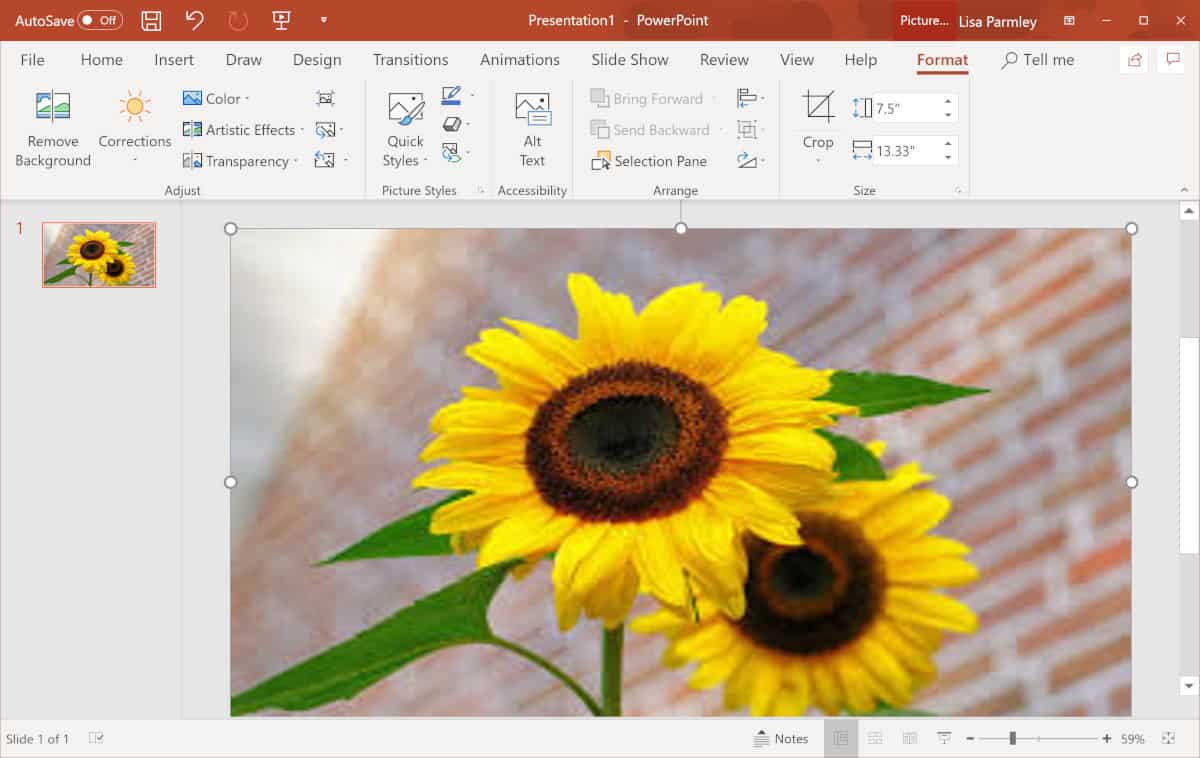
You should be taken to the Format tab where you’ll see a tool to Remove Background. Click on that:

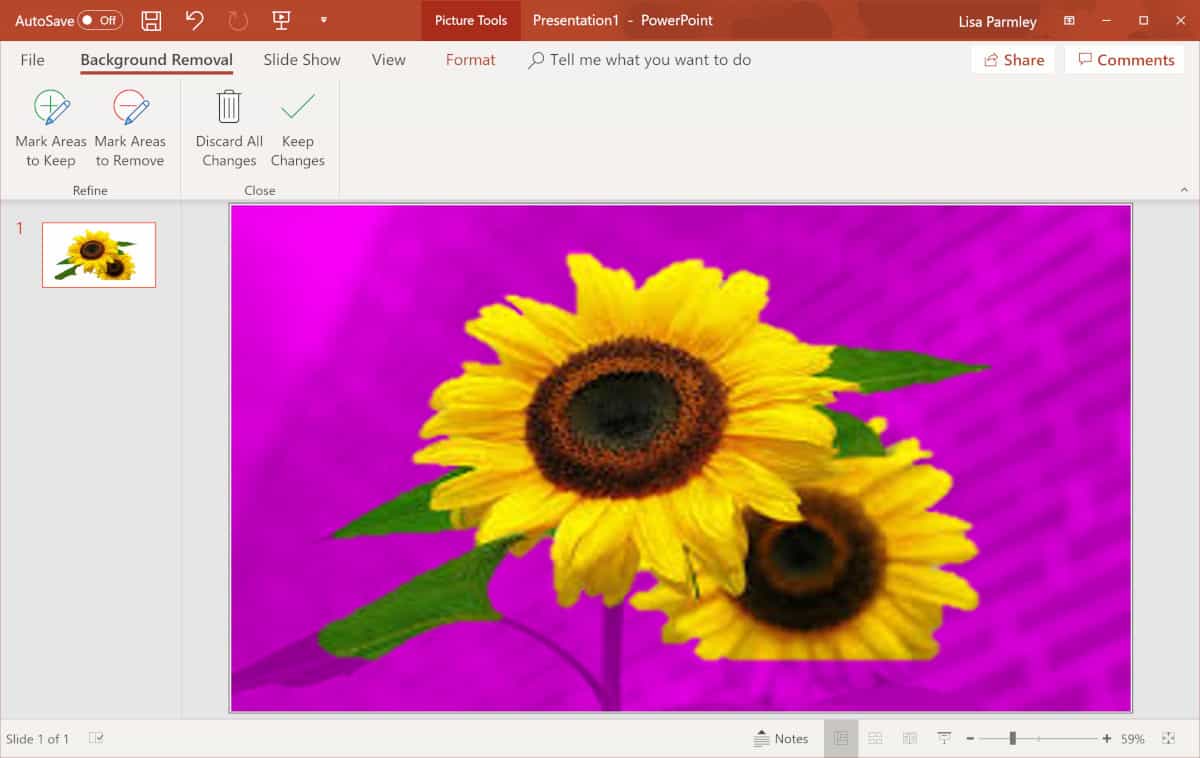
PowerPoint will start thinking and will shade in all the areas of your picture it thinks are part of the background. Only the areas of the picture that are still in color will be retained.
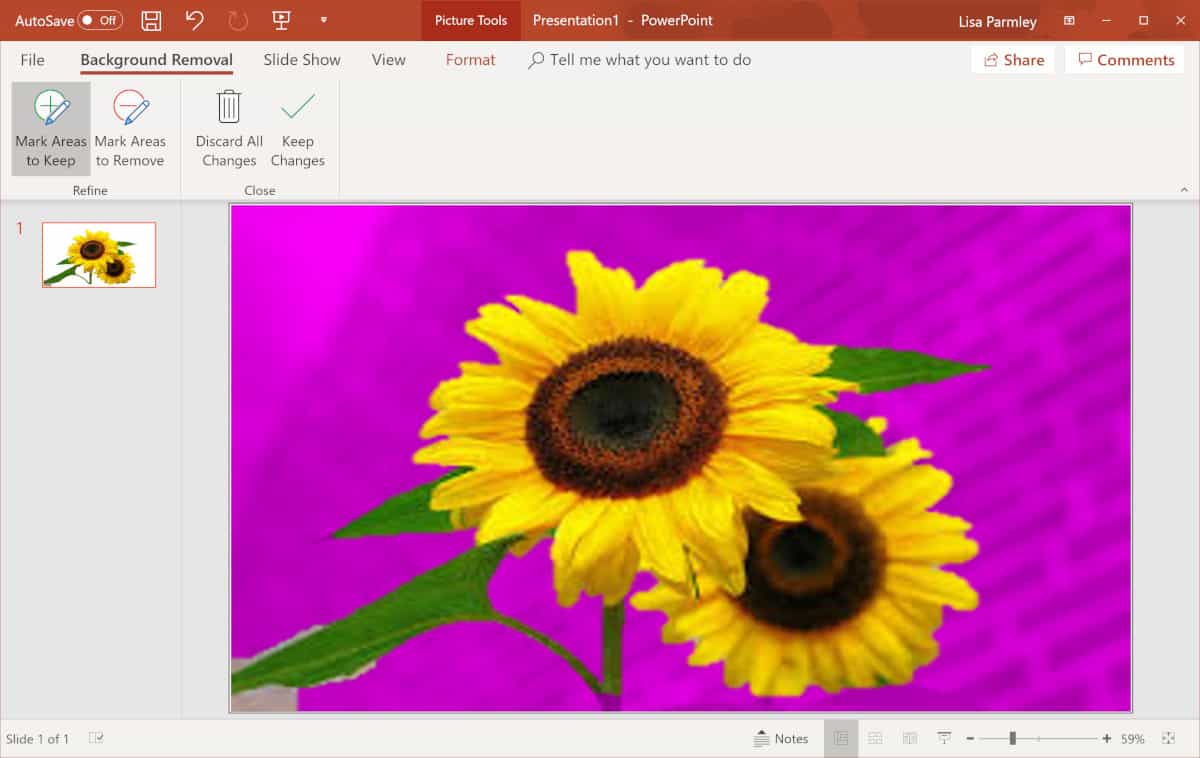
You can try to fix up any areas it might have missed. Use the Mark Areas to Keep tool or Mark Areas to Remove tool to mark around the areas to keep or remove:

Here’s an example of how PowerPoint missed some of the leaf image on the left and the flower petals on the very bottom:

You can discard changes and start over if you still don’t have all the right image features saved. Once you get it the way you want it, click to keep changes.
Here’s how the picture looks when it’s finished:
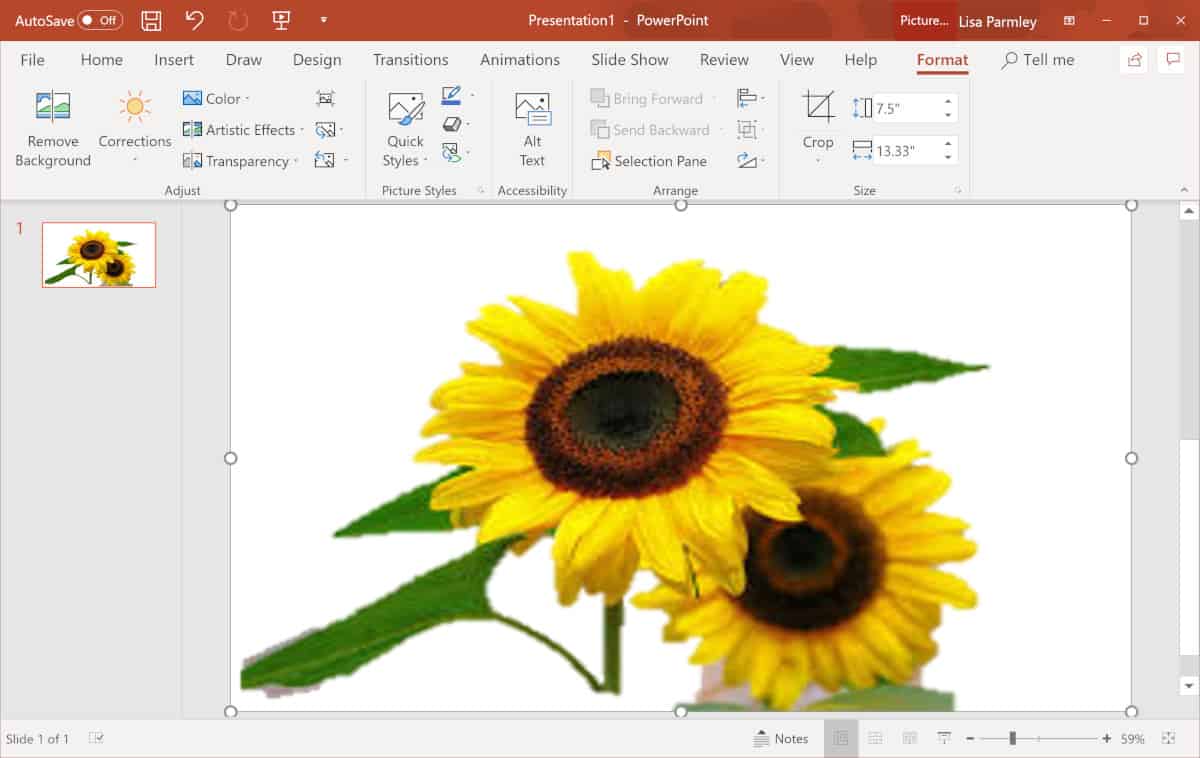
It’s not too bad considering it only took about a minute to remove that background!
Option 2: Remove Background From Picture (2007 Version)
This option will only work for PowerPoint 2007.
You’ll use the set transparent color tool for this method. This option will work better on an image that doesn’t have too many colors.
Here’s how to do it …
First insert your image and select it:
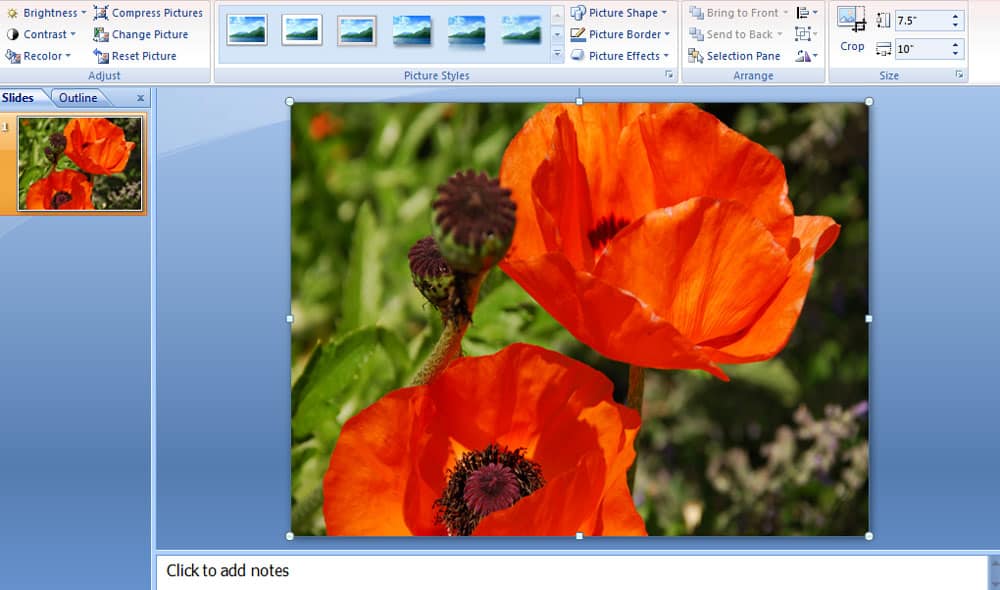
Click the Format tab:

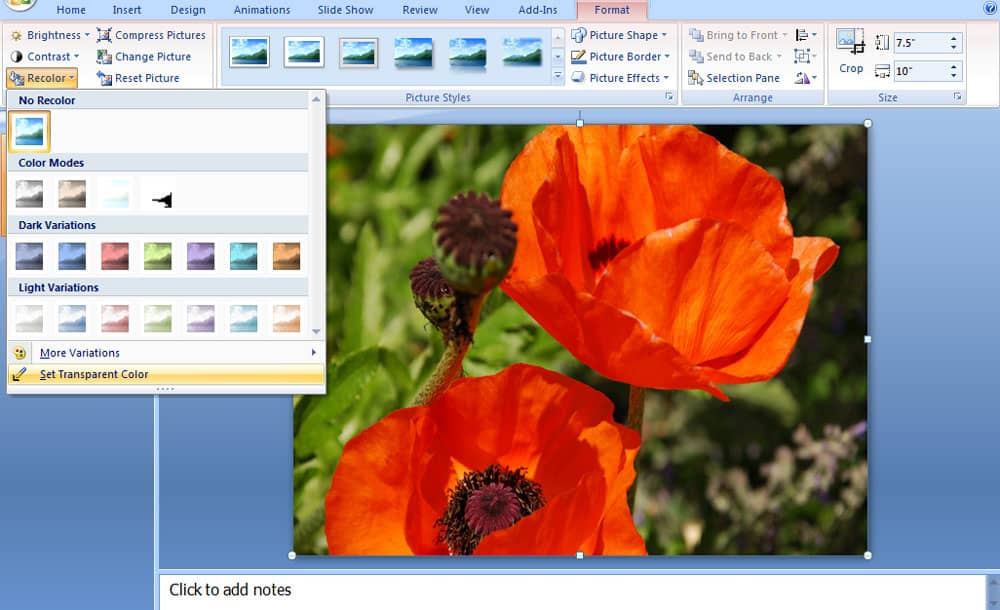
From the Format tab, choose Recolor. A drop-down window will appear. Click on the Set Transparent Color tool from that window:
From within the image, select the color you want to set as transparent. In the example below, I clicked on a shade of green. PowerPoint will remove that color from your image as shown below:
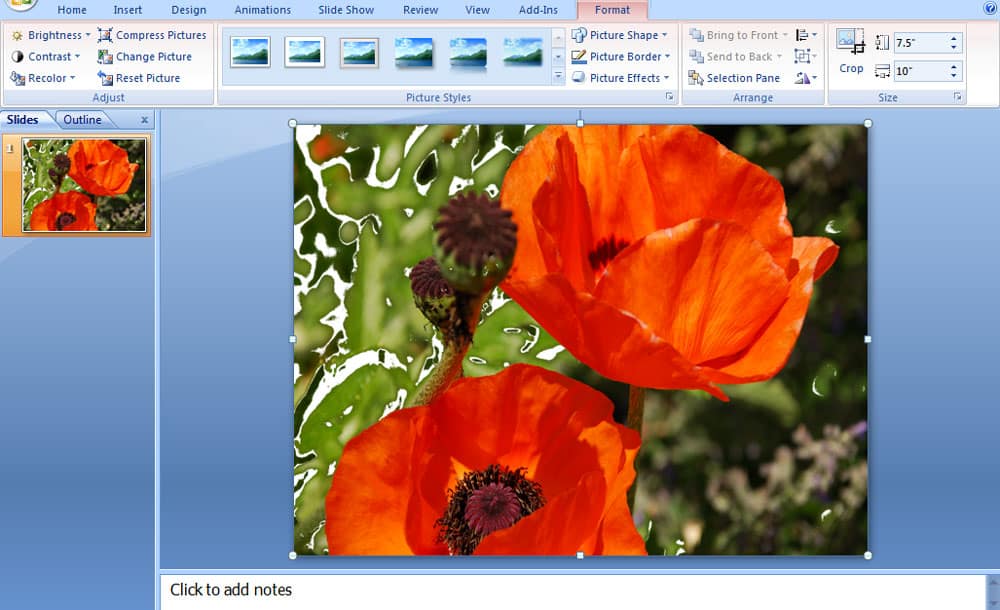
As you can see, this was not a good image choice because there are too many variations of the green background. You would have to keep going like this for all the colors until all of the background becomes transparent.
Best Practices & Alternatives
Once you’ve got your image the way you’d like it, make sure to save it aside from where it is in your PowerPoint slide. This is especially important if you spent a lot of time getting the background out of the image. Save it as a .jpg or .png and with a new name so you have the version with and without the background where you can access it easily.
If you’re having trouble removing the background from a picture with a person in it you might want to try Remove.bg. It can be extremely difficult to cut a background out around hair so you may want to give this online tool a try.
Remove.bg does a great job and only takes seconds. So if you’re having trouble getting it right with the PowerPoint tool, try this. You can use this tool for free for personal use for images up to 625 x 400 pixels. They have a paid version where you can pay as you go for commercial use for $2 an image or less if you pay in bulk.
Conclusion
Pictures are worth a thousand words so it’s obviously worth including pictures in your PowerPoint presentation. If you’re trying to teach your viewers a new concept including images can help make the concepts more memorable.
Hopefully you can see how easy it is to remove backgrounds in images with PowerPoint. With just a few clicks you can get rid of the background in most nearly any picture. This will help make your slides less cluttered and bring the focus in on the main subject.
If you’d like to learn a few more tricks dealing with PowerPoint images, we’ve got additional tutorials for you. Learn how to make a picture transparent in PowerPoint as well as how to insert a GIF in PowerPoint for even more effect.
If you have any ideas for future tutorials, leave them in the comments below …
