Our content is reader supported, which means when you buy from links you click on, we may earn a commission.
How to Insert a GIF into PowerPoint
Are you interested in adding a GIF to your PowerPoint presentation?
It’s always nice to add some humor into your presentations.
So follow along and you’ll see how to add a GIF into PowerPoint quickly and easily.
What’s a GIF?
A GIF is a Graphics Interchange Format. It’s a graphic bitmap image that has movements within it. Think of a GIF as the middle ground between images and videos. They’re a more interactive form of media without having to install a video player to view it.
It’s like a mini-video that can be watched in just a second or two. There’s usually no sound and they are set to auto-loop.
Here’s an example of a GIF:
Ya, it’s the typical cute cat GIF, but in addition to just being cute, GIFs can convey emotions.
They can convey shock or other complex emotions, but they’re mostly used to convey fun.
Why Include GIF’s?
For one, they’re popular. Here’s a list of reasons why you may want to include a GIF in your next presentation:
- A GIF can make your presentation stand out and become memorable.
- GIF’s have a small file size, so they won’t crash PowerPoint.
- They’re short. Short is good because no one has a very long attention span anymore.
- They often capture your audience’s attention.
- They’ll spice up a flat image.
- A lot of GIFs come from movies so they help create a connection to something your viewers are probably already familiar with.
Where to Get the Animated GIFs?
Giphy.com is a good GIF depository. All the GIF’s from Giphy are free. You can also make your own GIF on Giphy from images you choose or a snippet of video. In addition, you can add stickers and captions.
Gifs.com is another good source for GIFs. Gifs.com has paid and free options.
Different Options to Insert a GIF Into PowerPoint
Now you’ll see a few different ways to insert a GIF into a PowerPoint presentation. Just select the option that matches the version of PowerPoint you have.
Option 1: Insert the GIF as a Picture
This option works for Office 365 PowerPoint as well as PowerPoint 2010 – 2016.
In this option you’ll insert a GIF like you insert a picture. The GIF must be downloaded onto your computer for this to work.
Here’s a breakdown of this option …
Navigate to the slide you want to add the GIF to. Once there, go to the Insert tab and click the Pictures icon:
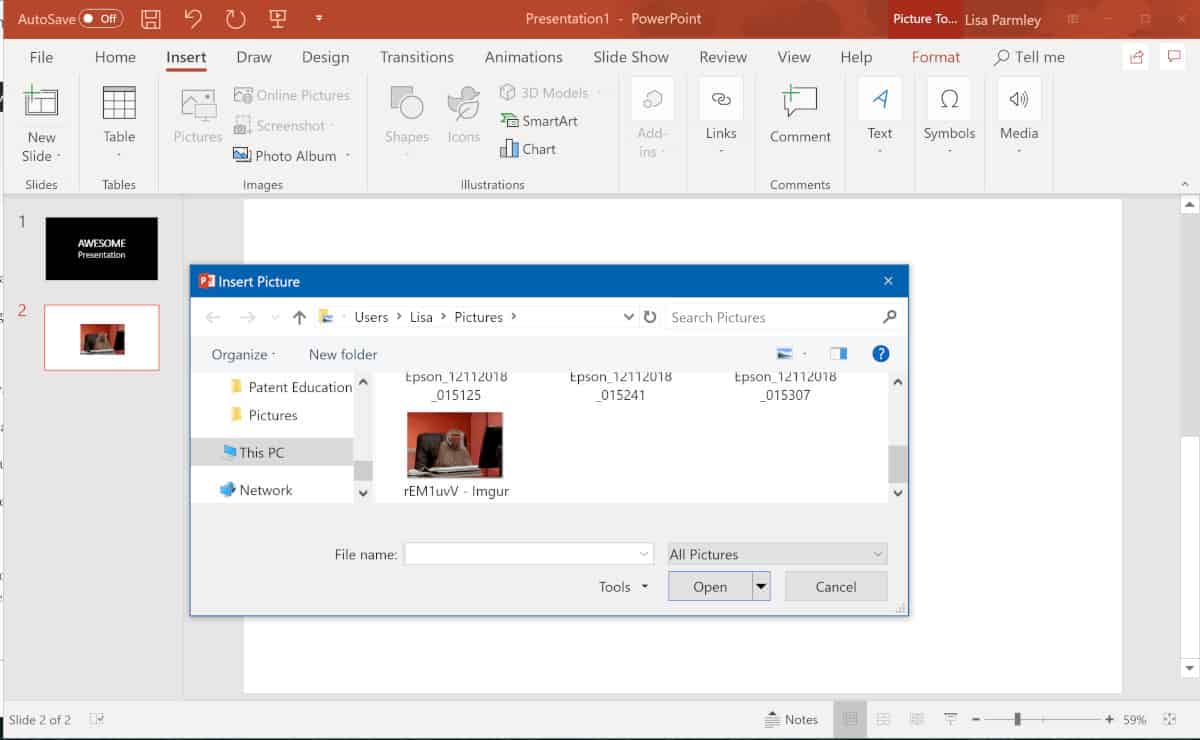
In the Insert Picture dialog box navigate to the GIF you want to add. Select the file, then click Open.
The file must be located on your computer or in a cloud application like OneDrive. In other words, it needs to be somewhere you can access it from your device.
Once it’s in your slide, you can move the GIF around and resize it if need be:
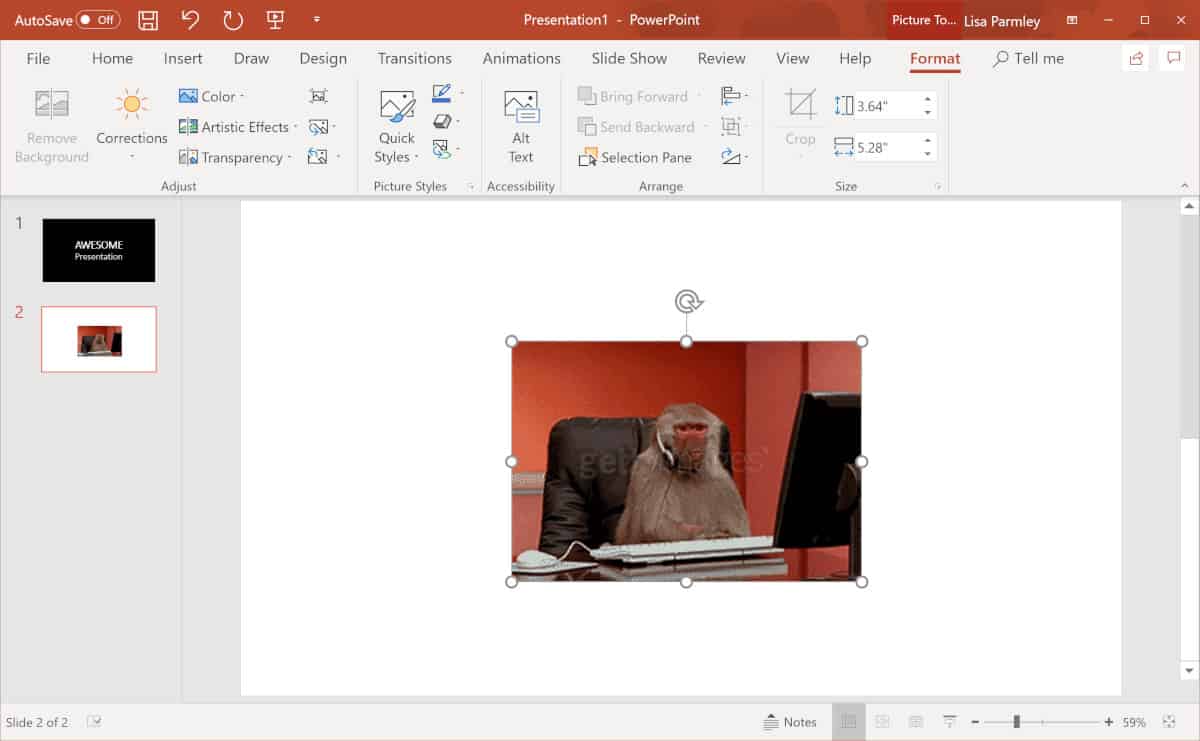
The GIF won’t do anything when you’re in this PowerPoint view. If you want to see it play, you have to run the slide show.
To play it, go to the Slide Show tab and click on From Current Slide:
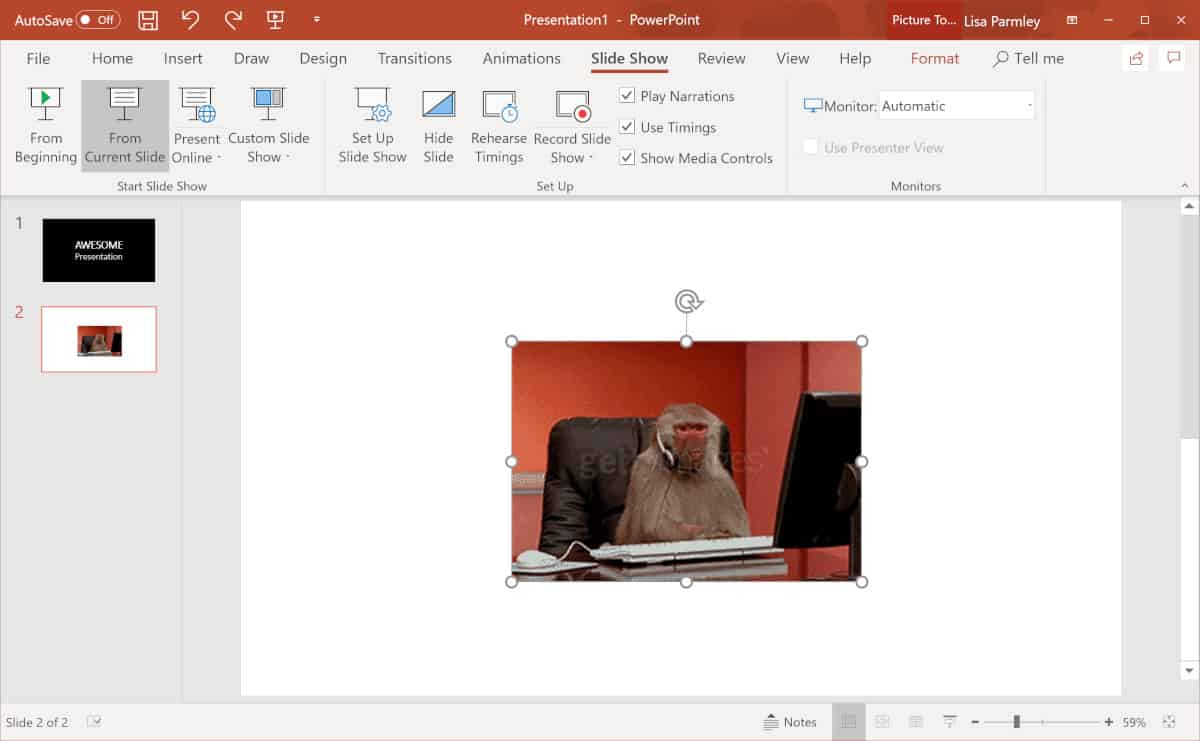
The slide will launch in presentation form and you can see it play.
Here’s what it does just in case you’ve got to see it:
There you have it, a GIF inserted into PowerPoint.
Option 2: Insert GIF as a Movie
This method will work in PowerPoint 2007.
Basically, you’re going to insert the GIF in the same manner as the option above, but instead of selecting the Picture icon, you’ll need to select the Movie icon that is available in PowerPoint 2007.
So here we are in PowerPoint 2007. Click on the Insert tab, then select the Movie icon. You can choose to insert the Movie from File or a Movie from Clip Organizer:
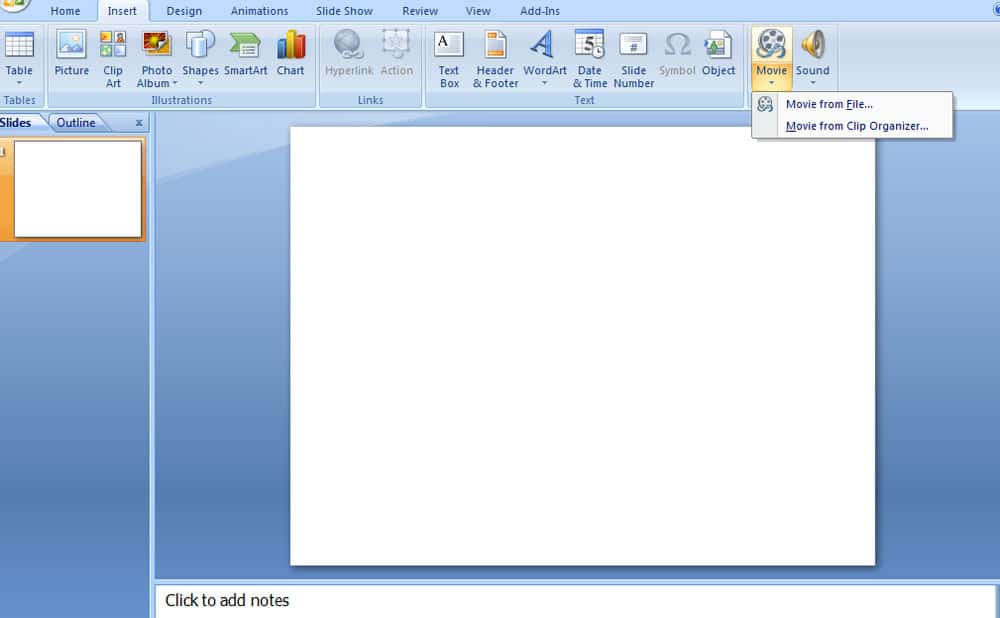
If you click on the link to insert Movie from File, you’ll just navigate to your file and insert the movie. The GIF will play once you run the slideshow.
That’s it!
Tips for GIF Placement
Placing a GIF over the entire slide can work well.
Alternately, if you’re using PowerPoint slide borders in your slides then consider using the same border for the slide with the GIF. Alternately, you can create a special border just for the GIF.
Transparent images can make a good background for your GIF. Learn how to make an image transparent in PowerPoint.
What you don’t want is just a GIF with a lot of white space and nothing else. Try to avoid what I did in my example:
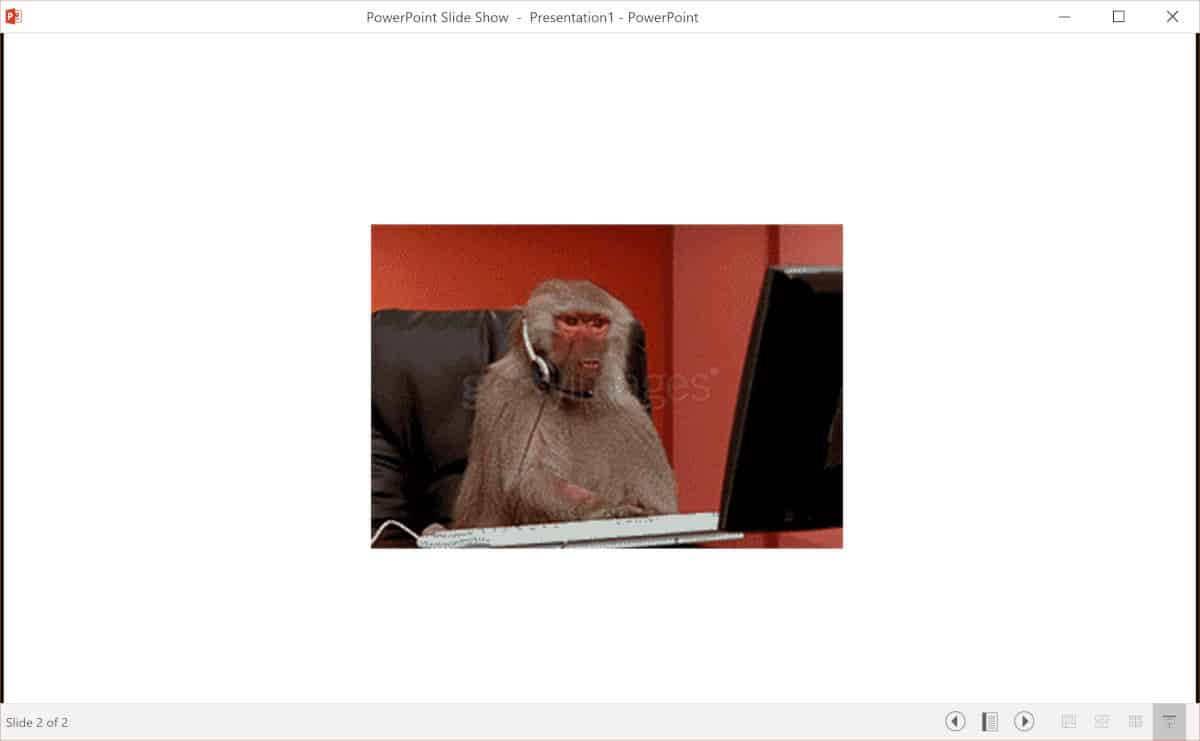
There needs to be something else on this slide. Either make the GIF cover the entire slide, add a PowerPoint border, or include a background like a transparent picture to make the design better.
You can also overlay text on the GIF if you’d like to include text or shapes over the animation.
Creative Idea
Instead of finding a GIF, you can use an image or icon and add an animation to it.
Here I added in an icon from PowerPoint, but you can get your icon from anywhere.
Go to the Insert tab and then click the Icons link (it’s next to Shapes).
![]()
The library of icons shows up for you to choose an icon from:
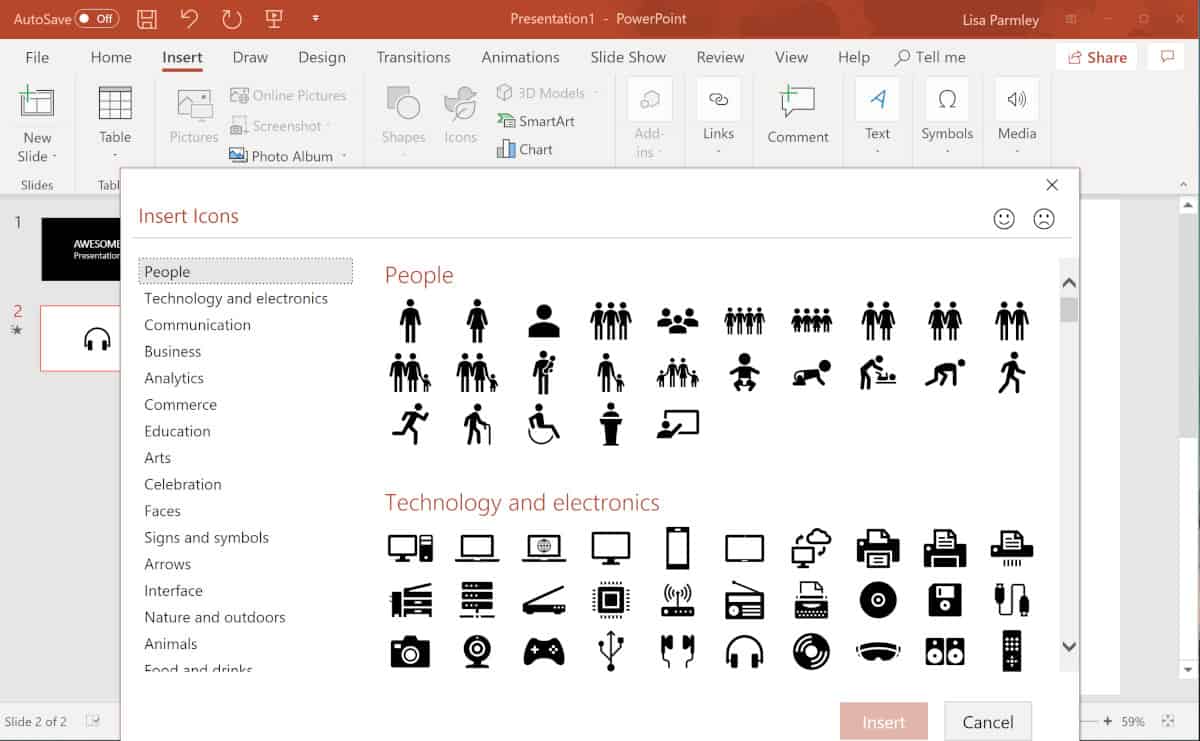
Select the icon you want by clicking on it. You can resize and position it on your slide:
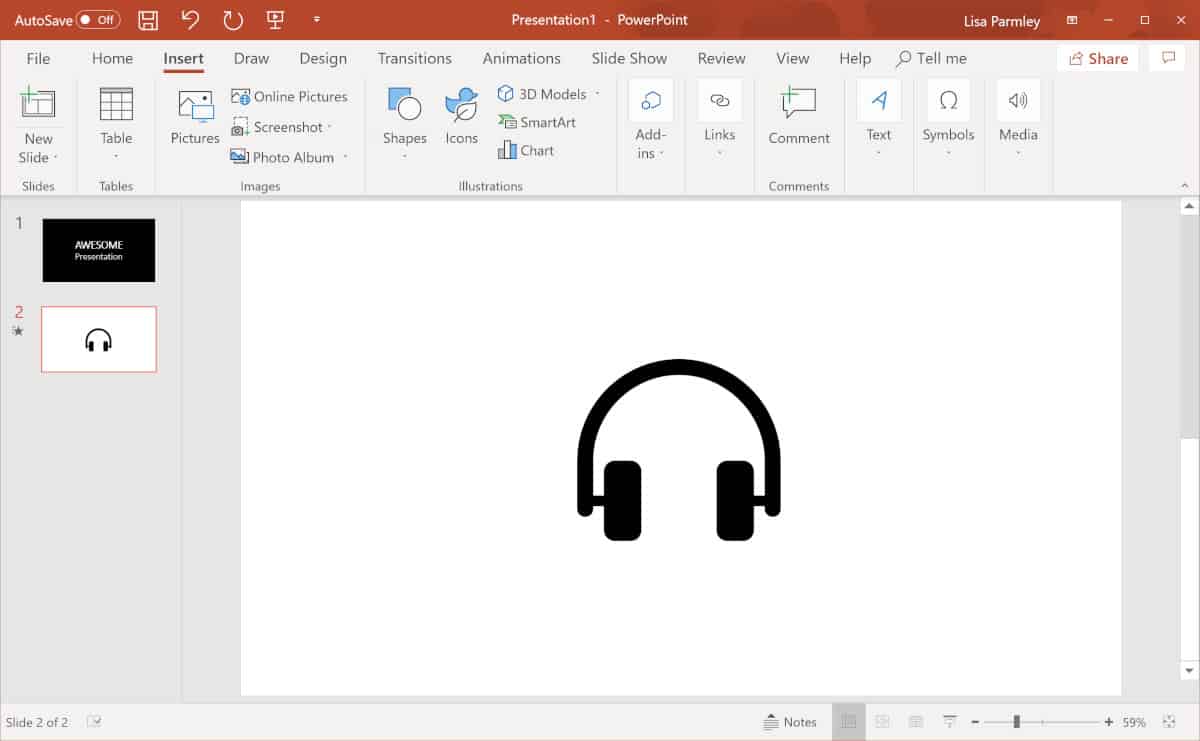
With the icon selected go up to the Animation tab and click on Add Animation. For this example, the Grow/Shrink animation was selected:
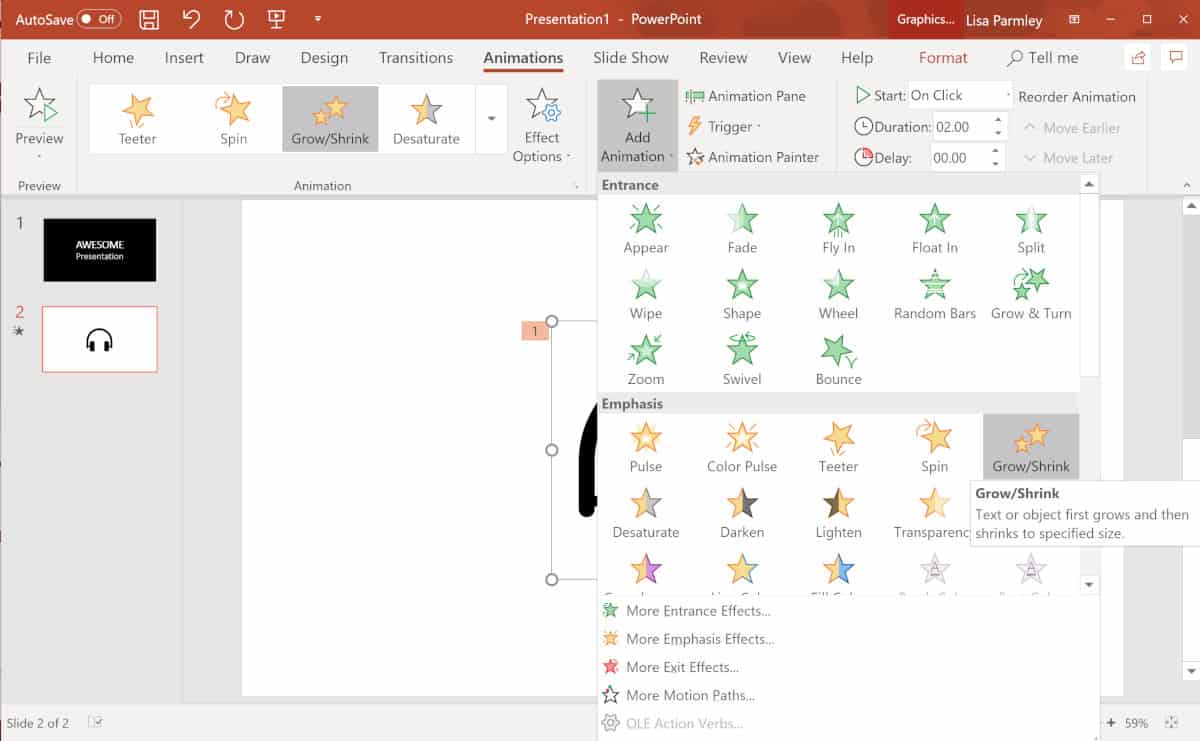
The icon grows and then shrinks back down so it looks like it’s pulsating.
You can select the duration and a timer delay among other animation features:

An animated icon is not the same as a GIF, but it can be used add variety to your presentation. It also serves as a way to highlight in PowerPoint.
You can use an animations with icons like shown above. You can also use animations to show data changes, change colors (to indicate going from bad to good), or show growth by changing or animating the size of your images. Get creative and add some variety to your presentation!
Best Practices
It goes without saying, it’s best to match a GIF to your topic, or the emotion you want to convey. Here’s a few other best practices for using GIFs in your presentations:
Looping GIFs.
You may want to think about whether or not you want your GIF to loop. You can choose how many times it loops or even stop it from looping altogether. A looping GIF can get annoying if you’re going to be on the slide for a while.
GIF’s have an internal setting dealing with looping so you’ll need to adjust that and then re-insert the new GIF into PowerPoint. You can use a site called EZgif.com to accomplish this. Once you’ve configured the GIF settings, you’ll need to re-insert the new GIF into your PowerPoint slide.
Use GIF’s sparingly.
No one’s going to like seeing a GIF on every other slide. By the 4th or 5th slide, it’ll get old. Depending on the length of your presentation, a couple of GIF’s throughout the whole slide show is plenty.
Placing a GIF in the introduction might work really well for your audience. It might help convey a sense of humor and that the learner is in for something fun instead of totally bland and boring.
Watch out for offensive content.
Don’t get a GIF from a movie or a scene that someone might find offensive. It’s best not to be too inappropriate.
If you’re using a GIF to convey humor, make sure it’s general humor and not an inside joke. If the GIF needs explanation, it’s probably best to leave it out.
Conclusion
Hopefully you’ve followed along and see how easy it is to add a GIF in PowerPoint.
GIFs can really lighten up just about any presentation, so it’s worth giving it a try. The added humor can create a connection between you and your learners whether you’re presenting live or using a voice over and recording your presentation to video.
Start a collection of GIF’s you think might fit your presentation style on your hard-drive. Then just insert a couple into your next PowerPoint presentation when you’re ready.
Give it a try and tell us how it went in the comments below …
