Our content is reader supported, which means when you buy from links you click on, we may earn a commission.
How to Highlight Text in PowerPoint

Are you looking for a quick tutorial on how to highlight text in PowerPoint?
It seems like a simple task, but depending on which version of PowerPoint you’re using, it may require a few steps.
Review this tutorial and you’ll be on your way to creating highlighted text in PowerPoint in minutes.
Why Highlight Text in PowerPoint?
The design of your presentation impacts whether your learners pay any attention to it at all. Highlighting can help them focus on the most important bits of information. The more your learners’ absorb, the closer they move toward whatever the end result of the presentation is.
Highlighting is essentially used to:
- Make specific text stand out.
- Simplify the information and call out what’s most important.
- Emphasize the most important words.
Different Ways to Highlight Text in PowerPoint
I’ve got a few different ways for you to highlight text in PowerPoint outlined below …
Option 1: Highlighter Within PowerPoint
This method only works if you’re using PowerPoint Office 365.
There is a true highlighter in Office 365 which is what we’ll be using in this technique.
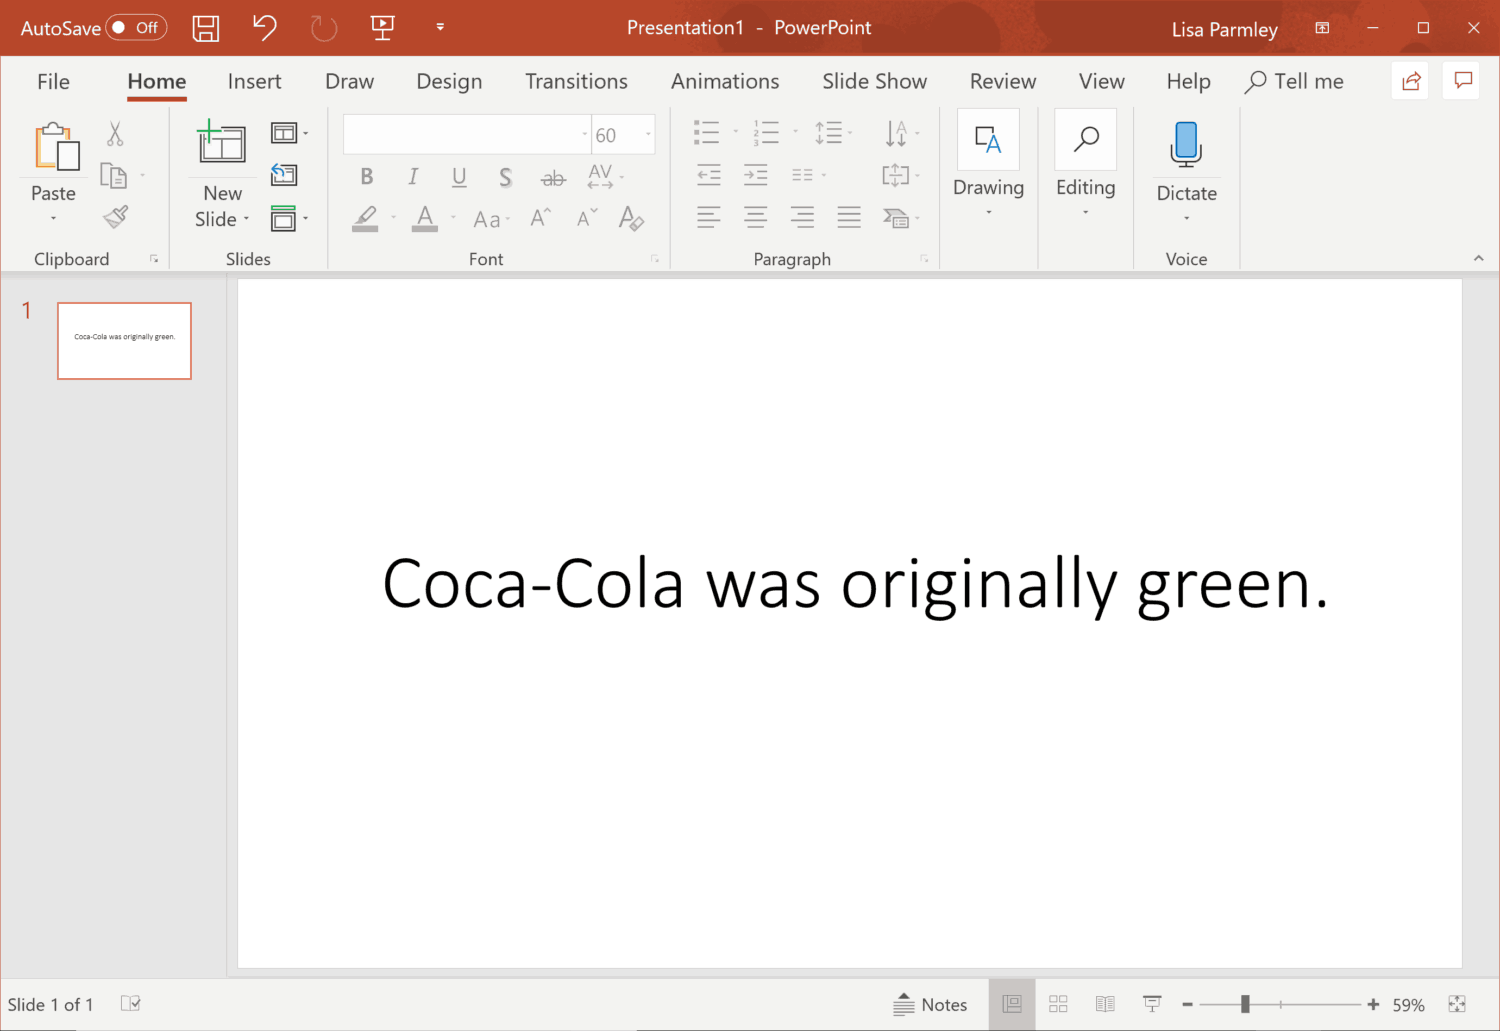
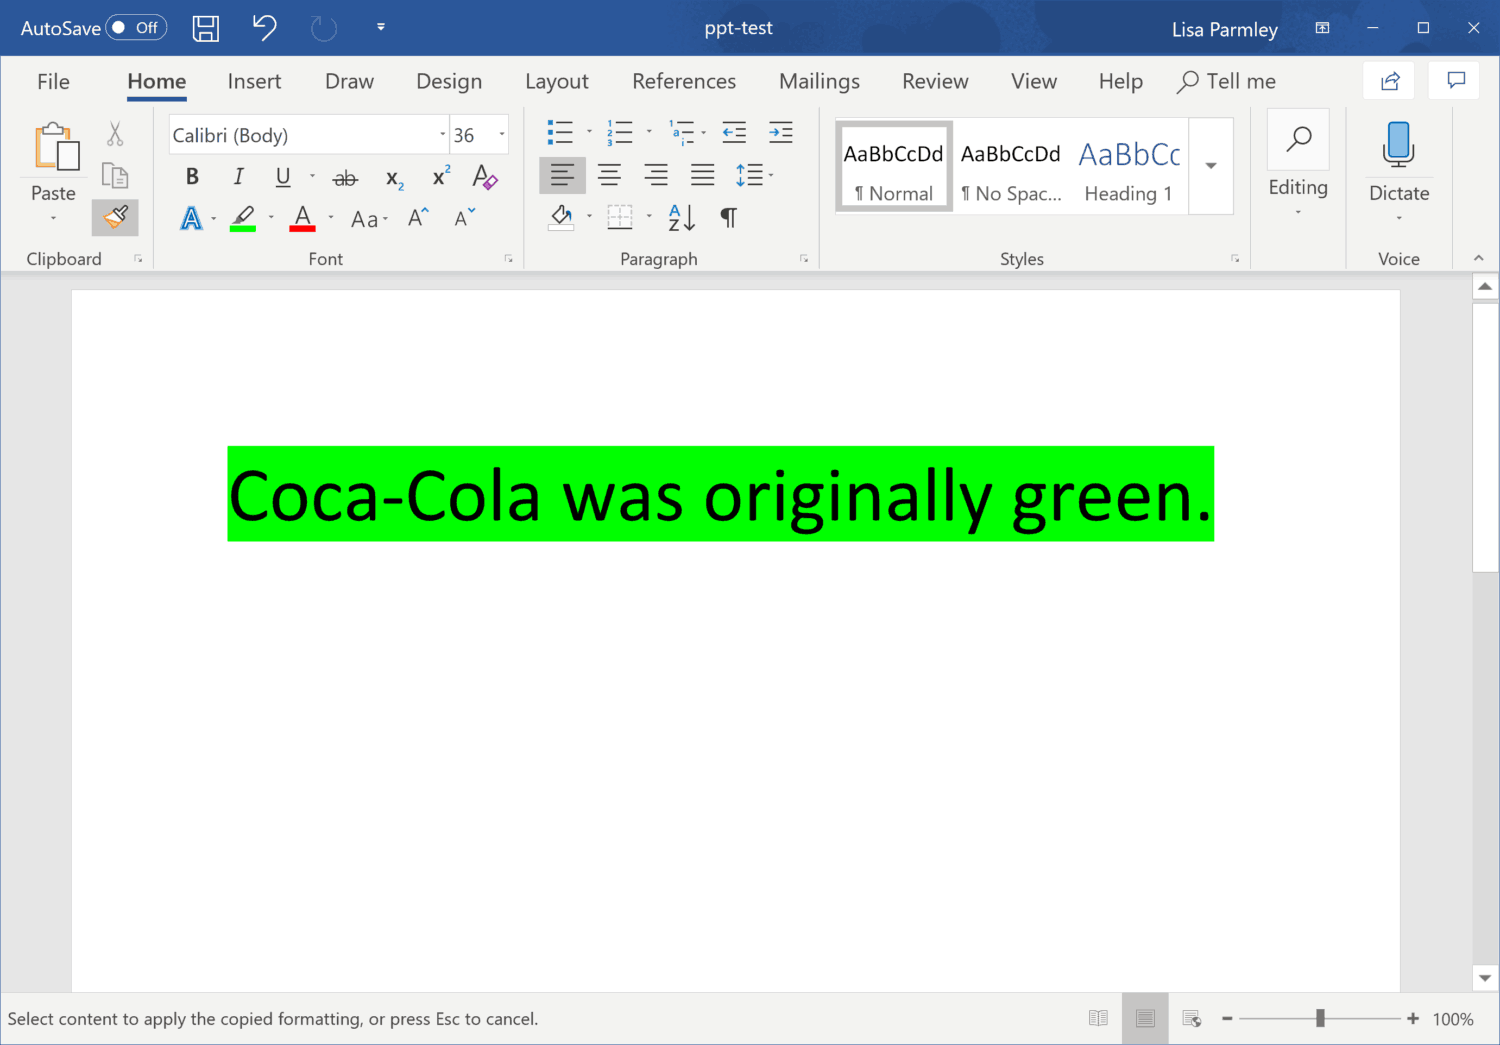
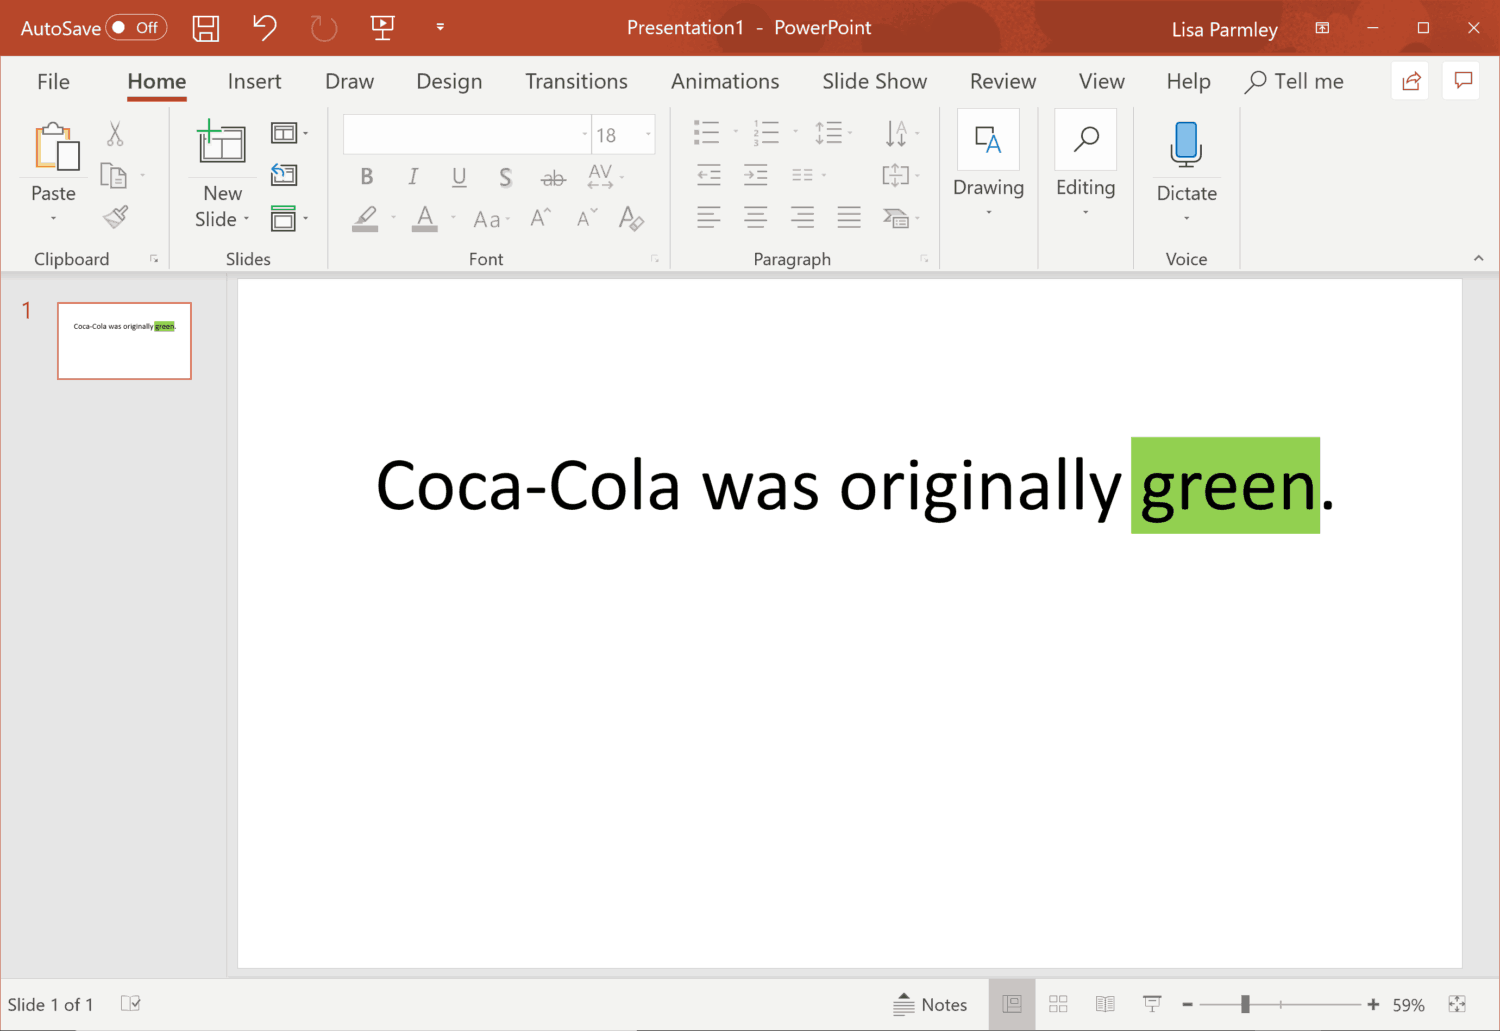
Before creating this tutorial, I searched online for an interesting fact and this is the one I came up with …
“Coca-Cola was originally green.”
Wait, what! Can we even move past this?
I had a hard time doing so, but in the interest of giving you the content you came here for, here’s a step-by-step walk through of how to highlight text with Office 365 PowerPoint:
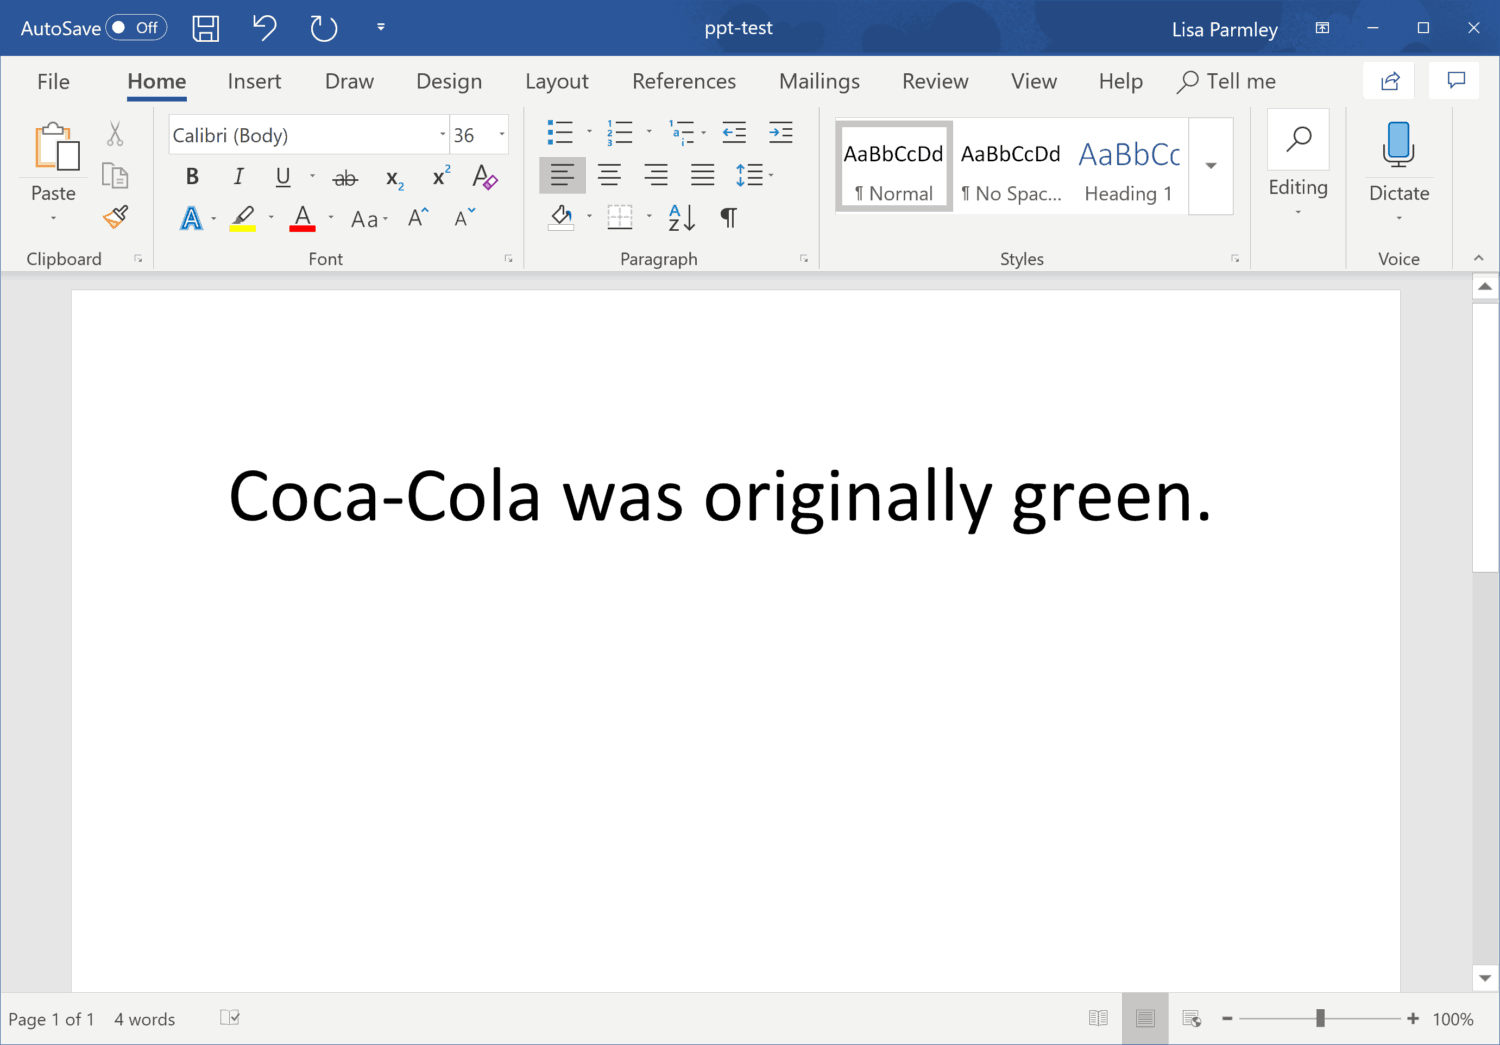
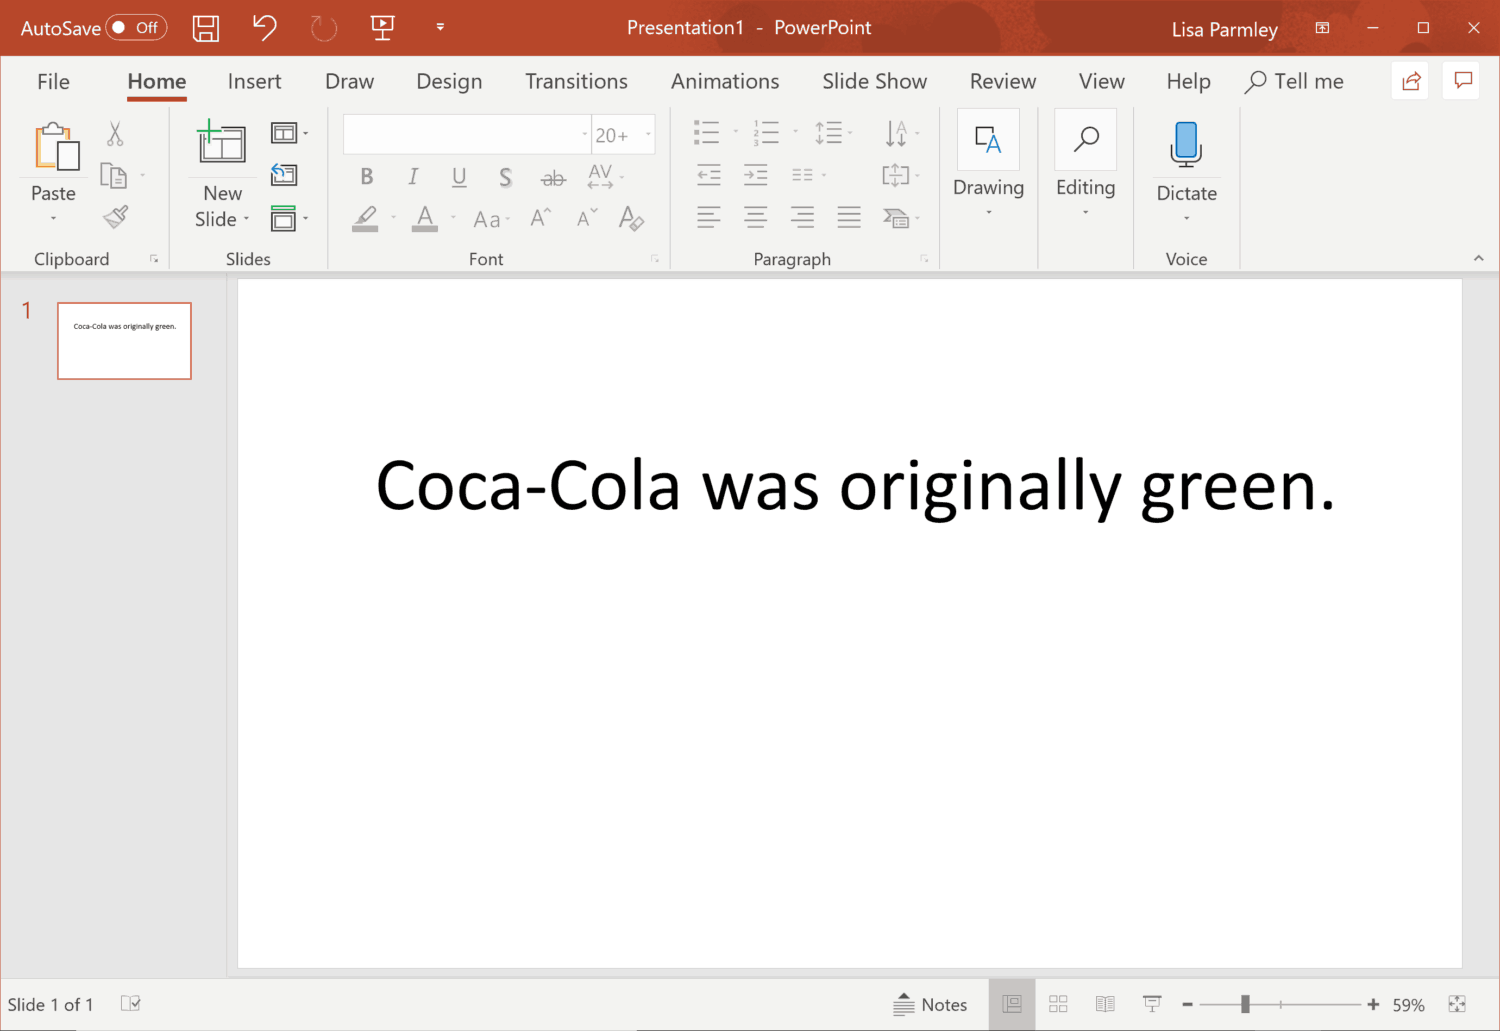
First, you need to type in or paste your text on a PowerPoint slide like shown below:
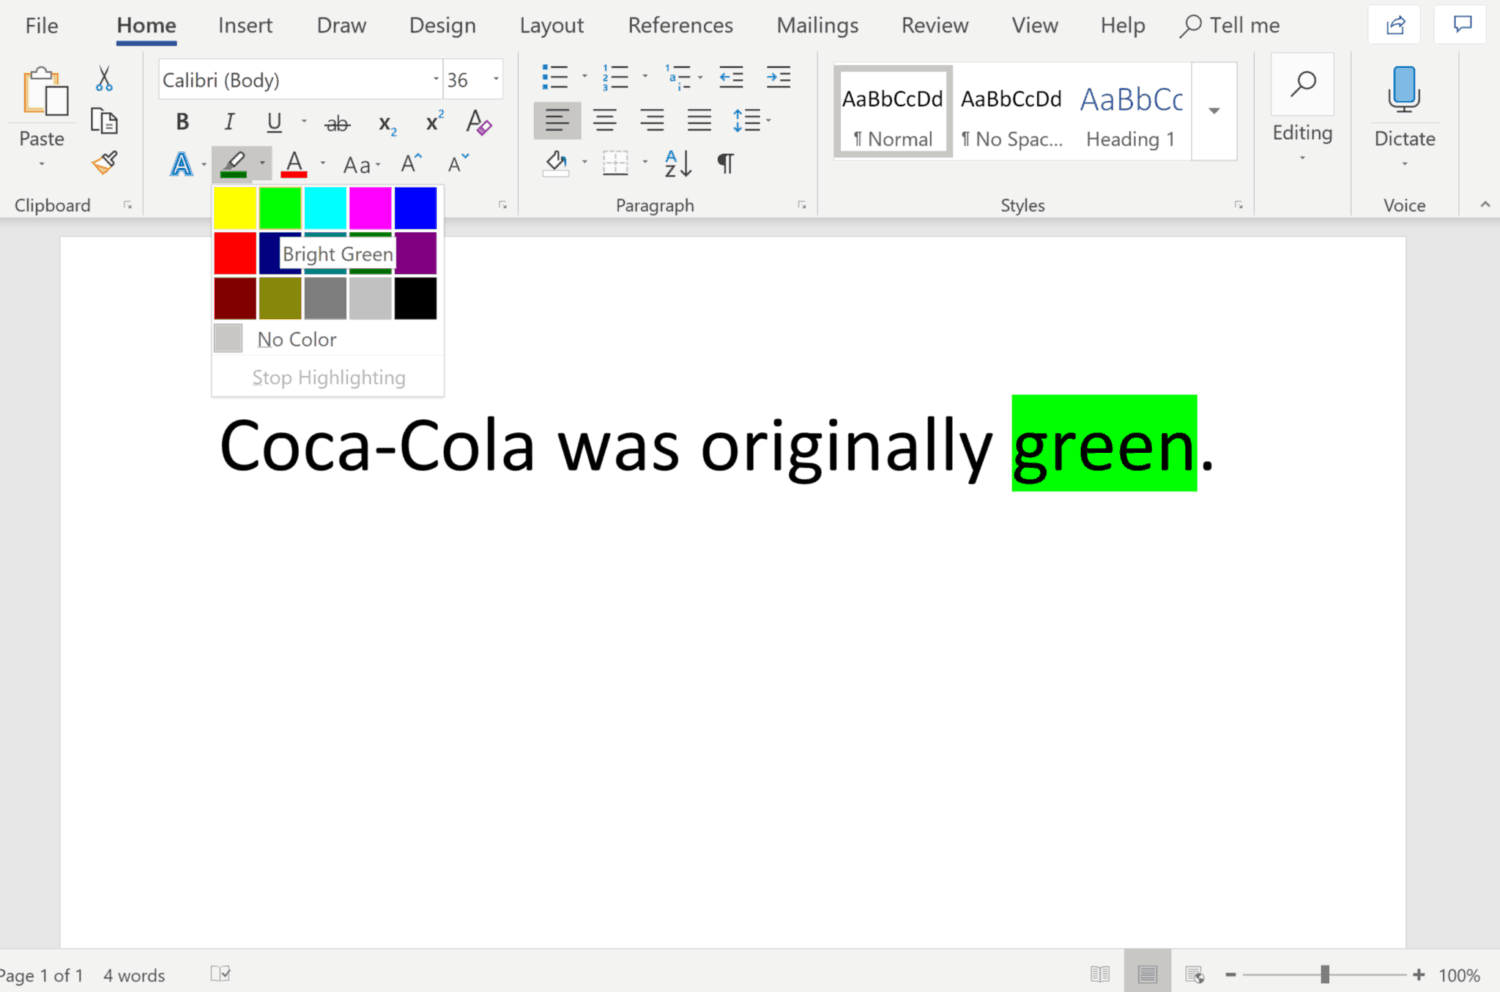
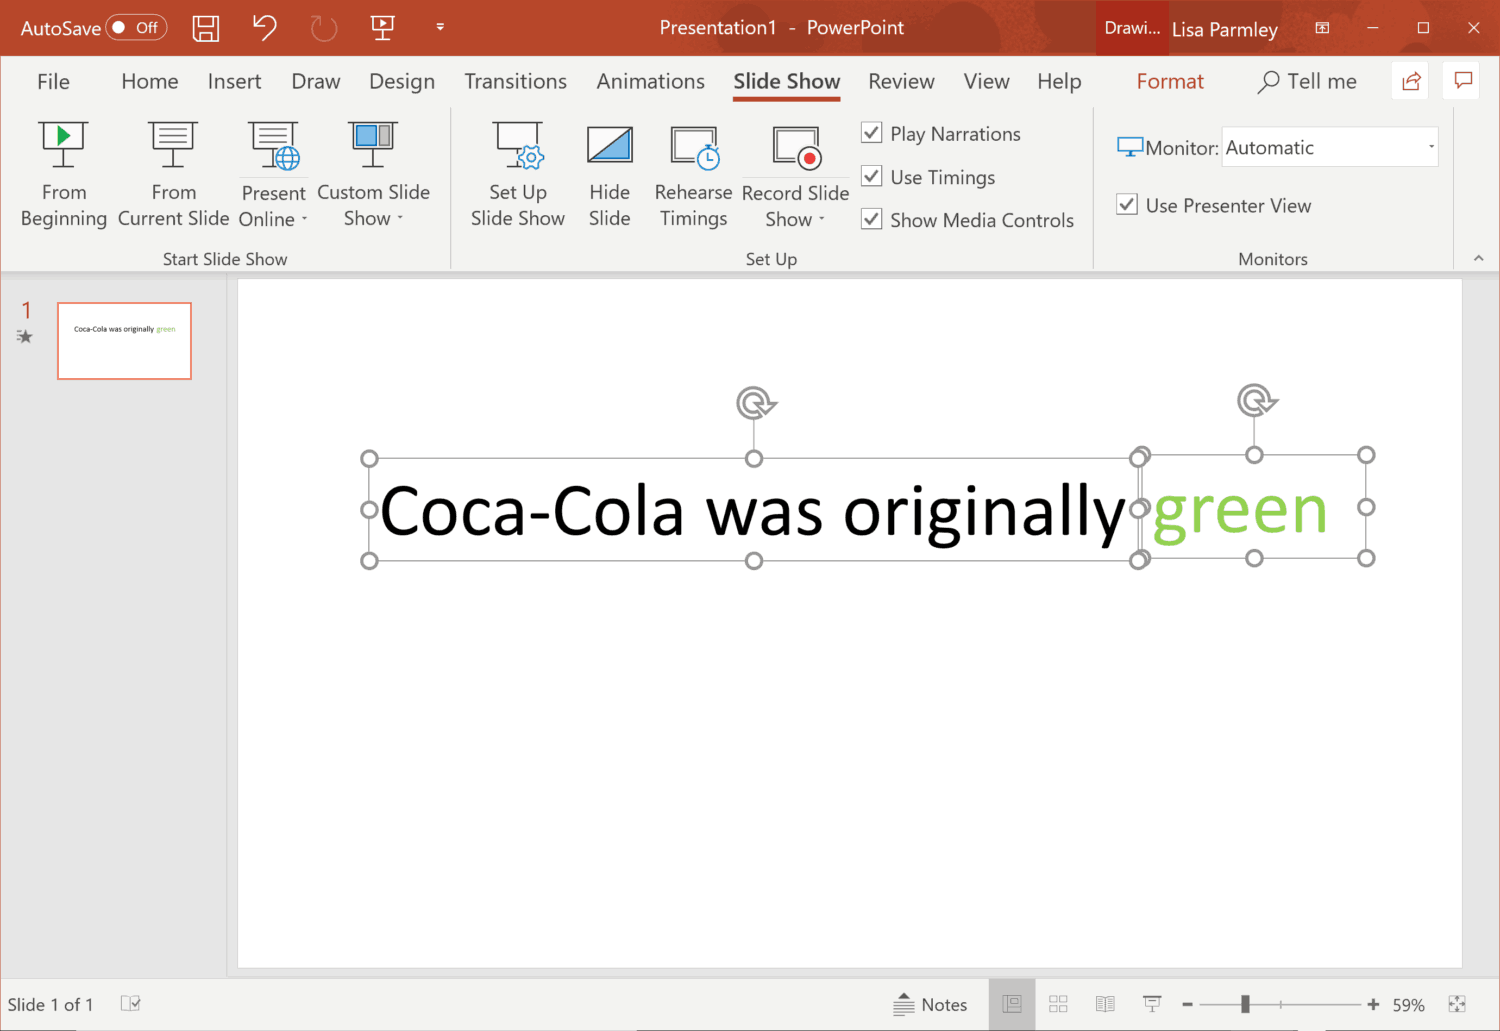
Let’s say we want to highlight the word ‘green’.
First, select the word ‘green’.

Then from the Home tab, look at the Font group.
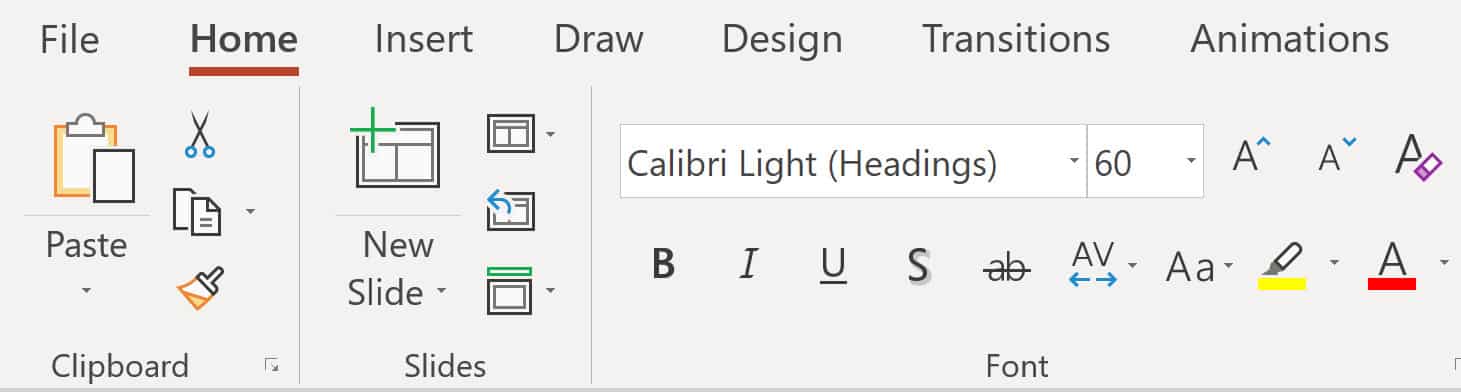
Within the Font group, you’ll see a Highlighter icon. Hover over it and the colors you have to choose from will display.
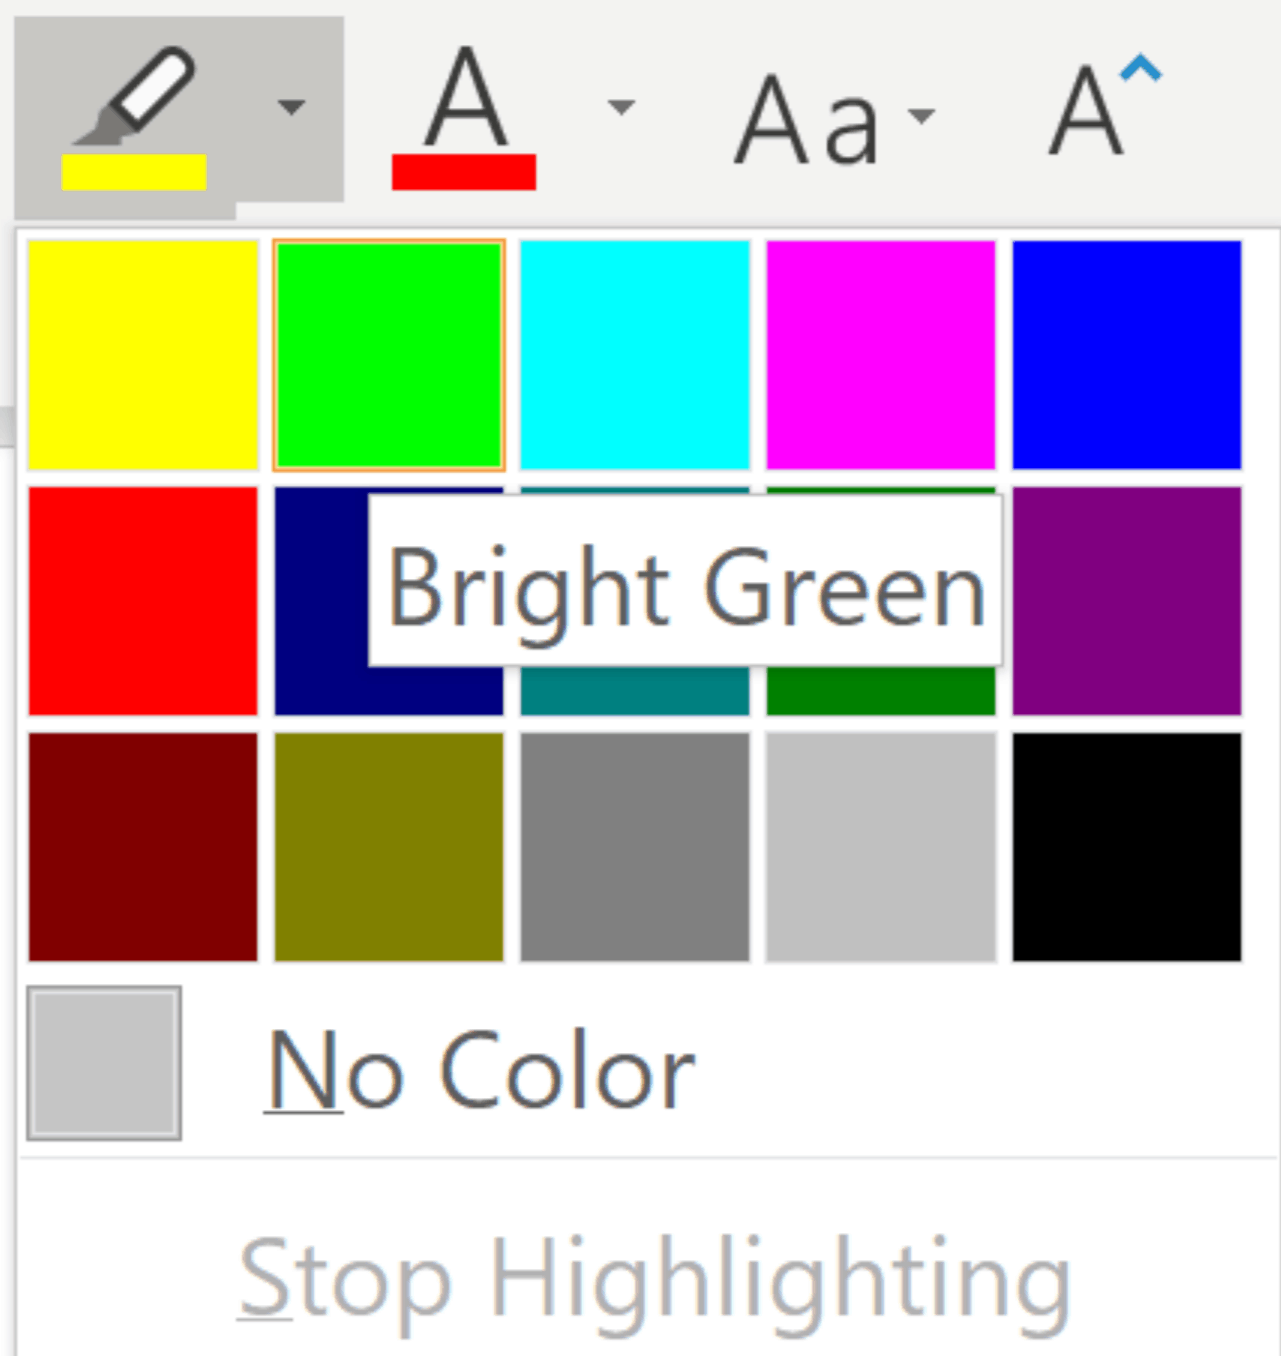
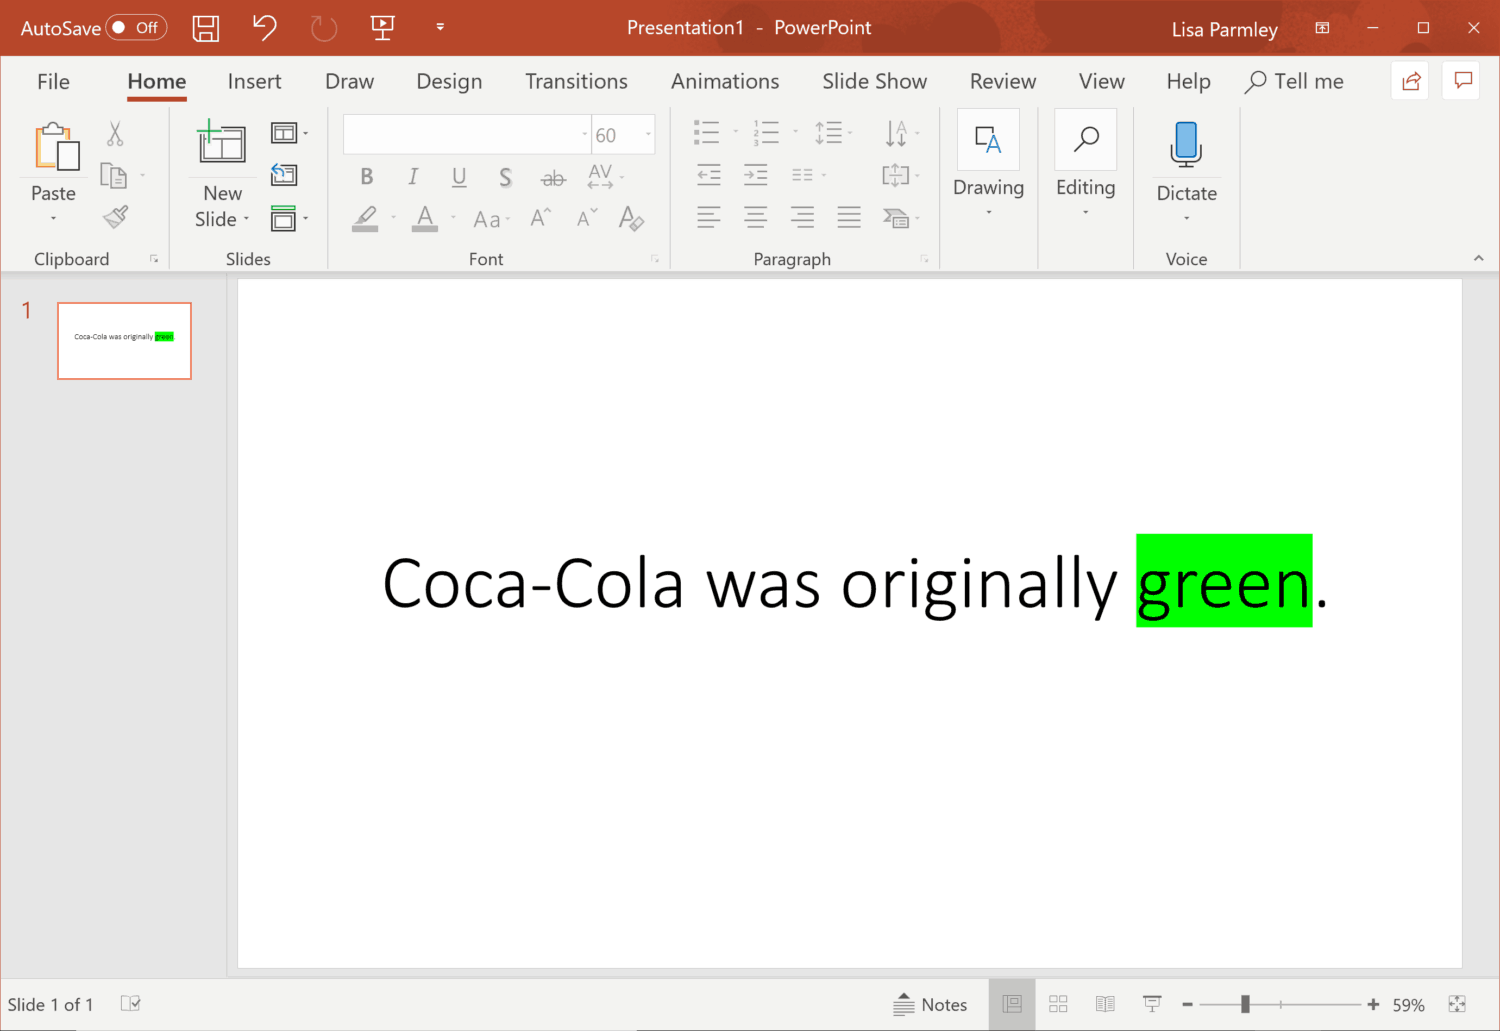
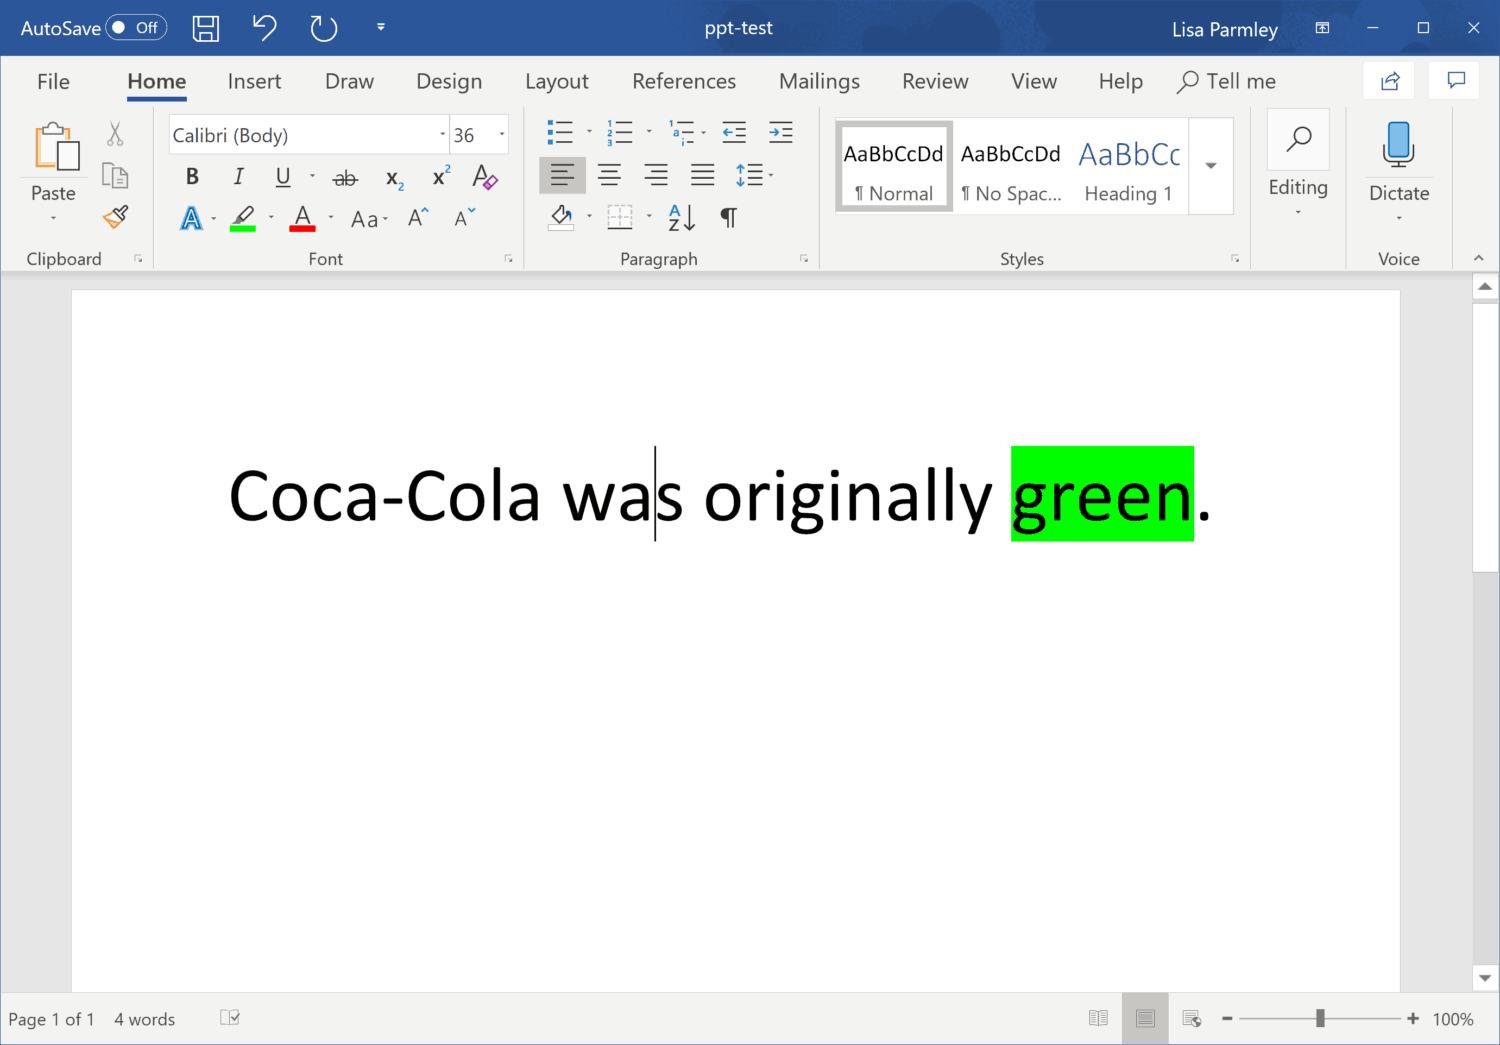
Obviously, we’re going with the green highlighter for this one. So you just click on it and voila:
Now the thing with this method is you can only select from the choices that show up. Which means your highlighted text must be one of these:
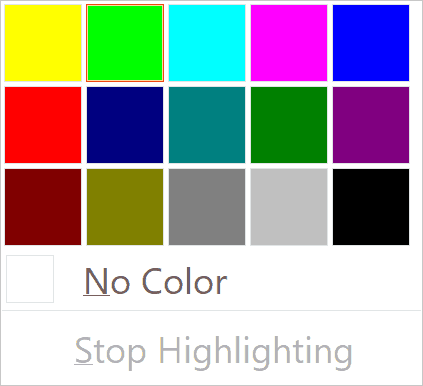
You can’t change the color. These are the only choices.
So even if you have Office 365 PowerPoint, you may want to use one of the other methods in case your preferred color isn’t offered. Of course, if you don’t have Office 365, you’ve got no choice but to use another method.
Here’s the next method:
Option 2: Highlight Text in Word.
This works with all versions of PowerPoint.
In this method, you’ll use Word to highlight your text and then copy and paste what you created in Word over to PowerPoint.
Here’s a step-by-step breakdown of how this works:
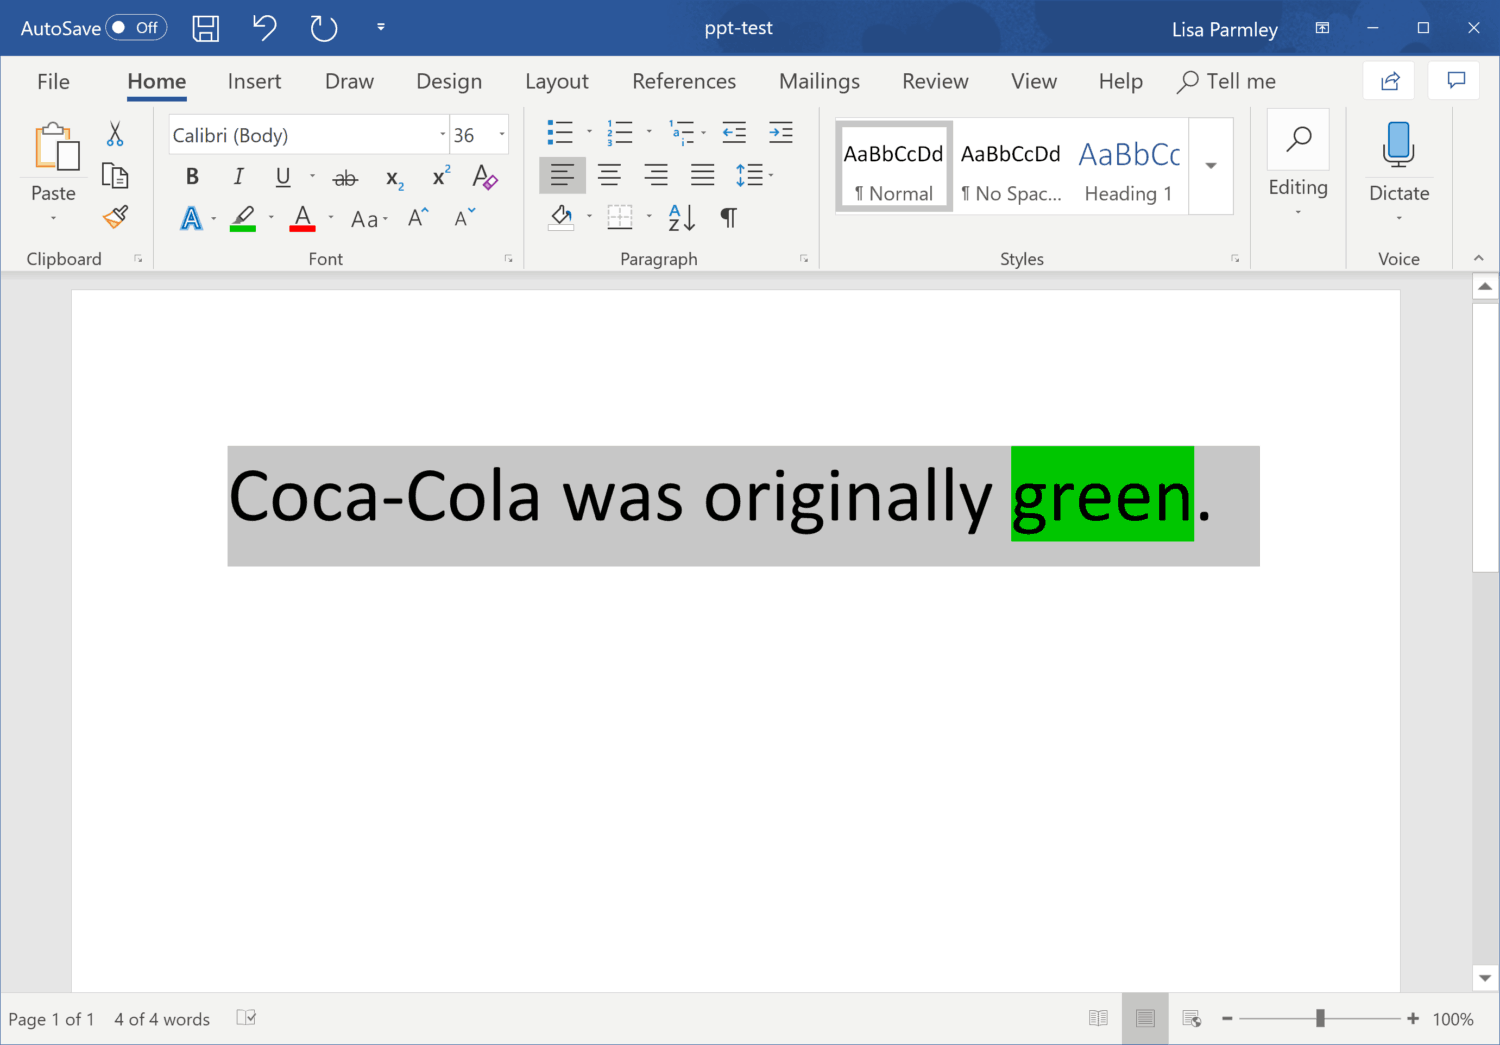
Go to Word and paste or type in your text:
All versions of Word have the Highlighter icon which you can find in the Font group. Highlight the text in whatever color you choose. So here we are in Word and I’ve highlighted the ‘green’ text:
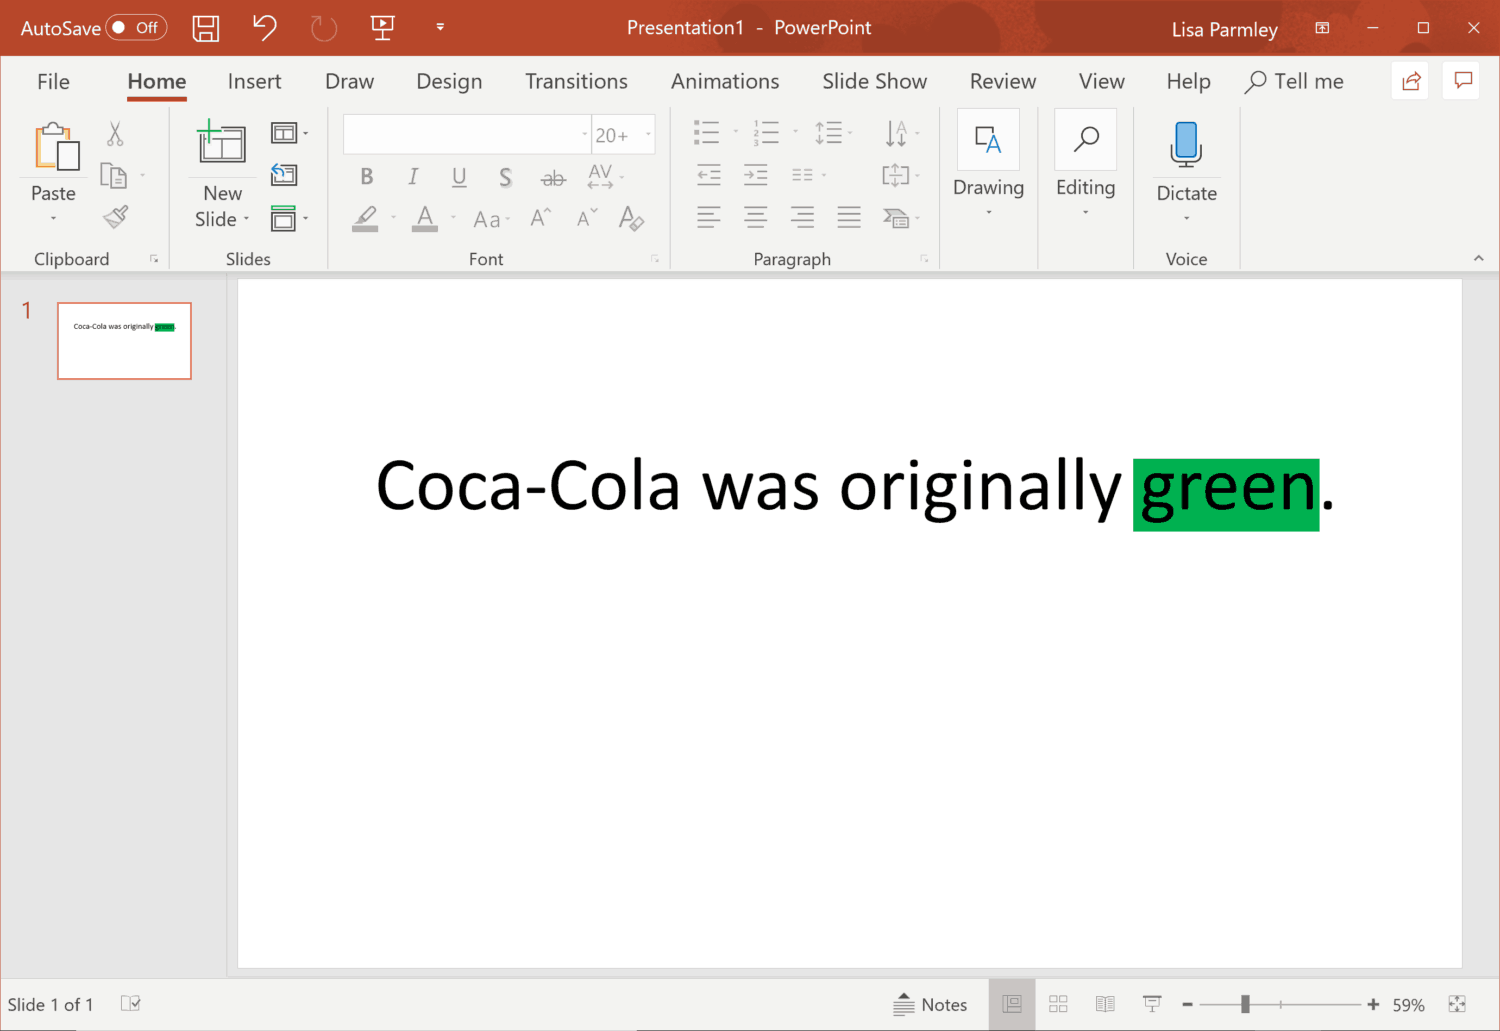
The word ‘green’ is now green.
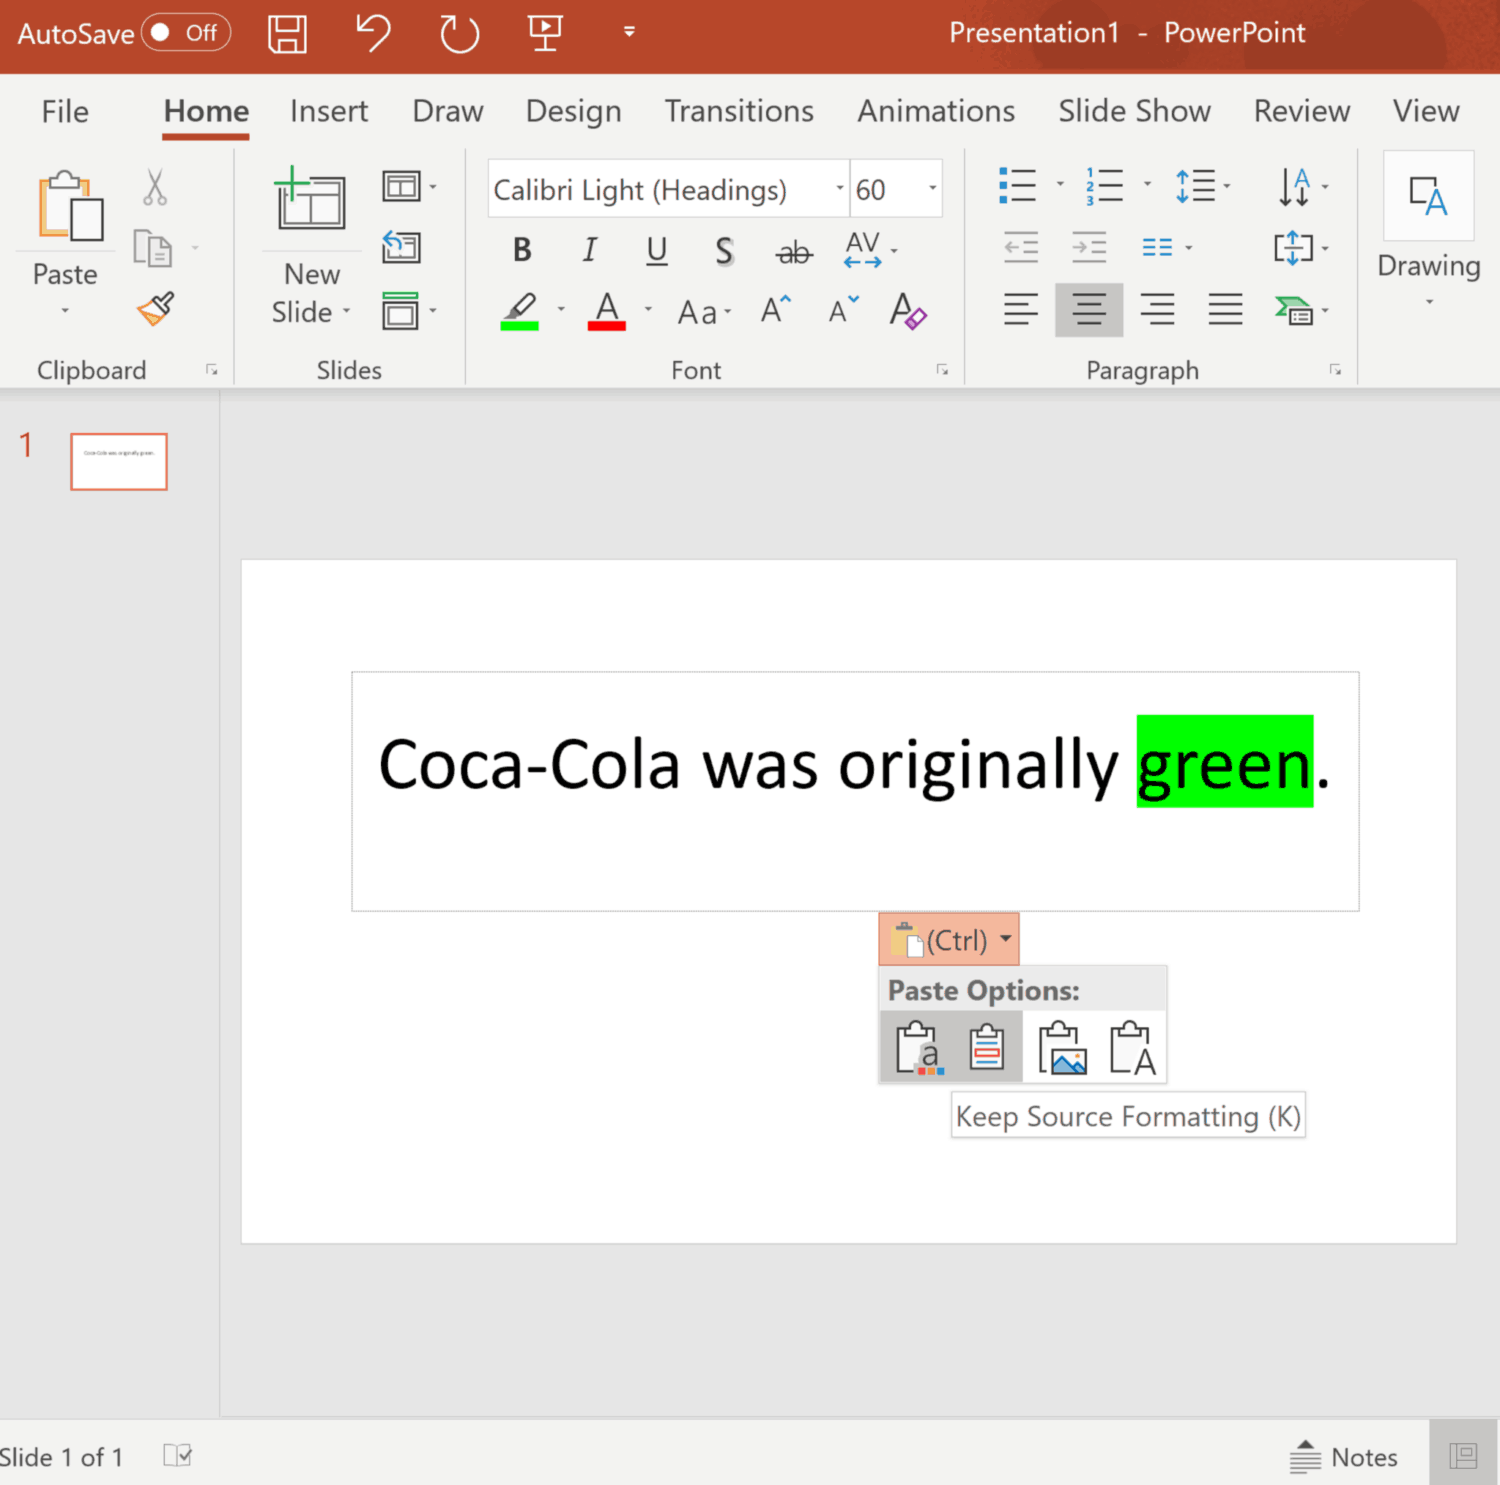
Then copy and paste the text back to PowerPoint:
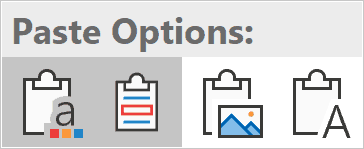
When you paste the text into PowerPoint you’ll see a small icon next to the text called Paste Options. You’ll want to select the option to Keep Source Formatting. It’s this second icon:
Here’s another screenshot of how it looks within PowerPoint:
Now you’ve got your highlighted text:

From within PowerPoint you can highlight other text in the same presentation. Double click on a highlighted word and select Format Painter.
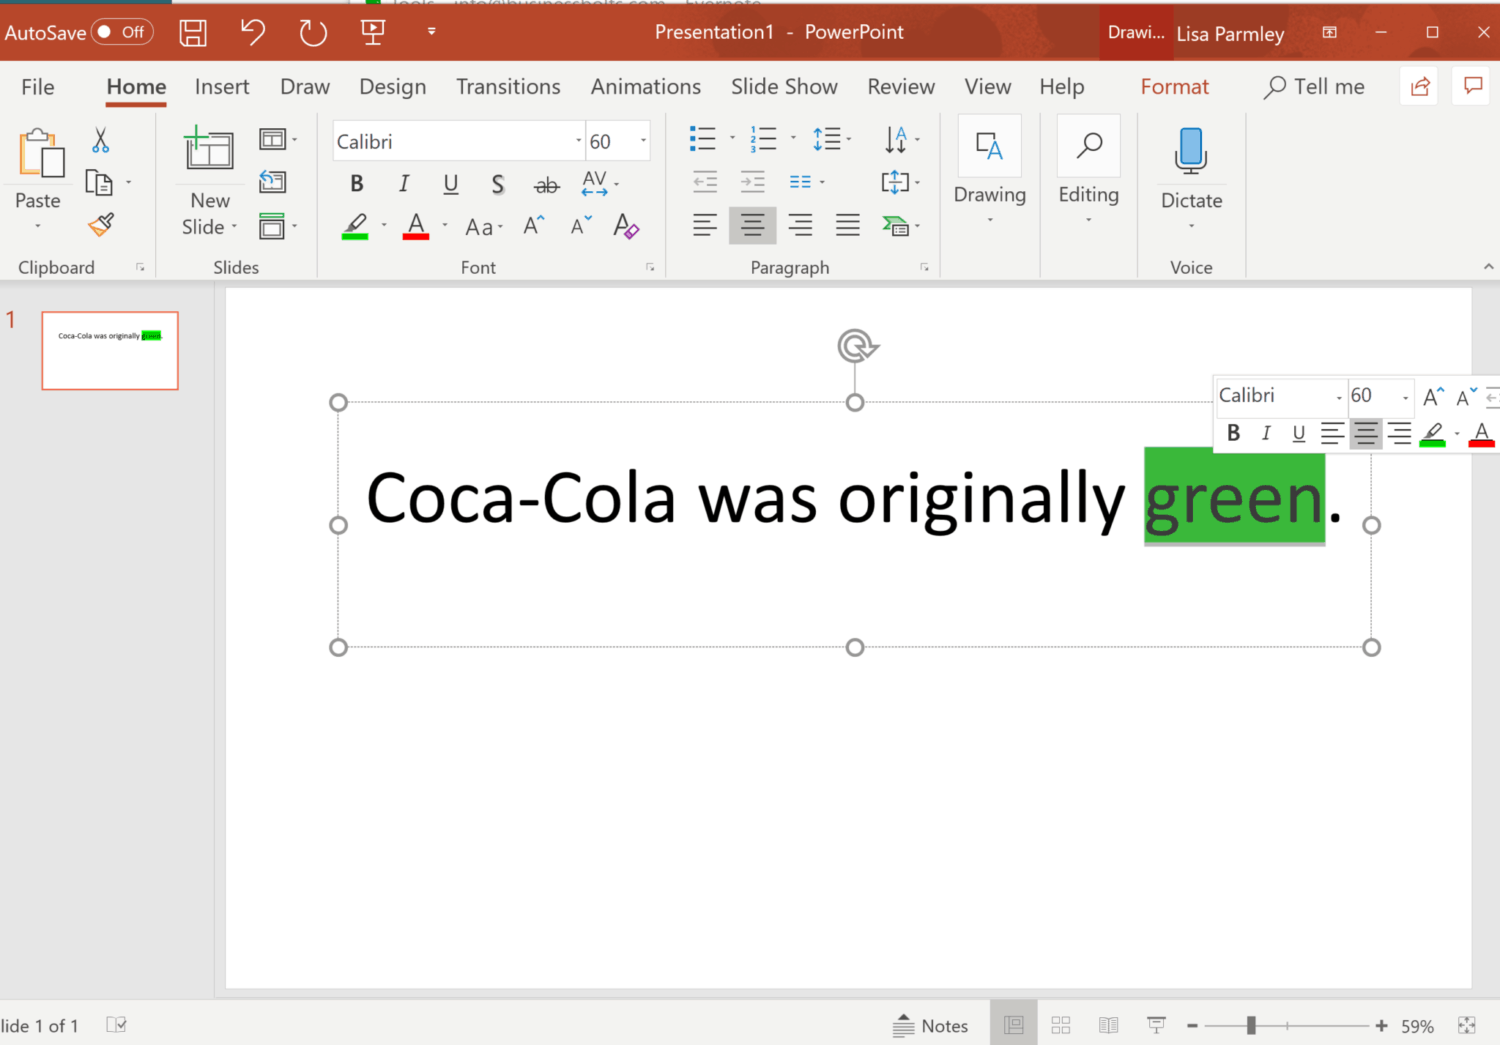
The pointer changes to a paintbrush.
Select the additional text you want to highlight. Here I selected it all:
Click ‘ESC’ to get your pointer back.
Con: with this method you still don’t have unlimited highlight color choices. The choices are pretty much the same as the PowerPoint default highlight colors.
Option 3: Highlight Text Using Text Box Option.
This method works with all versions and you’re not limited to the default highlight colors.
In this method you’ll insert a text box over the text you want highlighted and fill the text box with the highlighted color.
Here’s a step-by-step breakdown of how to accomplish this:
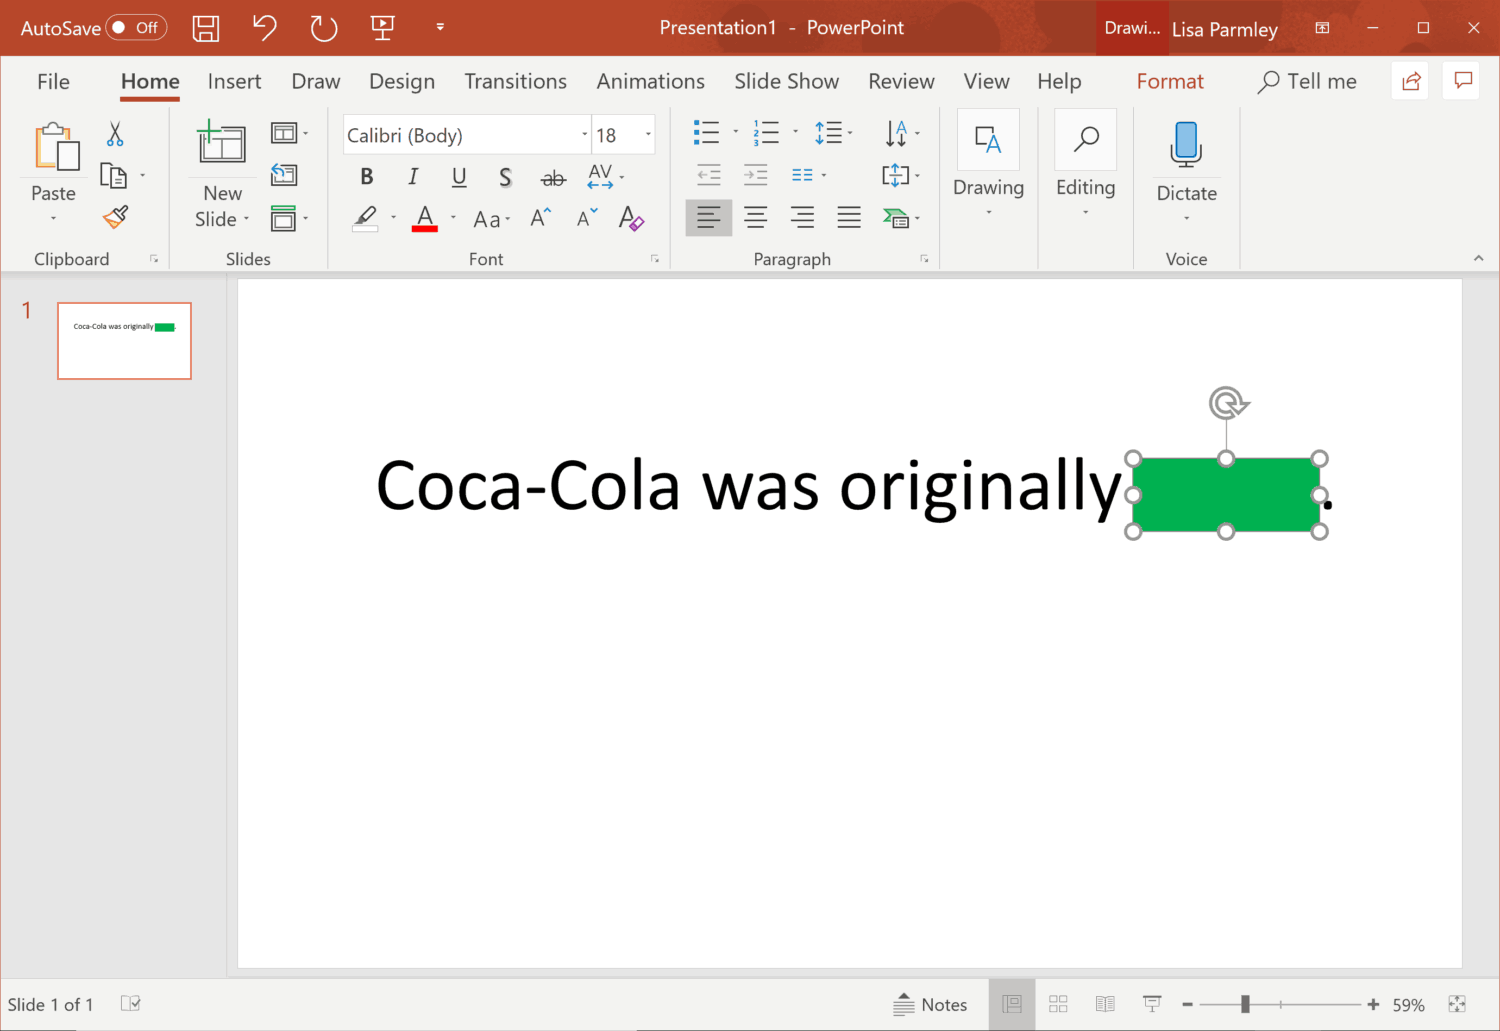
Paste or type in your text:
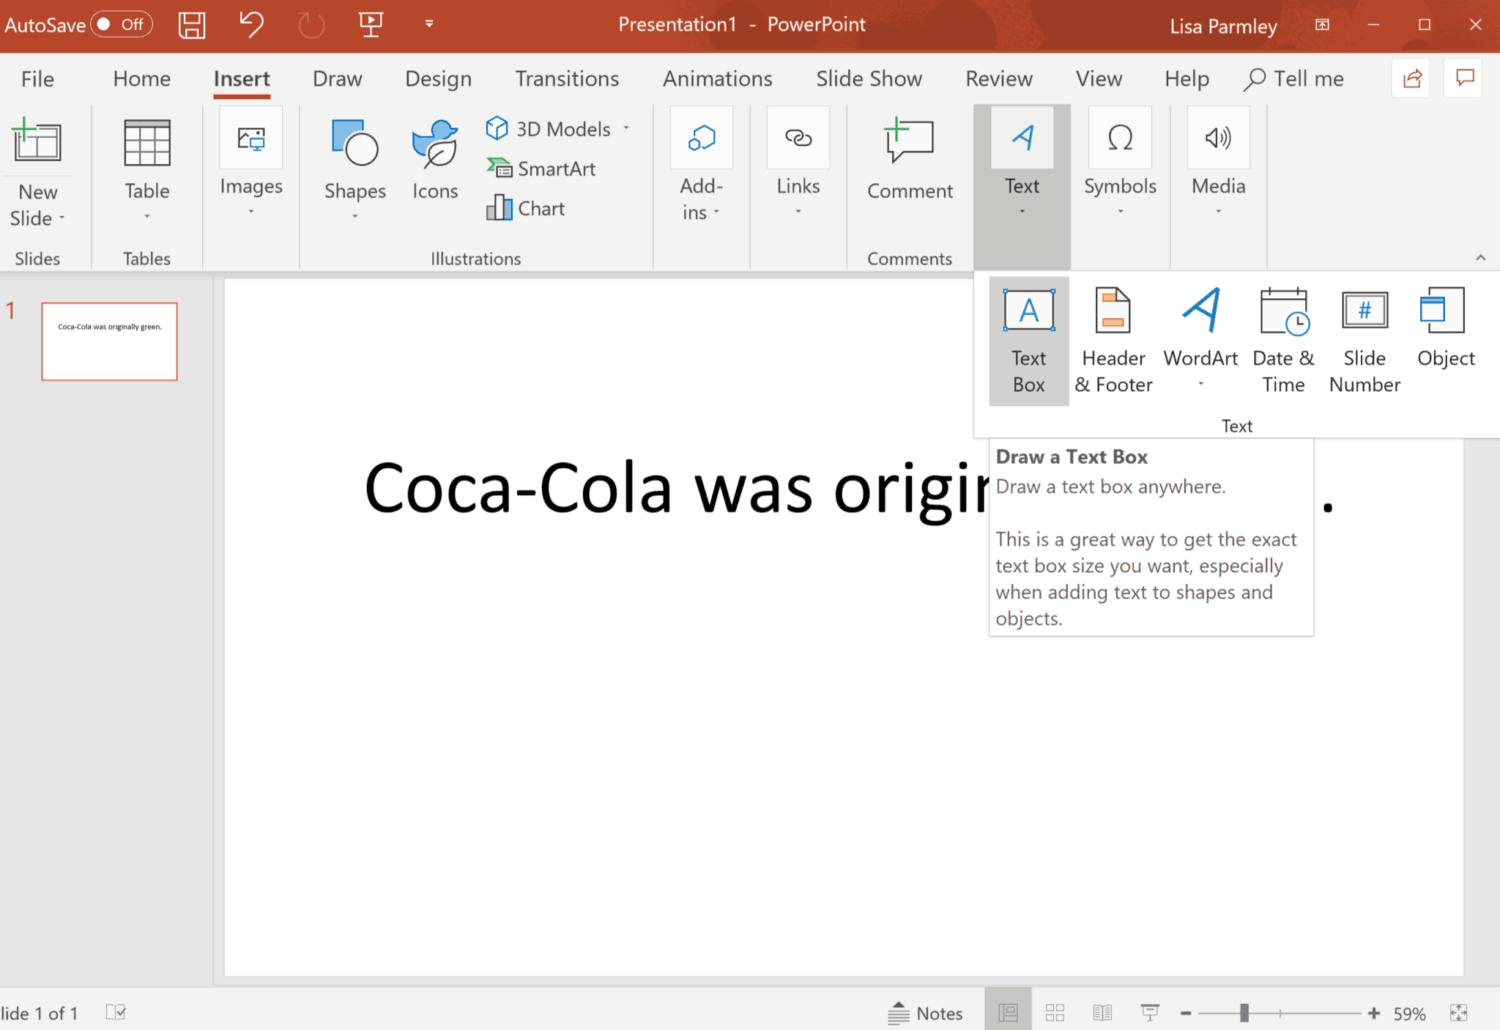
Draw a text box around the text you want highlighted. You do this by going to the Insert tab. Next go to Text, click it, and then select Text Box:
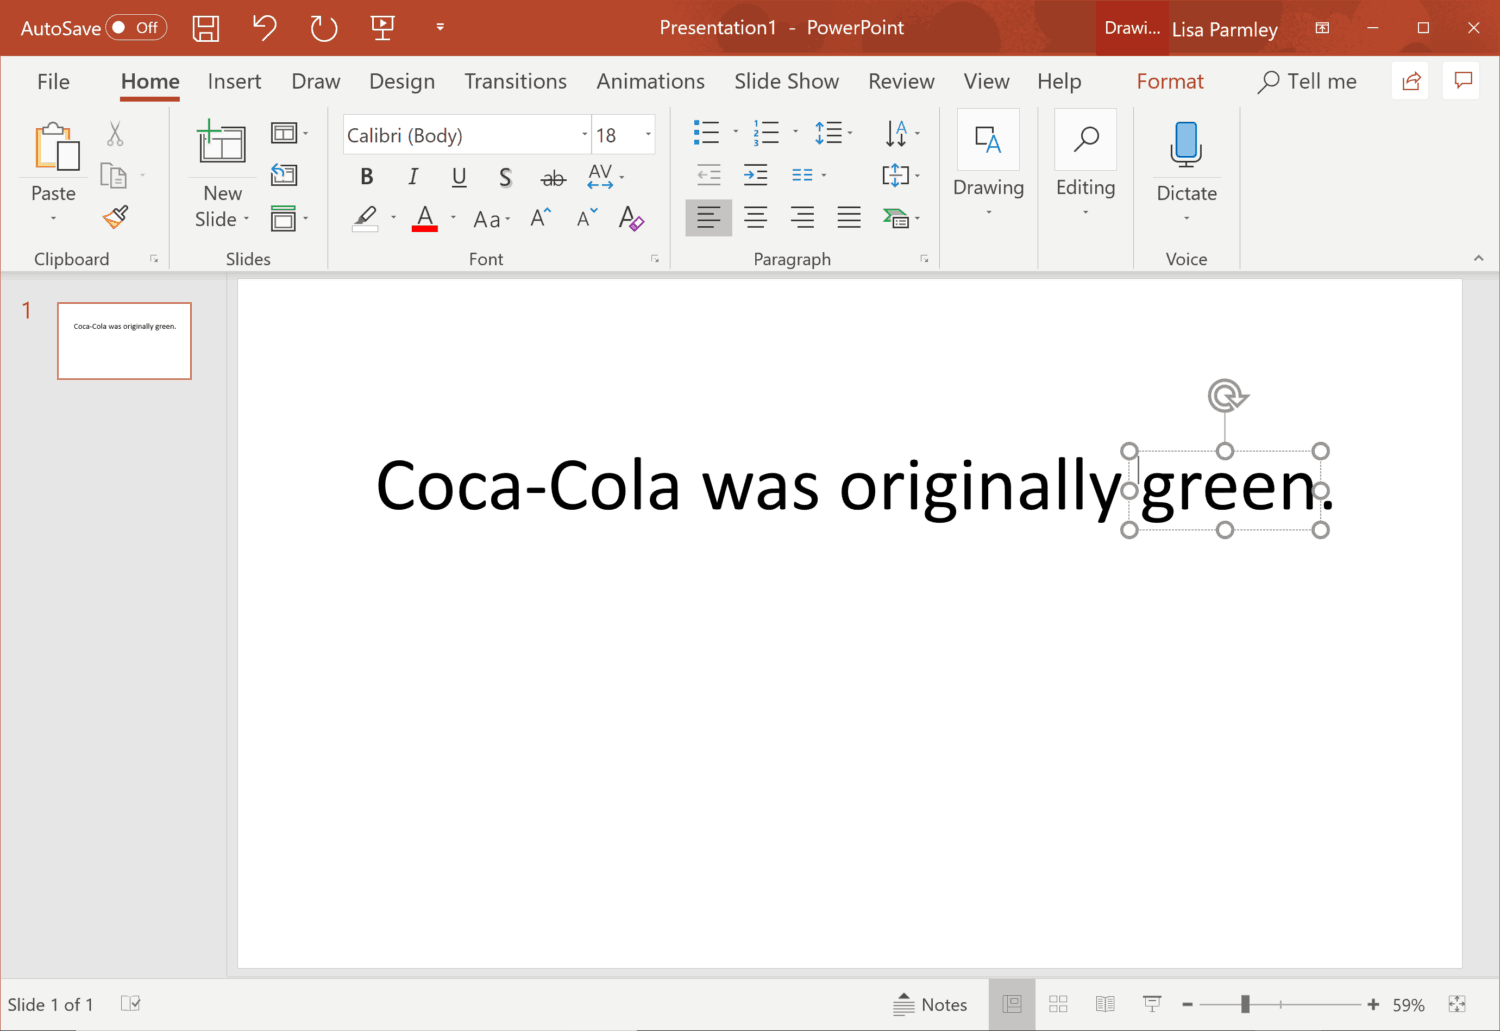
Here the Text Box has been placed over the word ‘green’:
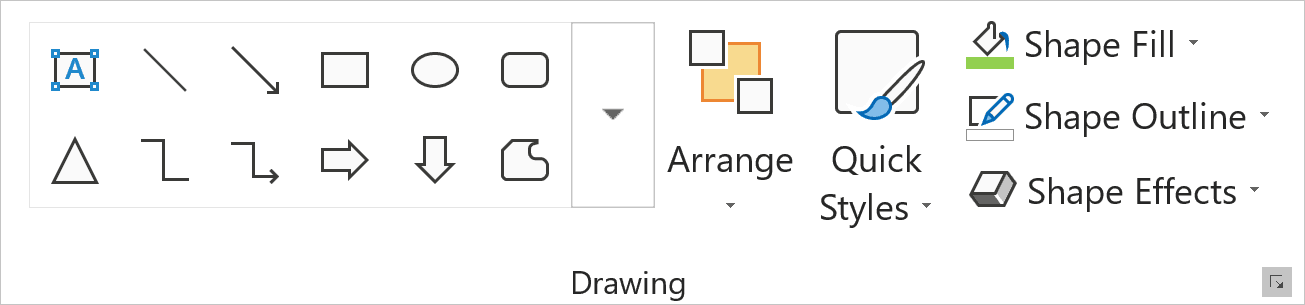
Also on the Home tab, in the Drawing group, click on Shape Fill like in the screenshot below:
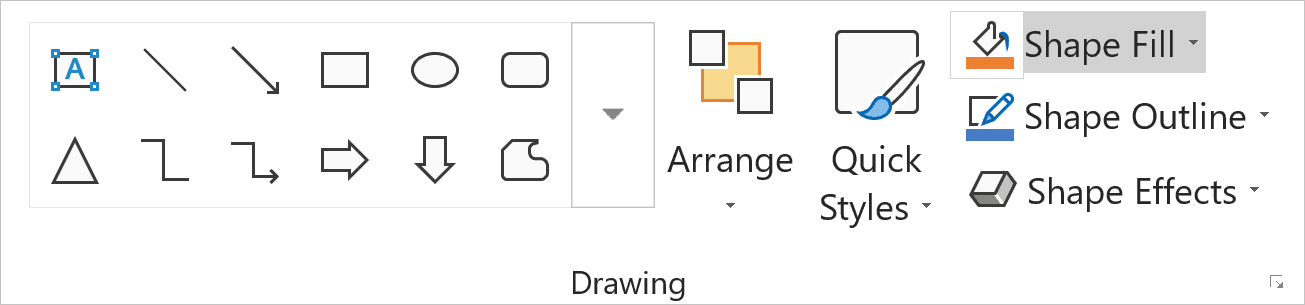
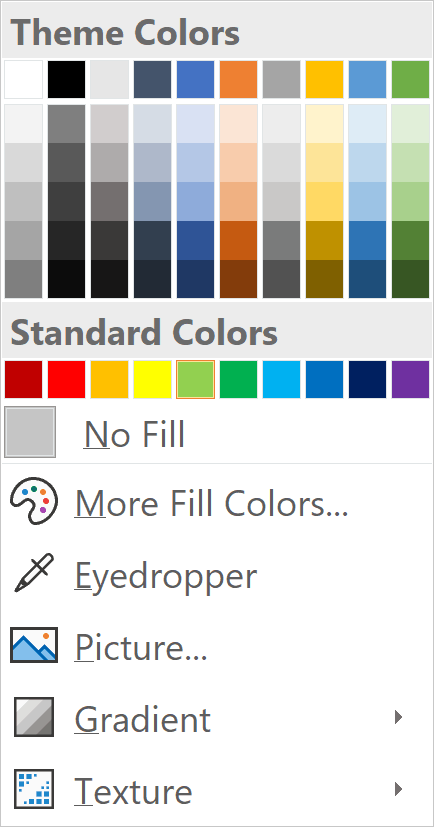
A drop-down list of colors will display. Select the color you want the highlight to be:
Here’s what happens:
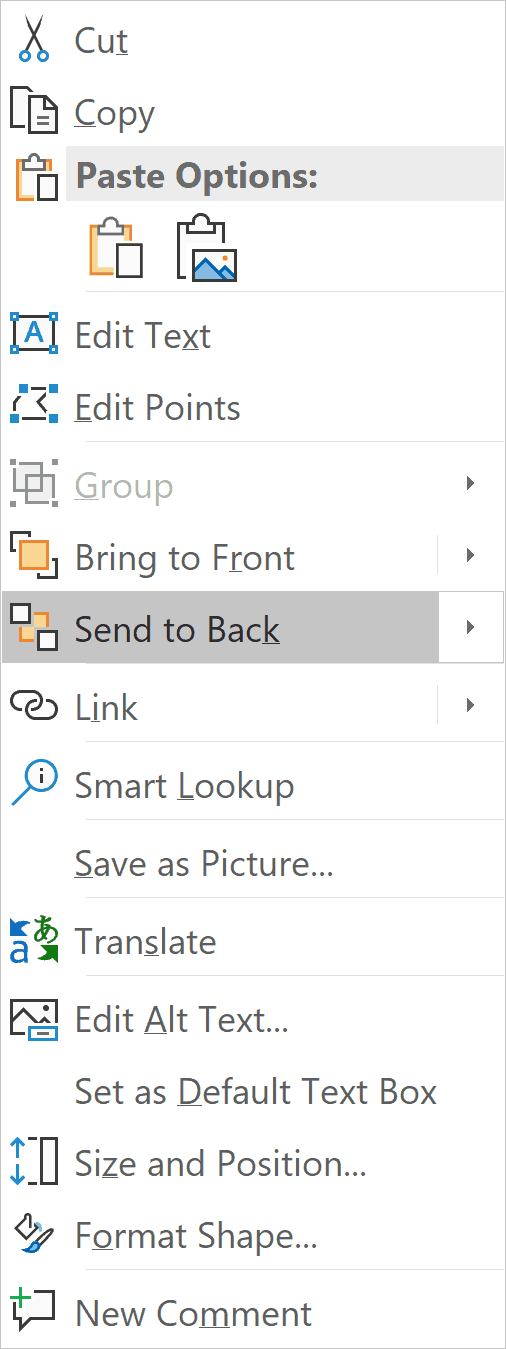
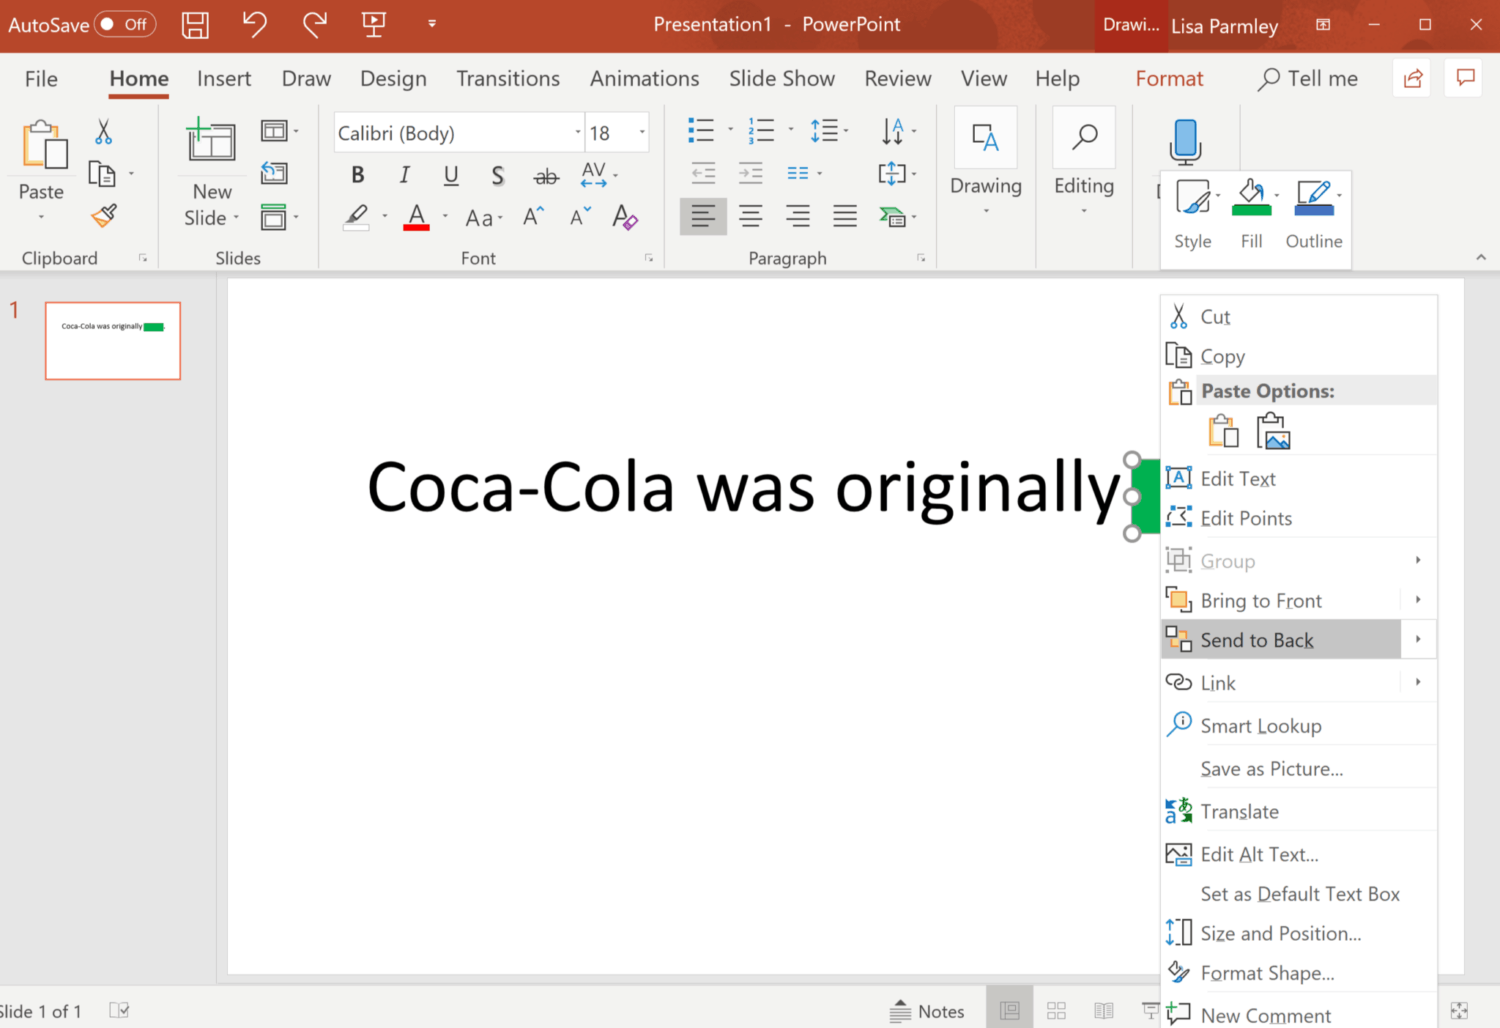
Right-click on Text Box highlighted object and choose Send to Back.
Here’s another image of how that looks in PowerPoint:
Once you’ve sent the Text Box to the back, here’s how it’ll look:
The nice thing is, you can control how big the highlight is and you can select different colors (even more than what displays in the color drop-down menu).
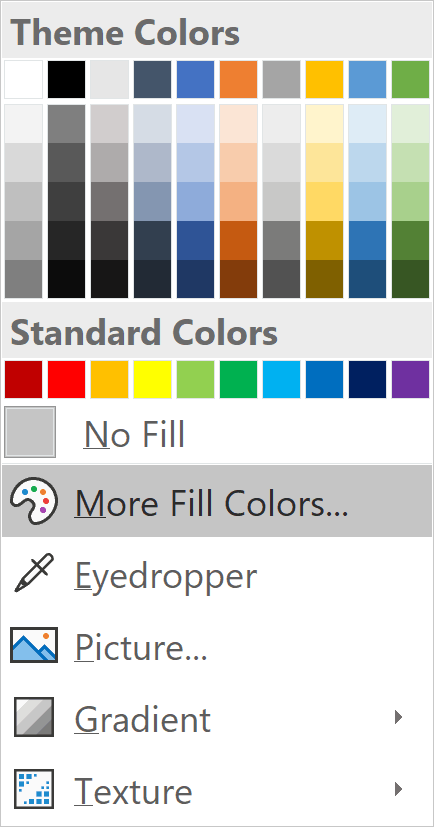
you don’t like the colors that show up then you can choose More Fill Colors and select any color you’d like.If
Similar to highlighting using a Text Box, you can also use Shapes. I’ll go through that method next.
Option 4: Highlight Text Using Shapes in PowerPoint.
Works with all versions and you can add any color.
This method is very similar to using the text box method discussed above. With this method, you’ll insert a shape over the text you want highlighted.
Here’s a breakdown of how to accomplish a highlighter effect with this method:
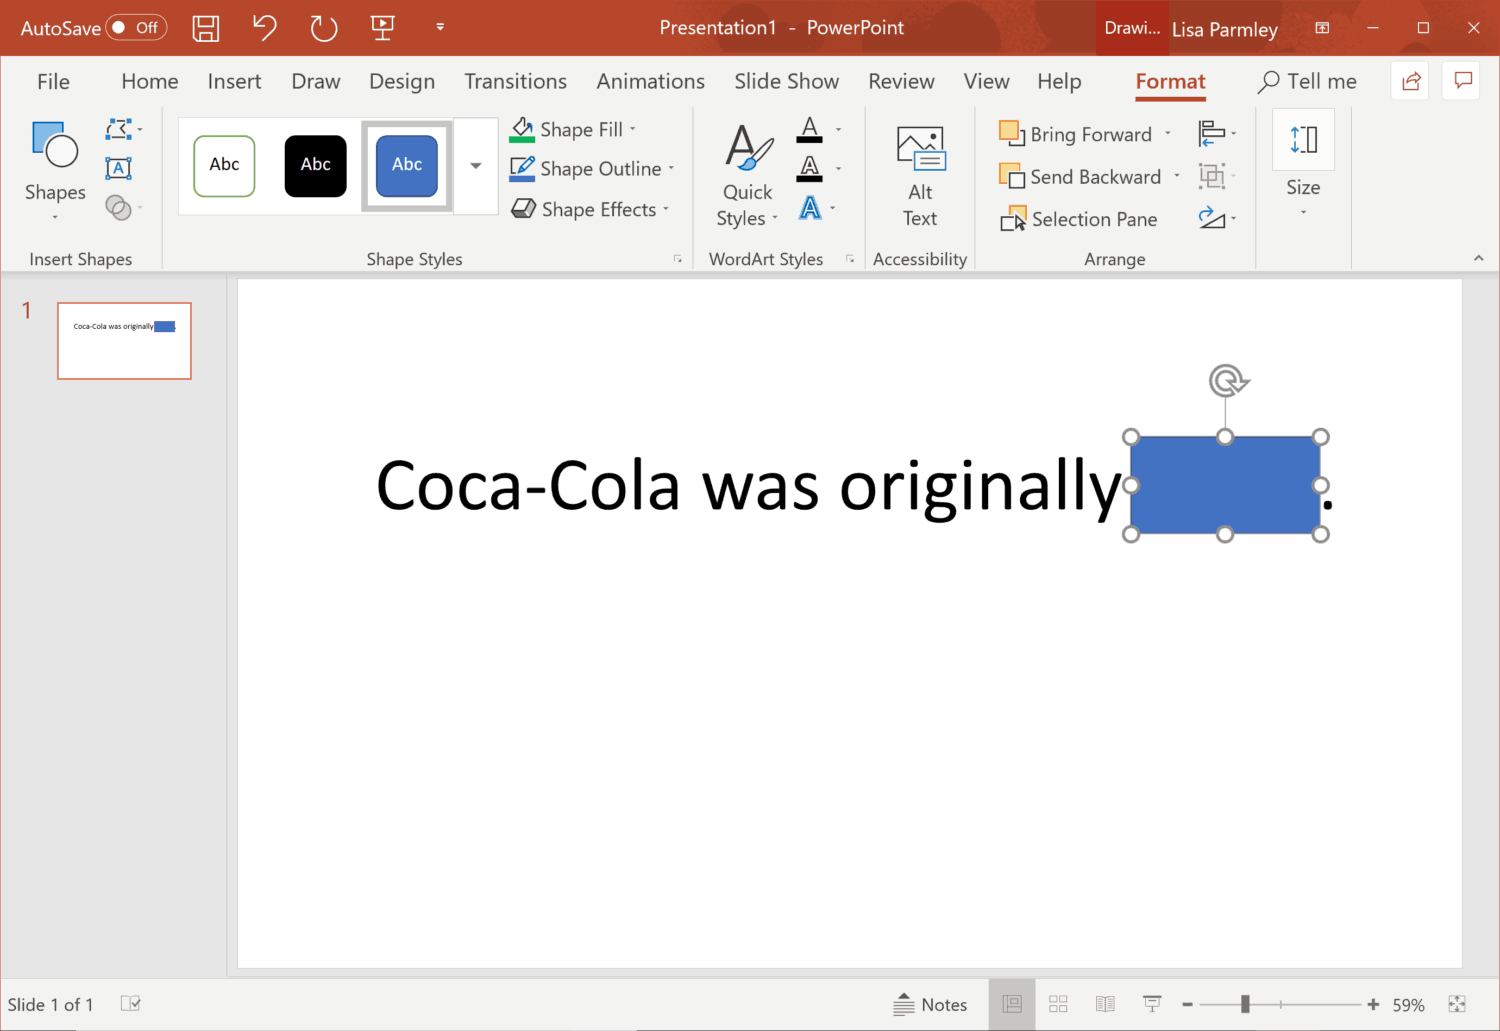
Type in or paste the text.
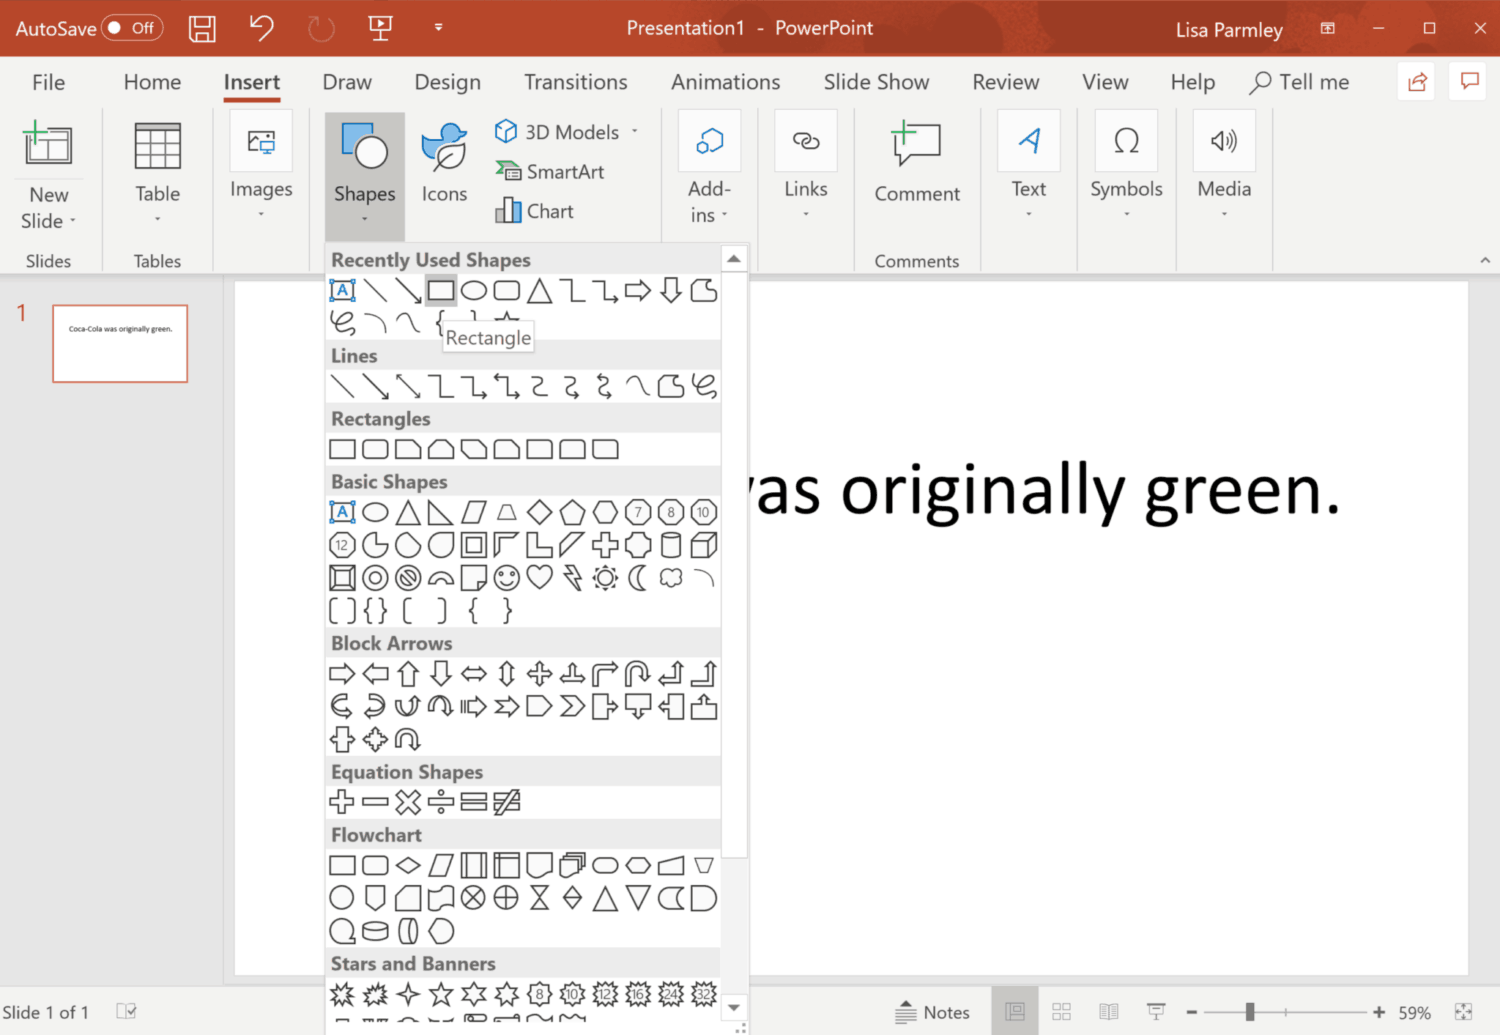
Click on the Insert tab, then click to insert Shapes and choose the shape you want (a rectangle works well):
Drag the shape over the text to be highlighted:
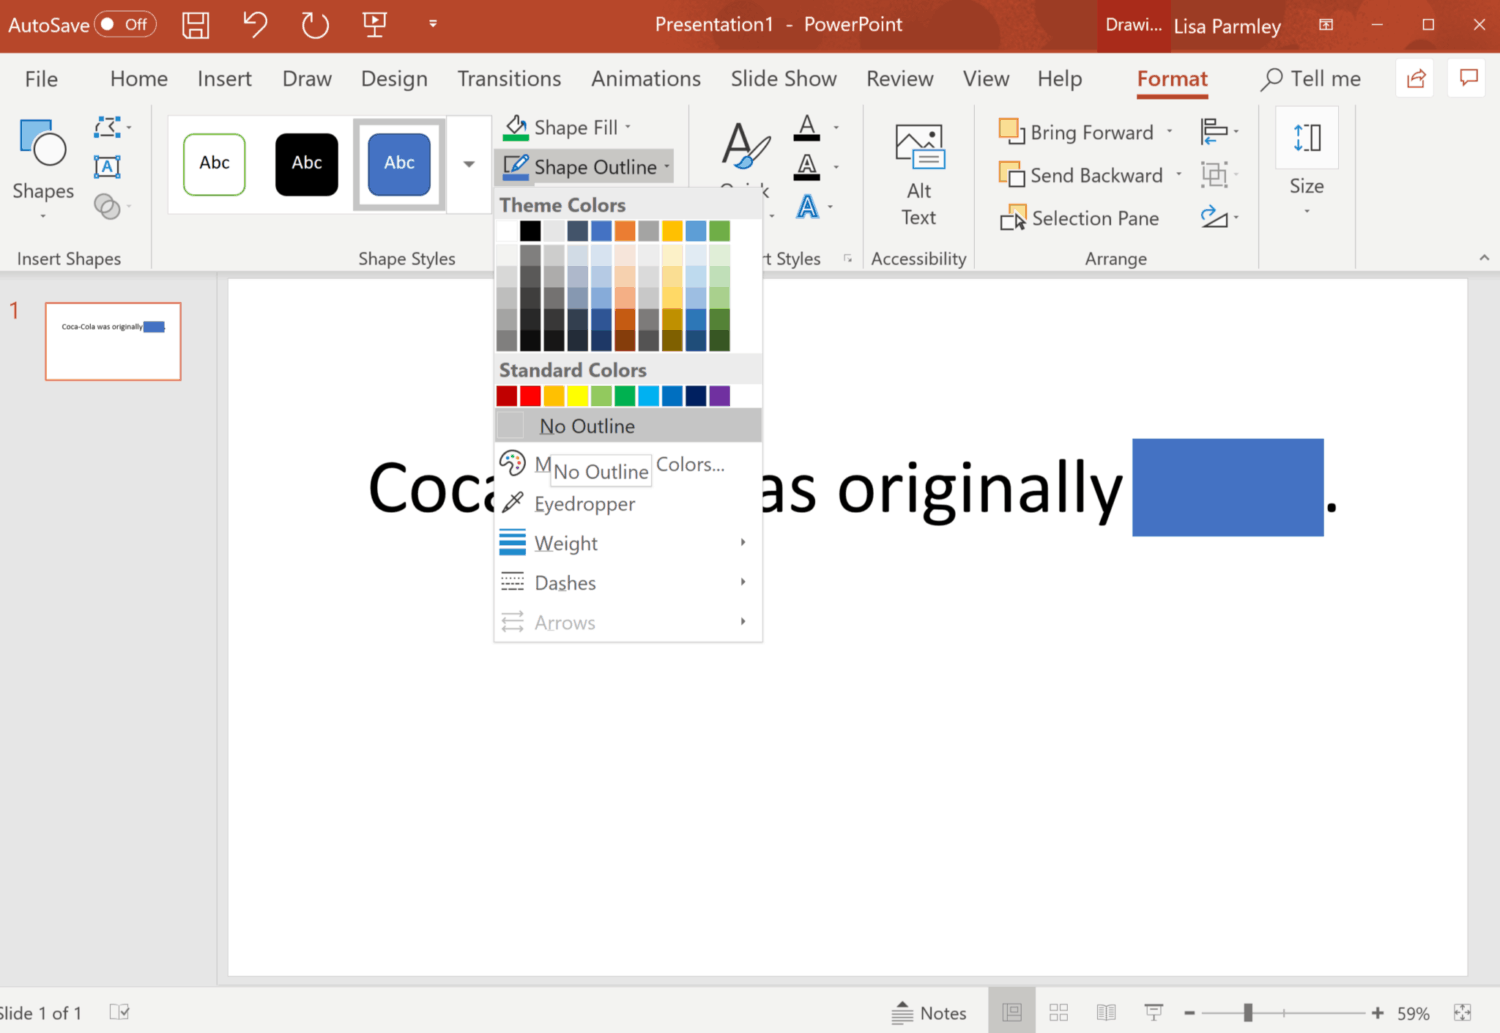
You should automatically be taken to the Format tab. Now go to Shape Outline and choose No Outline.
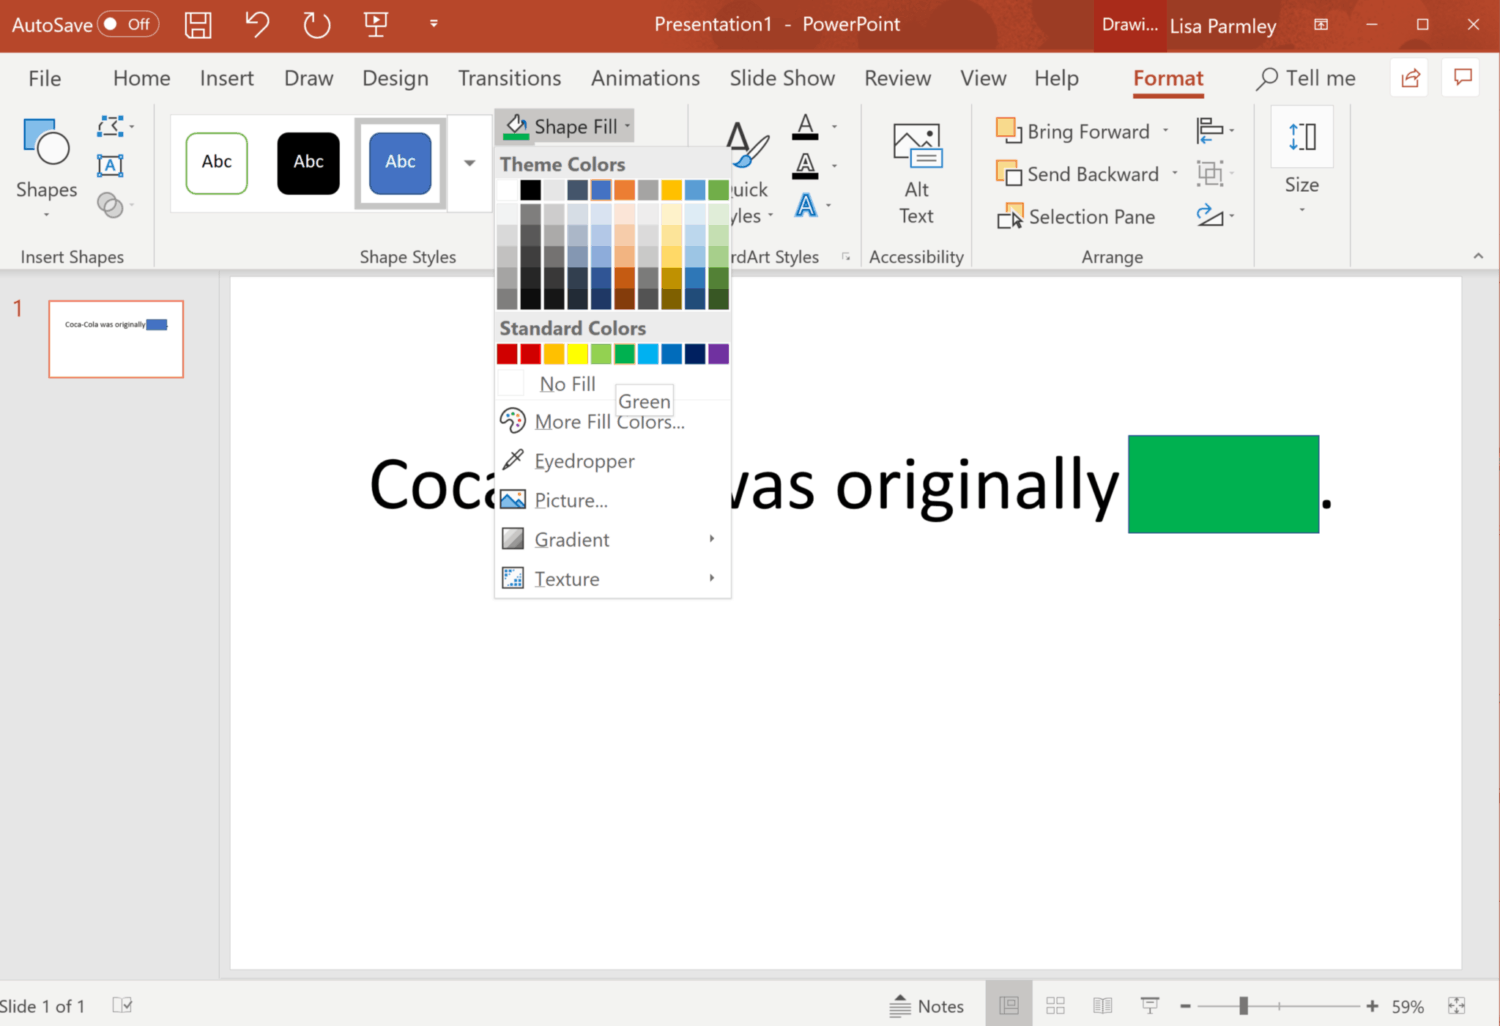
Go to Shape Fill and select the color you would like. If the color you want does not display in the drop-down box, click on More Fill Colors and select the color you want:
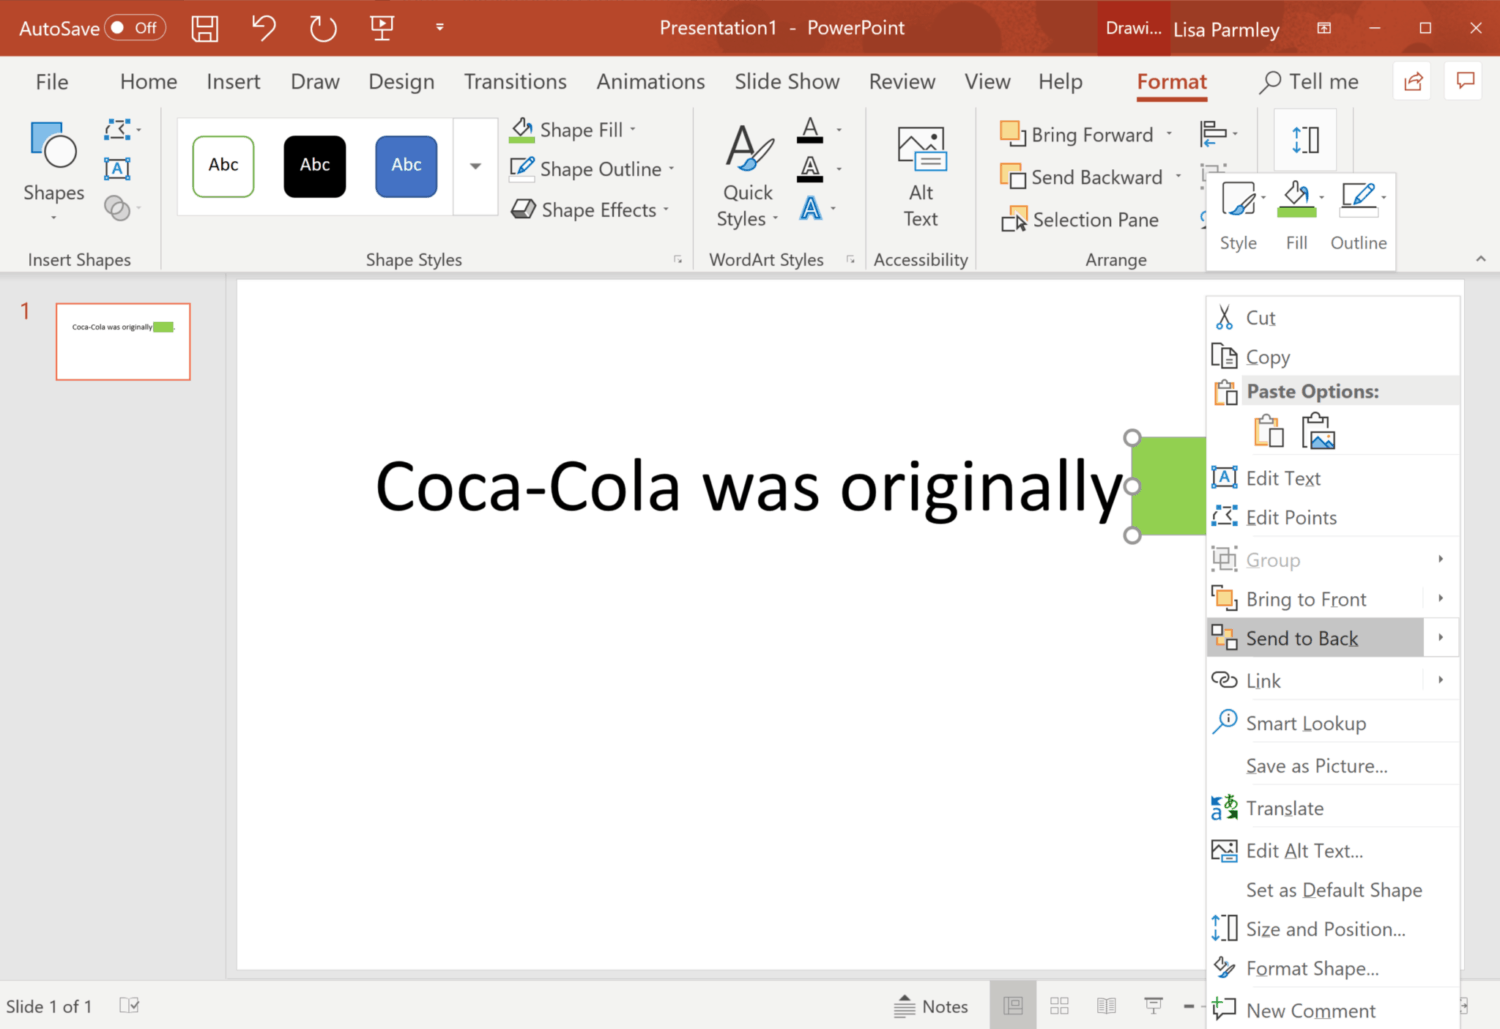
Keep your shape selected and right-click, choose Send to Back so that your text shows up through the highlight:
Here’s the final result:
Even with all these options so far, there are still more options available to you. Here’s another method showing you how to highlight in PowerPoint.
Option 5: Draw on Slides During Presentation Using Highlighter Tool.
This works with all versions, but the slide show must be presented live or filmed.
With this method, you’ll play the slide show and then highlight the text or images you want to draw attention to as you progress through the slides.
Here’s how to do it:
As you’re presenting the slide show, right click on the slide you want to highlight. The following box will display:
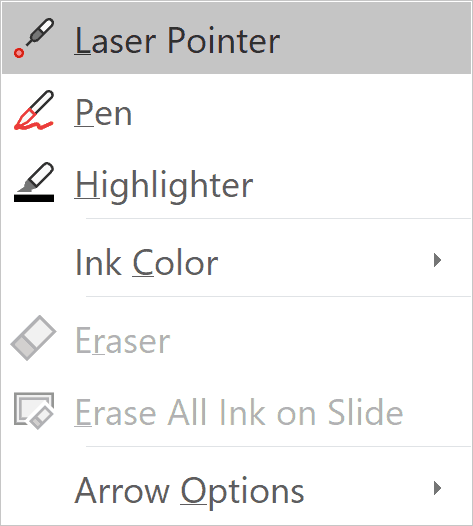
You can select from the Laser Pointer, Pen, or Highlighter.
Here’s the slide as it’s being presented in slide show format along with the Pointer Options:
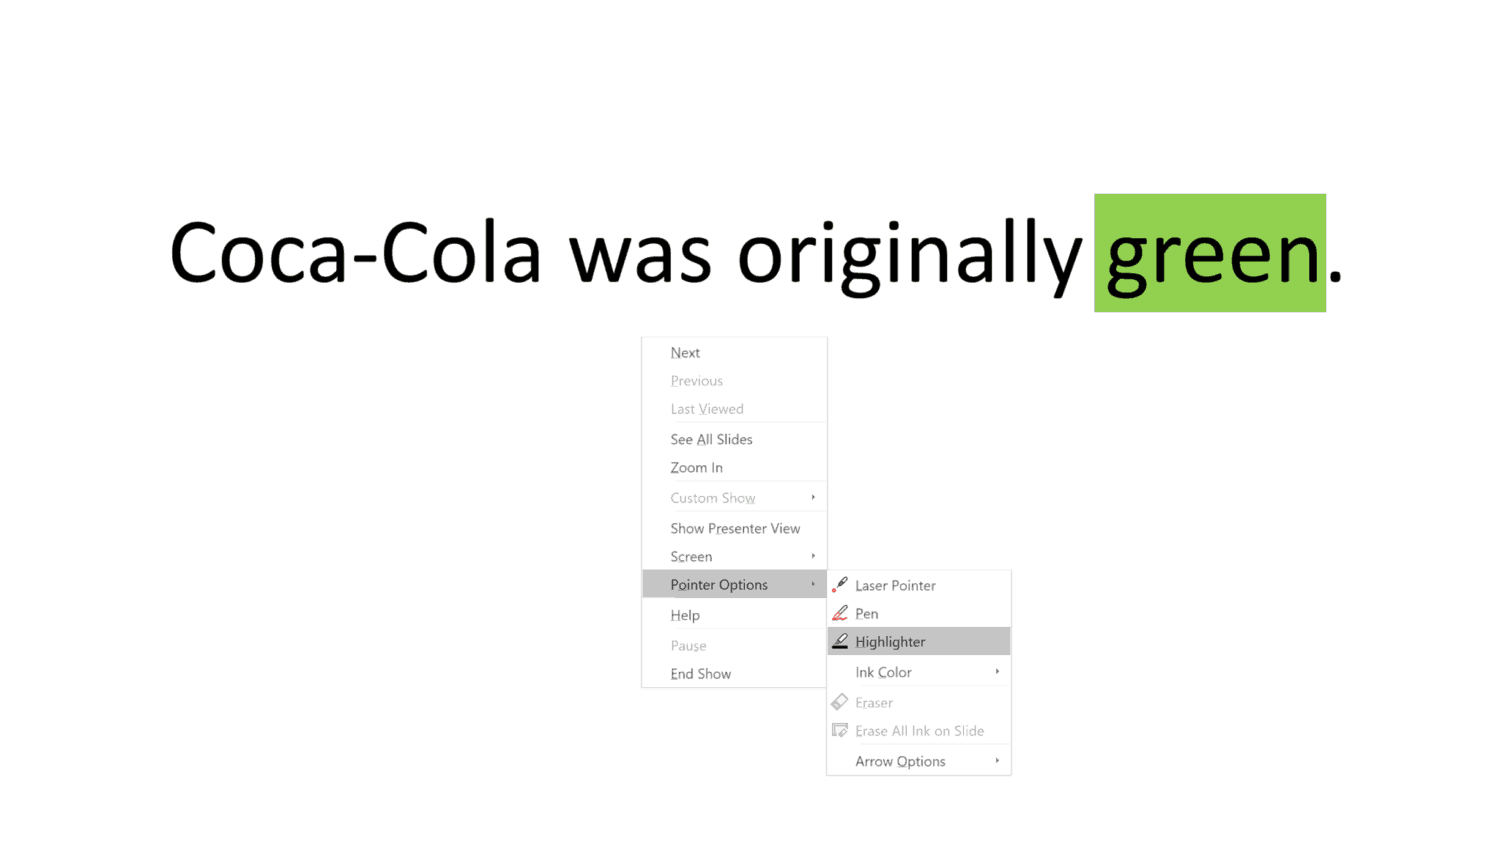
Here’s what you can do with this method:
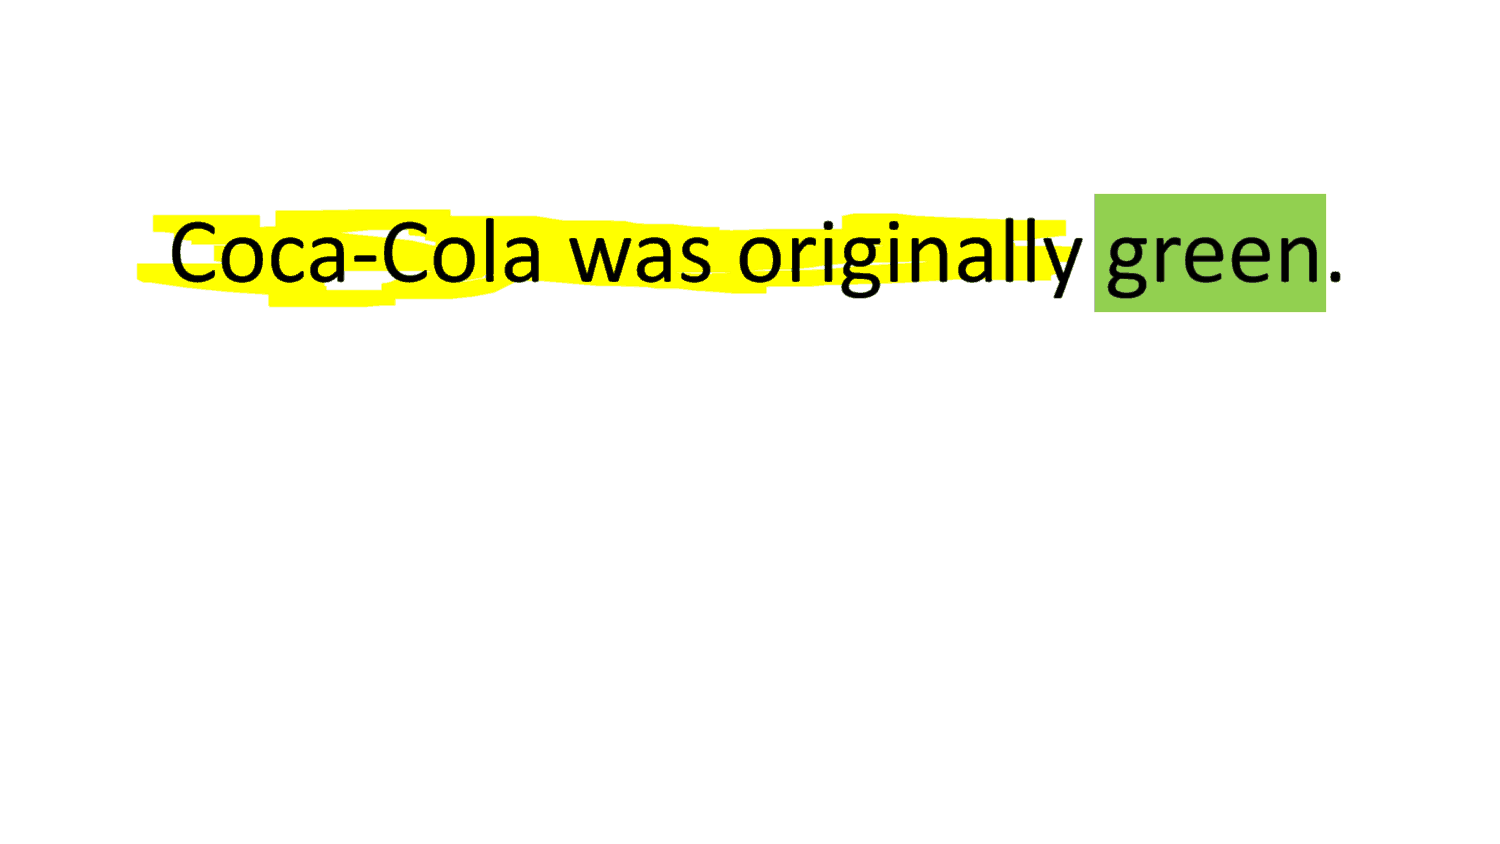
As you can see, you can highlight any text you’d like with the highlighter as you’re going through the slideshow.
Yet, still another option for you …
Option 6: Highlight Text Using Glow Text Effect.
The glow text effect works on all versions of PowerPoint.
Highlighting text using the glow effect does not give you the same look as the typical highlighting feature, but it may be something you’re interested in.
Here’s how to use the glow effect …
Insert your text. Then select the text you want to use the glow effect on:

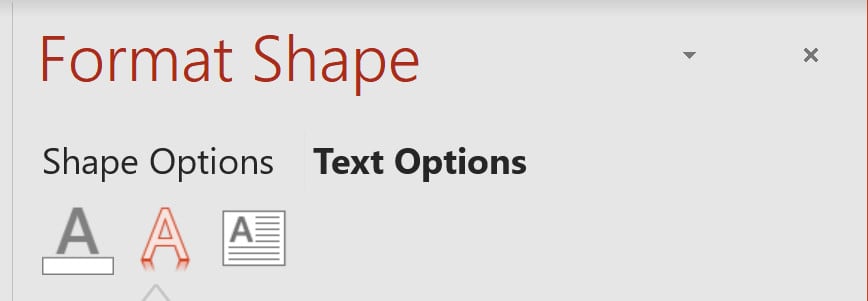
Go up to the Drawing group and click the Format icon (this is the very small gray box on the lower-right):
From there, click Text Options:

Once there you need to click on the second icon which is labelled Text Effects.
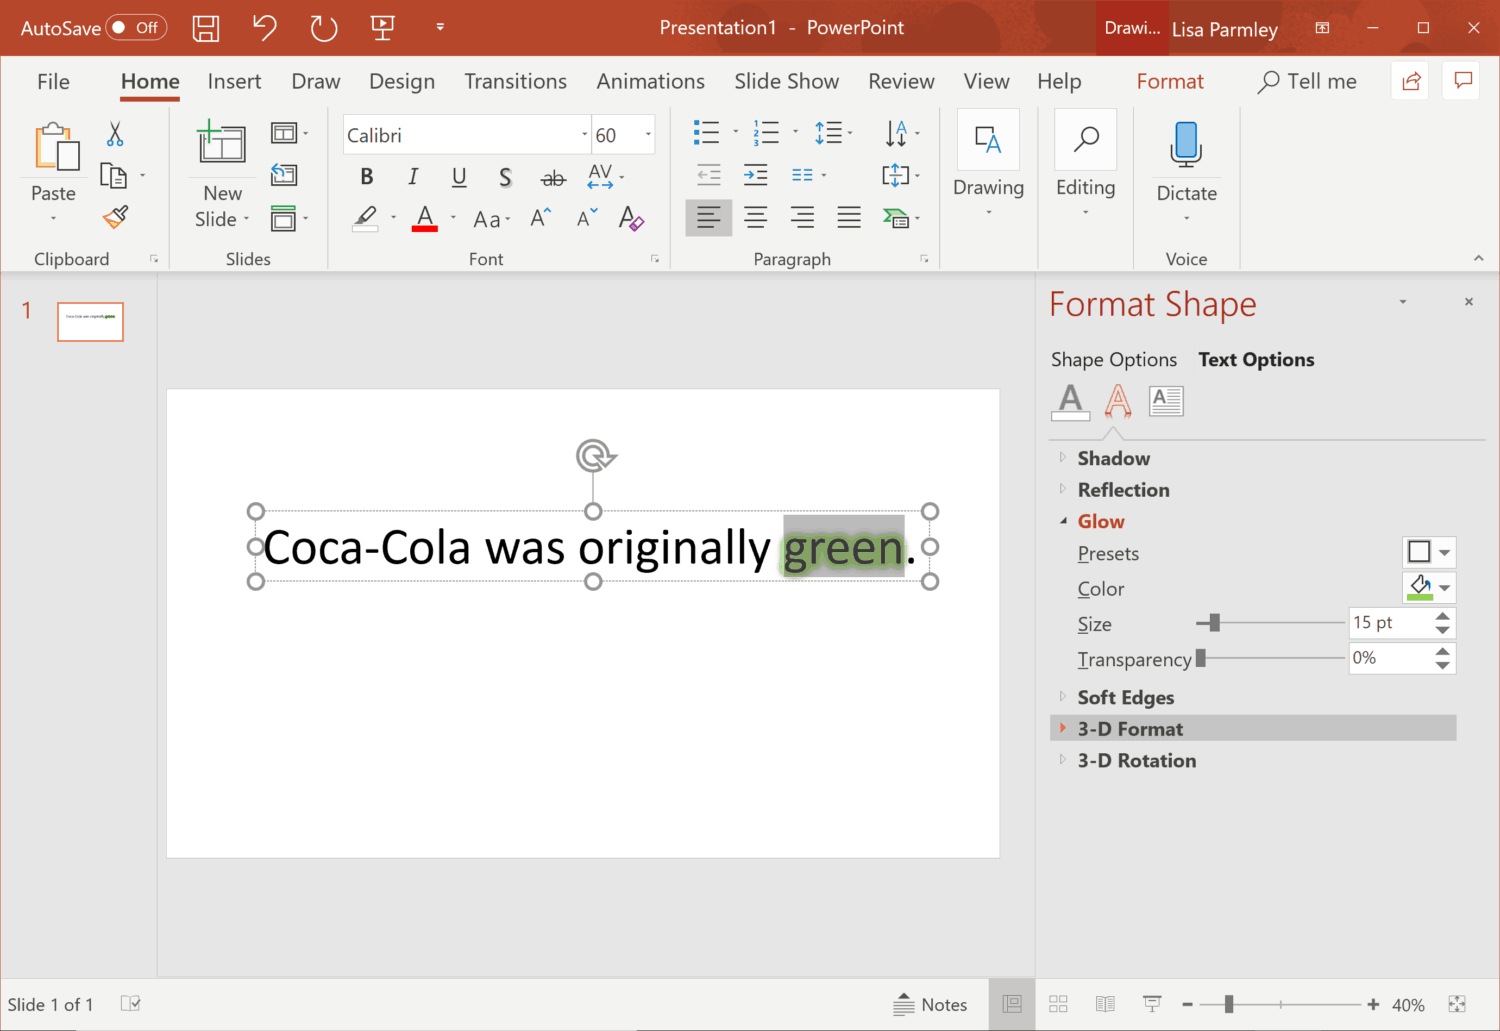
After you do that you’ll see Glow from the list. Click on Glow:

Then choose the settings for the Glow effect.
You can decide on the Color (we’ll stick with green), the Size of the glow effect, and Transparency of the glow effect). Play around with that until you get the effect you want:
Here’s the final result:
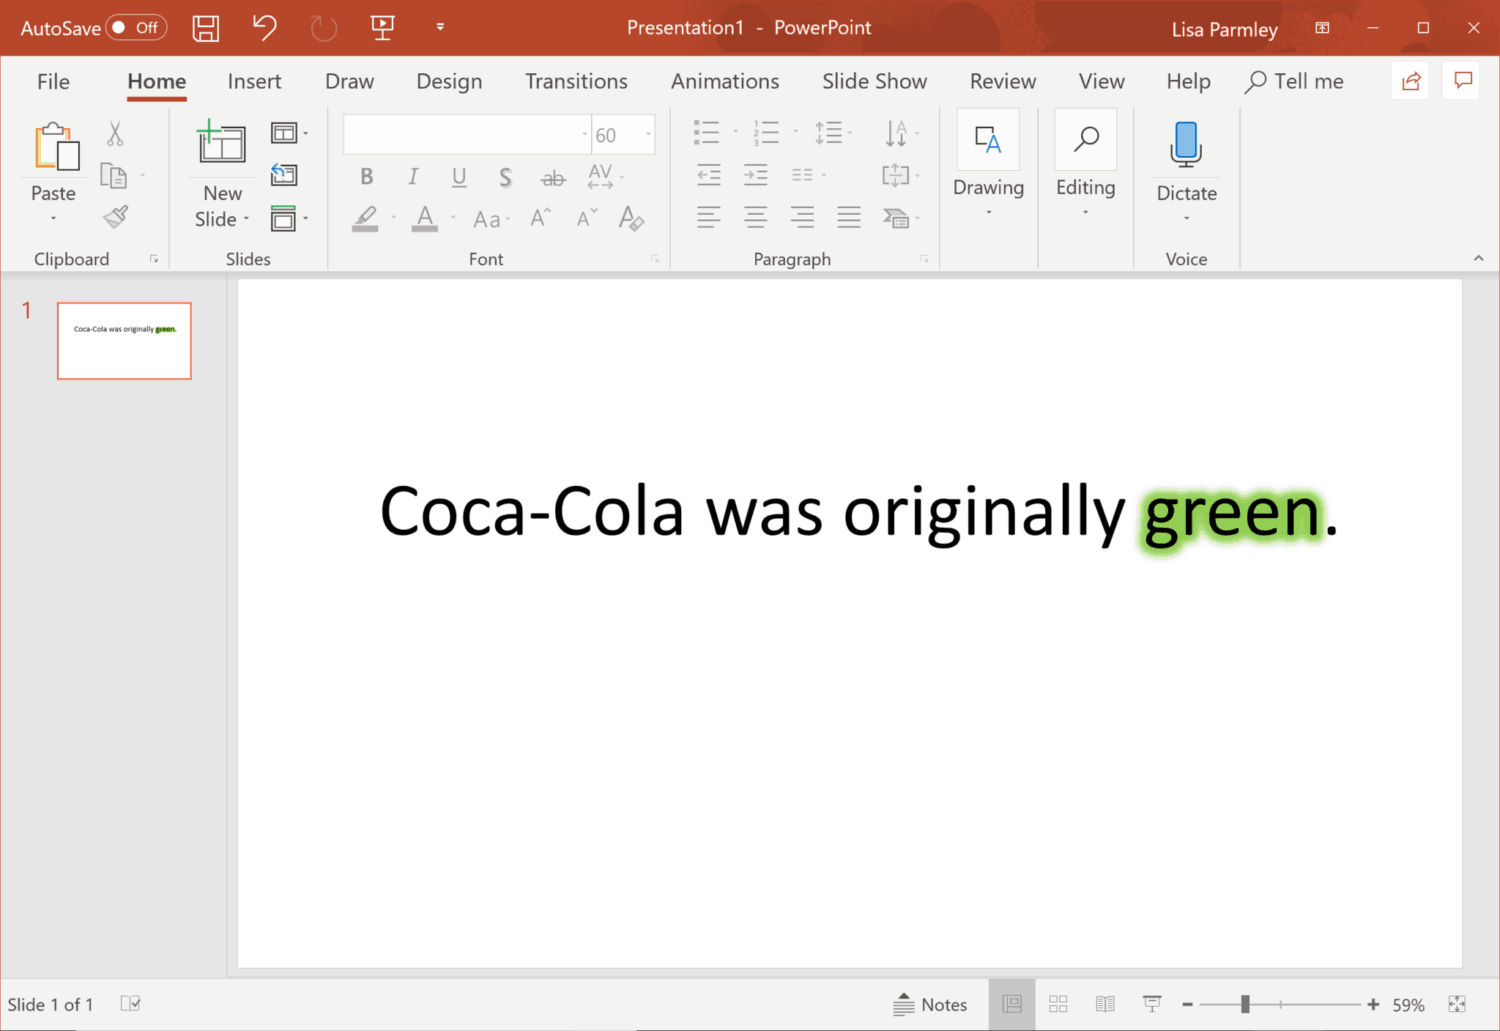
I like it!
So there you have it, a ton of different options to highlight text in PowerPoint!
Creative Options
I’ve just shown you how you can create a simple highlighting effect, but what if you want something even cooler? Here are some ideas using animations …
Highlight by Animation Styles
With this one you can put the emphasis on the word or words of your choice. For instance, I put it on ‘green’. I had to split the sentence up and put the word ‘green’ in one Text Box and everything else in another:
I made the text ‘green’ a color (naturally I chose green for this). Then I selected the ‘green’ Text Box to add in an animation.
To do that you can go up to the Animations tab. Then go to Animation Styles and select the emphasis you want:
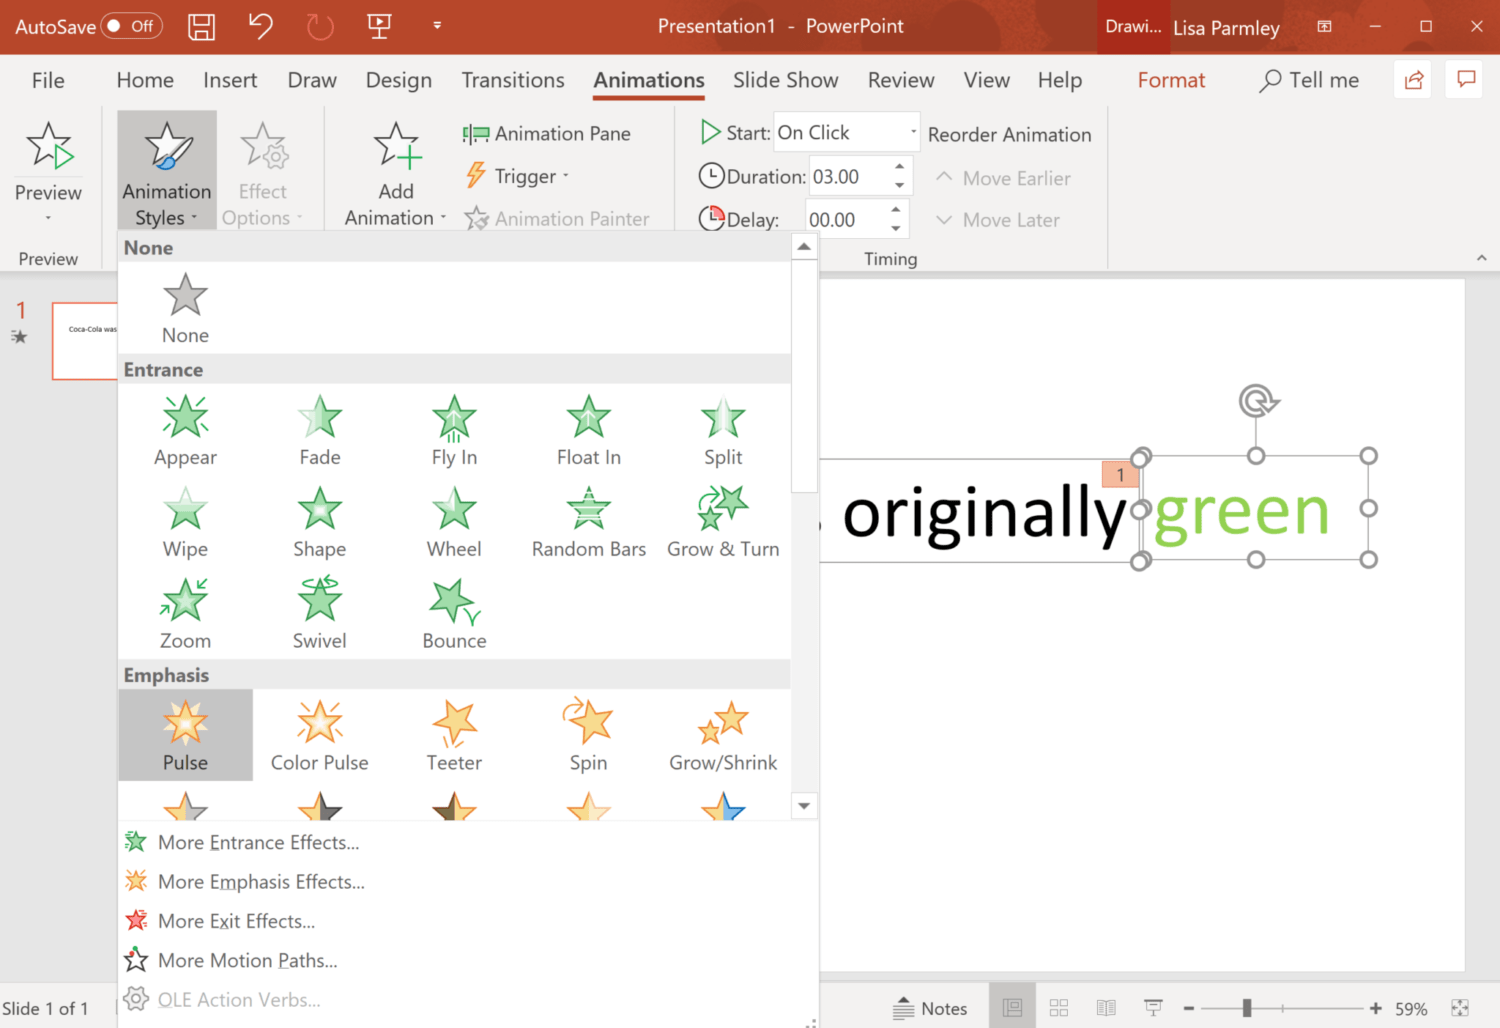
I clicked on Pulse (which makes the text grow a little bigger and kind of pulse).
There are a lot of options with animations.
From within the Timing group you can select the Duration which is how long you want the animation to last. I chose 00:50 or 5 seconds and I also set it up so the animation starts On Click.
You can also select a Delay if you don’t want your animation to start right after you land on the slide.

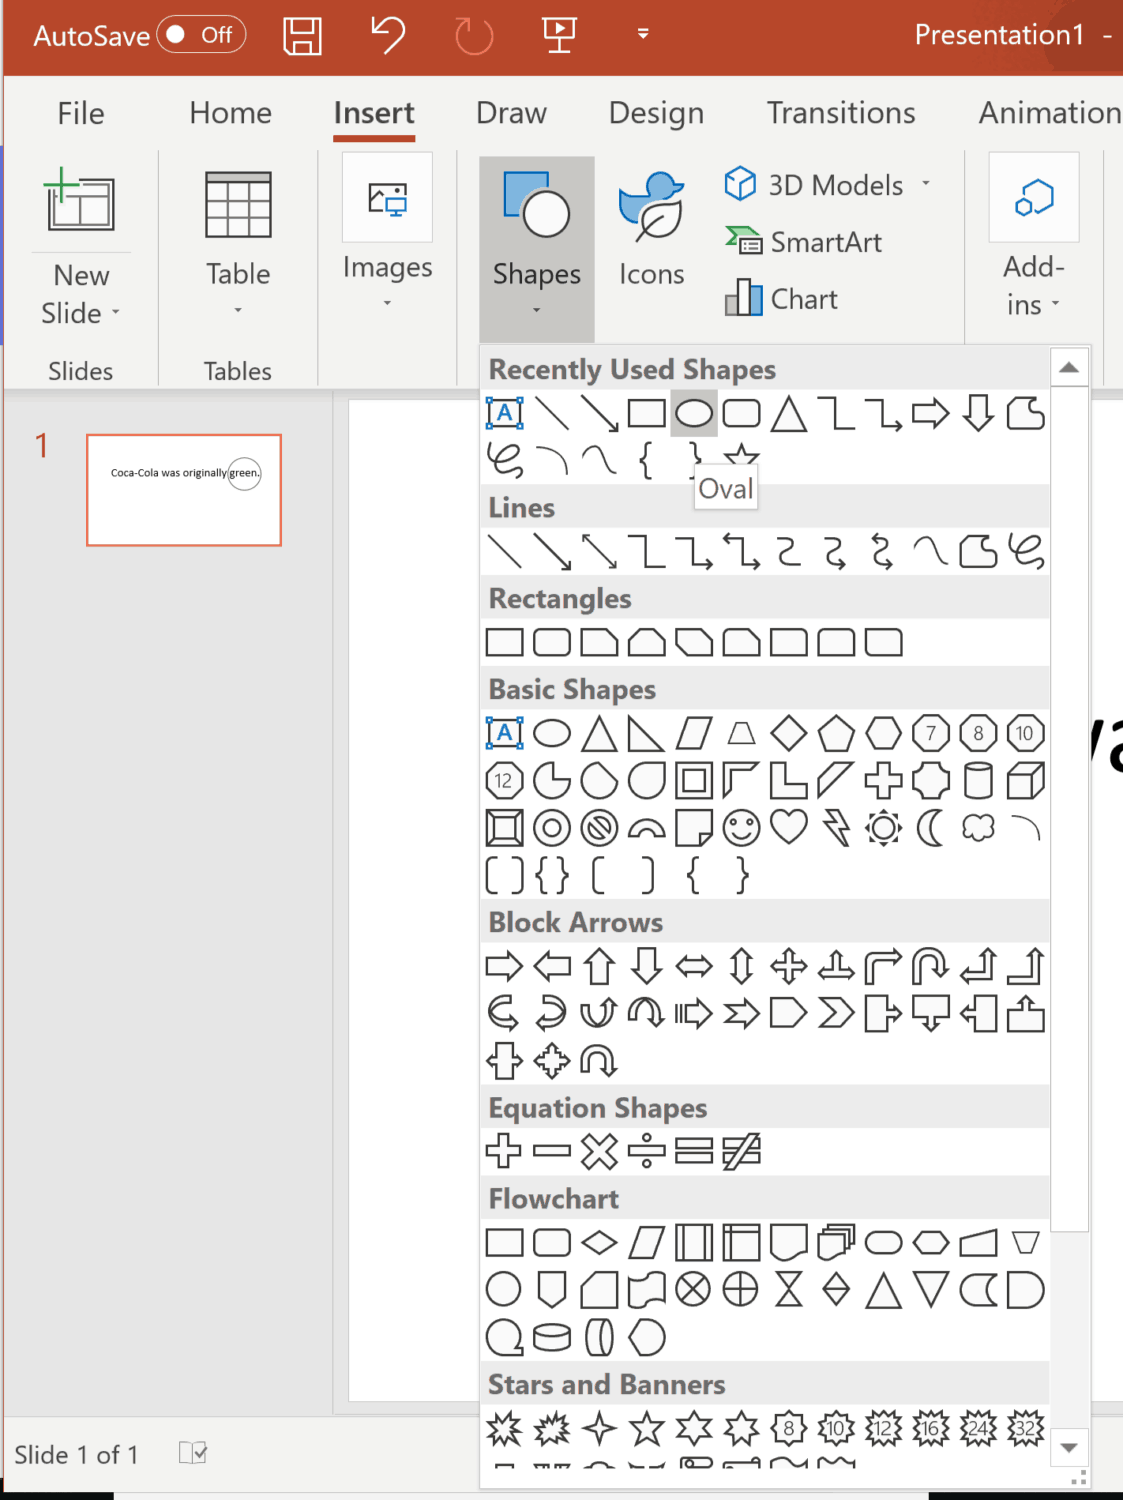
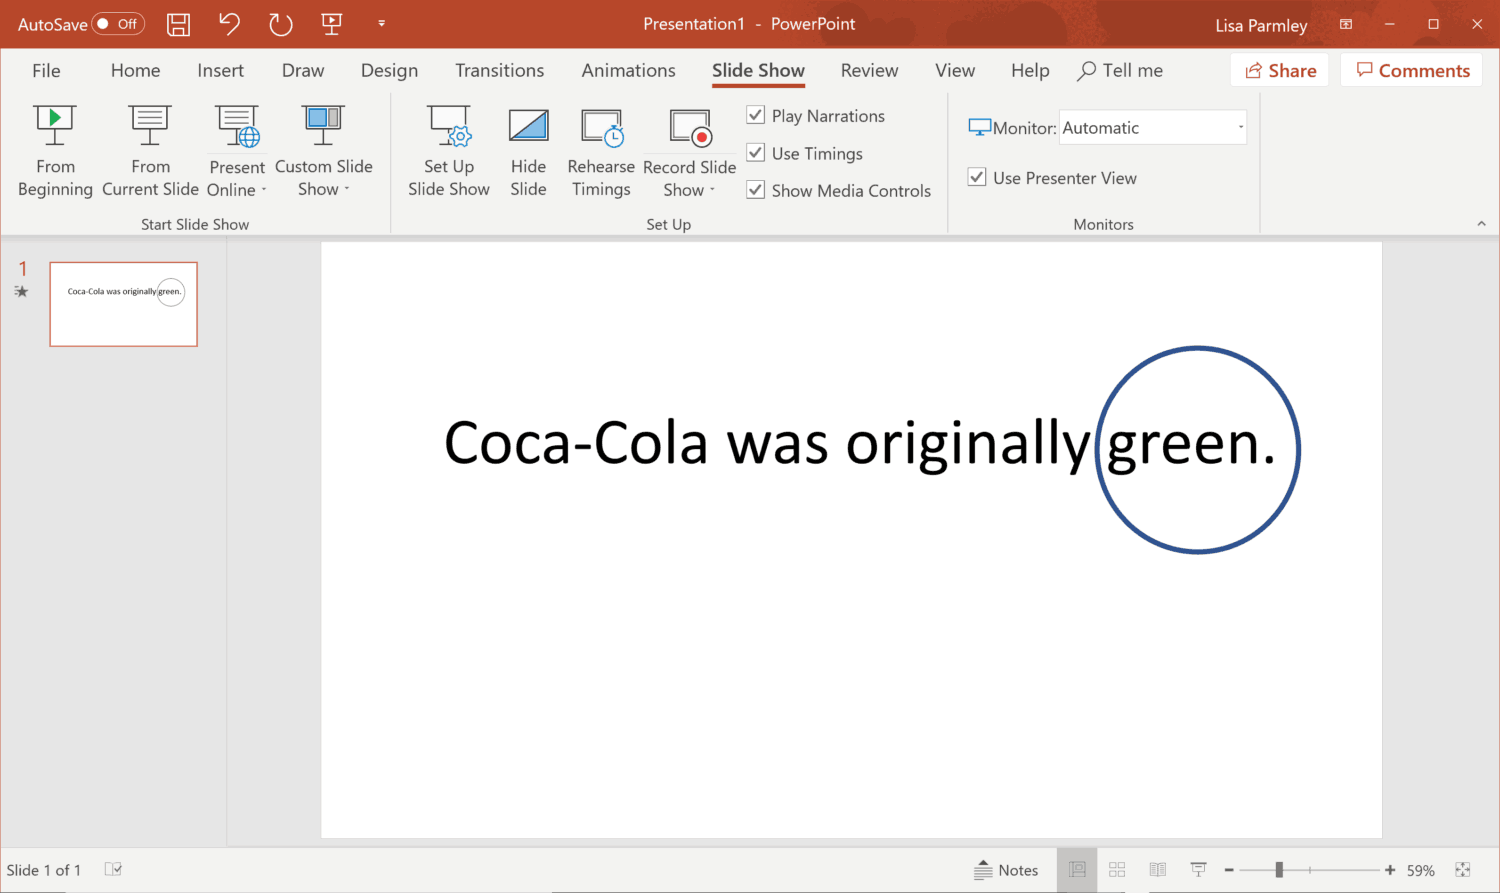
Highlight by Animated Circle
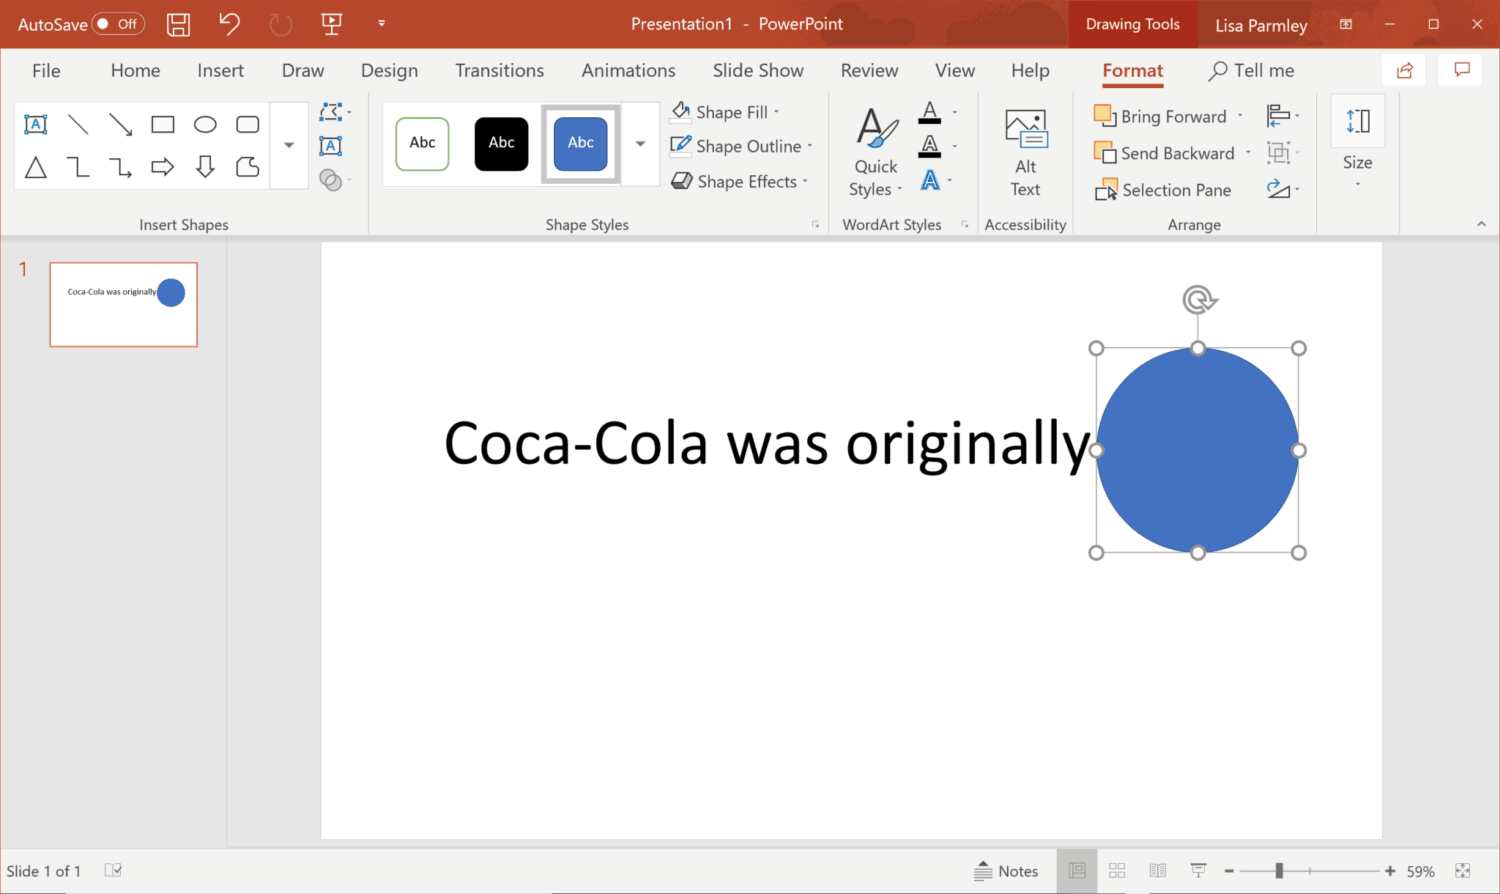
This one is really cool. After you have your text pasted or typed in, you’ll need to go to the Insert tab and click on Shapes. I chose an oval (which can be used to create a circle):
I positioned the circle over the text ‘green’. At first, it looks like this:
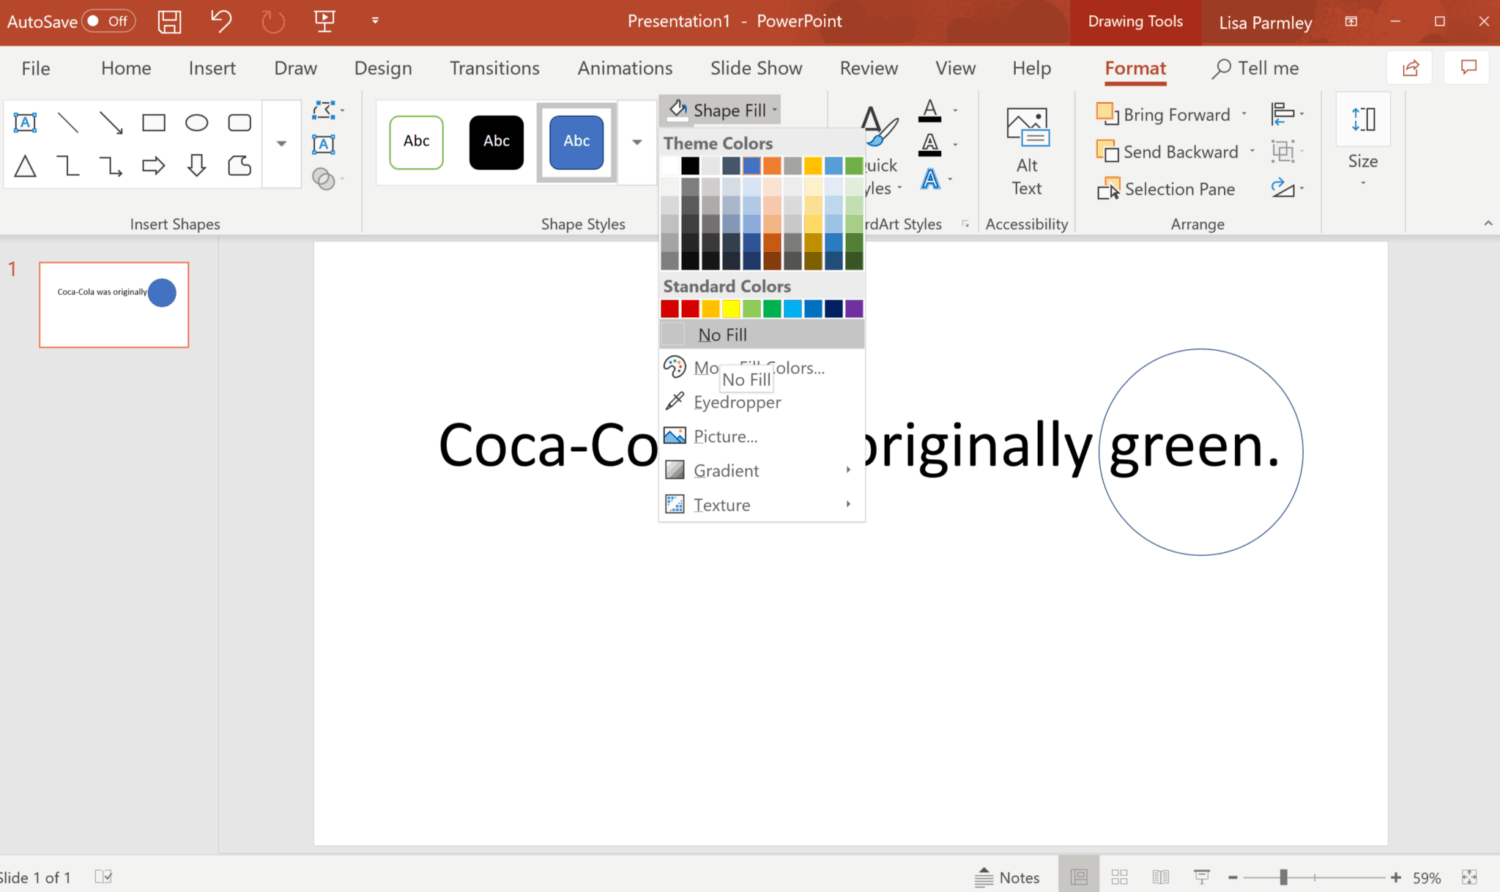
Now click on Shape Fill and select No Fill:
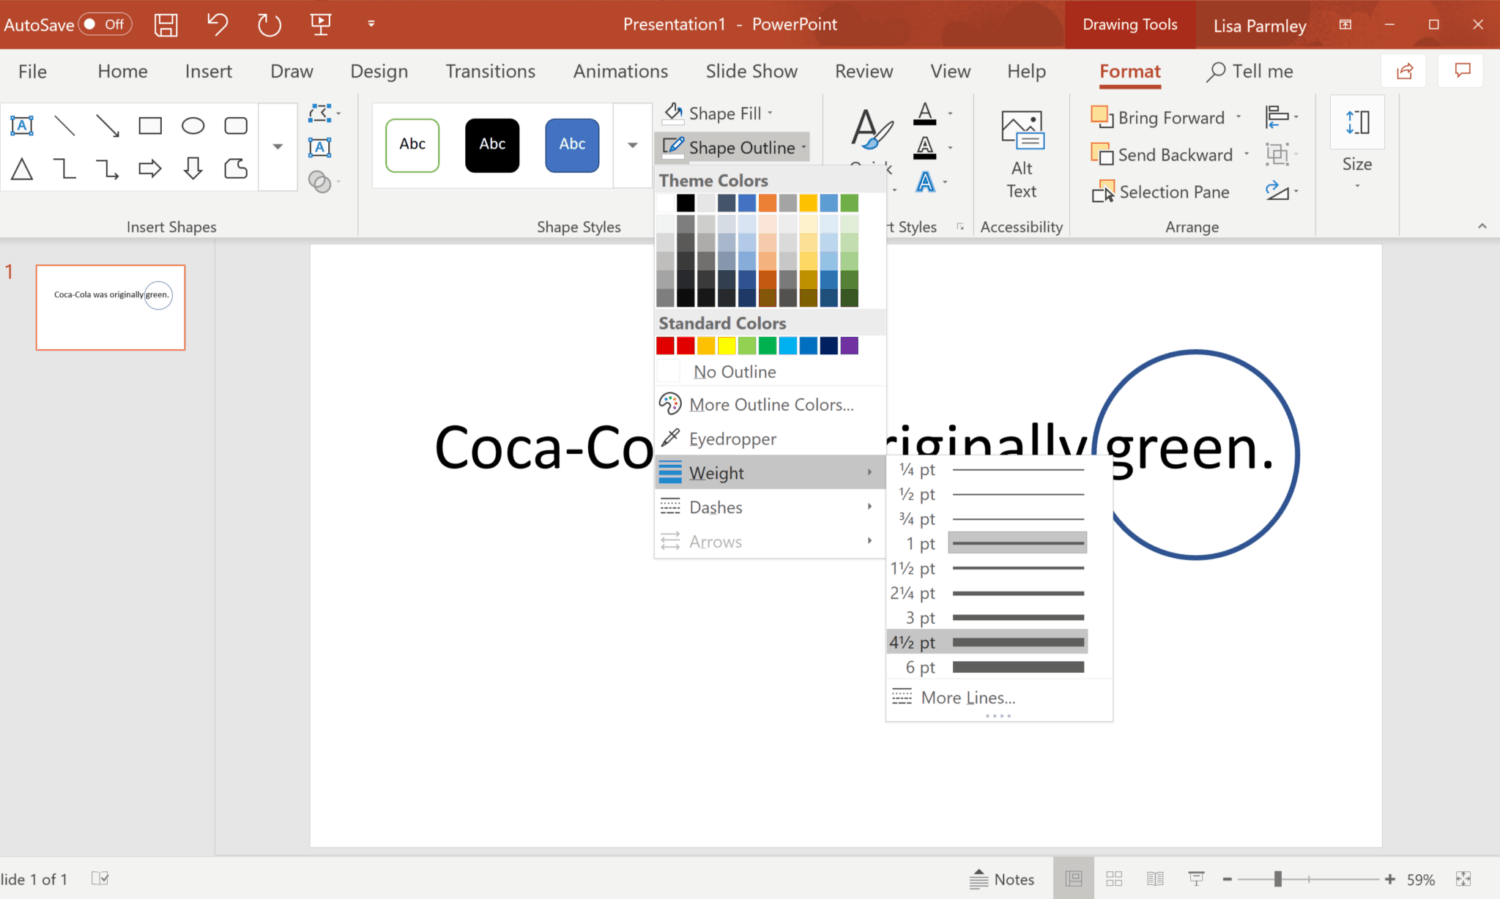
Then go to Shape Outline and down to Weight. Then select the weight you’d like. I selected 4.5 pt for my line weight:
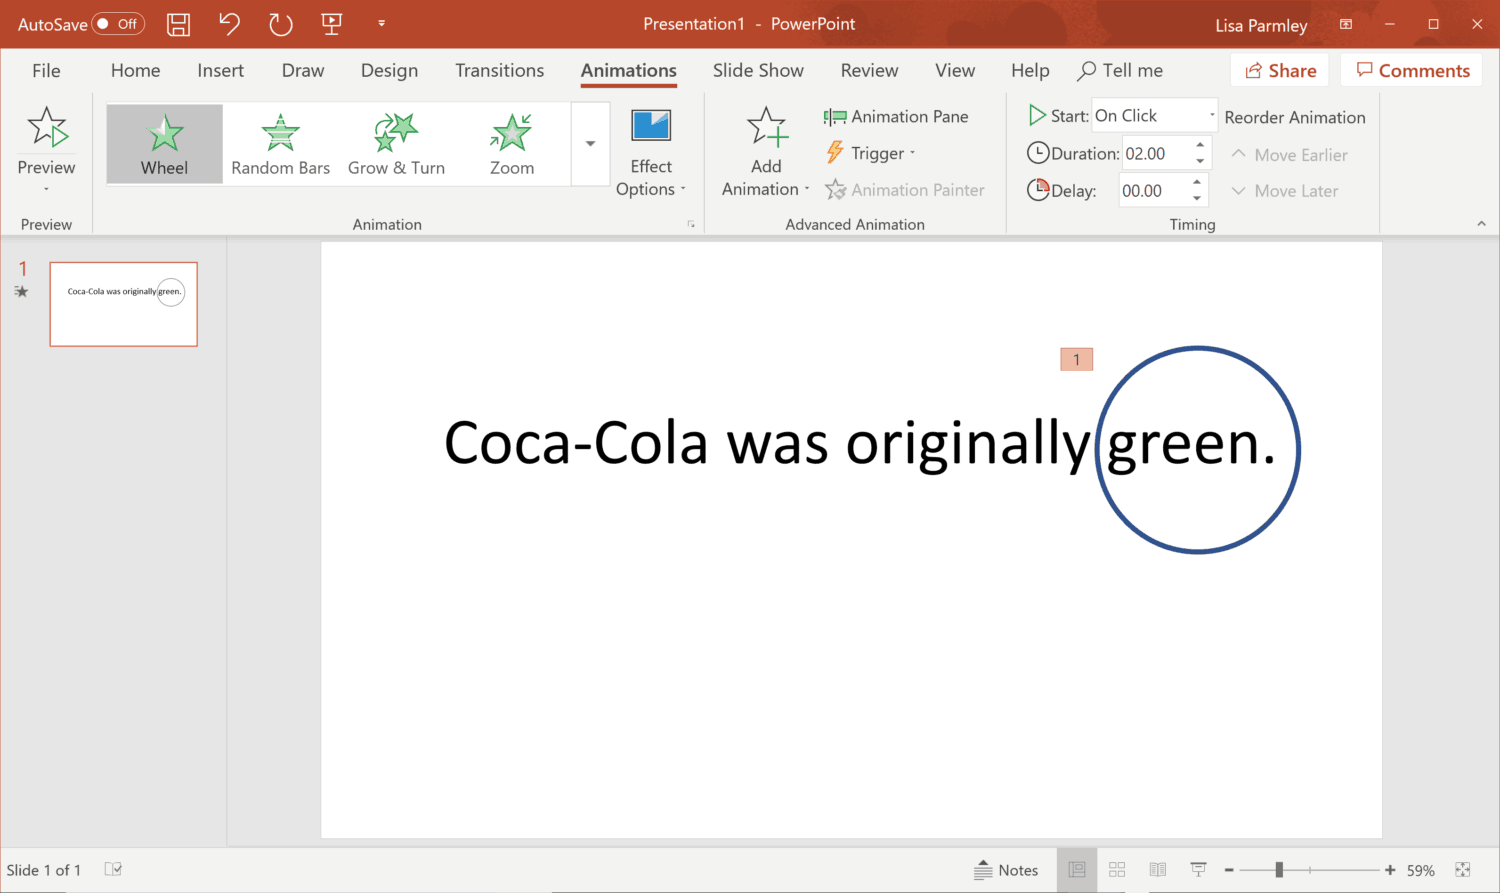
Now you’ve got your highlight which is a circle around specific text on the slide.
Next you need to add in the animation.
Select the circle and go to the Animations tab. Then click Add Animation and select Wheel.

You can adjust anything you’d like from the Animations tab. This can include the timing options.
For the example, I clicked on Effect Options and then 1 Spoke. You can play around with this if you’d like:

Next I’ll show you a little of what the animation does. I started my slideshow and grabbed a quick screenshot. This is just an image, but I think you’ll be able to see what it does:
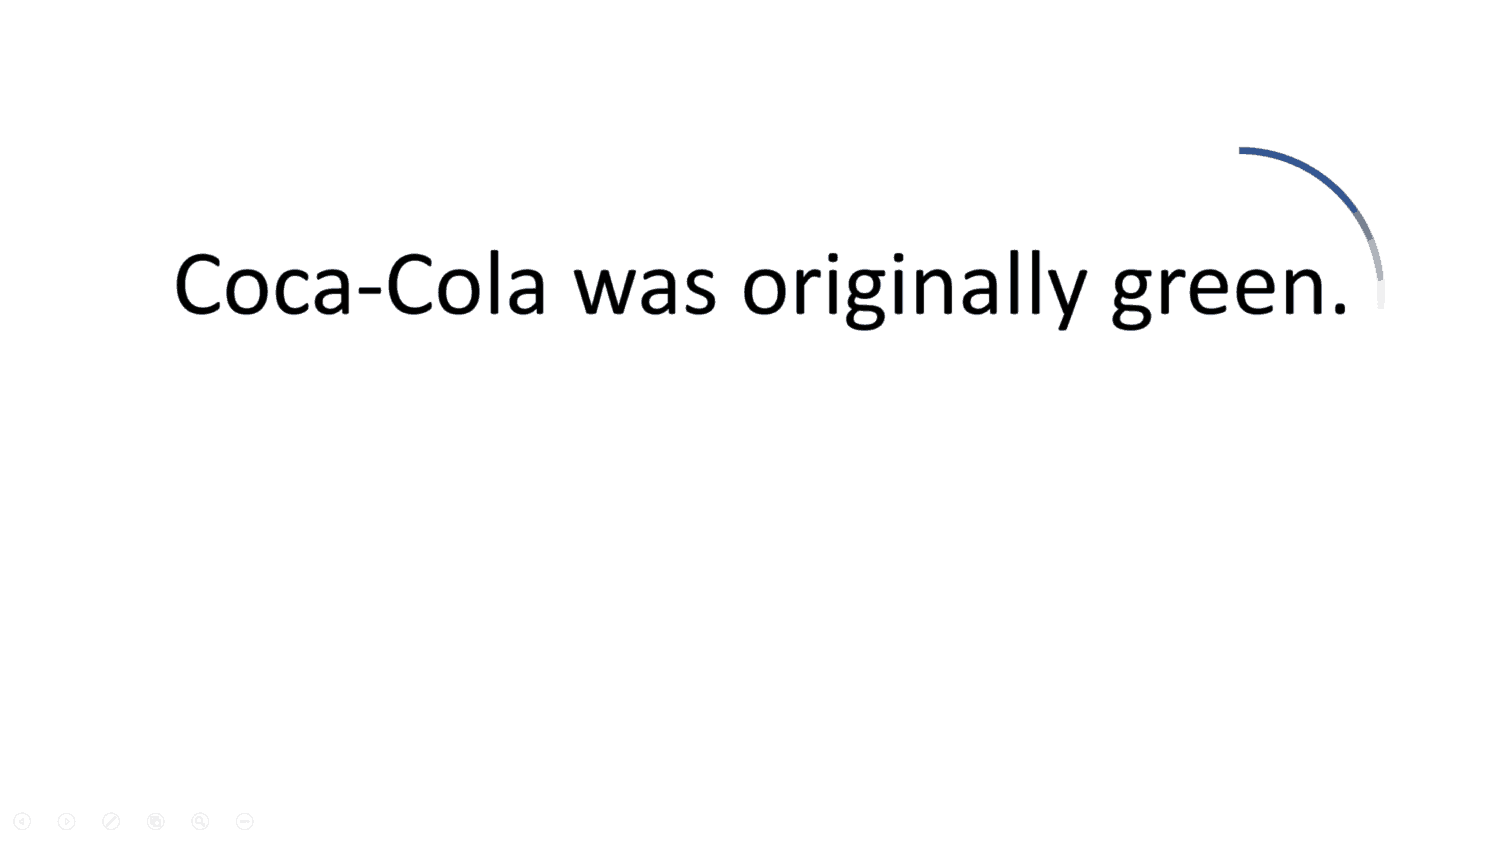
The circle starts to reveal itself until it’s complete!
It’s a pretty cool way to get a highlight effect that’s completely different from what you might expect.
This animation works great for numbers and charts. It’s probably not the right effect for the example text, but I hope this gives you an idea of what you can create.
There are a lot of ways to highlight text or charts or images with animations. If you’re interested in using animations to draw attention to parts of your slide, start playing around with the animation features of PowerPoint. I’m sure you’ll come up with some creative uses.
Best Uses for Highlighting Text in PowerPoint
Use the highlight feature sparingly.
If you highlight even half of what’s on your slide that’s way too much. You can maybe get away with highlighting one thing per slide. Most of the time you’ll only really need to highlight a few elements throughout your entire presentation.
Any of these cool features can become overused if you get crazy with them. Just use them to contrast important points or elements in your presentation.
Highlighting typically uses color.
Watch out for learners who can’t see all colors. In addition to highlighting the text, you might also consider bolding it. That way those who can’t see the color change will still recognize the element or snippet of text as important.
There are many ways to draw attention to a particular element or piece of text in addition to just straight highlighting.
Mix and match different ways of drawing attention by using highlighting, animating, and other techniques to keep your presentation interesting.
If you want to change up your text, then you might also considering learning how to wrap text in PowerPoint as well as learning how to create subscripts in PowerPoint. Finally, PowerPoint borders can really help set information apart. As you can see, there are many ways to draw attention in your presentations.
Conclusion
I just gave you several different ways to highlight text in PowerPoint including some creative uses that are sure to make your next presentation stand out.
Whether you use highlighting or animations, you can draw your learner into the major points of focus quite easily. Make sure they walk away from your presentation with an understanding of the main topics.
Try a couple of the techniques out and be sure to share your PowerPoint presentation examples in the comments!
