Our content is reader supported, which means when you buy from links you click on, we may earn a commission.
Thinkific Tutorial: How to Create Your Online Course with Thinkific
Thinkific is an online course platform that helps you build, sell, and manage your online courses. It’s a completely hosted platform (which is often called a cloud LMS) and includes unlimited video hosting for your course content. With Thinkific you can create an unlimited number of courses and have an unlimited number of students enroll in your courses. In addition to this Thinkific tutorial, I have a detailed Thinkific review put together for you so you can find out how it rates.
Thinkific offers paid plans, but they also have a very robust free plan. You can definitely give their free plan a try and even offer published courses from their free plan. If you find you need the paid features, then you can always upgrade.
I was able to do everything in this Thinkific tutorial with the free plan and where there is an upgrade required to use a feature, I try to mention it for you.
Thinkific Tutorial Table of Contents
Thinkific Sign Up
So to get started with the free (or any paid plans), you need to visit the Thinkific home page.

From there you can enter your email address and click ‘Get started free’ or click on the ‘Get started free’ button in the right-hand corner.
Both will take you to the registration page.
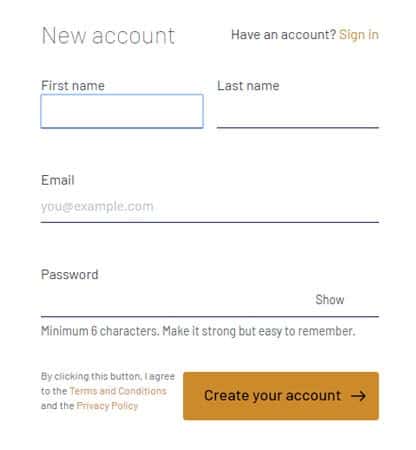
Enter your name and choose a password, then click on ‘Create your account’.
Once that’s done you’ll be taken to your Thinkific admin area. You’ll be able to login to your Thinkific admin at any time.
Thinkific Dashboard
The dashboard page is the page you see first after logging in. It’s clean and simple. As you can see, the dashboard shows a few tasks.
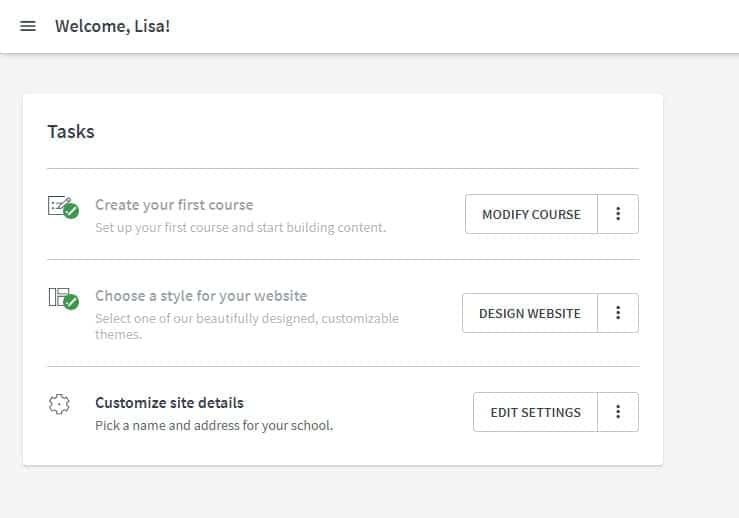
It prompts you to do some important tasks like create your first course, choose a style for your website, and customize your site details.
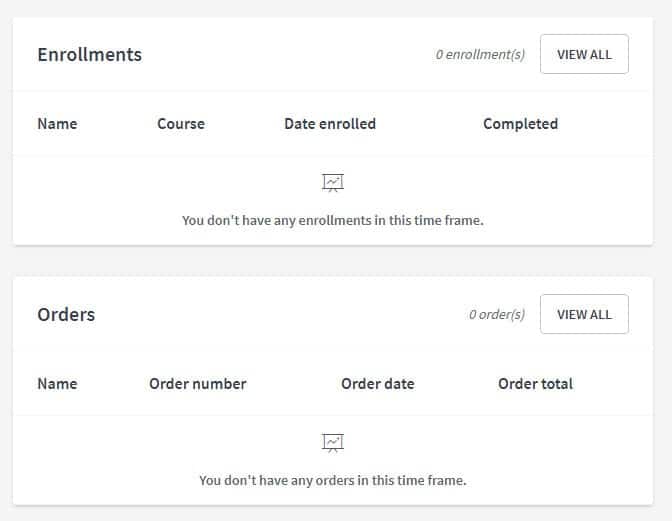
After the tasks, you can see what’s going on within your courses.
You can change the date and see revenue, sign-ups, and enrollments all at a glance.
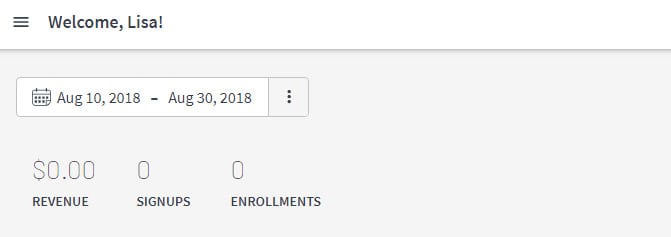
You can also see who has enrolled recently along with your orders. My course is brand-new and not even linked up to my site yet, so that’s why there are no numbers here.
You can always click on one of the tasks on the Dashboard or you can use the menu icon which will open up a full navigation menu for Thinkific.
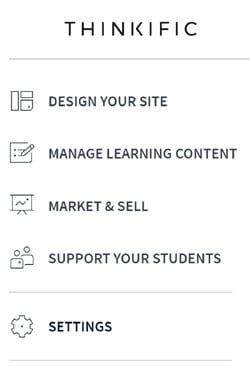
Menu Icon
Here’s a screenshot of the menu (again you have to click on the icon to open it).
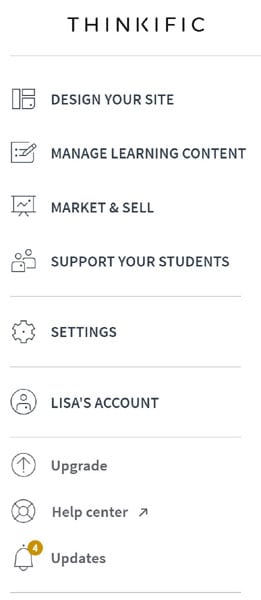
This main menu follows you around everywhere within the admin area. It often has a different look to it the further within the admin you go.
As you can see, the main menu headings are listed out. This tutorial will focus on the menu items giving you a walk-through of what you can do in your Thinkific admin area.
I’ll go through each of them now. This is how you work your way through building your course, the sales pages, and managing your Thinkific account.
[elementor-template id=”22359″]
Design Your Site
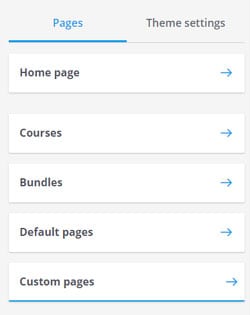
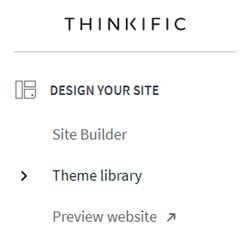
‘Design your site’ is the first menu link. If you click on it, then it expands into the 3 links shown below.
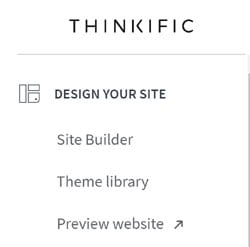
This ‘Design your site’ section is where you design the look and feel of your course sales pages. This isn’t for the actual course, but the pages where you tell people about your course and encourage them to sign up.
You can also choose to use your own page builder like WordPress or whatever you usually use to build your pages and link to your Thinkific sign-up page. However, if you do this, then you’ll miss out on some of the functionality Thinkific has built into their pages. And if you don’t have any way to build your own web pages, you can use Thinkific can build out everything quickly and easily.
Site Builder
‘Site Builder’ is the first link under the ‘Design your site’ heading.
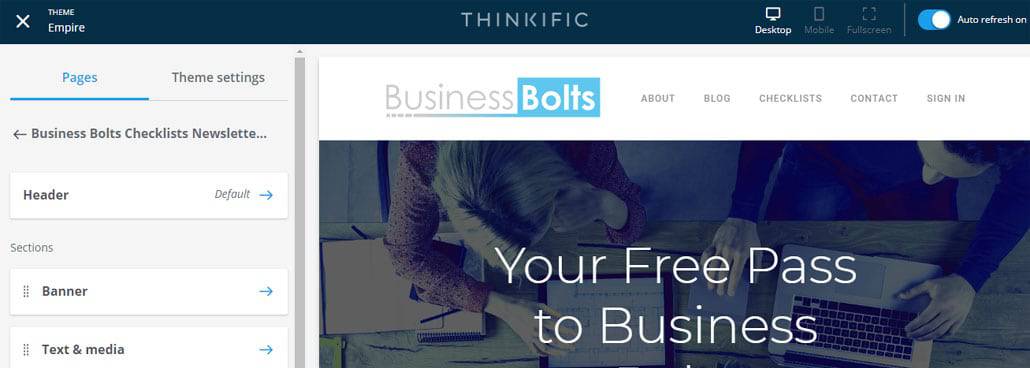
If you click on the ‘Site Builder’ link then you’ll be taken to a page where you can design your home page.
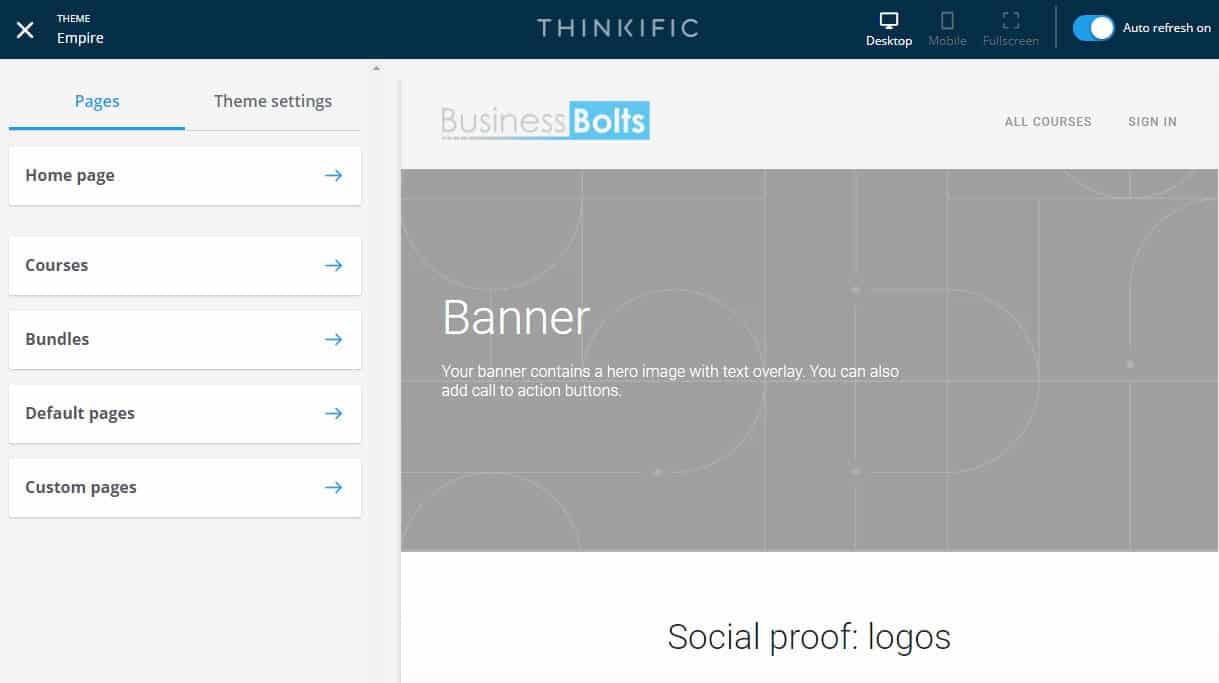
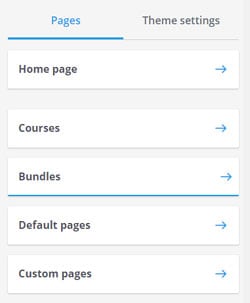
There is a place where you can click on Pages or Theme Settings. We’ll start with Pages. The home page shows up first here, but to start customizing it, you need to click on the Home page link. So here, I’ve done that:
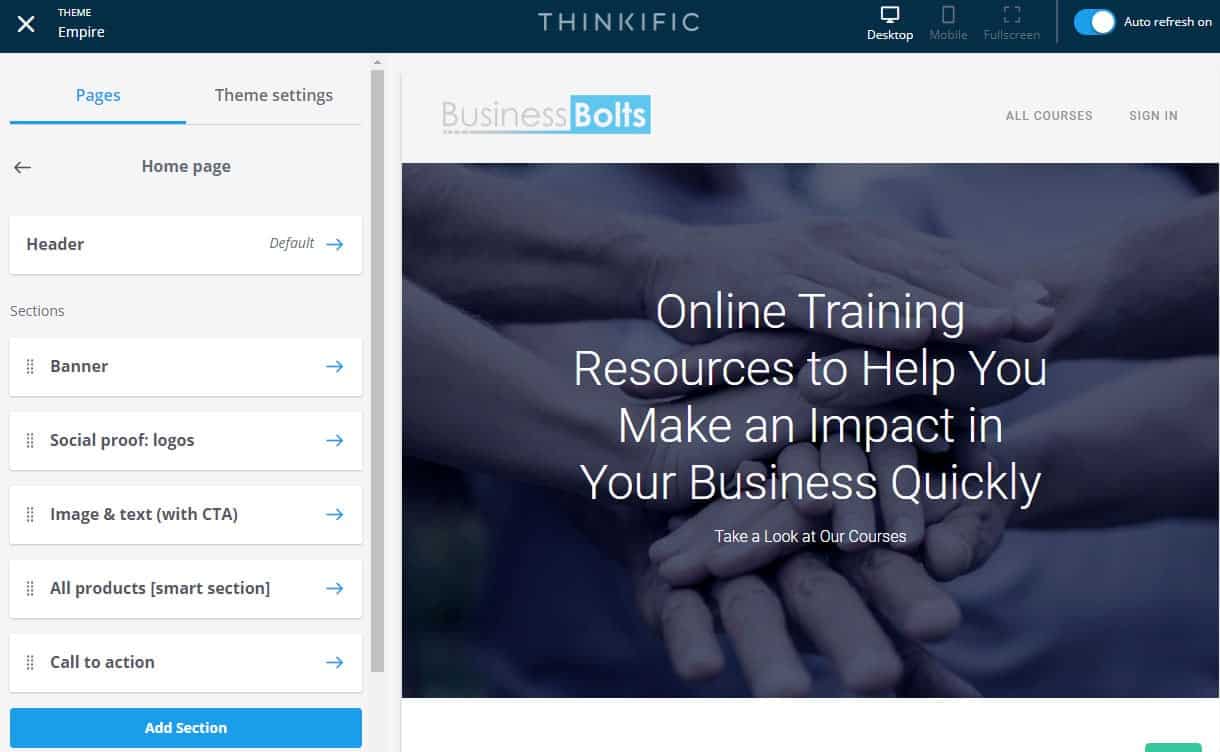
Home Page
If we go down the list on the left, you’ll see that we can add in the banner (the headline with the image behind the headline). Next is the social proof which might include logos. Following that this page is set-up to add in an image and text (with CTA which stands for call-to-action).
You can also have a section where Thinkific adds in a list of all your products. This is called a smart section because it’s part of the Thinkific functionality and will pull all your courses for you and add them.
Lastly, is another call-to-action section. The sections shown here are the default sections that Thinkific suggests you use on your homepage, but you can delete sections, reorder them, and even add sections.
There are quite a few section types you can choose from.
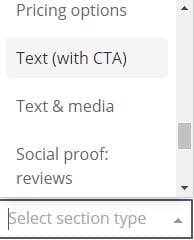
Just pick the one that best describes what you want to add including; FAQs, video, bonus material, ‘social proof: testimonials’, and the list goes on and on. You can customize your home page to include whatever you want.
I ended up just including the banner with an image and the headline along with a list of the courses I offer. That’s all I felt that page really needed. Plus since I only have one course to start with, I don’t link to this page. I link directly to my course page for now.
Course Page
If you go back to the main Site Builder page and click on ‘Courses’ you can click on the course you want and it will allow you to set-up the sales page for that course.
Here is the start to my Business Bolts Checklists course page:
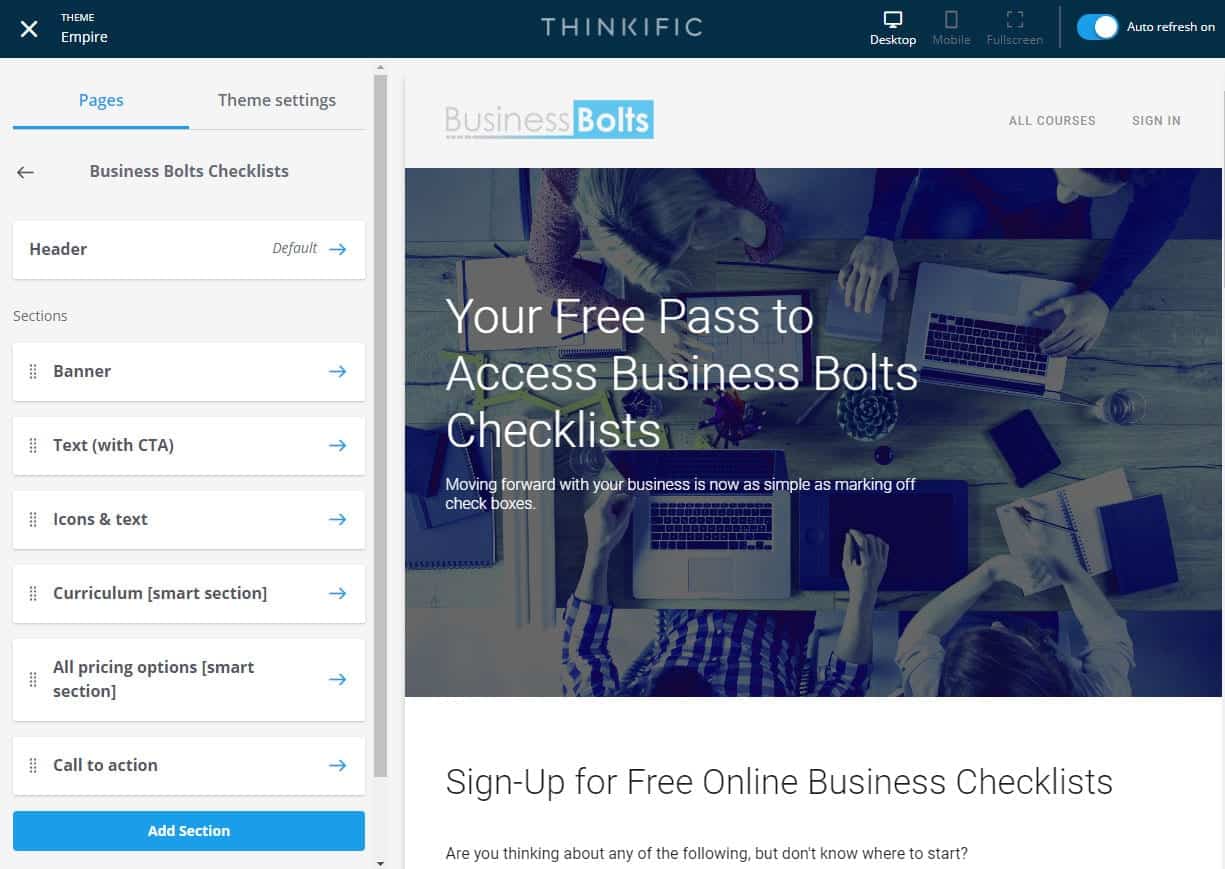
It’s the same type of thing where you can add in sections, move them around, and include whatever content you’d like on your course page. There really is a lot you can do with your pages in Thinkific. You’ll want to play around with the site builder to set-up an enticing sales page and get people to enroll in your course.
Bundles
Next on the list are the bundles. You’d have to have a bundle for one to show up and I don’t so there’s not much to show there.
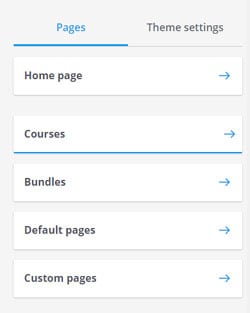
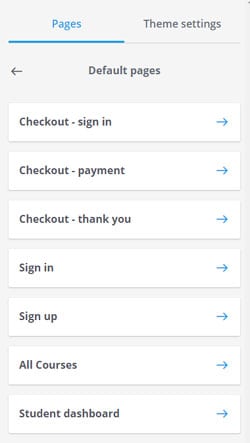
Default Pages
The default pages consist of the list shown in the screenshot below. These include checkout – sign in, checkout – payment, checkout – thank you, Sign in, Sign up, All courses, and the student dashboard.
I clicked on the Sign-up button and it takes me to this page:
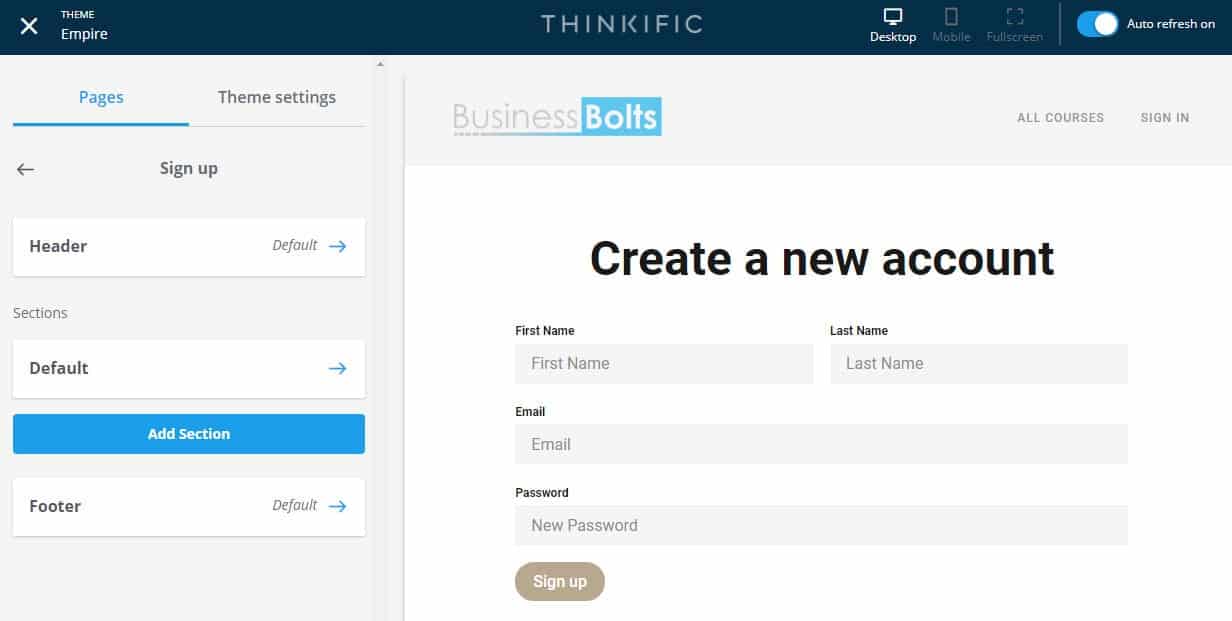
You can change the header and it will update the default header across all the pages of your site. Here, I’ve matched my header to the header on my regular site (or at least close enough). You can also change your footer which will change it across all your Thinkific pages.
The Default section in the middle cannot be changed. So that the middle part of the page in the screenshot above must stay as it is. You can add a section that goes under the Default section if you would like to include more content on this page.
Custom Pages
The last link on the menu is for custom pages.
This allows you to add your own custom pages that cover anything you would like. You’ll be able to add and organize the content with the different sections available. This means you can create your own ‘about us’ page and a ‘contact us’ page along with whatever else you would like.
Pages created with Thinkific end up looking very nice. Thinkific offers icons to go with your text in addition to a lot of other nice design features.
Theme Settings
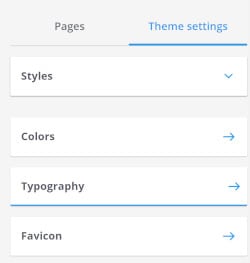
Next to Pages, you can click on Theme Settings:
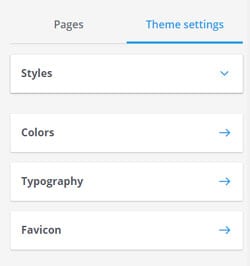
Styles
At the time I’ve gone through this, there are four styles. So you can try all those out. Here’s what the Edge style looks like. It’s not really for me, luckily it’s easy to change it back.
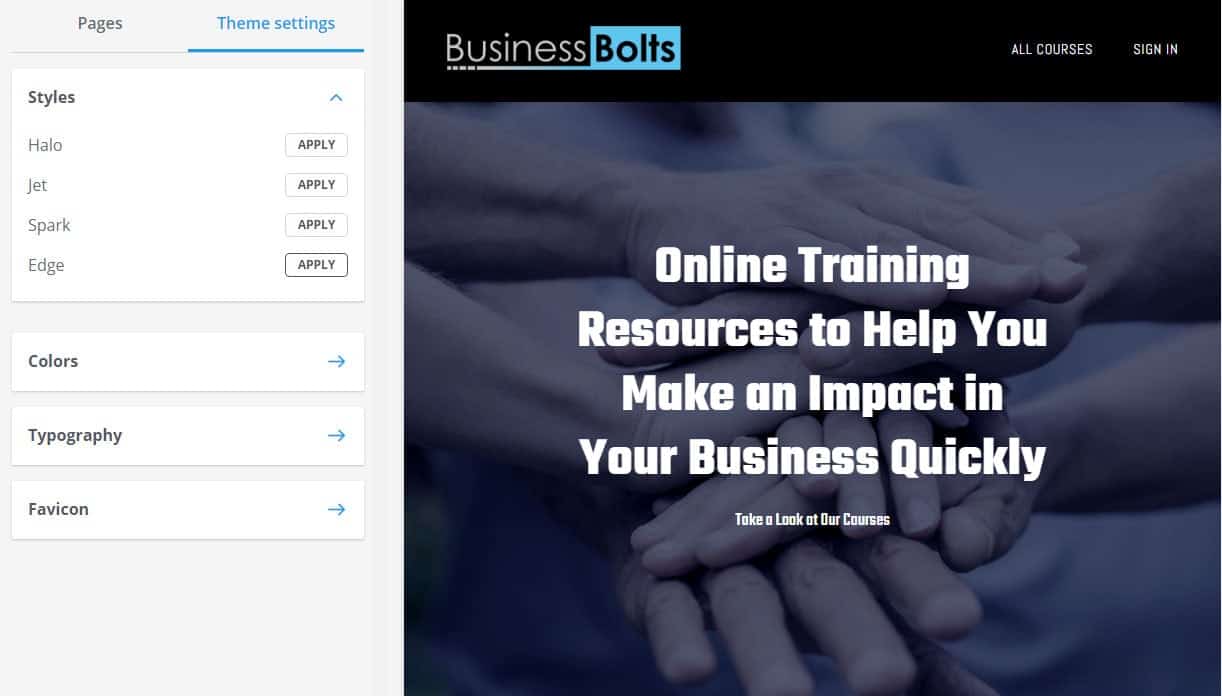
Halo seems to be the default style and the one I’m sticking with.
Colors
This is the area of the Thinkific admin where you can change the colors of your site. You can make your Thinkific pages match the rest of your website if you have an existing site or you can customize them to look different from other Thinkific sales pages online.
The first box is for the header and footer. You can change the background, link color, and transparent header menu links here.
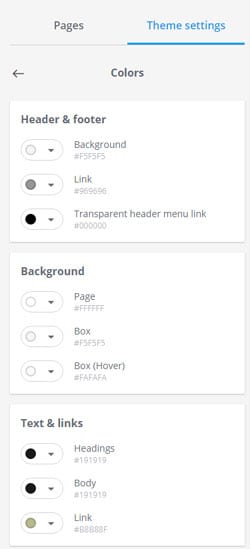
The second box shown above allows you to change the background color for a page, box, and a hover box. The third box on the screenshot above allows you to change the colors for your text and links. Included are the heading colors, body colors, and link colors.
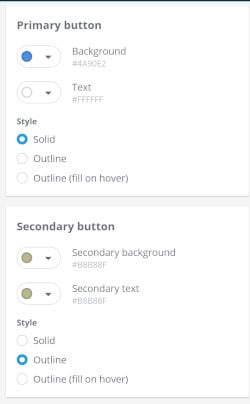
This next screenshot shows more of the color options. In the first box, you can change the color of the primary button to whatever you would like as well as choose from 3 different styles.
In the second box shown below, you can change the color of the secondary button.
This last screenshot shows the accent box.
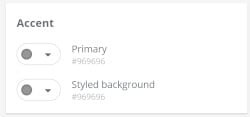
You can change these colors as well so your pages have just the right look.
Typography
If you go back to the main theme settings, you can choose to make adjustments to your typography.
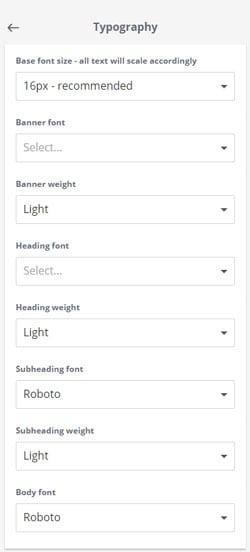
Clicking on typography will allow you to make changes to your site’s font. So you can make these changes to customize your Thinkific pages or to match your Thinkific pages with an existing site.
As you can see from the screenshot below, you can change the base font size, the banner font, banner font-weight, heading font and weight, subheading font and weight, and body font. There are a lot of good font choices here for you to choose from.
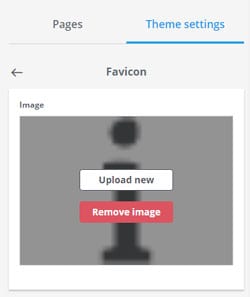
Favicon
Lastly, if you go back to theme settings, you’ll see an option to change your site’s favicon. Click on this and you can upload a new favicon which might be a minimalist version of your logo or whatever you would like.
Theme Library
The theme library comes under the Site Builder.
 Once you click on this, you’ll be taken to a page where you can choose from ‘My themes’ or ‘Explore themes’.
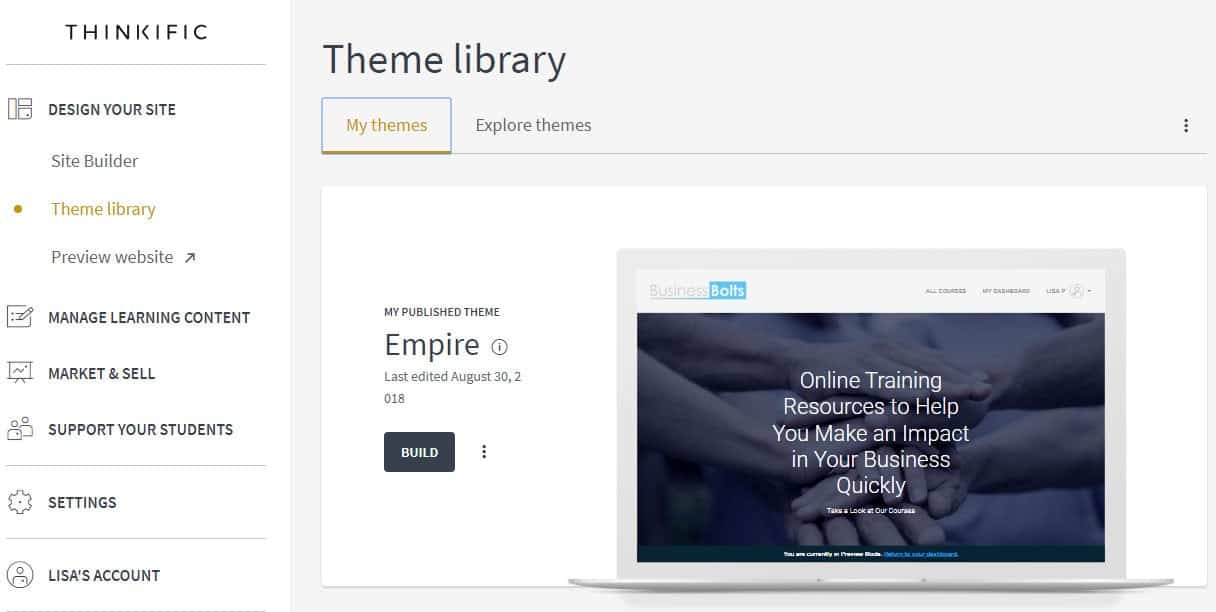
They only had 3 themes at the time I did this tutorial, but it’s a nice feature for changing up your theme. Here are previews of the themes currently offered:
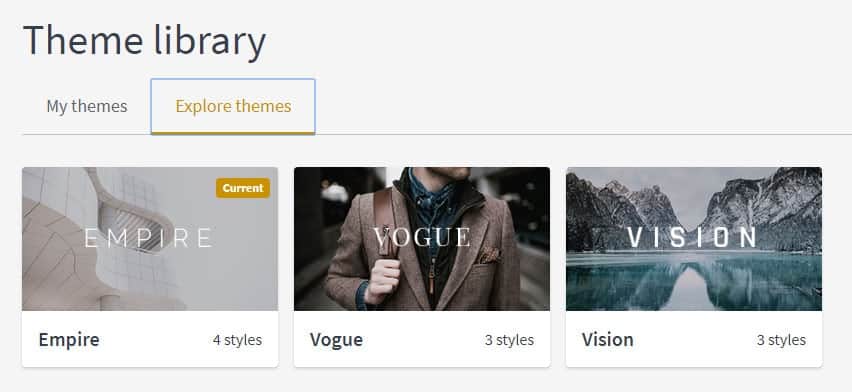
There are a few styles under each theme so you’ll have to play around with this to make your site look just right.
Under the Theme library link, you’ll see the Preview website link.
Preview Website
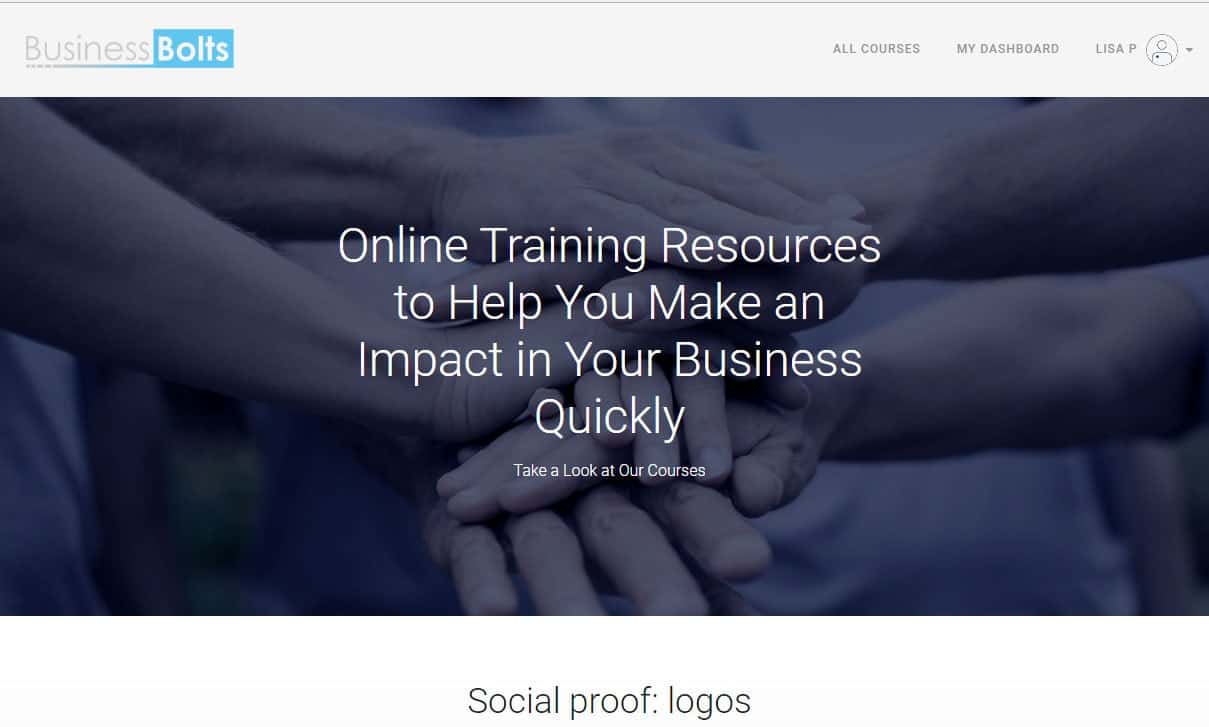
Clicking preview website takes you to a preview of your site so you can see how it’s starting to shape up. Here’s an above-the-fold preview of my site at the time I made it this far through the tutorial
That’s it for the Design Your Site section of the admin. Let’s move onto Manage Learning Content.
Manage Learning Content
Here are the links that show up when you click on the Manage Learning Content section of the menu. As you can tell, this is where you start to build out your online course.
 Courses
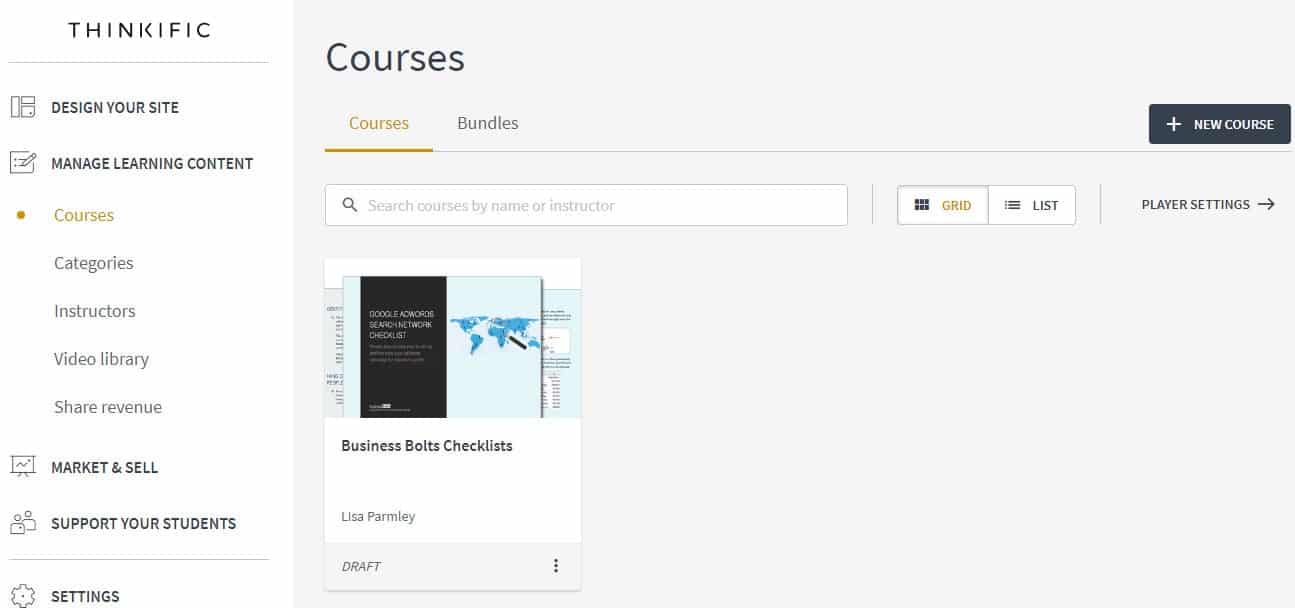
When you click on the Courses link you’re taken to a page with all your courses along with the ability to add a new course.
You can also list out any bundles you may have when you click on the Bundles tab. A bundle is where you have multiple courses available for enrolling in together. Maybe a course + a few bonuses or 2 courses that go together for a special discounted price. You need to upgrade in order to add bundles.
I don’t have any bundles to show you, so I’m just going to click on my course so you can see that next page.
Here’s the course page where you can add course content:
There’s a tab menu up top with several links. The curriculum is the first one.
Curriculum
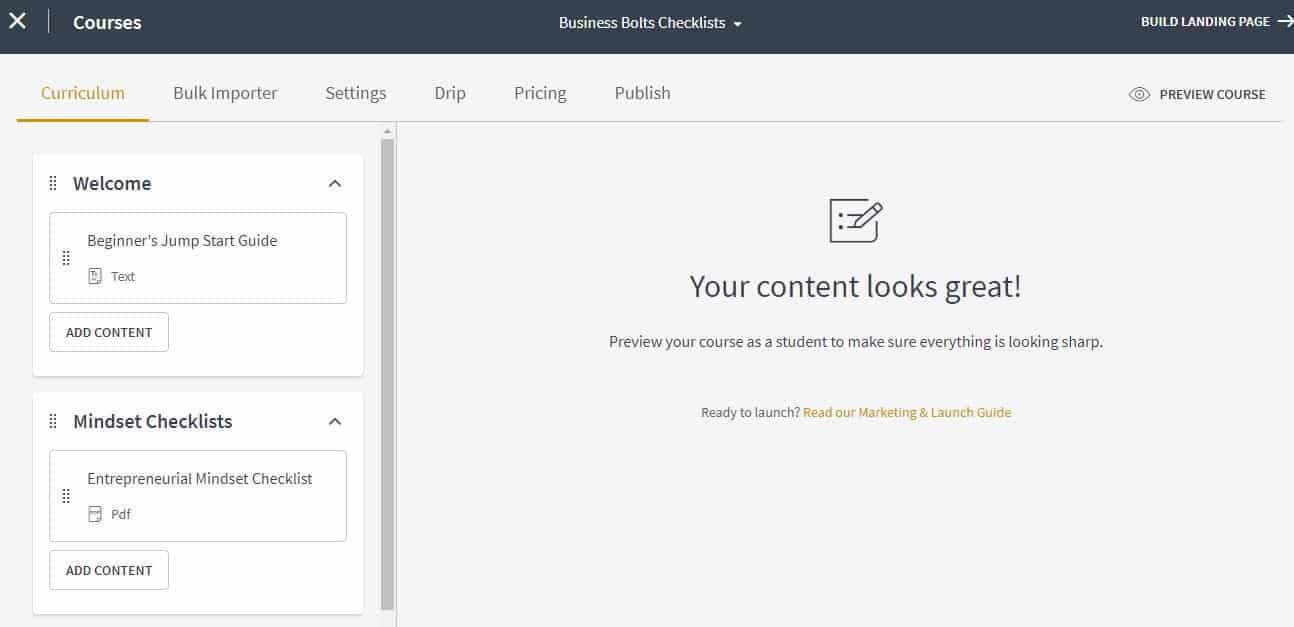
As you can see here, you organize most of your curriculum (your course content) on the menu, which is interesting, but it actually works well. You click where you want your content to go from within the menu and then the big part of the page shows the type of content and the customizations you can add to that piece of learning material.
So here, I’ve clicked on the Entrepreneurial Mindset Checklist and this is what shows up:
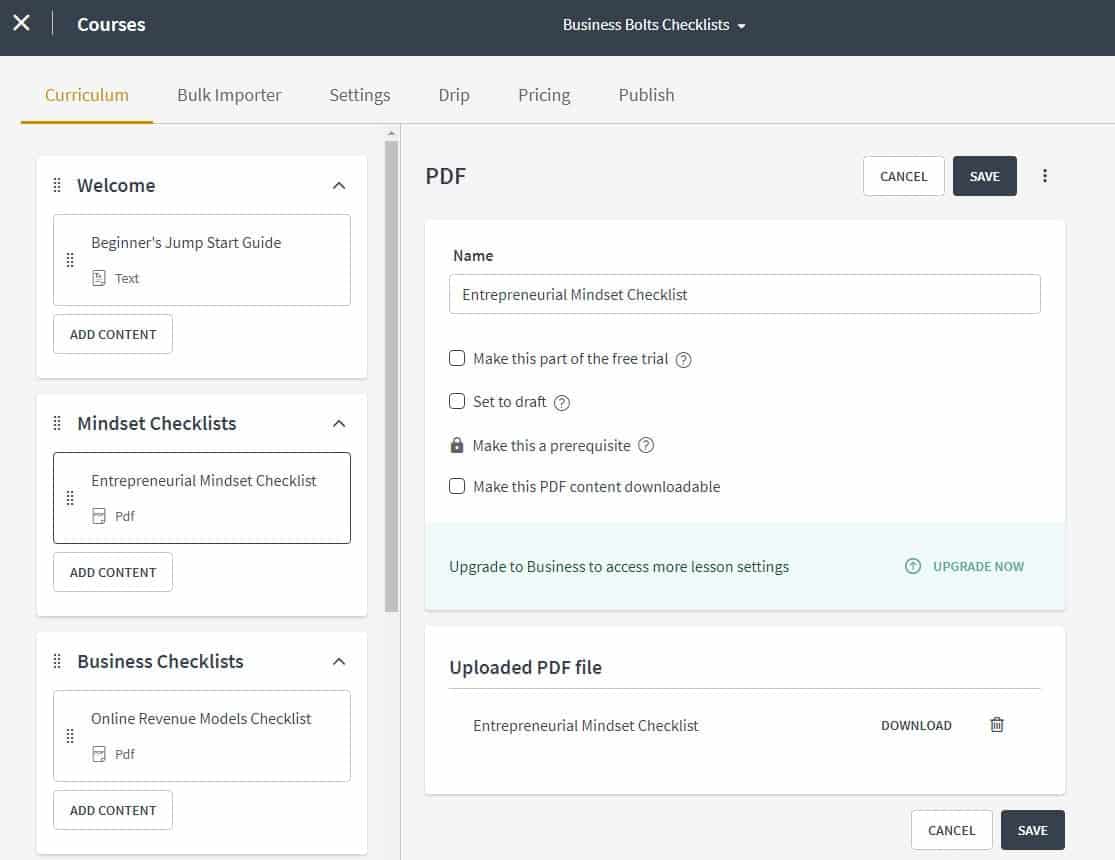
This was a piece of learning material I had already added in, but as you can see, the menu opens up to a form area where you can name the content and see the uploaded PDF file. You can also choose to tick off the checkboxes to make this piece of content part of the free trial, set it to draft, make it a prerequisite, or make the PDF content downloadable.
Before you start adding any content, you’ll want to figure out if you’re going to have chapters. A chapter is really the same thing as a section, module, or category. Once you’ve decided if you’ll have any chapters, you can add them from the bottom of the menu (it’ll actually show up much higher when you’re starting with an empty curriculum menu).
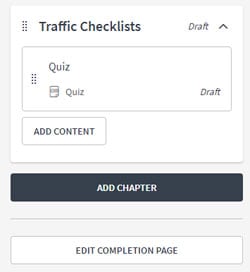
This is a screenshot of that ‘Add Chapter’ button. It’s at the bottom of the curriculum menu.

So you click on that ‘Add Chapter’ button and you just give it a title:
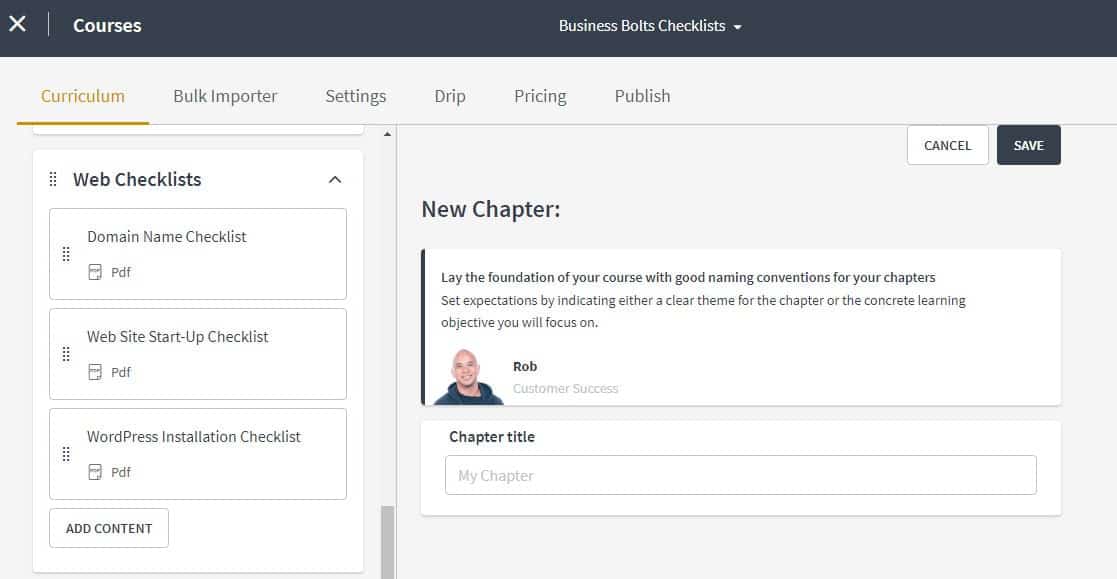
There’s also a completion page found under the ‘Add Chapter’ link.
Thinkific provides a default completion page or you can customize your own.
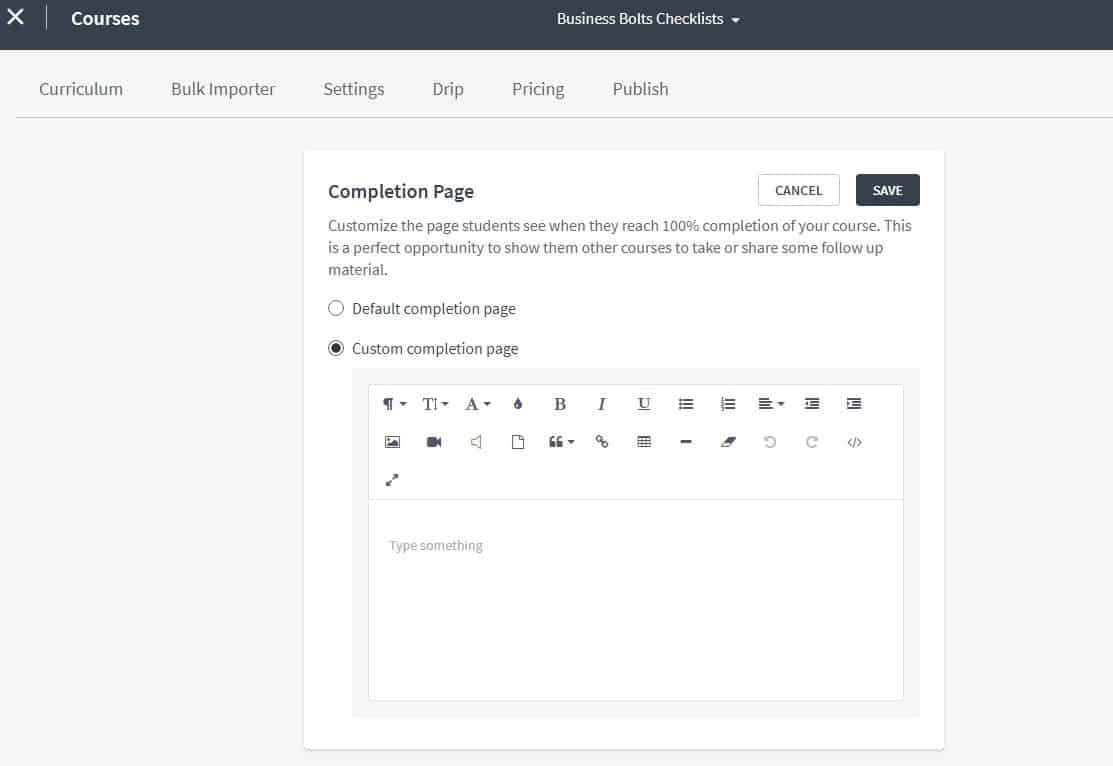
The completion page is the last page in the course that your students are taken to when they’re finished.
Once you’ve got your chapters (you can always move them around and add in more later on), then you need to add the content to each. To do this, simply click on the ‘add content’ button.
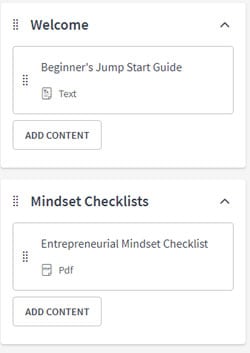
Here’s a menu showing Welcome and Mindset Checklists as chapters. Under Mindset Checklists, I clicked on ‘Add Content’ since I want to add another checklist that fits under that chapter heading.
When you click on the ‘Add Content’ button, the choices as to the type of content you can add show up.
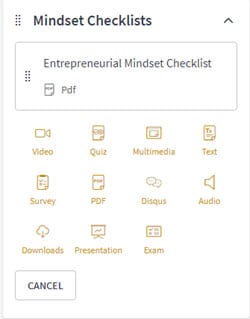
Pick the choice you want from the list.
Depending on which type of content you want to add, a different form area will show up. Previously, I showed you what the PDF form area looks like. This time I clicked on the Video icon to add in a video. This is the form area that shows up when adding a video:
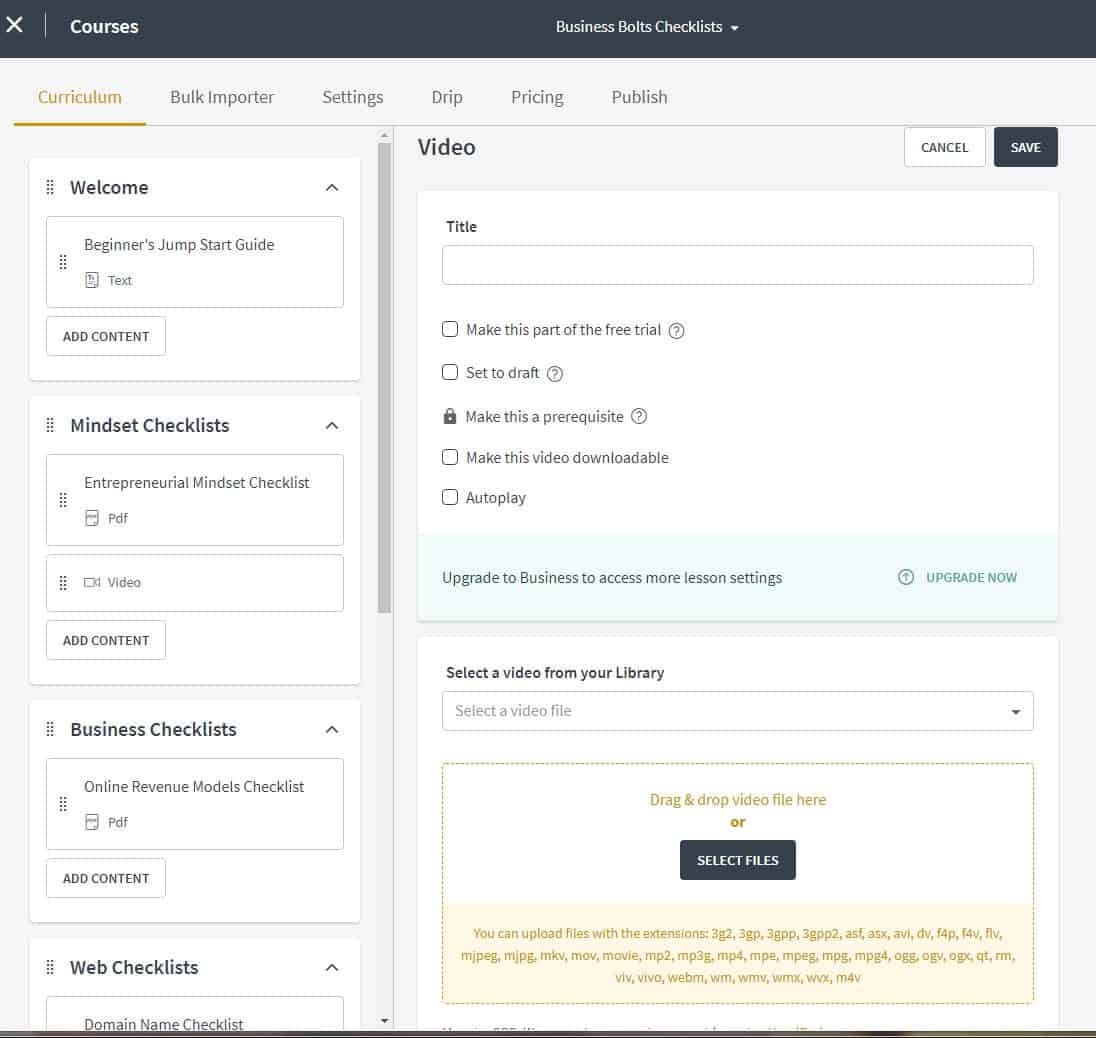
To add video content you need to add in a Title, choose which if any of the checkboxes you want to mark off, and then select a video from your Library (we’ll cover that later). Or you can upload a video right from the form.
Once you’re done, click on ‘Save’.
You’ll keep going through your menu just like this, adding in chapters and content under each until you’re done. Once all your content has been added to the menu, you can organize it by clicking and holding on the dots to the left of each chapter or content name and dragging it where you want it to go.
All that was found within the Curriculum tab. The next tab is the Bulk Importer.
Bulk Importer
When you click on the Bulk Importer tab you’ll be taken to a page where you can upload the content for each of your curriculum pieces all from within the same page.
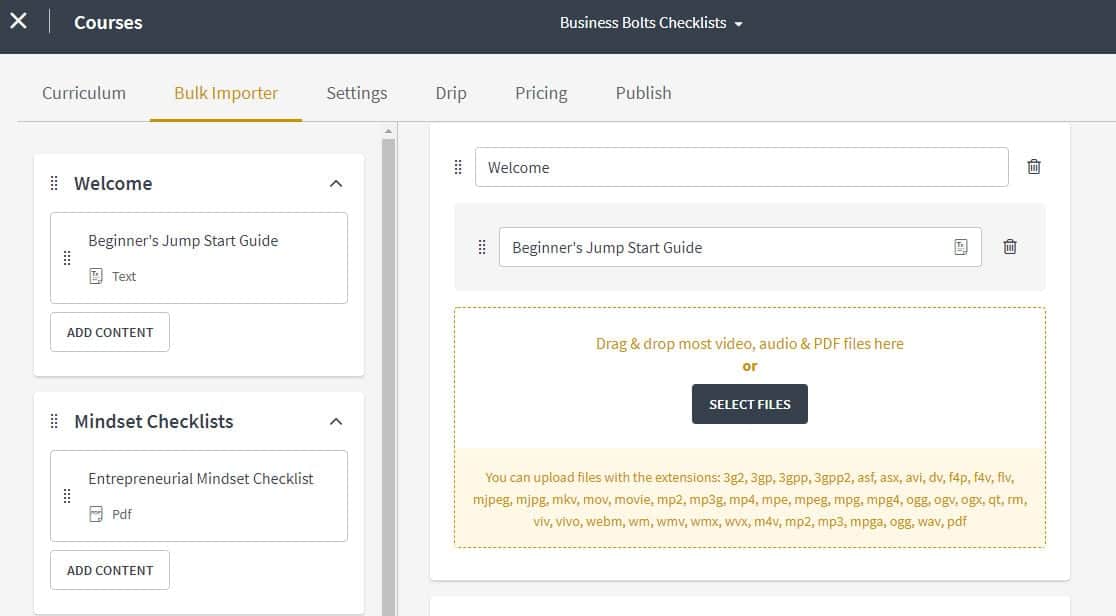
This makes it easy to upload all your files, like your videos, and assign them to the right piece of content.
The next tab over is the Settings tab.
Settings
When you click on the Settings tab within the Course menu you’ll be taken to the main settings page that looks like this:
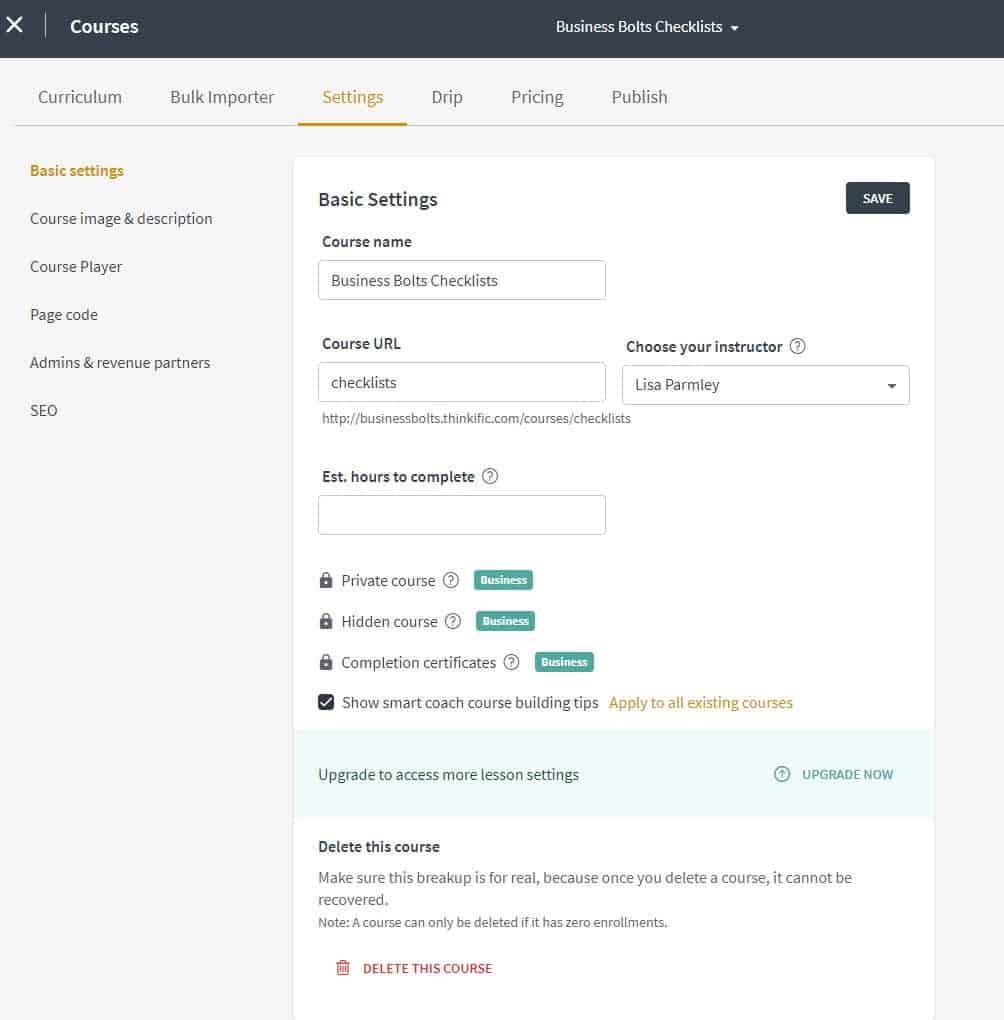
Basic Settings
From here you can add in your course name as well as update the course URL, the instructor, and estimate the number of hours it will take to complete the course.
If you’re interested in upgrading your plan from the free plan to a paid plan, you can get a few more options like the ability to make the course private/hidden and completion certificates.
You can also delete your course from this page if you really want to do that.
Those are all the Basic settings. There are a few other tabs on this page and we’ll start going through those next.
Course Image & Description
When you click on the Course image & description tab you’ll be taken to a page where you can add your course image along with a description.
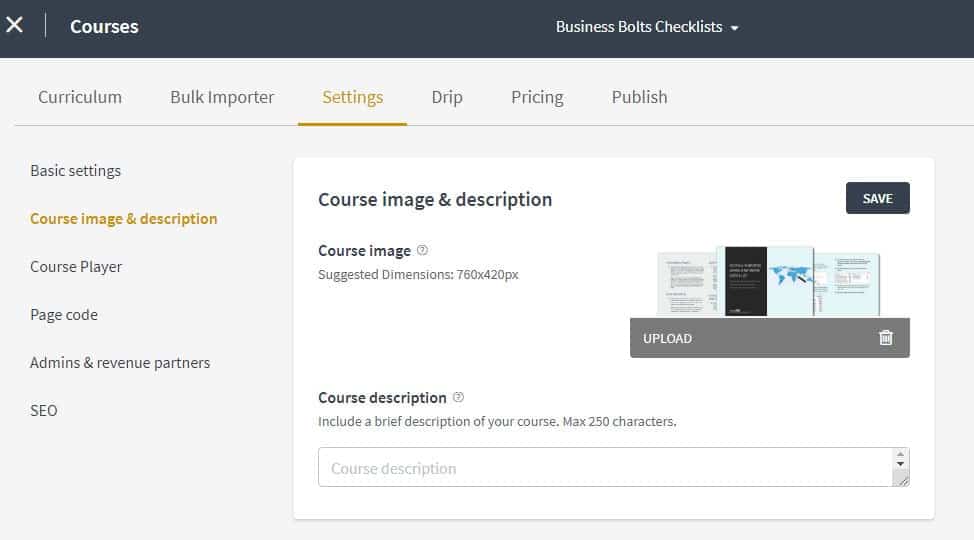
The course image and description can be shown on your sales pages and will show up on your checkout/sign up pages too.
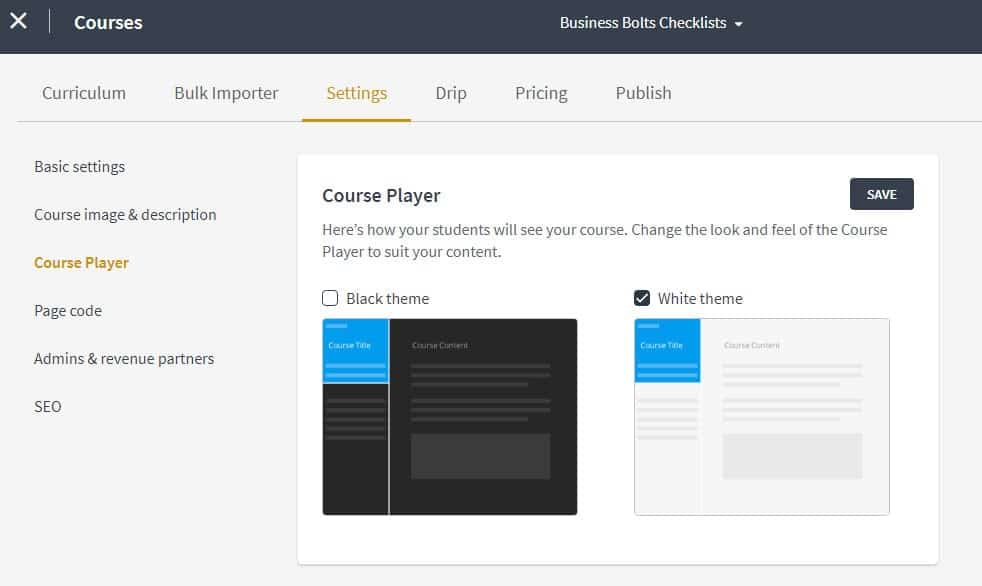
Course Player
From within the course player area, you can select from two different options; a black theme and a white theme. It’s not too exciting, but it’s there if you want to switch from one to another.
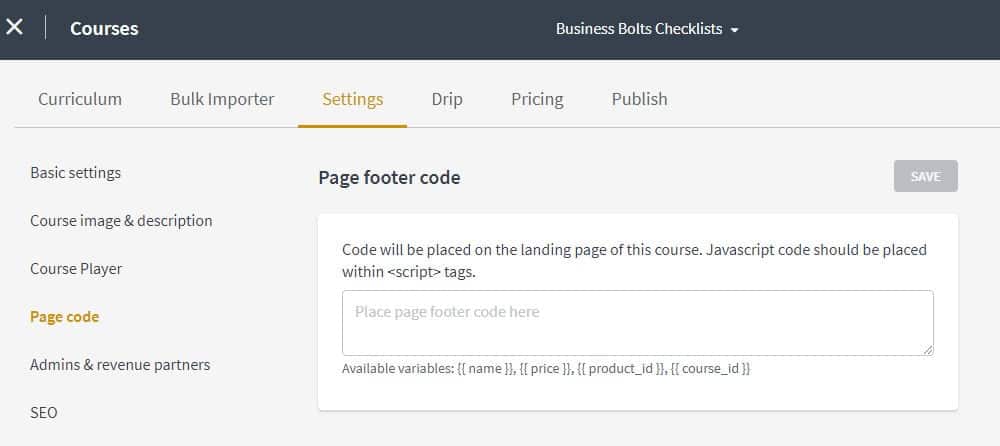
Page Code
The page code link takes you to a box where you can add code within the footer of the landing page of the course.
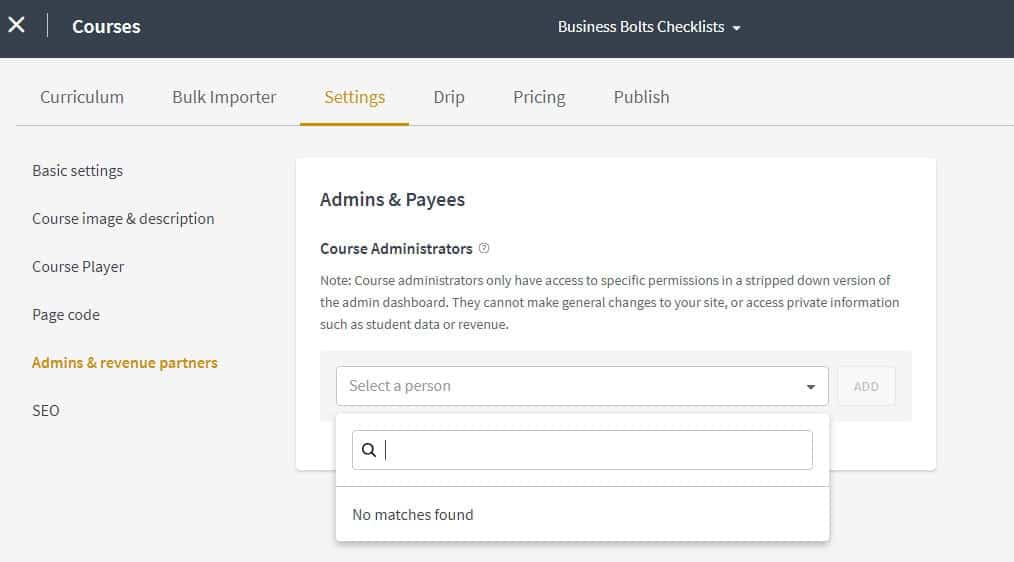
Admins & Revenue Partners
This page allows you to search for people within your user-base and add them as course administrators.
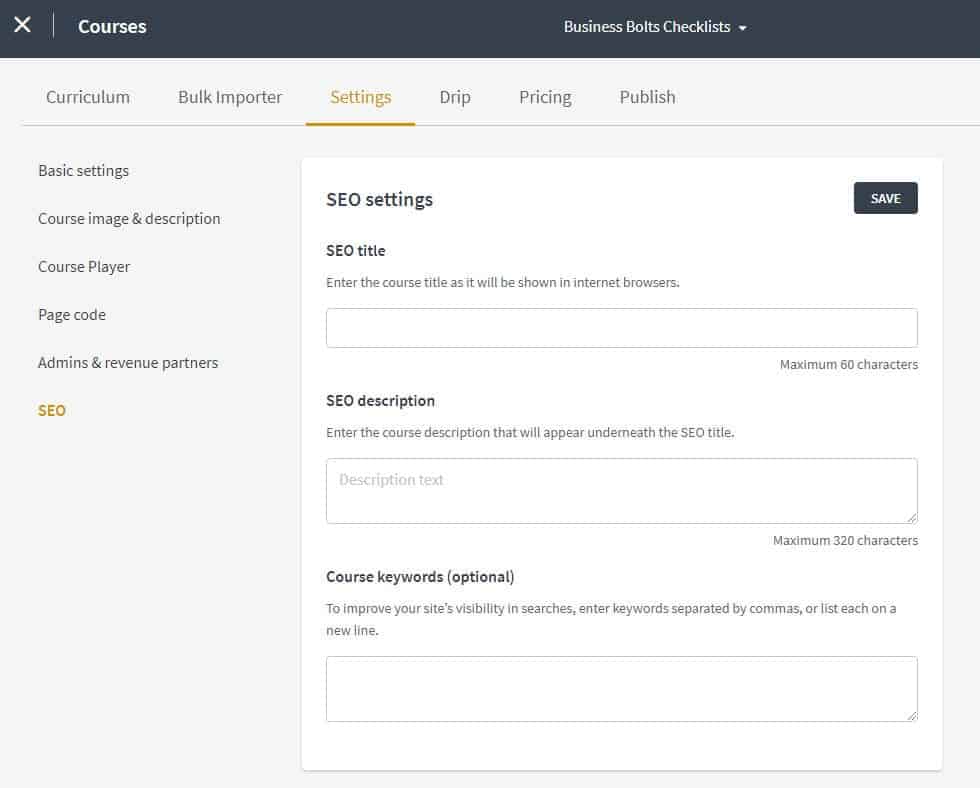
SEO
Here you can add in the SEO title of your course which is what will be shown in internet browsers. You can also add in the course description and some course keywords.
If we go back to the horizontal menu up top, we’ll continue on with the drip feature.
Drip
The drip tab allows you to take certain pieces of course curriculum and show them at a specific time after the student enrolls.
For instance, if the course doesn’t start until a certain date you can hold off on allowing that content to be seen until that date. Or you can schedule modules and chapters to become available weekly after enrollment. The drip feature allows you to hold off on showing all your content right away and instead, spread it out over time.

You do need to pay for an upgrade in order to use the Drip feature.
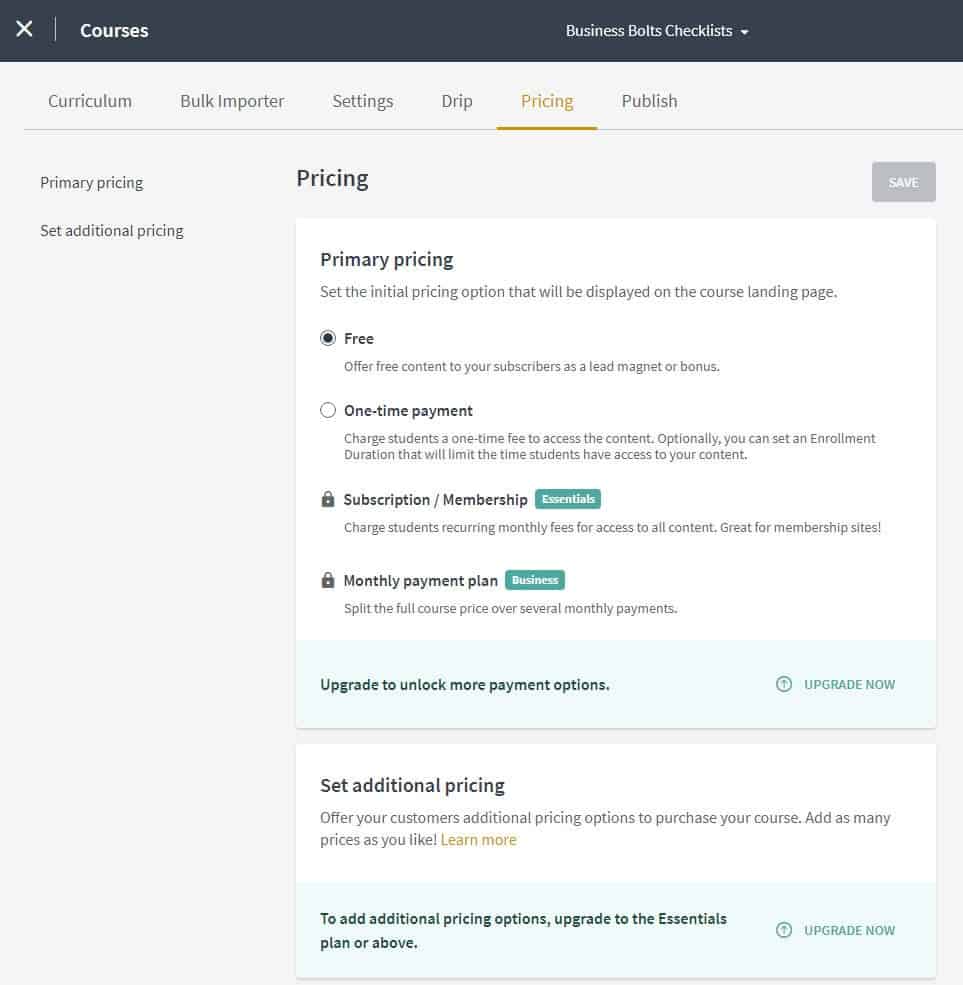
Pricing
The pricing tab allows you to set an initial price (the primary price) of the course. Here, I’ve selected Free, but you can also choose to set a One-time payment. If you’re on an upgraded plan you can get more options, like recurring monthly fees and monthly payments.
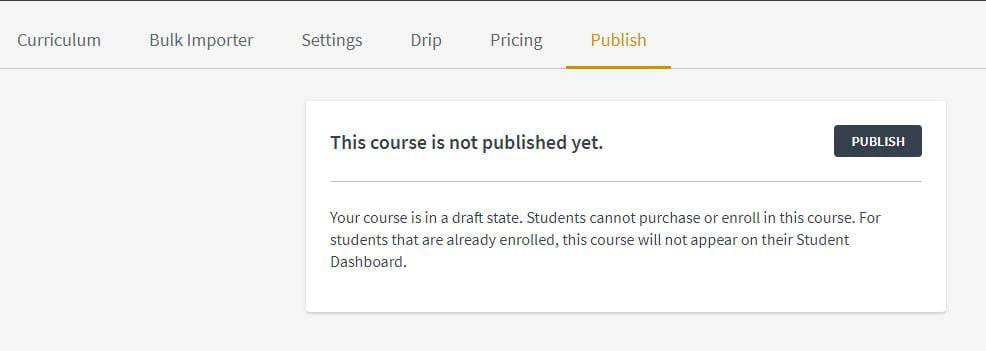
Publish
The publishing tab allows you to publish your course. As long as you’re not linking to your course then even if it’s published, it’s still not really open to the public. So you can definitely publish the course before you’re completely finished with it. Publishing it does help you test that everything is working right before you start offering it. I published my course before it was 100% ready.
Next, we’ll go back to the main menu on the left. We’re still under Manage Learning Content, but are moving from Courses to Categories.
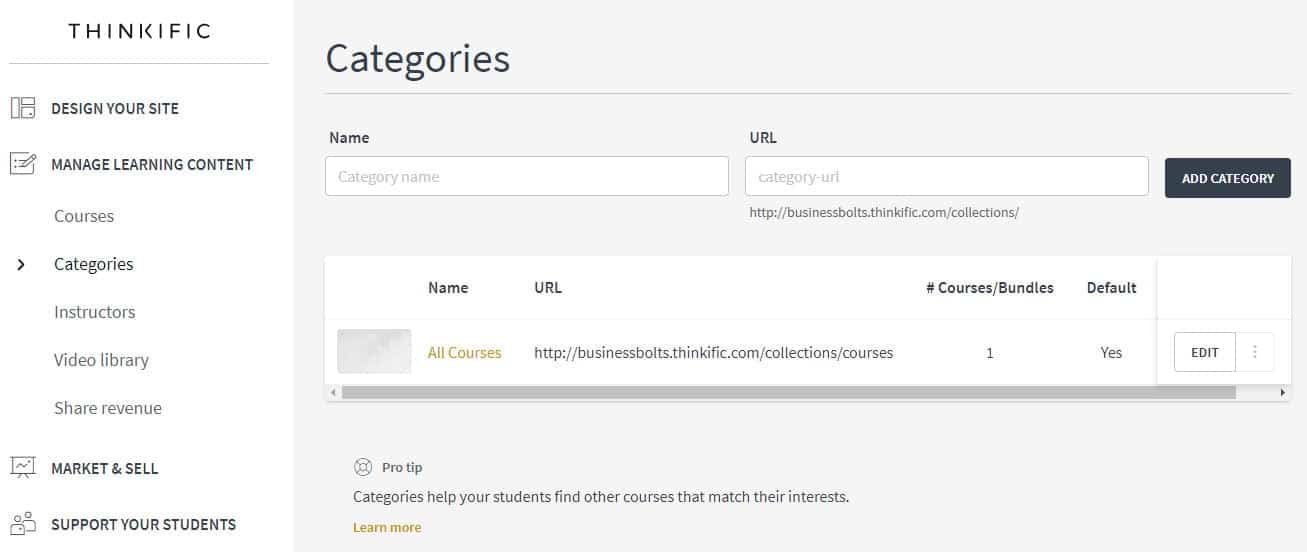
Categories
You will use the category feature if you have a lot of courses offered. Categories allow you to organize your courses by categories so people can find them faster.
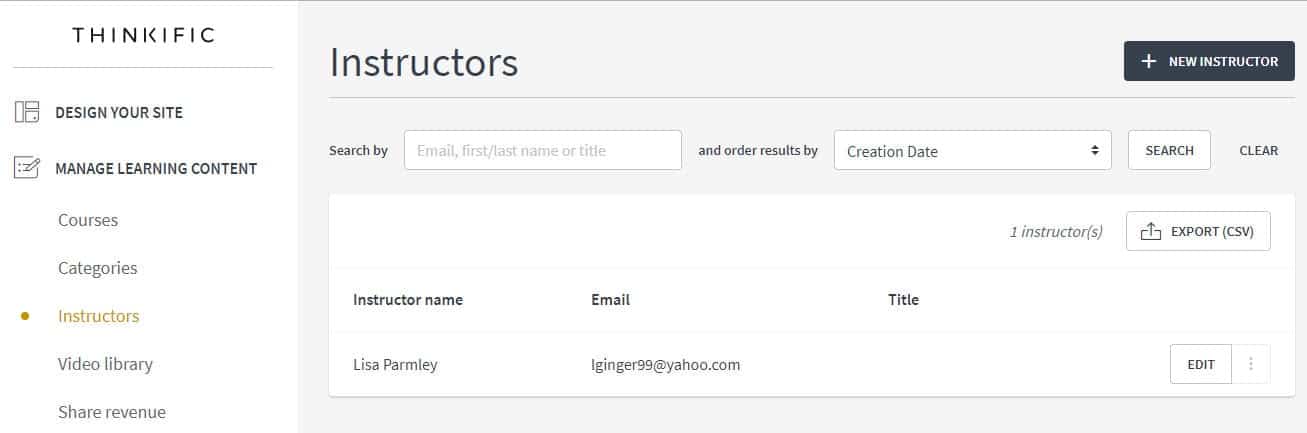
Instructors
This area lists all the instructors associated with your account. Again, if you have a lot of courses then you may have a lot of different instructors and can list them all here. You can click on edit for a specific instructor and you’ll be able to add in a Title, a Bio, and a photo of the instructor.
Video Library
Here’s where you can upload and edit your videos.
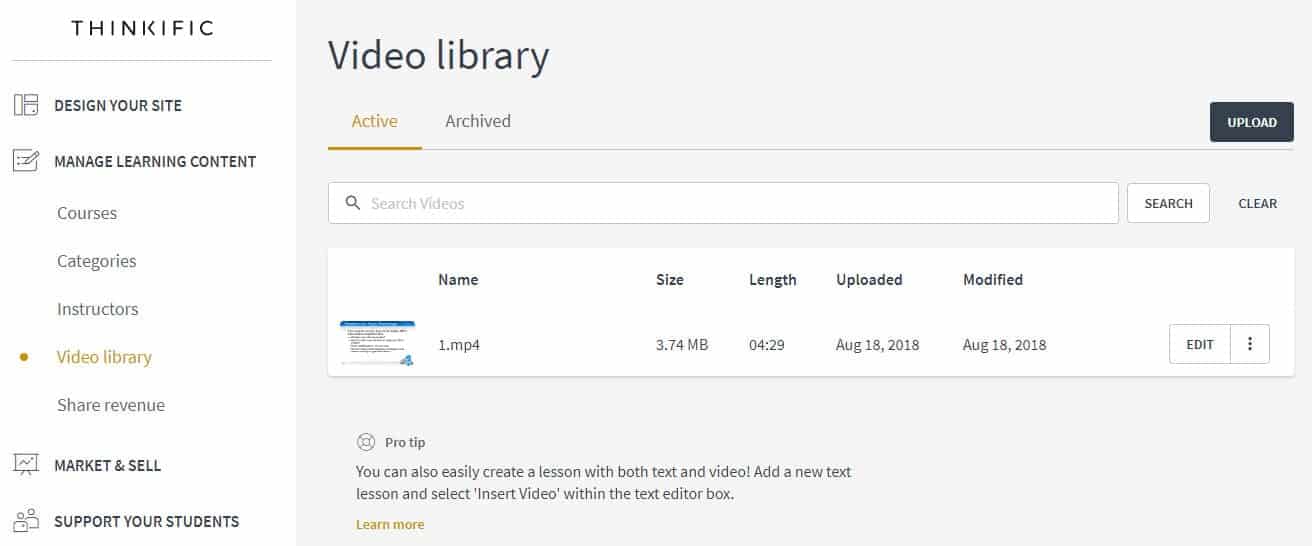
In the screenshot above I clicked on my video and I can see a Video preview, Video thumbnail (you can upload a new video thumbnail), captions, appearance (you can choose to show the play bar or keep the user from fast-forwarding or skipping through your video plus you can also choose a player color), and some analytics.
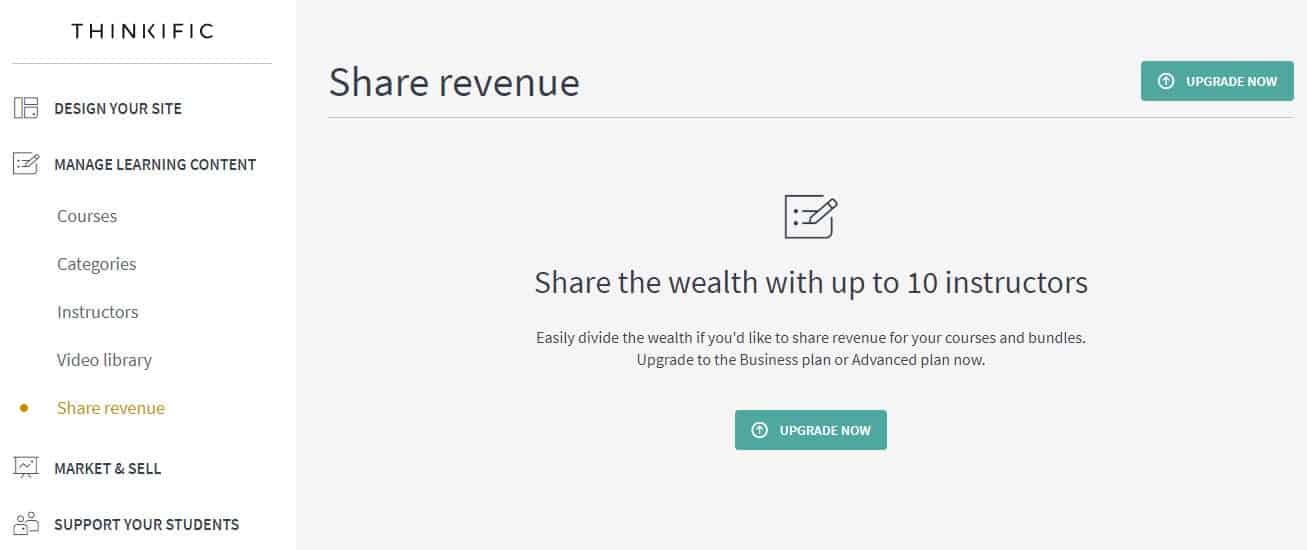
Share revenue
If you’re on an upgraded plan, you can share the revenue for your courses and bundles with up to 10 instructors.
That finished up the walk-through of the Manage Learning Content menu section. Next up is the Market & Sell section.
Market & Sell
The next link back on the main menu is the Market & Sell link. This is where you’ll set up your course for sales.
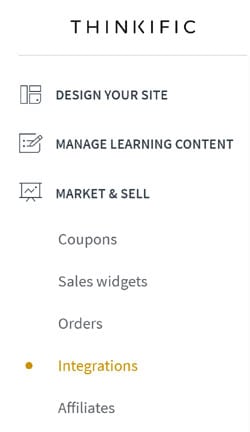
The first link is for coupons.
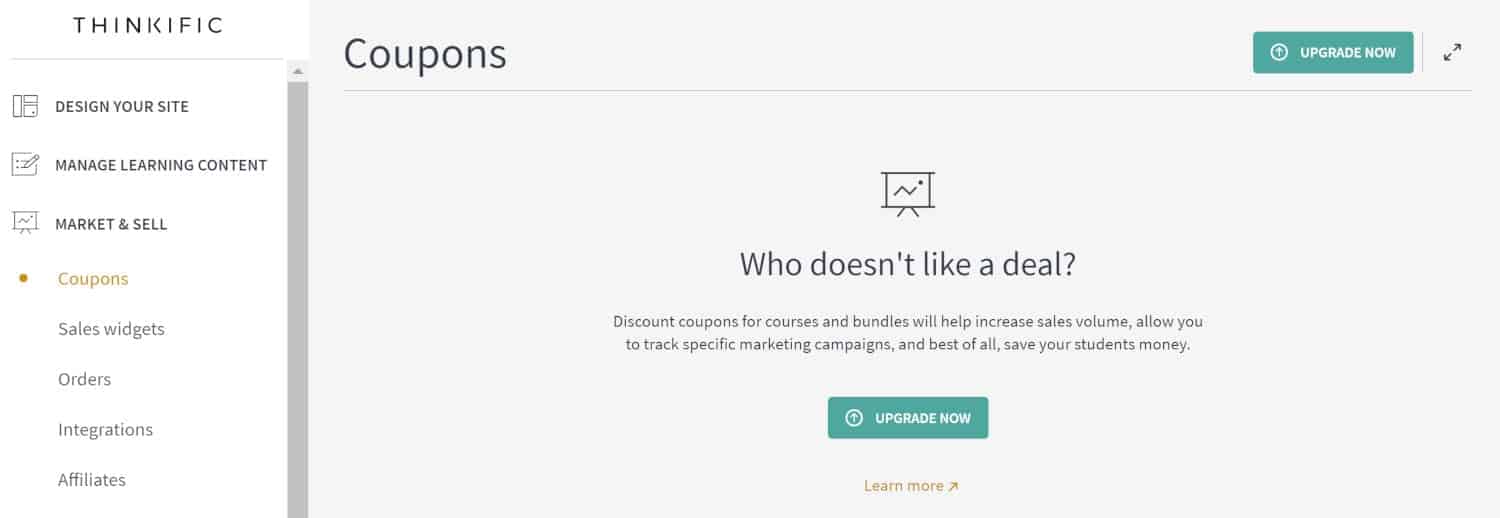
Coupons
You’ll have to upgrade to use coupons. Simply enough, if you enable this, you can offer discount codes for your students so they can enroll in your course for a deal. You can also track specific marketing campaigns from within this section.
Sales widgets
Sales widgets are a neat feature offered by Thinkific. Here you can select your course and the widget style. I’ve selected button only as of the style in the screenshot here:
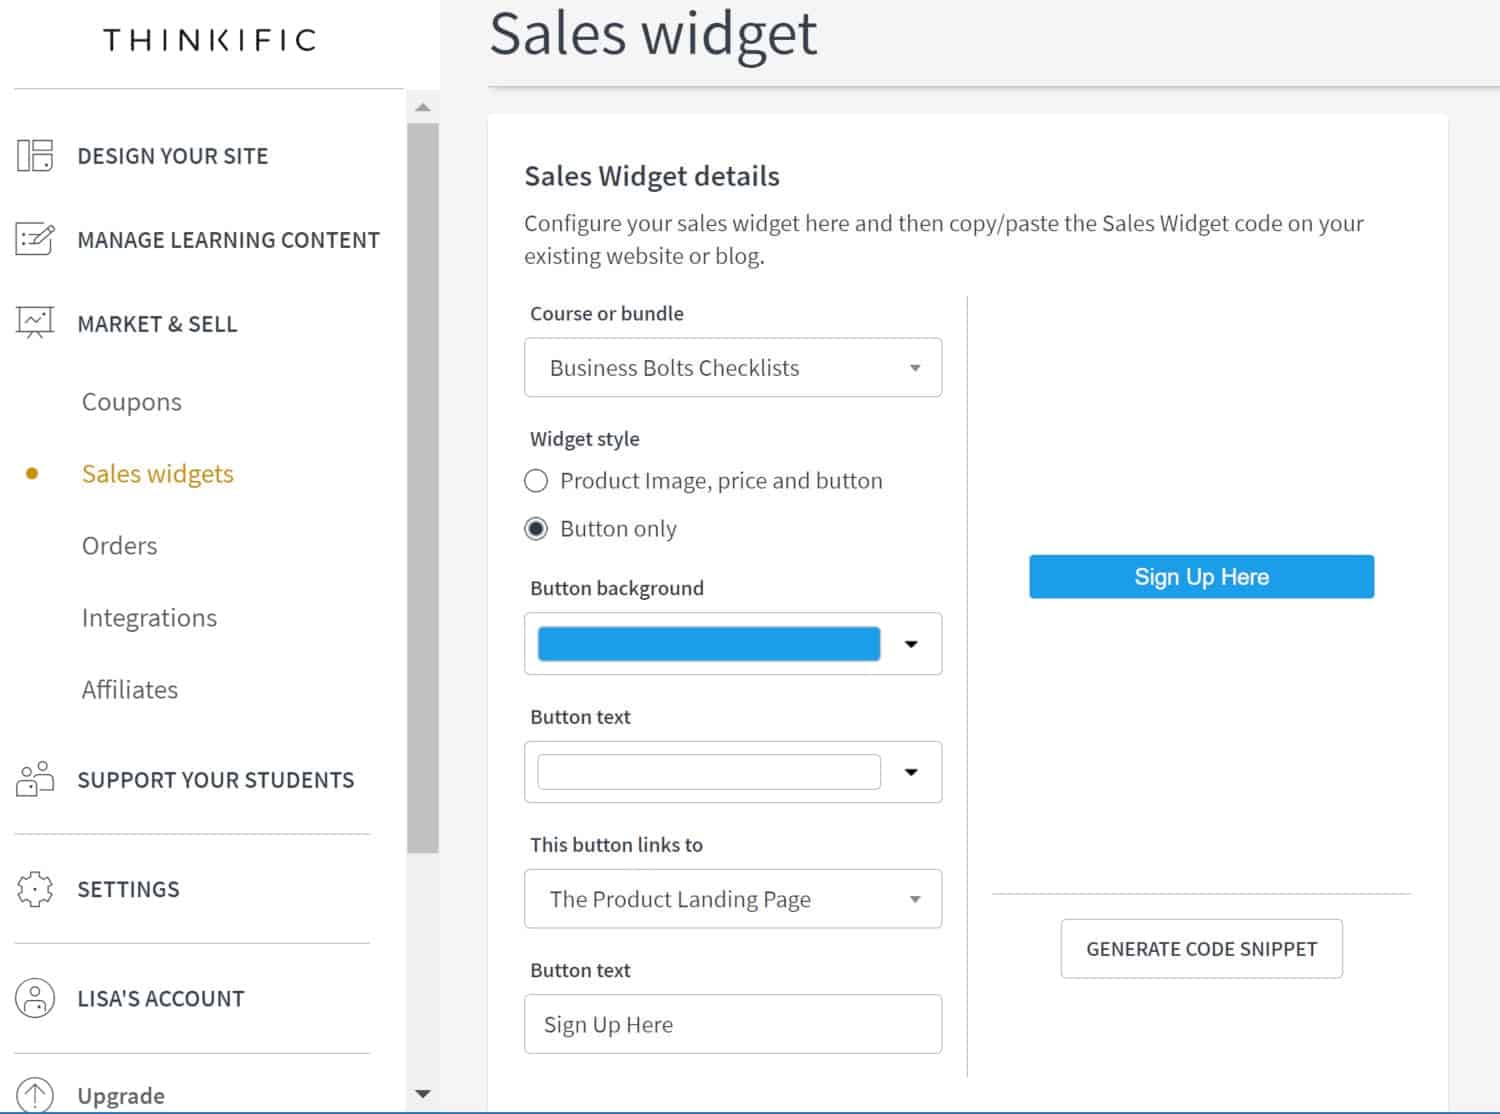
You can choose the background color of the button as well as the text color. Then choose where the button links to and the text of the button.
Once you’ve styled your button and configured it the way you want, click on ‘Generate Code Snippet’. Simply copy that code and paste it wherever you want. This is handy if you have a WordPress site or page and would like to link to your course. You can also do this manually, but the Sales widget feature can help cut down on the time it takes you to create something like this.
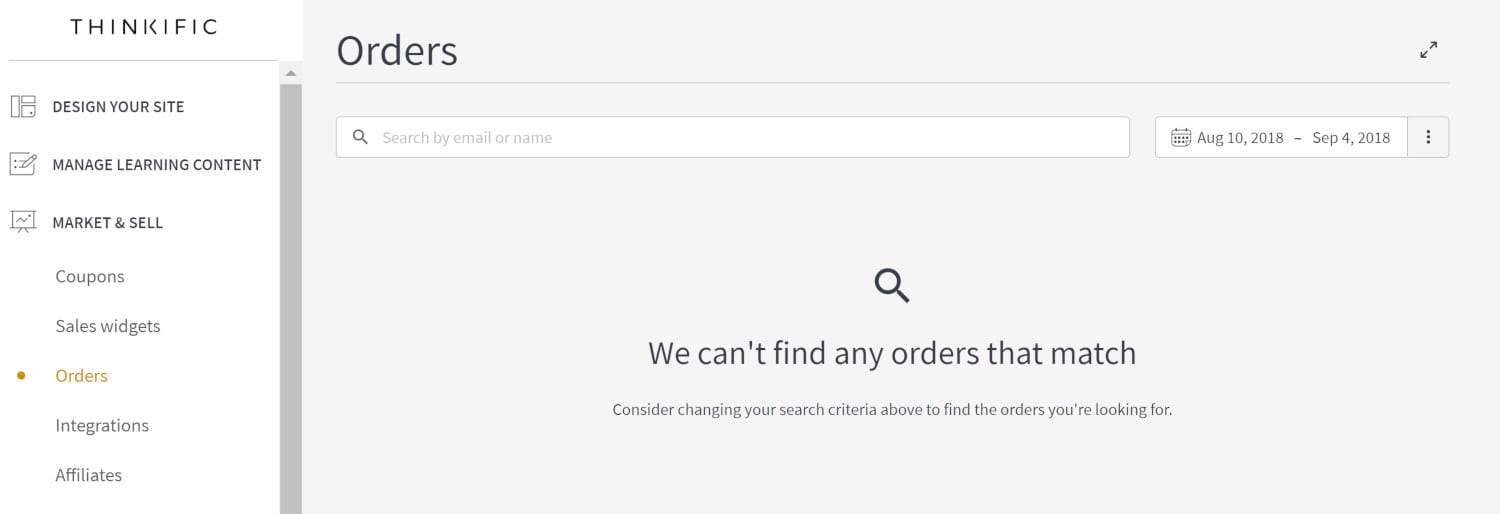
Orders
The Order link comes next. Here is where you can review the orders you had for any given period of time. You can change the date range on the right or search by email or name. My course isn’t live yet, so as you can see, I have no orders!
Integrations
Next comes the integrations. You can choose from the list on the left of the main area to find the right type of integration that you’re looking for. You’ve got E-commerce, Automation tools, Analytics, Email marketing, Student Success, and Growth tools. I chose Email marketing for the screenshot below.
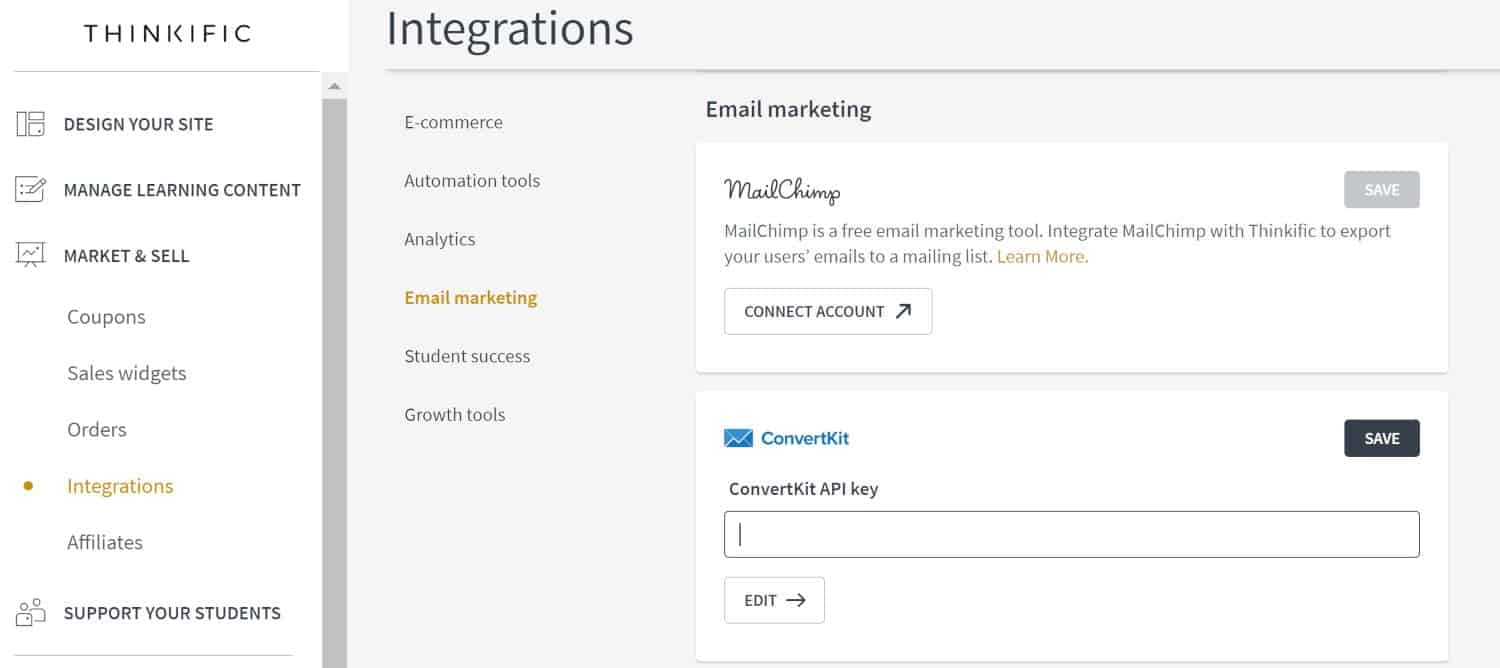
ConvertKit is an email marketing automation tool that I’m using for Business Bolts. I integrated Thinkific with ConvertKit simply by adding in my ConvertKit API key. After testing it out, it worked perfectly. So with one simple copy and paste command, I was able to integrate the two systems.
To further integrate the two systems, I clicked on Edit and there were a few choices. You may have to go through an additional process to get your integration set-up completely.
I’ve not tried out all the integrations, but they do offer many and hopefully, they are all this simple to use.
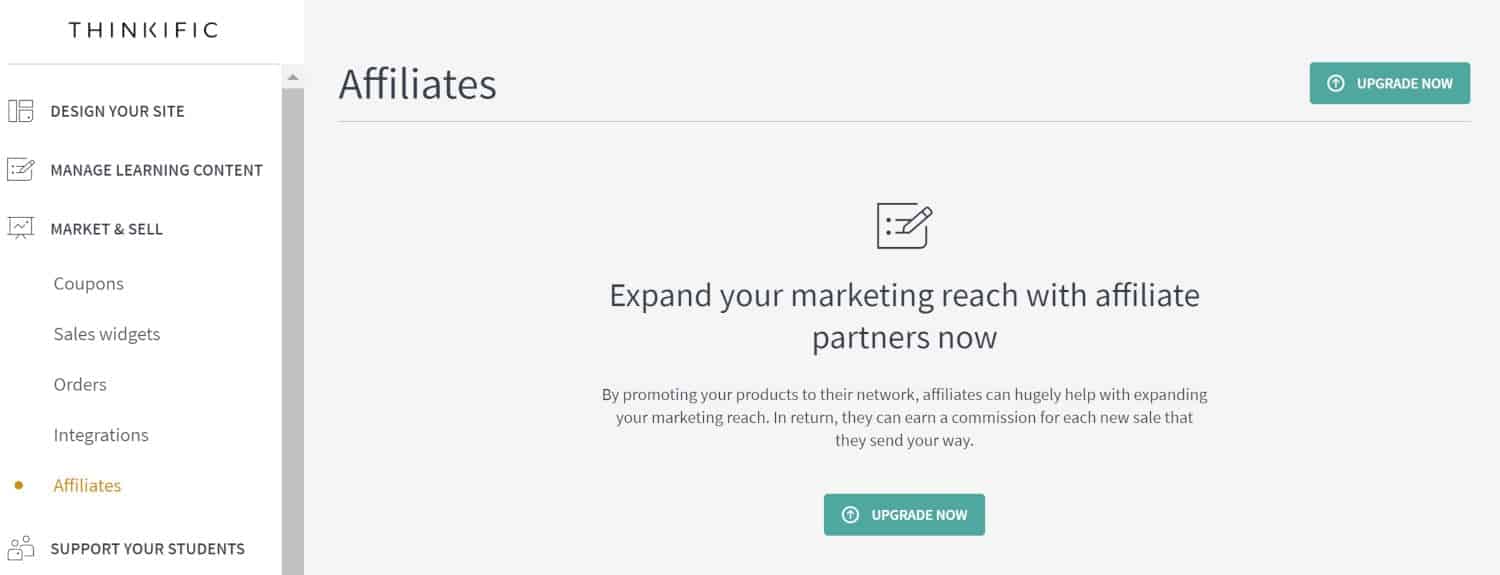
Affiliates
The Affiliates module is not available on the free plan. If you upgrade then you will be able to run an affiliate program where you get affiliates and offer them a commission in exchange for promoting your course. You can keep track of their commissions and payouts from this area of the admin.
That’s all the options within the Market & Sell link. The next link is ‘Support Your Students’.
[elementor-template id=”22359″]
Support Your Students

You can choose from the many links under ‘Support Your Students’ to help manage students enrolled in your courses. ‘Users’ is the first link in this section.
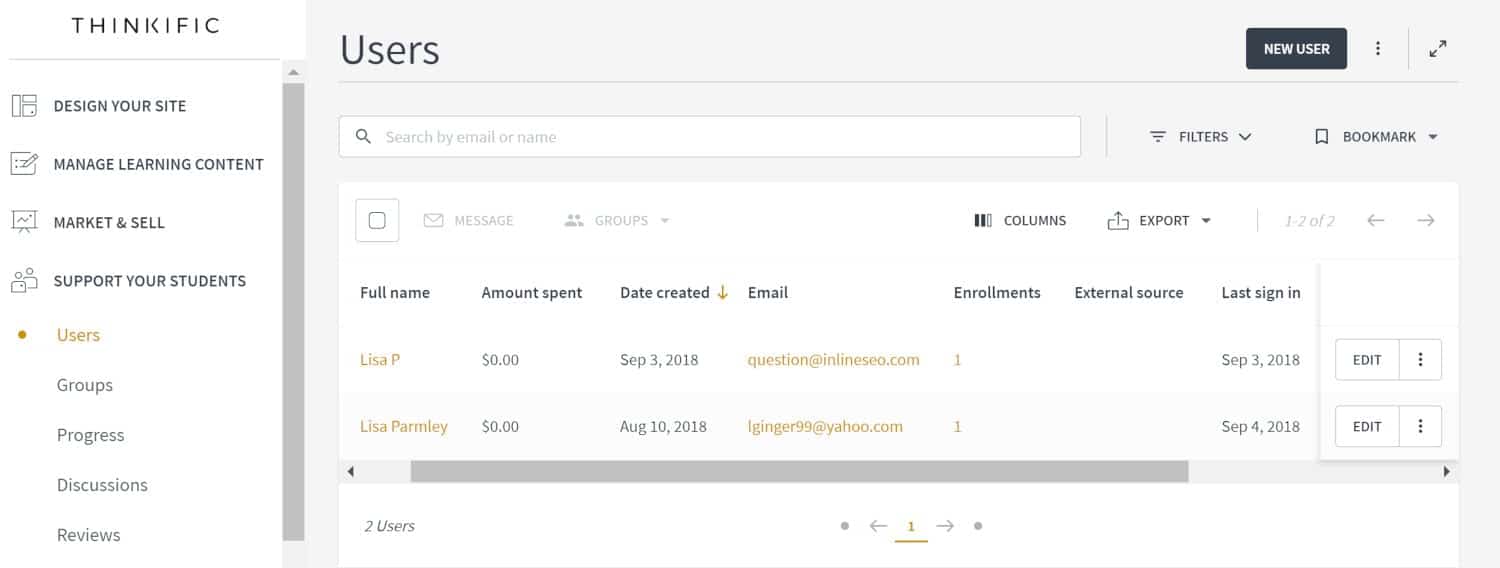
Users
This page displays a list of the users in your course. You can see details like their name, the amount they spent, the date they enrolled, and their email address as well as a few other useful pieces of information.
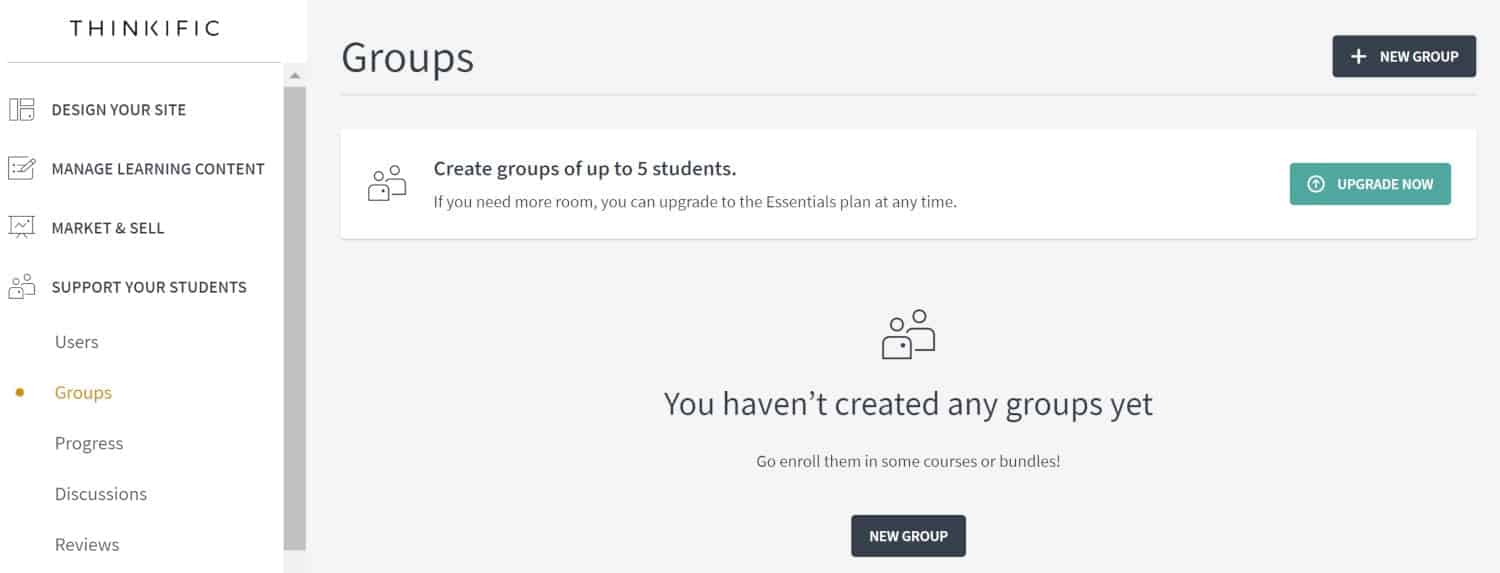
Groups
This Groups page allows you to create a group of up to 5 students. It is only available on upgraded plans. This is useful if you have a study group or mastermind of a handful of students outside the full course list.
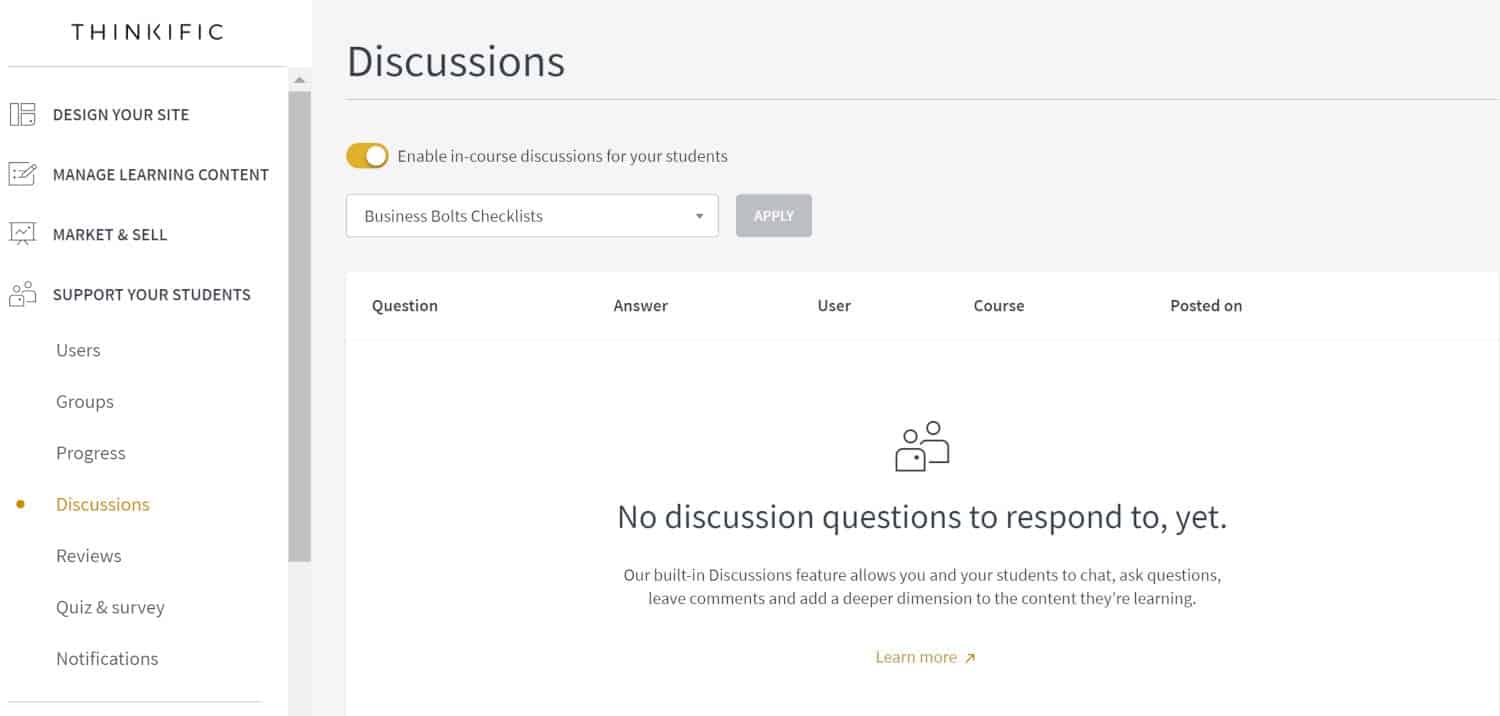
Discussions
Here you can monitor the discussions taking place within your courses (if you’re allowing discussions). You can see what people are posting, reply, and manage the posts.
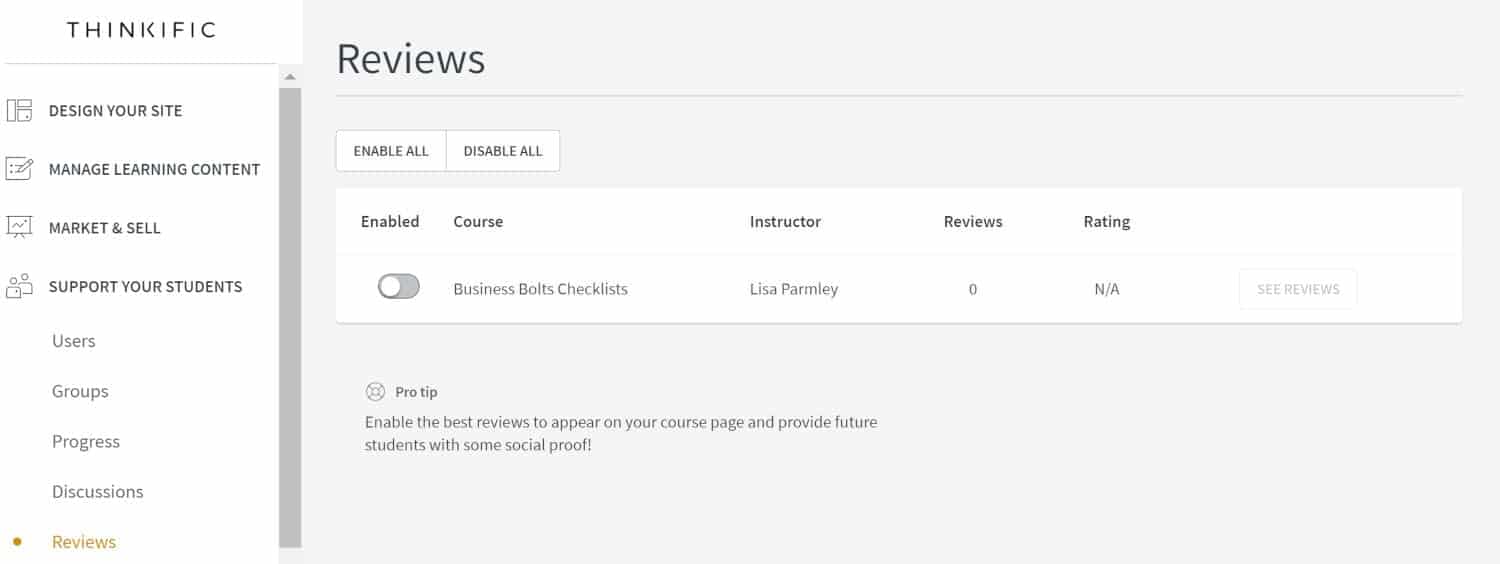
Reviews
Thinkific offers students a way to review your course. You can see those reviews and even enable them to show up on your sales page if you’d like.
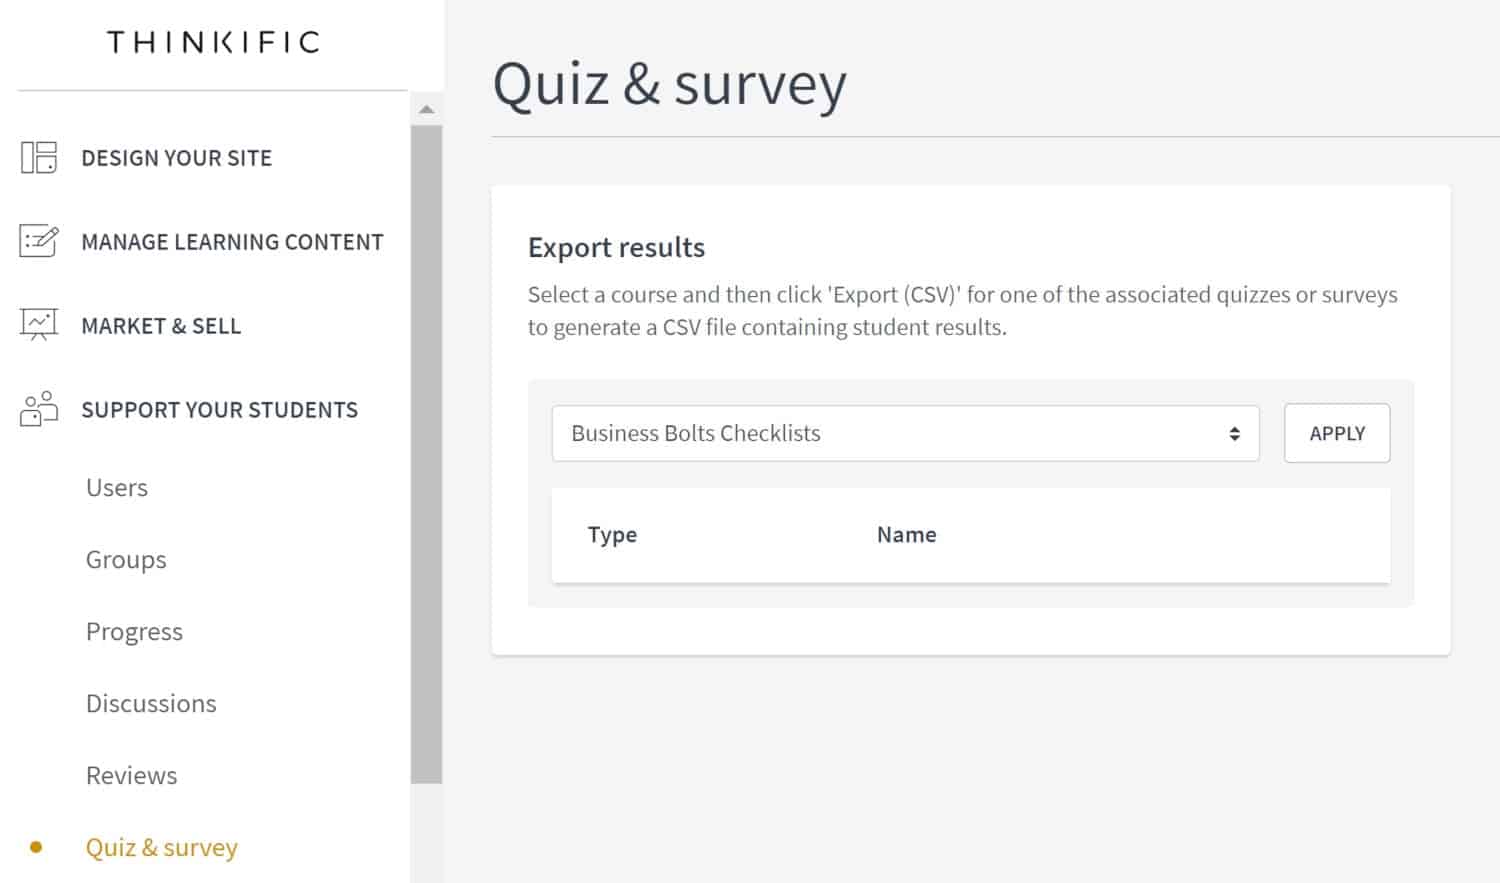
Quiz & Survey
Under the quiz & survey link you’ll be able to see student results. That way you can make adjustments to your quizzes or check that specific students are passing them. If you’ve got a survey in your course then you can view the results of that survey here.
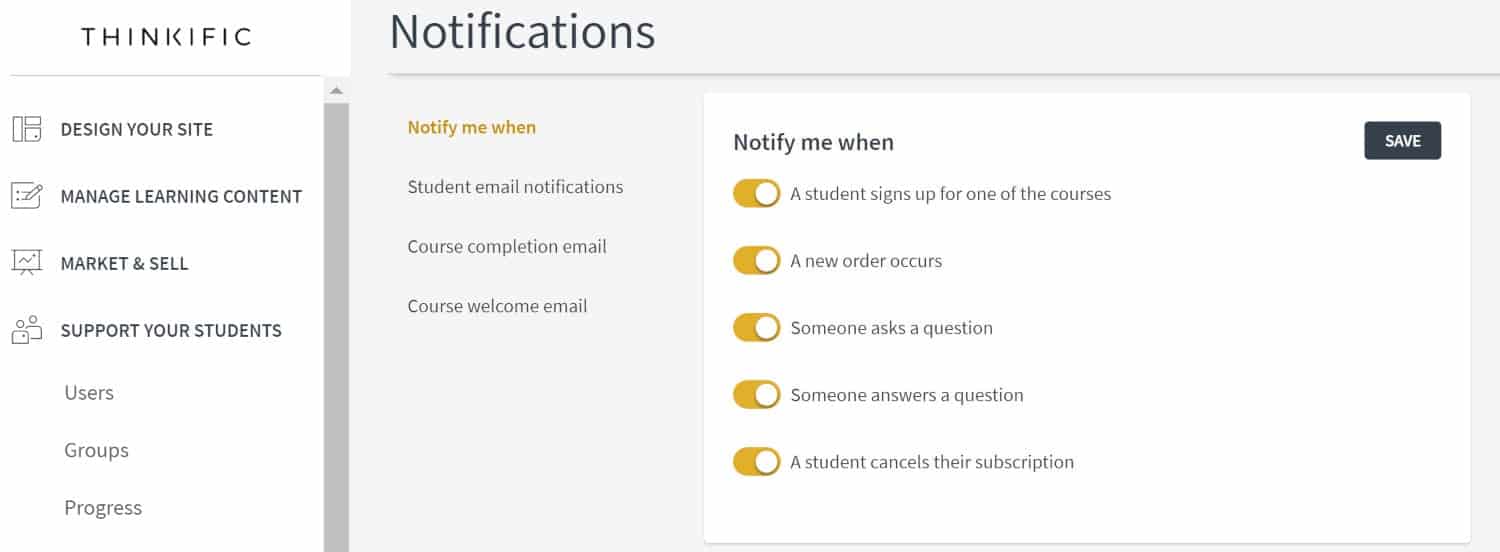
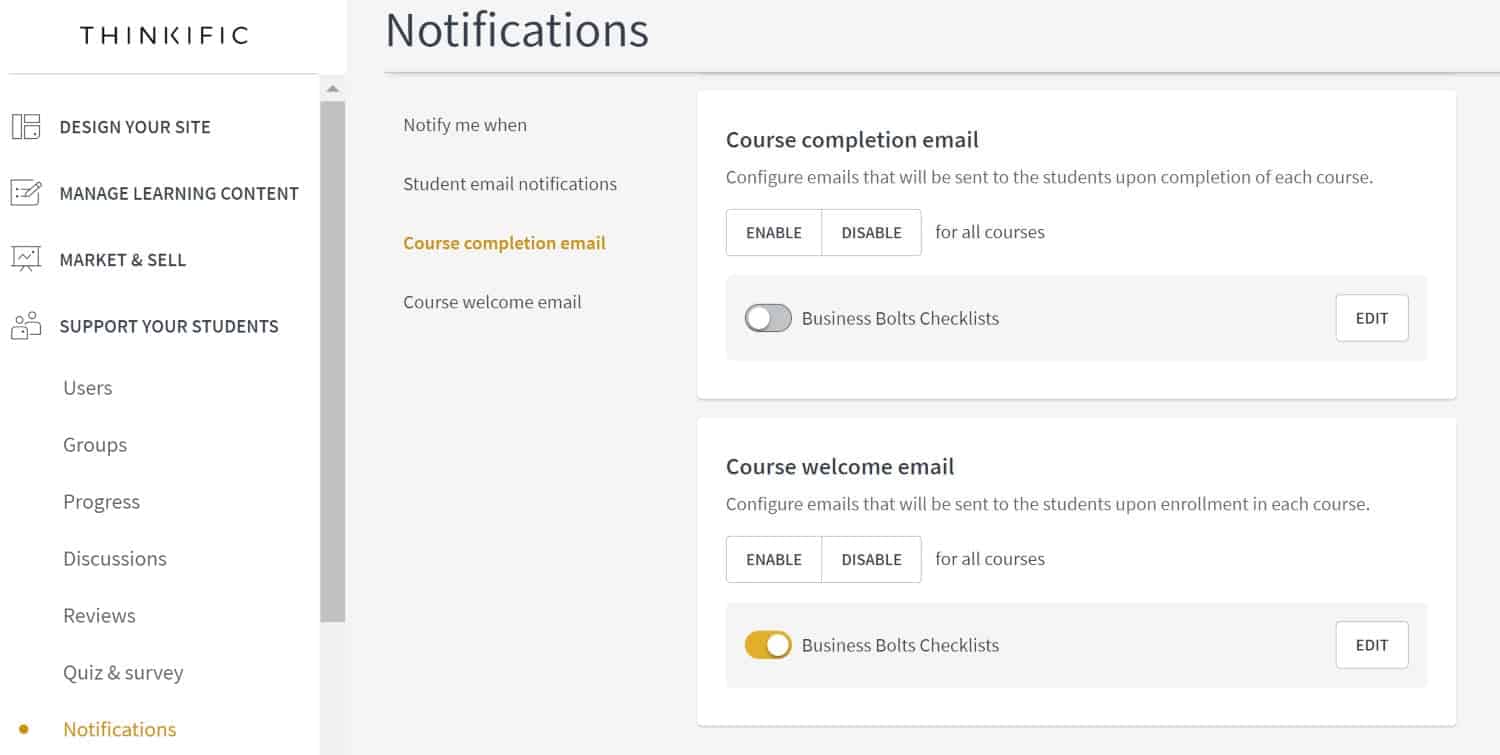
Notifications
The notifications page allows you to toggle on or off when you or your students are being notified. There are a few boxes here that I’ll go through with you.
Notify Me When
This box allows you to tick off when you (the course owner) want to be notified. You can stick to just orders and new sign-ups or get notified every time someone starts or replies to a discussion within the course.
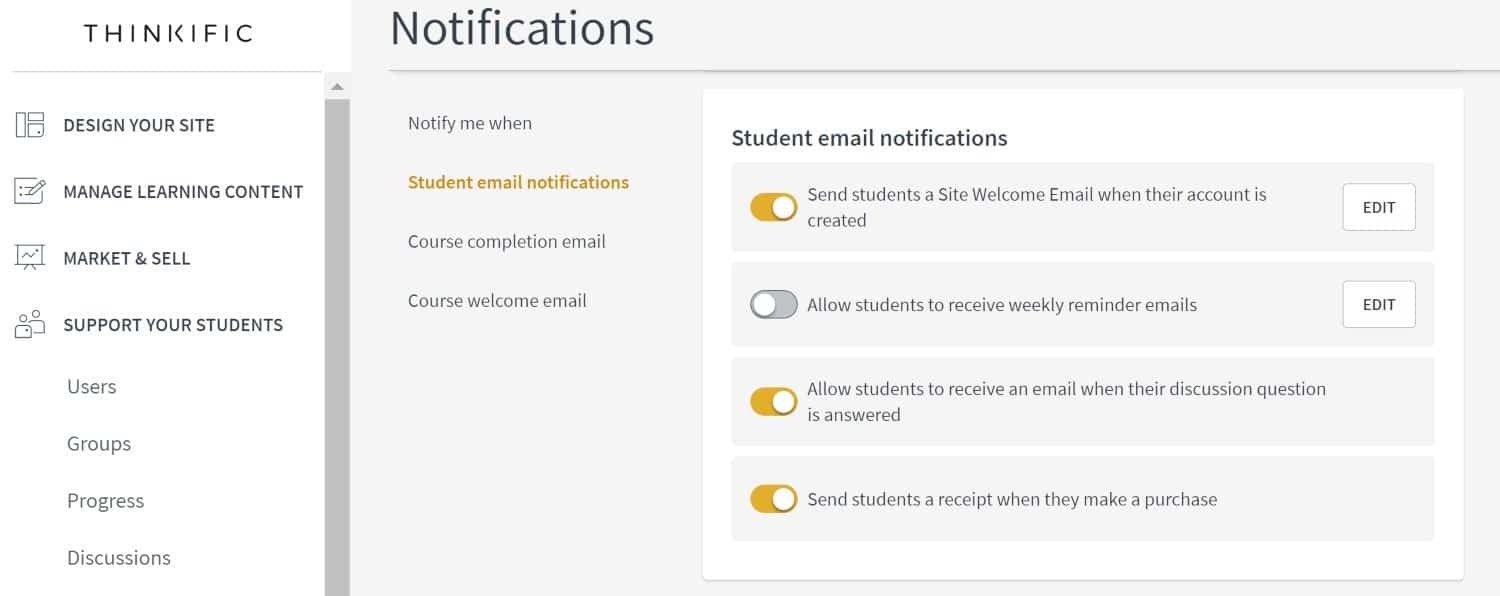
Student Email Notifications
Here you can toggle on and off when you want your students to be notified.
Thinkific has a feature where students can receive weekly reminder emails. As you can see, I’ve toggled it off for my free course, but this could be a really great feature for certain courses where you want your students to be reminded of their progress for each week.
Course Completion Email
Depending on the type of online course you’re offering, you may want your students to get a course completion email. I’ve got it disabled for mine since I’m offering a collection of checklists and not an actual course, but it may make sense for you. It’s easy to toggle on or off.
There’s also a course welcome email that can be sent out. You’ll want to sign-up as a student and see which emails come through. You may not need all the default emails to be sent out to your students. It just depends on whether or not there’s new and relevant information within each of them.
The Notifications link was the last link under ‘Support Your Students’.
Next comes a line break and another link, which is the ‘Settings’ link. Let’s take a look at what you can do under ‘Settings’.
Settings
The ‘Settings’ link is located under the first block on the main Thinkific menu. We’ve been through a lot of the admin already, but there’s still more in the Settings area.
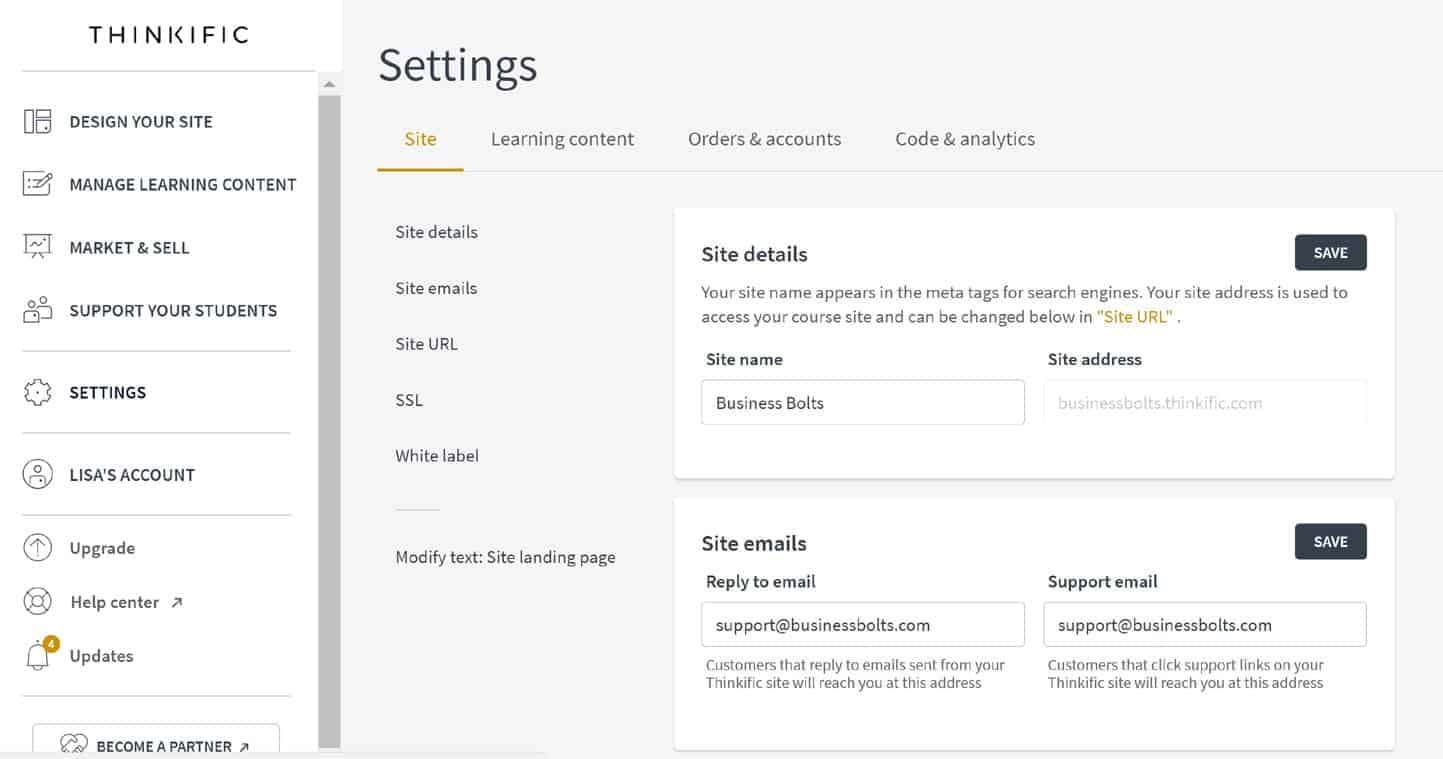
Clicking on ‘Settings’ will take you to the following page within the Thinkific admin:
Site
This is where the ‘Site’ tab takes you. As you can see, there’s a list of links on the left next to the main menu here. The first one that comes up is the ‘Site Details’ link.
Site Details
As shown in the screenshot above, you can type in your site details. I’m on the free plan here so my Site address is businessbolts.thinkific.com. You can change this to your own URL if you upgrade.
Site Emails
Site emails allow you to configure your email address. You can input two different emails. One where customers who reply to your Thinkific generated emails will go and the other is where customers who click on support links on your site will go. I used the same email address for both, but you can use different addresses for each if it makes more sense for you.
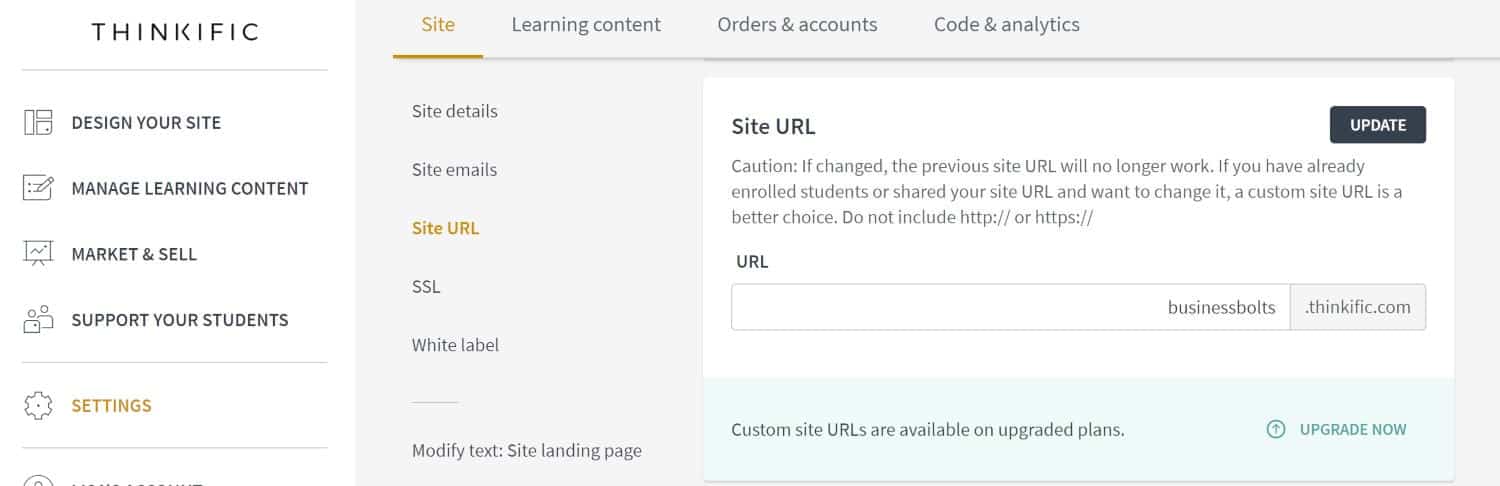
Site URL
The Site URL box is where you can update your Thinkific URL. You’ll need an upgraded plan for this.
SSL
SSL is very important when hosting web pages. You’ll want to make sure you turn the SSL certificate on.
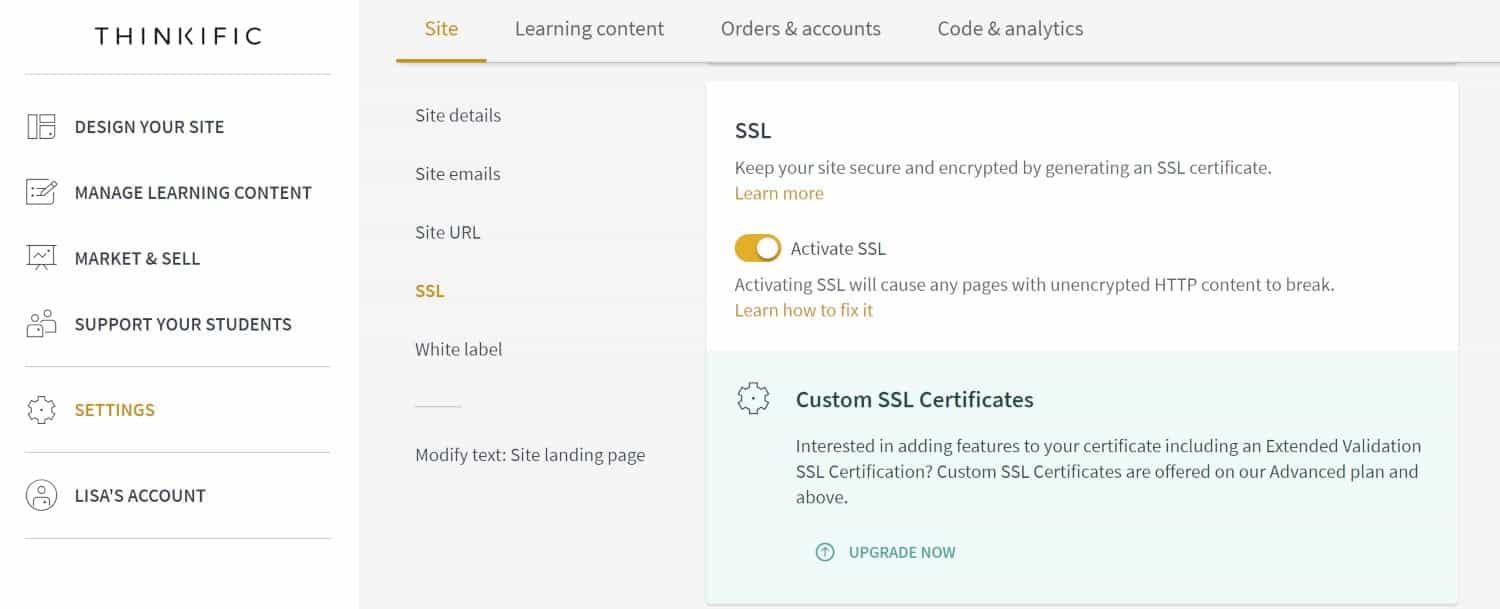
White label
You can hide the ‘Powered by Thinkific’ text on your site and course pages by upgrading and then marking off the box shown below.
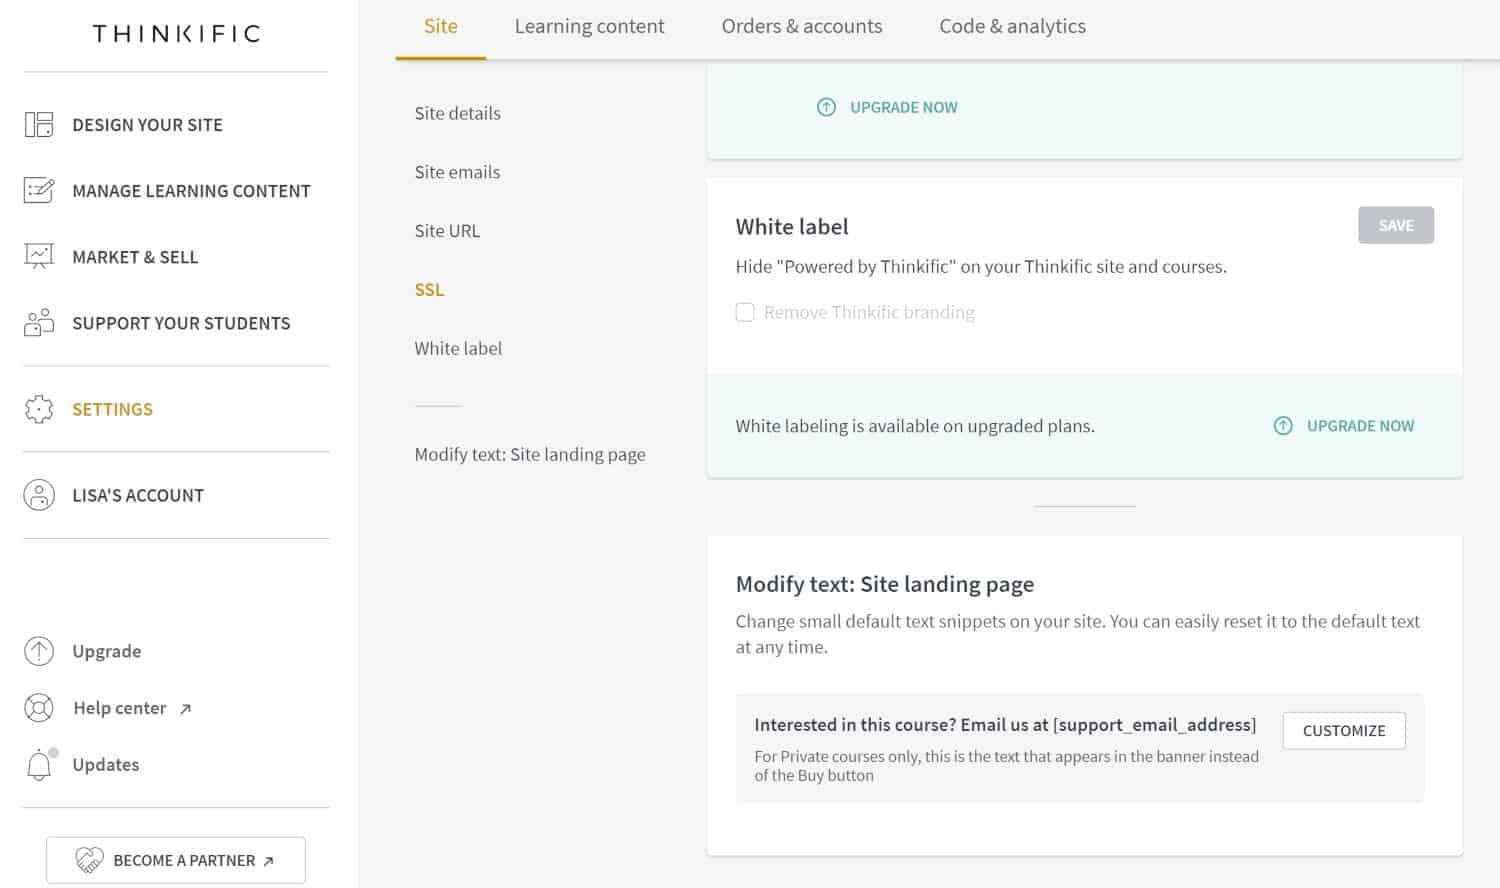
Modify Text: Site Landing Page
The screenshot above also shows where you can customize text snippets on your site landing page by clicking on the Customize button.
Next comes the Learning content tab.
Learning Content
On the Learning content page, you’ll see a few more links in between the main area and the main menu. The course player styles link is the first link.
Course Player Styles
The course player style pages allow you to change the color and the font of the course player sidebar. This allows you to customize your course a little.
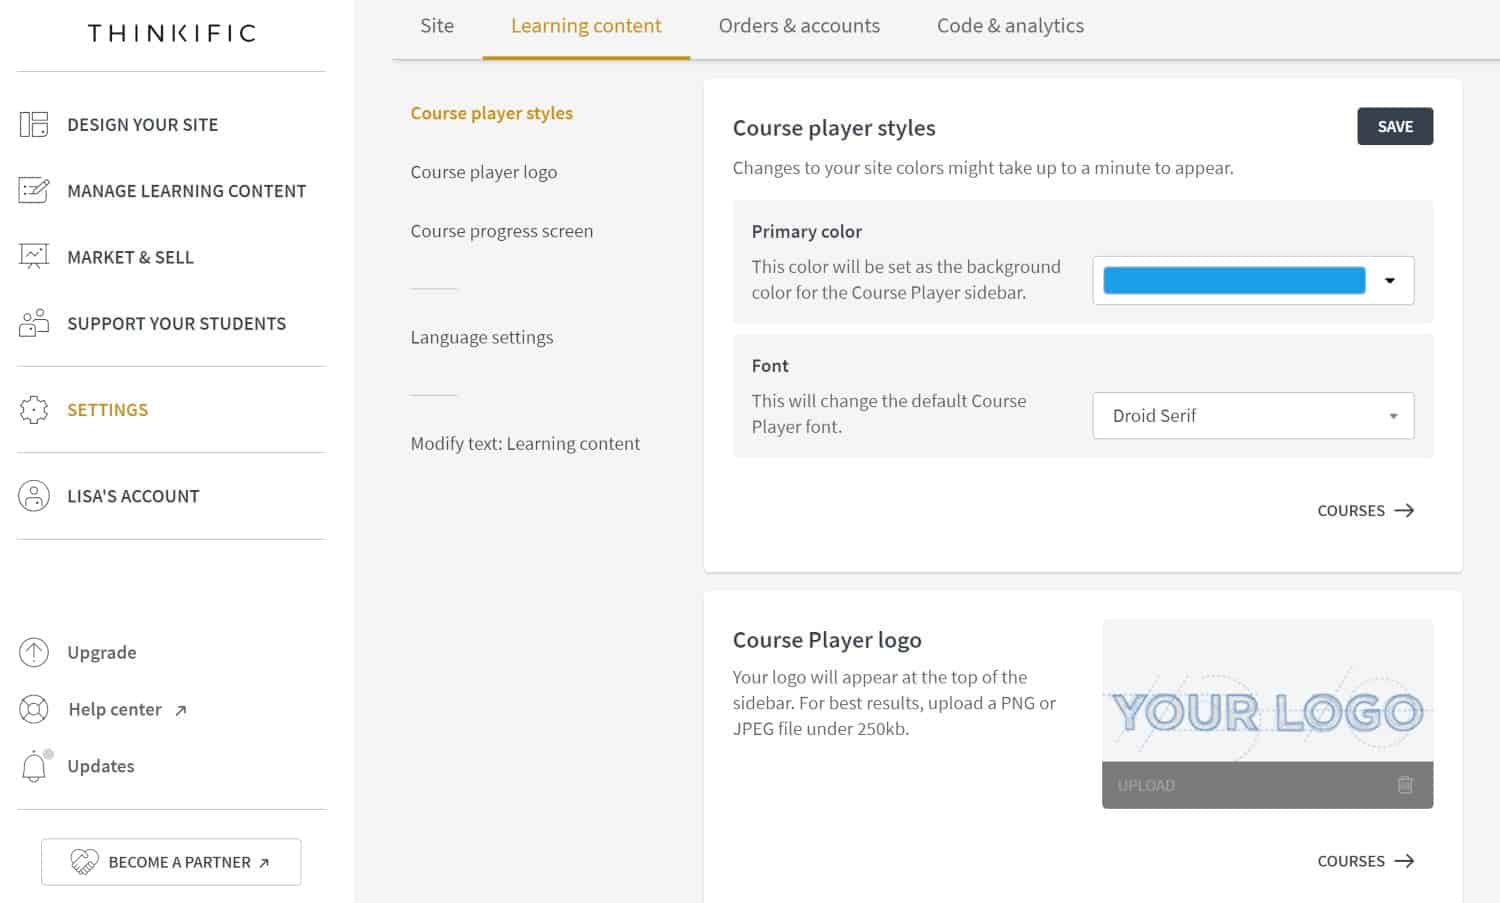
Course Player Logo
In the screenshot above, you can add your Course player logo. This is only available on upgraded plans.
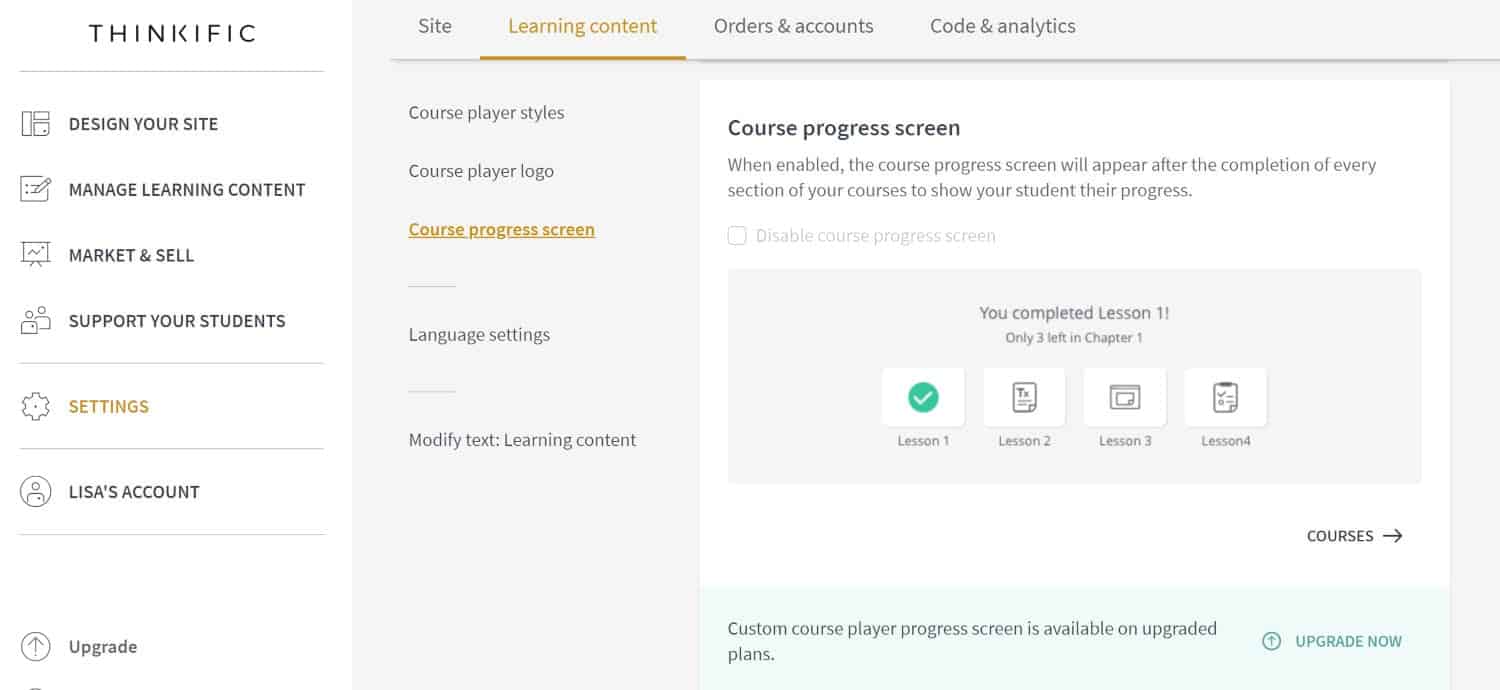
Course Progress Screen
The course progress screen allows you to show your students the progress they’ve made as they work through your course. You can choose to disable it if it makes more sense for your course, but it seems like a nice feature!
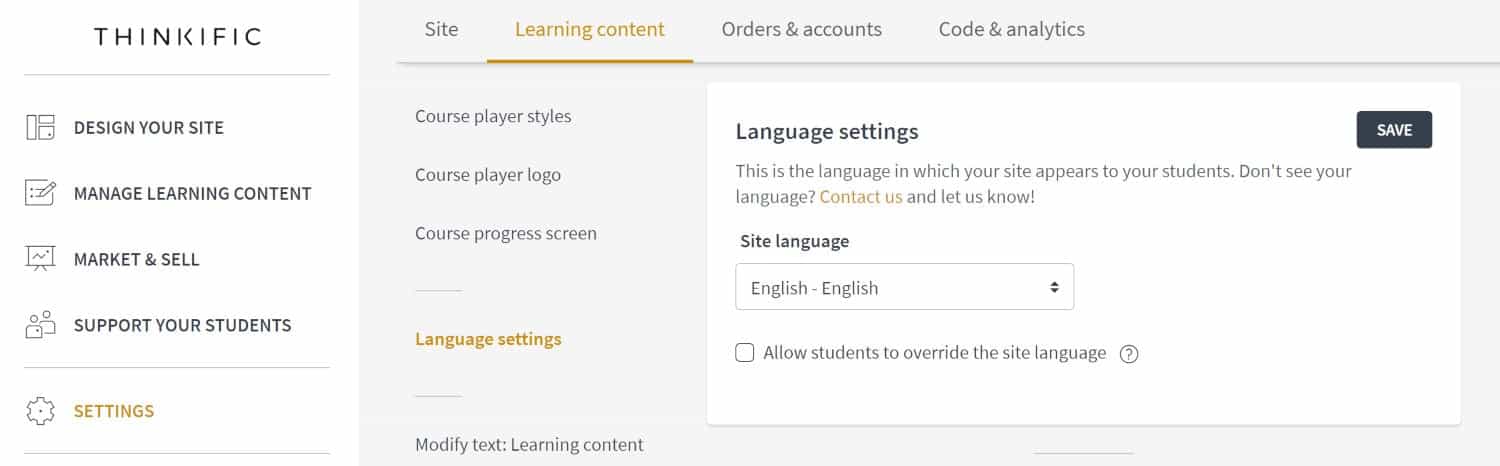
Language Settings
Under language settings you can select which language your site is in. This may help with special characters.
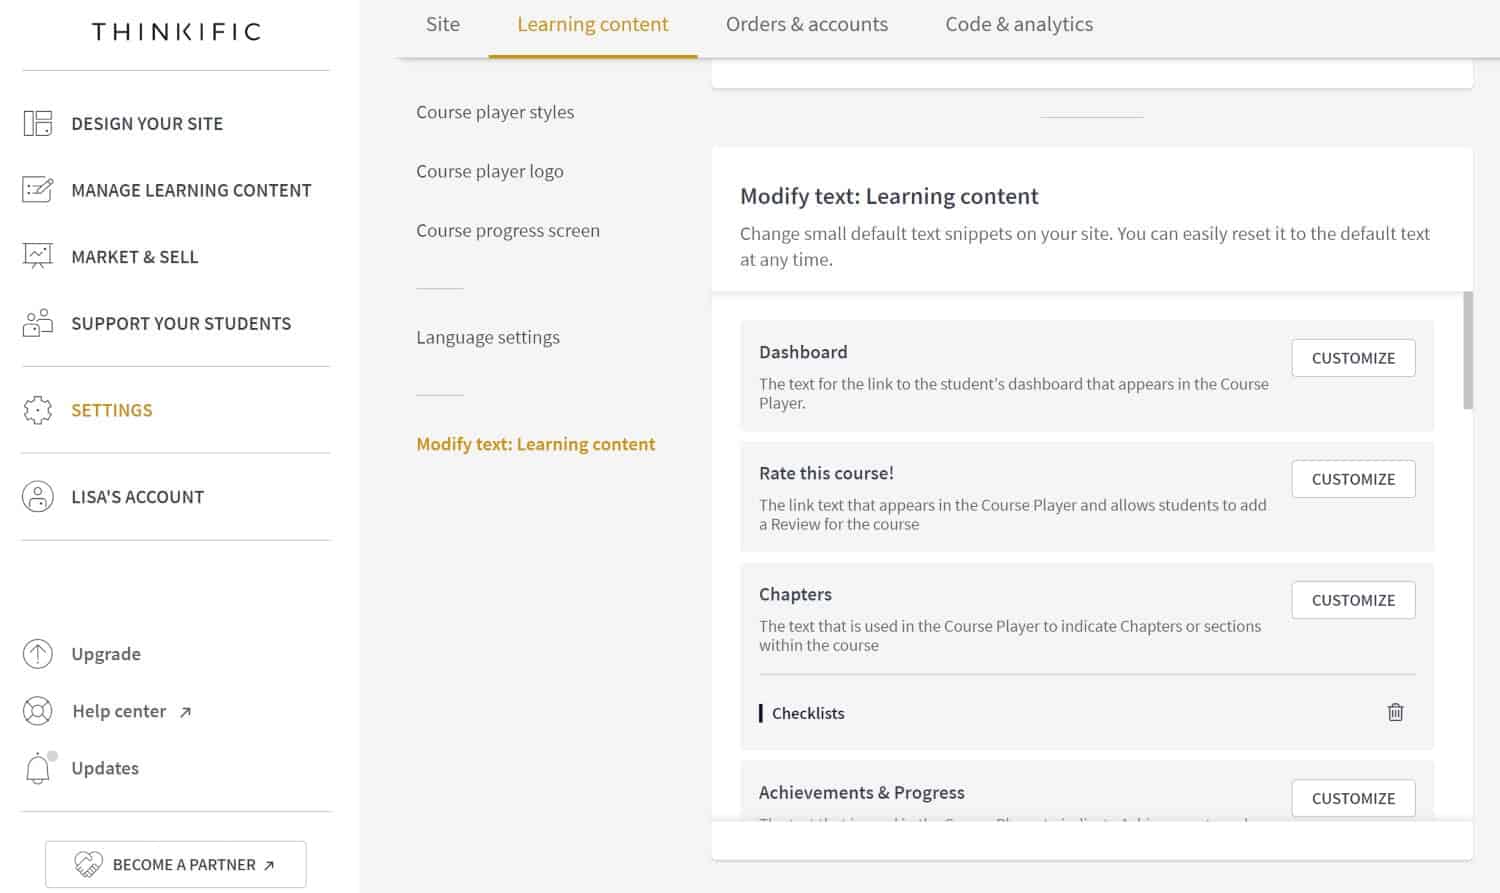
Modify Text: Learning Content
In this box, you can change small default text snippets on your site. There are many more text snippets you can change over what is shown here. You can reset any of these back to the default text if you find you’d rather stick with what Thinkific recommends.
That’s the last link under Learning content. The next tab is the order & accounts tab.
Order & Accounts
Under this tab, you’ll see a few links between the main area of the page and the main navigation menu. We’ll go through these here.
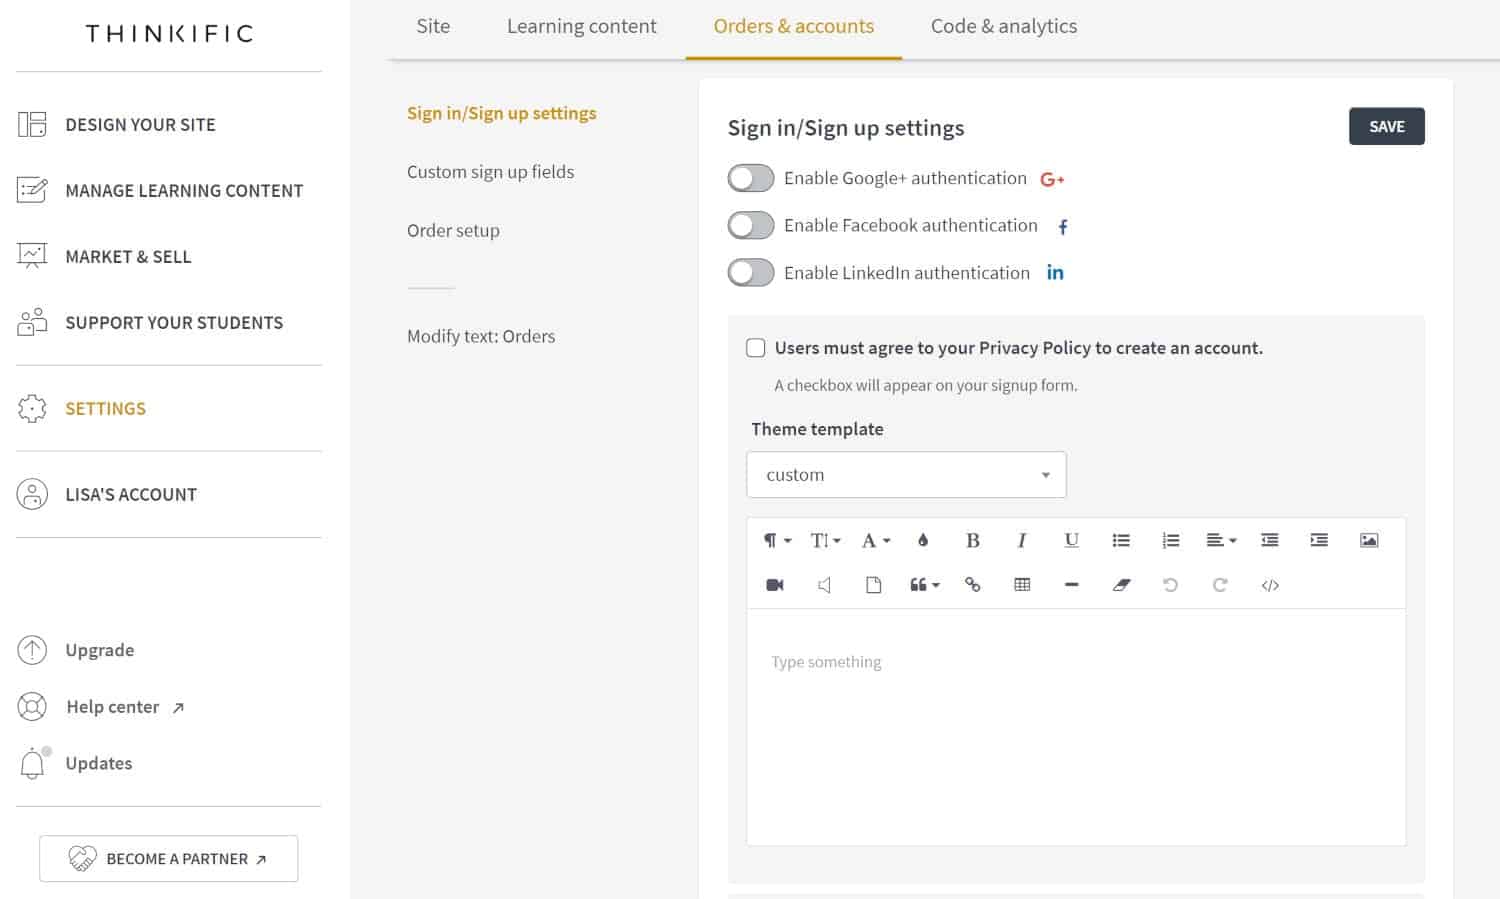
Sign in/Sign up Settings
Here you can allow your students to sign in through Google+, Facebook, or LinkedIn.
You can also toggle on a checkbox where users will need to agree to your Privacy Policy in order to create their account.
Custom Sign-Up Fields
If you’d like to collect more information on your sign-up page than what Thinkific offers on the default page, you can add extra fields here. For instance, you may want to collect a phone number or a box where you’re students enter where they found out about your business.
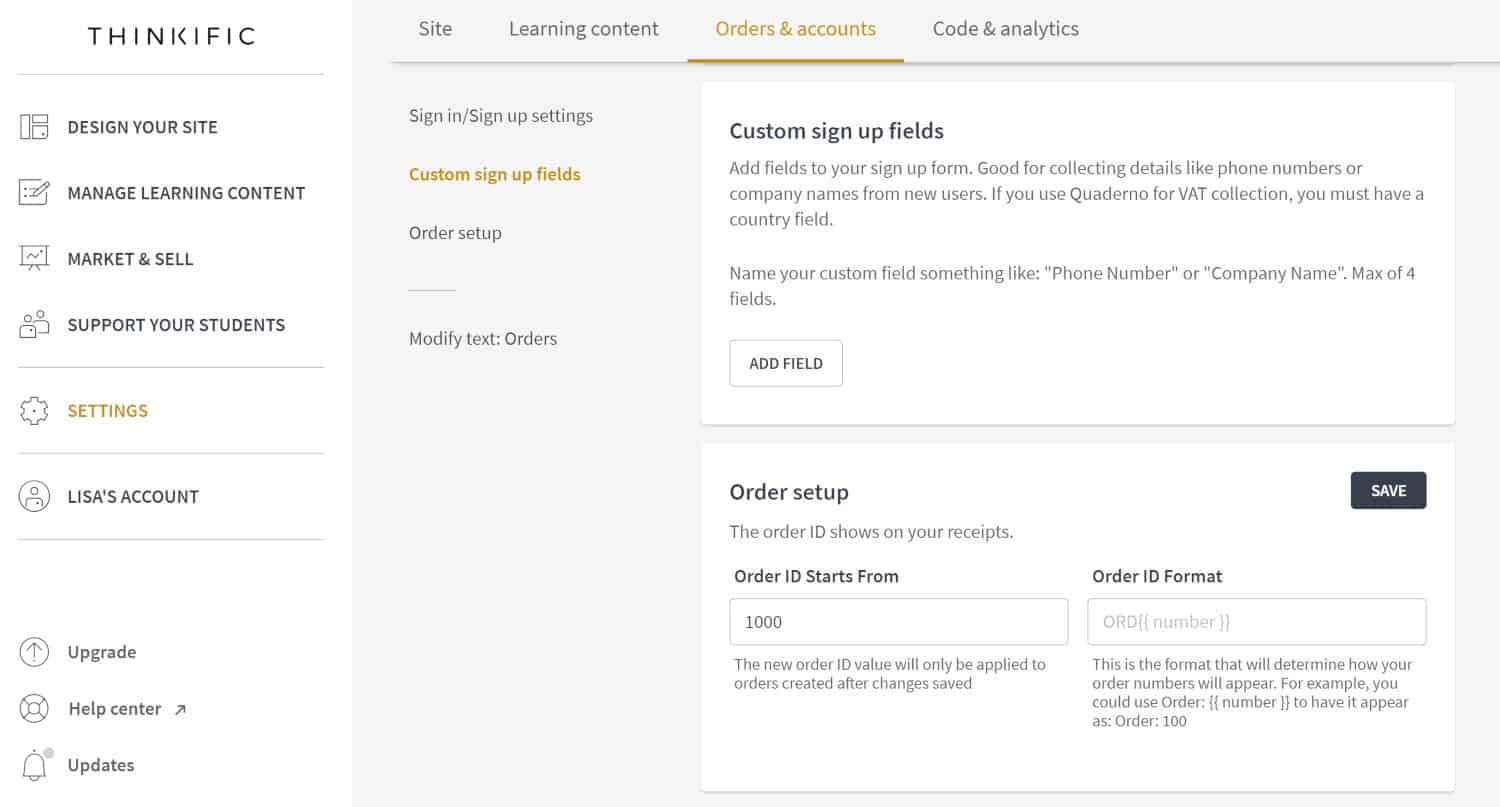
Order Setup
Order setup is shown in the screenshot above. In this box, you can customize the number your Order ID starts from if you need to.
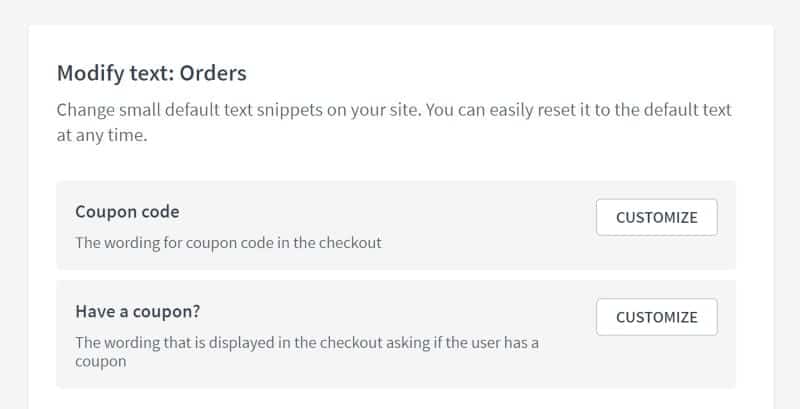
Modify Text: Orders
Under this box, you can change more default text snippets like the wording for the coupon code in the checkout.
Code & analytics is the last tab on the Settings menu.
Code & Analytics
This last tab allows you to add code and analytics for tracking. There are several additional links within this tab which we’ll go through.
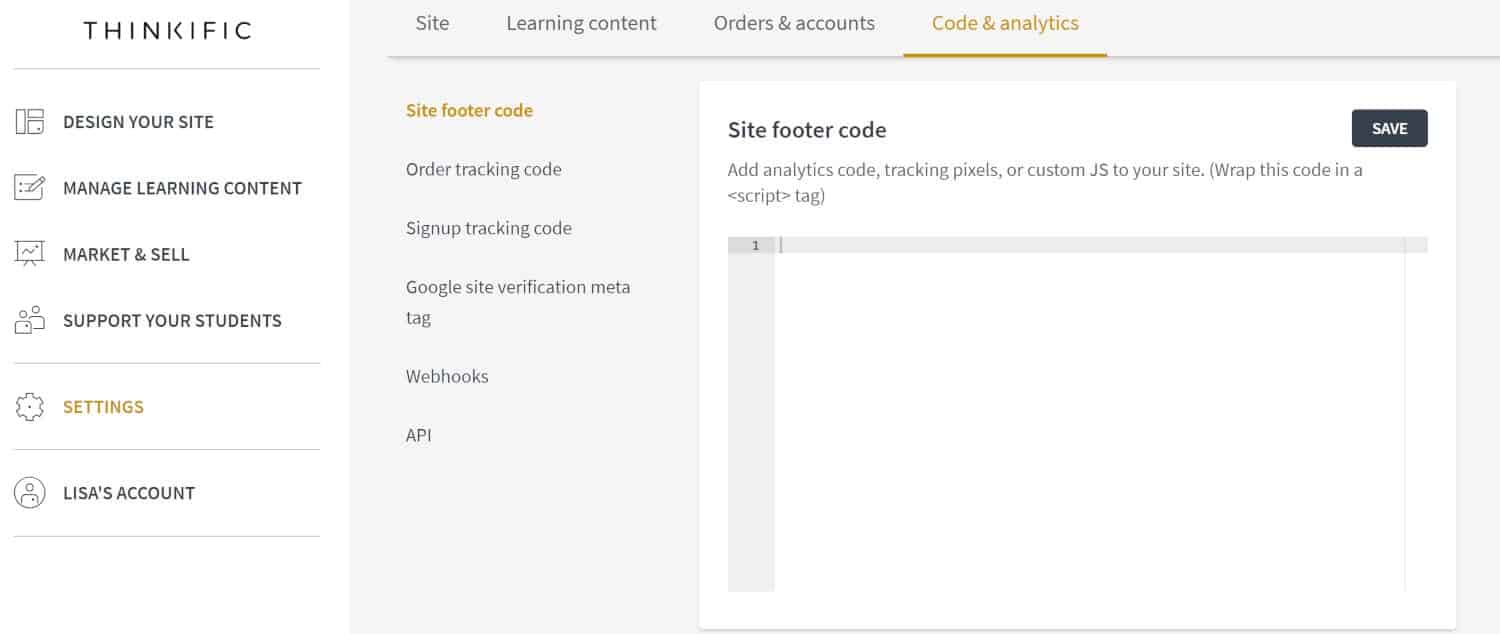
Site Footer Code
Here at the site footer code box, you can add in analytics code, tracking pixels, or custom JS to your site from a third-party provider.
Order Tracking Code
The next link is for adding an order tracking code so that you can track your orders. This is great for Google Adwords tracking.
![]()
Signup Tracking Code
The signup tracking code box allows you to put in tracking code when a user successfully signs up to one of your courses. You can use HTML or JavaScript in this box.
![]()
Google Site Verification Meta Tag
This box allows you to verify your site with Google Webmaster Tools.
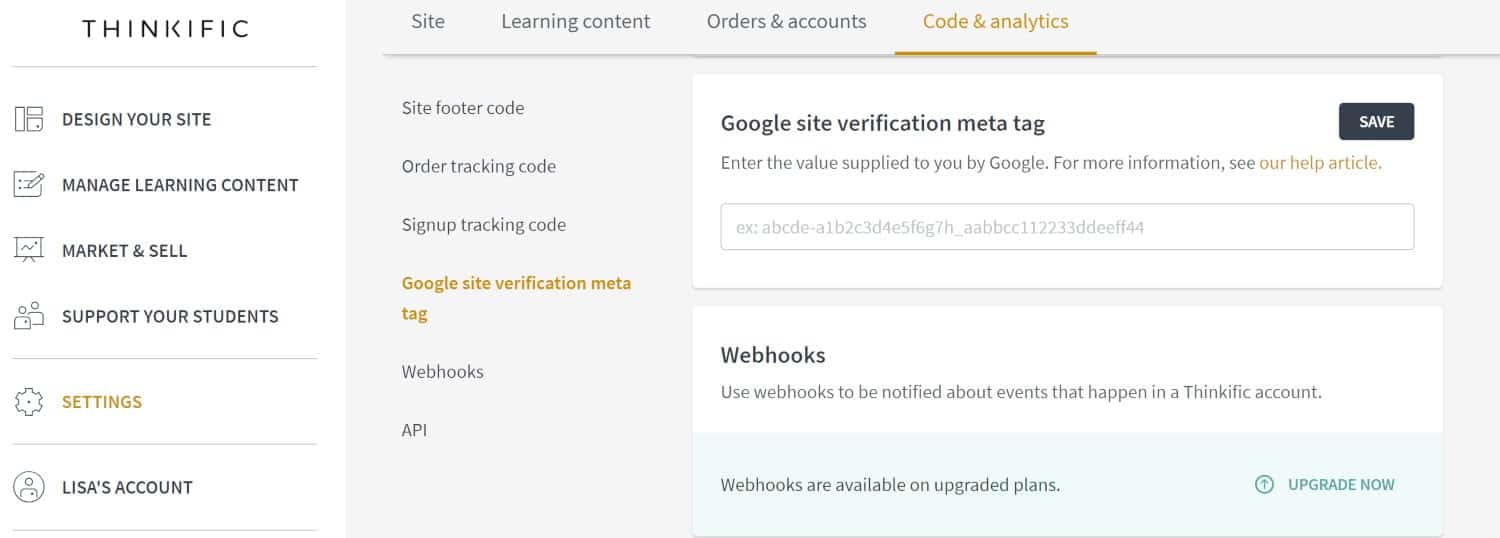
Webhooks
Webhooks are shown in the screenshot above as well. The use of webhooks is available on upgraded plans.
API
The last link shows you the API box. This box just provides you with your Thinkific API key. I don’t show the screenshot as my API key can be used for integrating with other applications. You can also reset your API key from this box.
That was it for the ‘Settings’ menu. Next up comes Account.
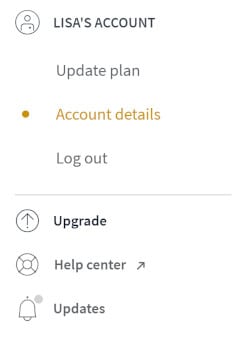
Your Account
Your name will show up here where it says ‘Lisa’s Account’.
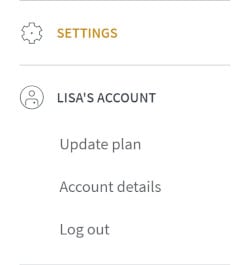
There are only a few links here, but we’ll go through them.
Update Plan
You can choose to click on the Update plan to go to a page where you can manage your subscription.
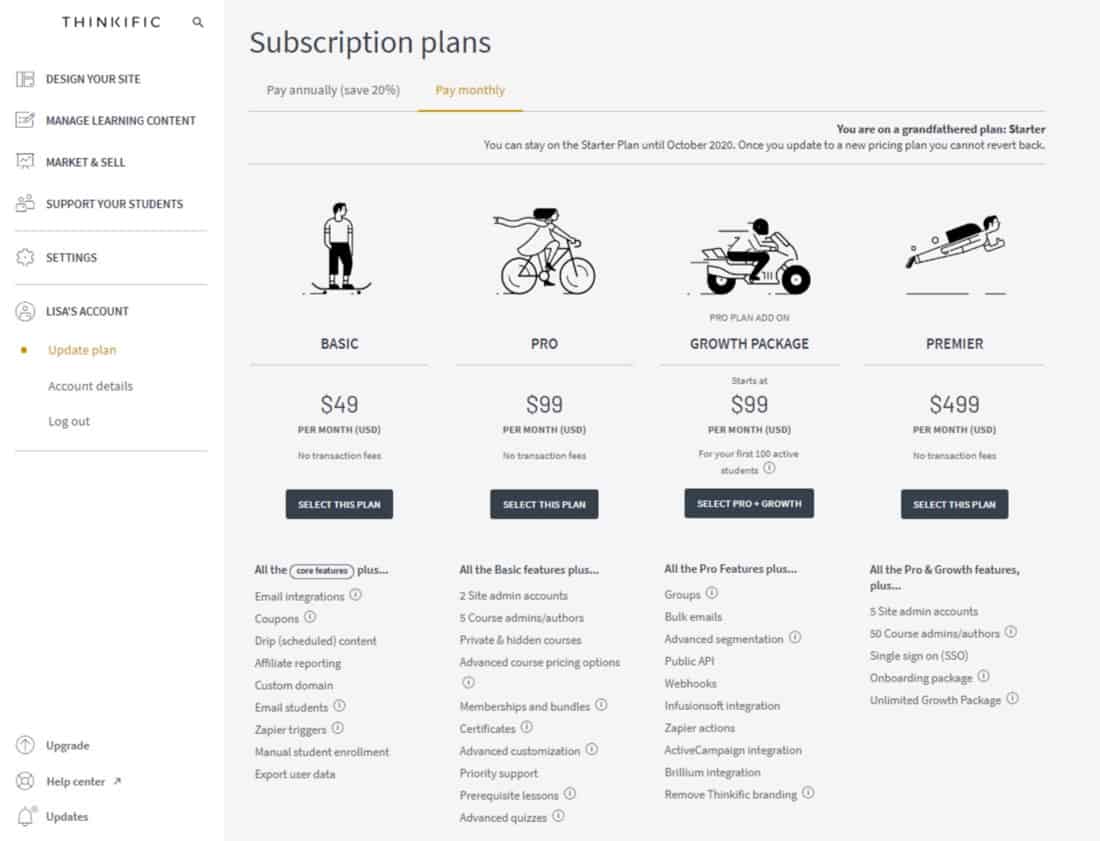
You can pay annually and get a discount. You’ll save money, but you do have to pay a lot upfront.
The next link is the Account details link
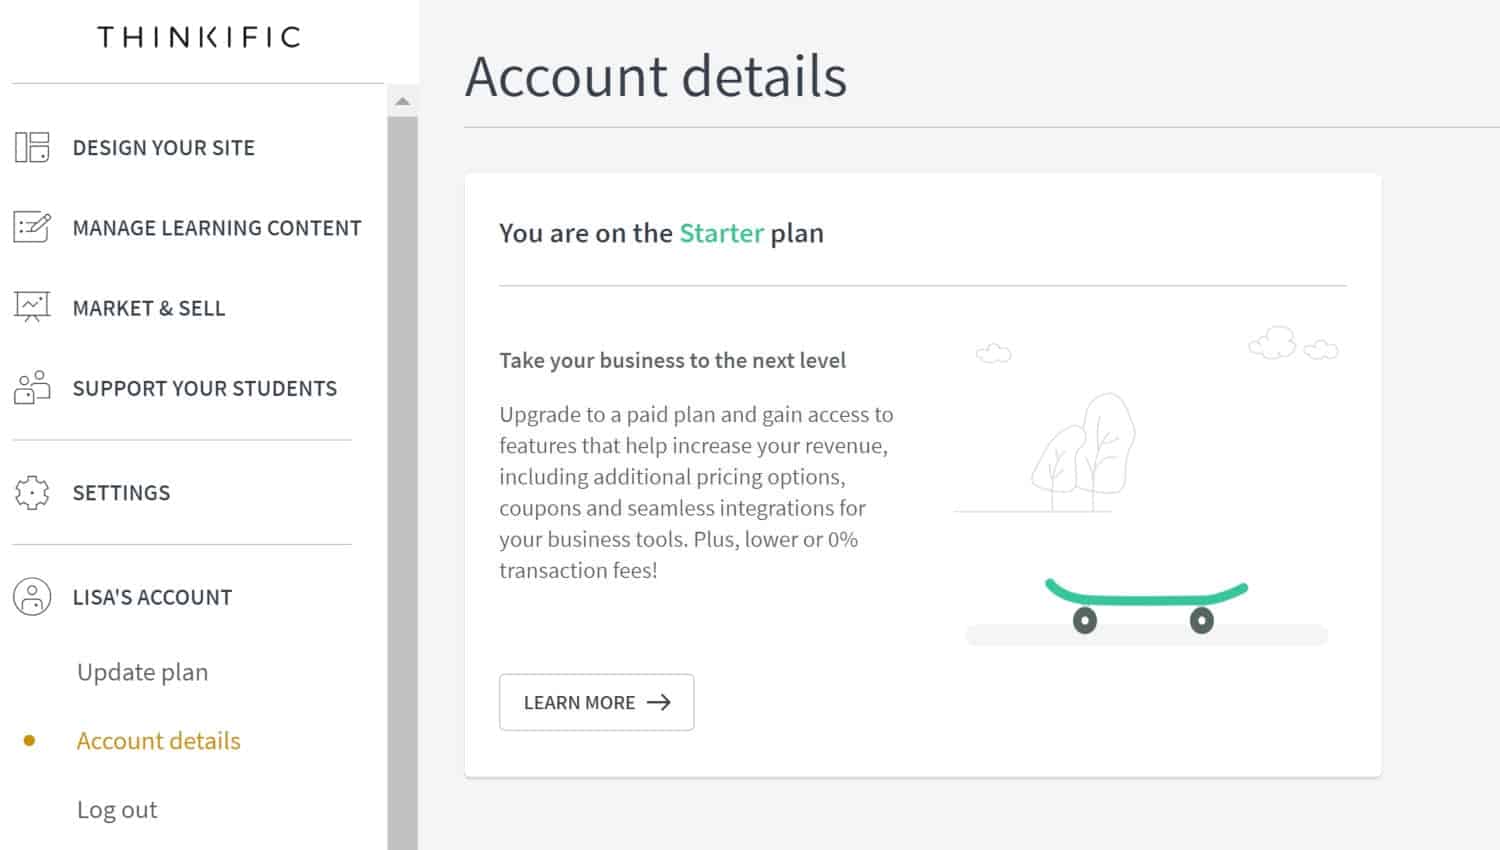
Account Details
This is just another place where you can see which plan you’re currently on and upgrade if you want.
Log Out
Then there’s a link to Log out.
Upgrade
Under this last section, there’s a little space and then an Upgrade link. They really want you to upgrade since that is how they get paid for providing all these great features!
Help Center
There’s also a Help center link that takes you to their support area (which is outside your admin). 
Here, you can search for what you need help with, view quick-start guides, and find training and other resources.
Updates
Finally, you can see the updates which are the Latest changes to Thinkific.

So that’s it! That was a complete walk-through of everything you can do within the Thinkfic admin.
If you’re interested in giving Thinkific a try for your course creation, hosting, and marketing needs, then you should definitely sign up for a free account at Thinkific.
This plan does not require a credit card and it will not expire. So you have plenty of time to try it out. You may even be able to run your course through the free plan. They also offer affordable plans if you decide you do need their upgraded features, especially when you start selling your course. Check out my in-depth Thinkific review for more details on how they rate.
Even if you have an online course now, if you’re interested in a hosted solution, then Thinkific is an excellent choice to consider making the switch to.
